 Michael S. Liberman
Peru Photo and Video Workflow
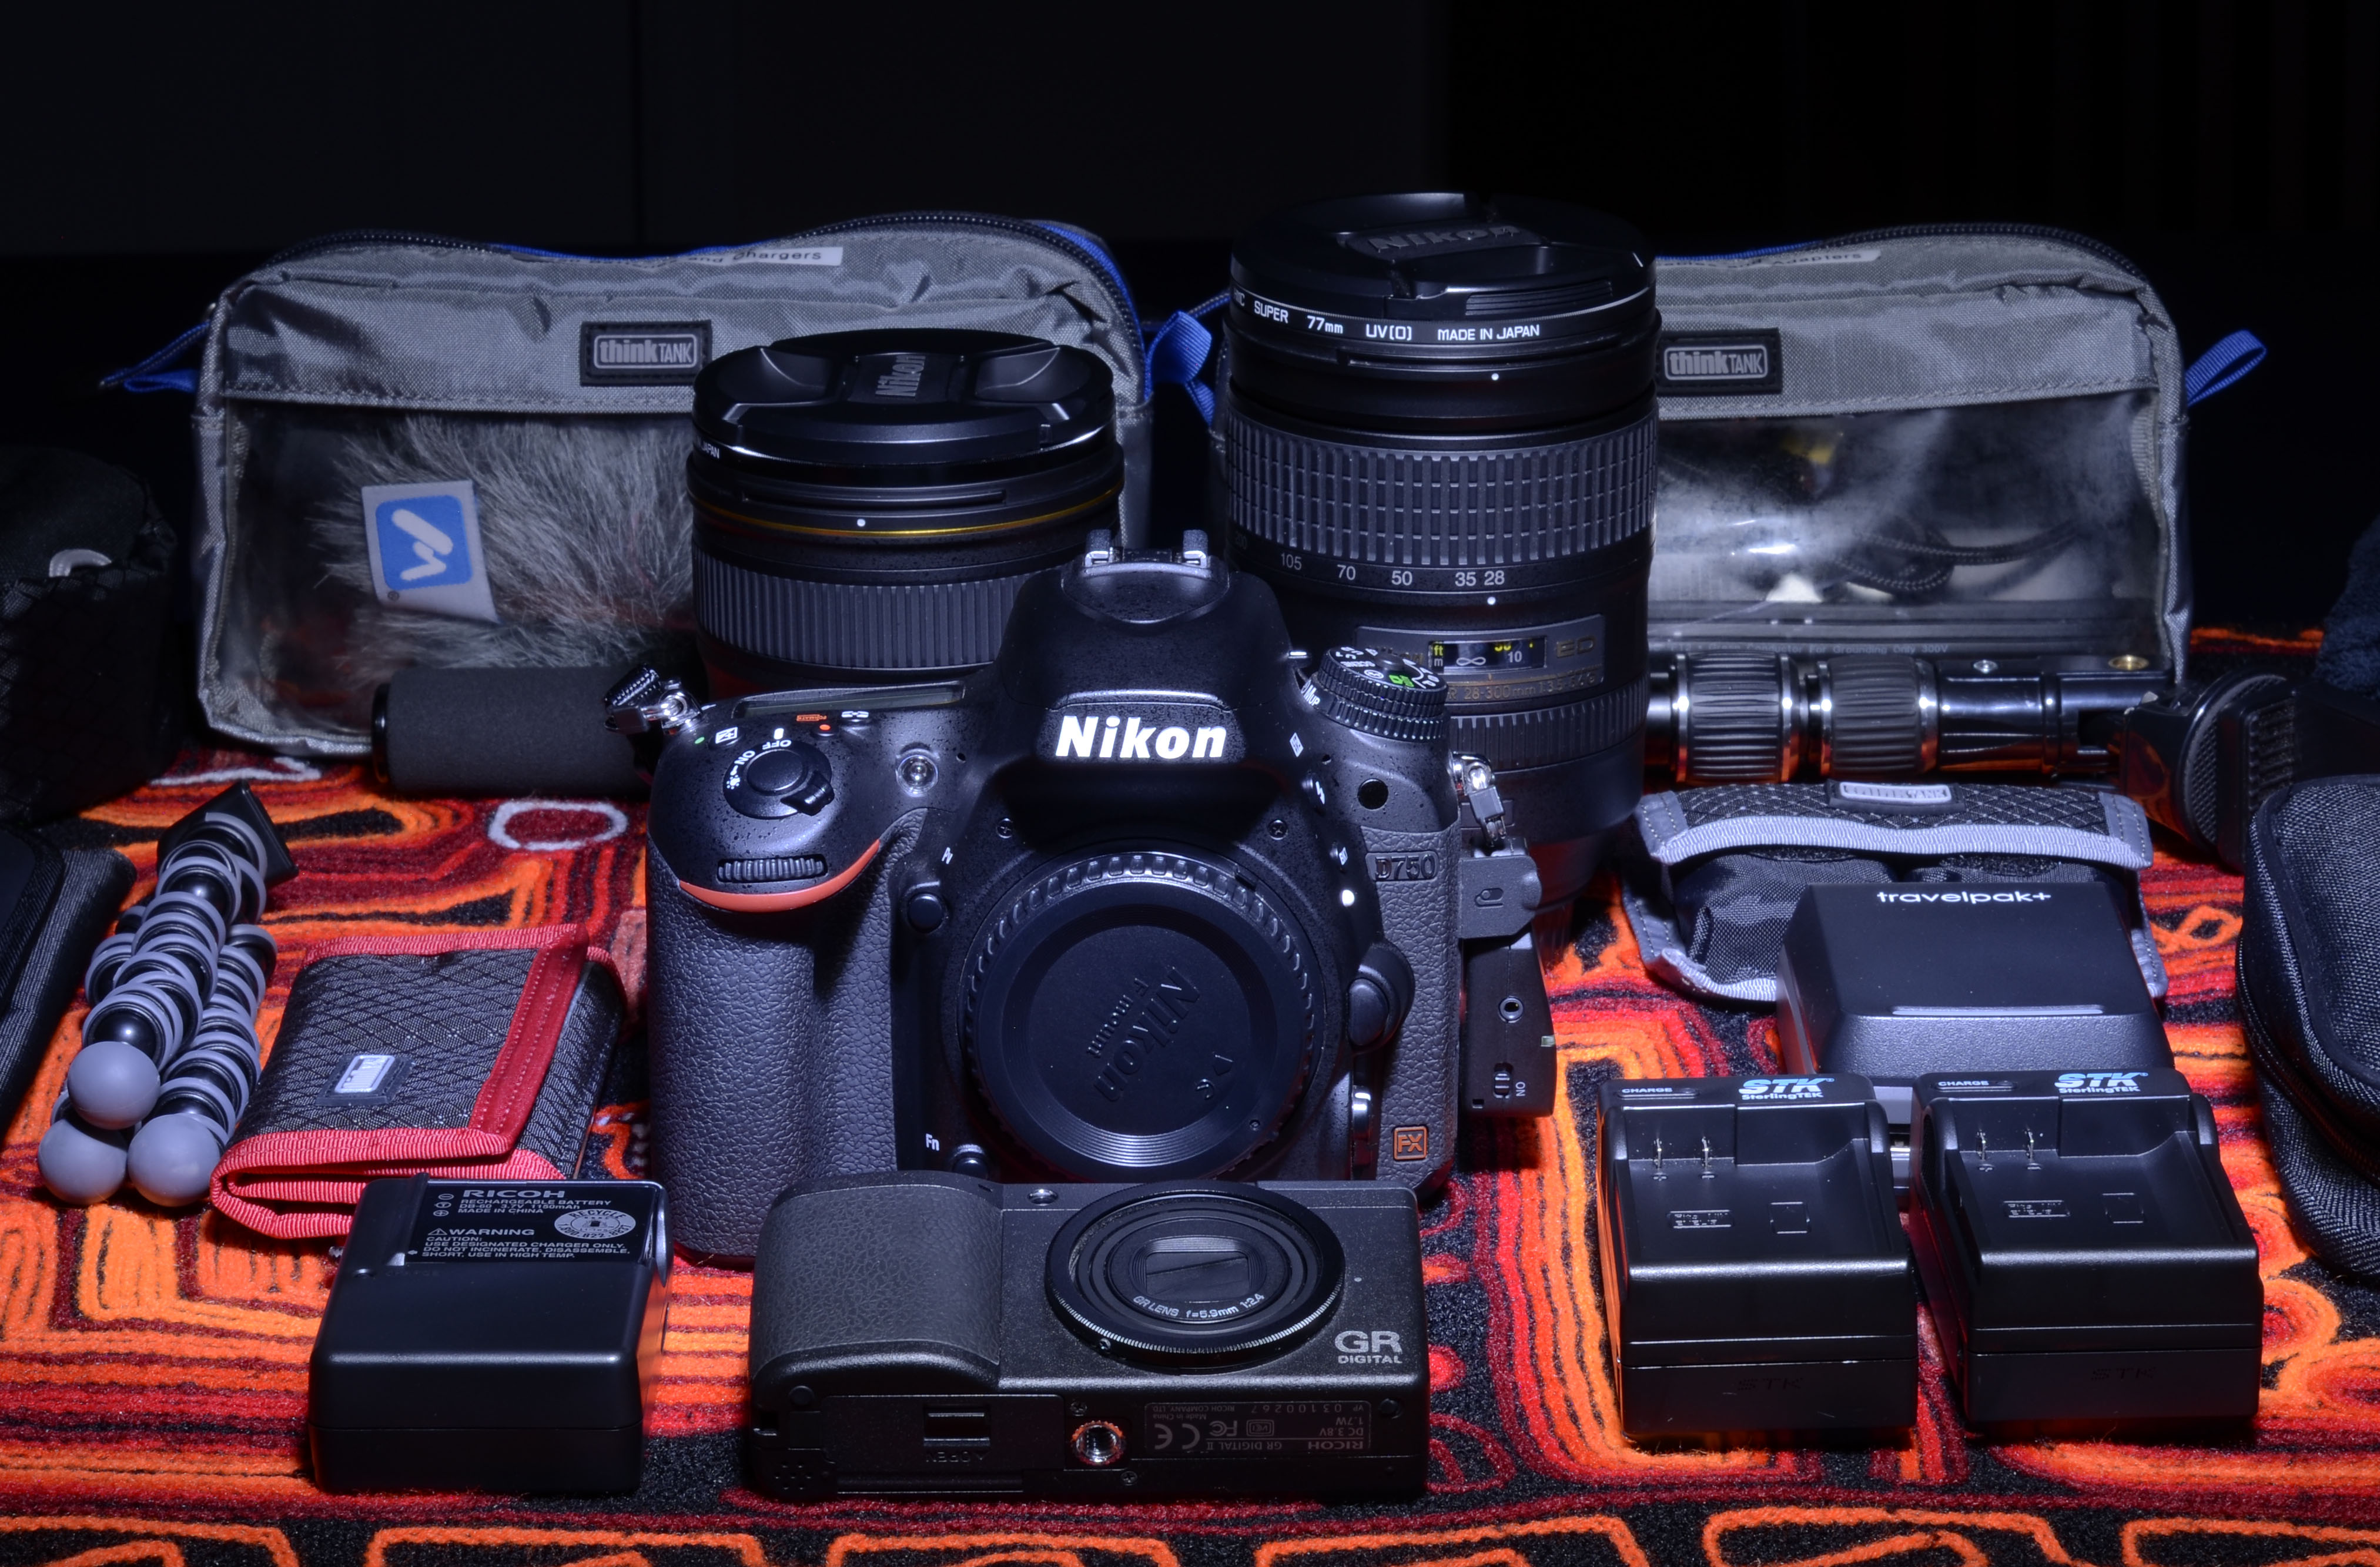
I’ve been back from Peru for a couple of weeks now and all the photo and video files are downloaded to my desktop computer and backed up onsite and offsite. As I did for Galapagos and South Africa, here is a review of the photo, video, and timelapse workflow for Peru. With a couple of exceptions, I brought along the same gear for Peru that I used in South Africa:
- Nikon D750 24 MP FX DSLR
- AF-S NIKKOR 28-300mm f/3.5-5.6G ED VR – Travel Zoom
- AF-S NIKKOR 24mm f/1.4G ED – Wide Angle Prime (I brought the 16-35mm f/4G to South Africa to capture the expanse of Africa on safari, but brought the 24mm f/1.4G for use at night in Peru.)
- Ricoh GR Digital II (For shooting timelapse in Machu Picchu.)
- Monster Power Outlets To Go travel extension cord
- Newtrent Travelpak+ travel battery and USB charger
- The Green Pod DSLR beanbag and GorillaPod Original camera support
- Batteries and chargers
Memory Card and File Management
For the Peru trip I brought along two 64 GB Lexar Professional SDXC Class 10 cards and two 32 GB Lexar Professional SDHC Class 10 cards.
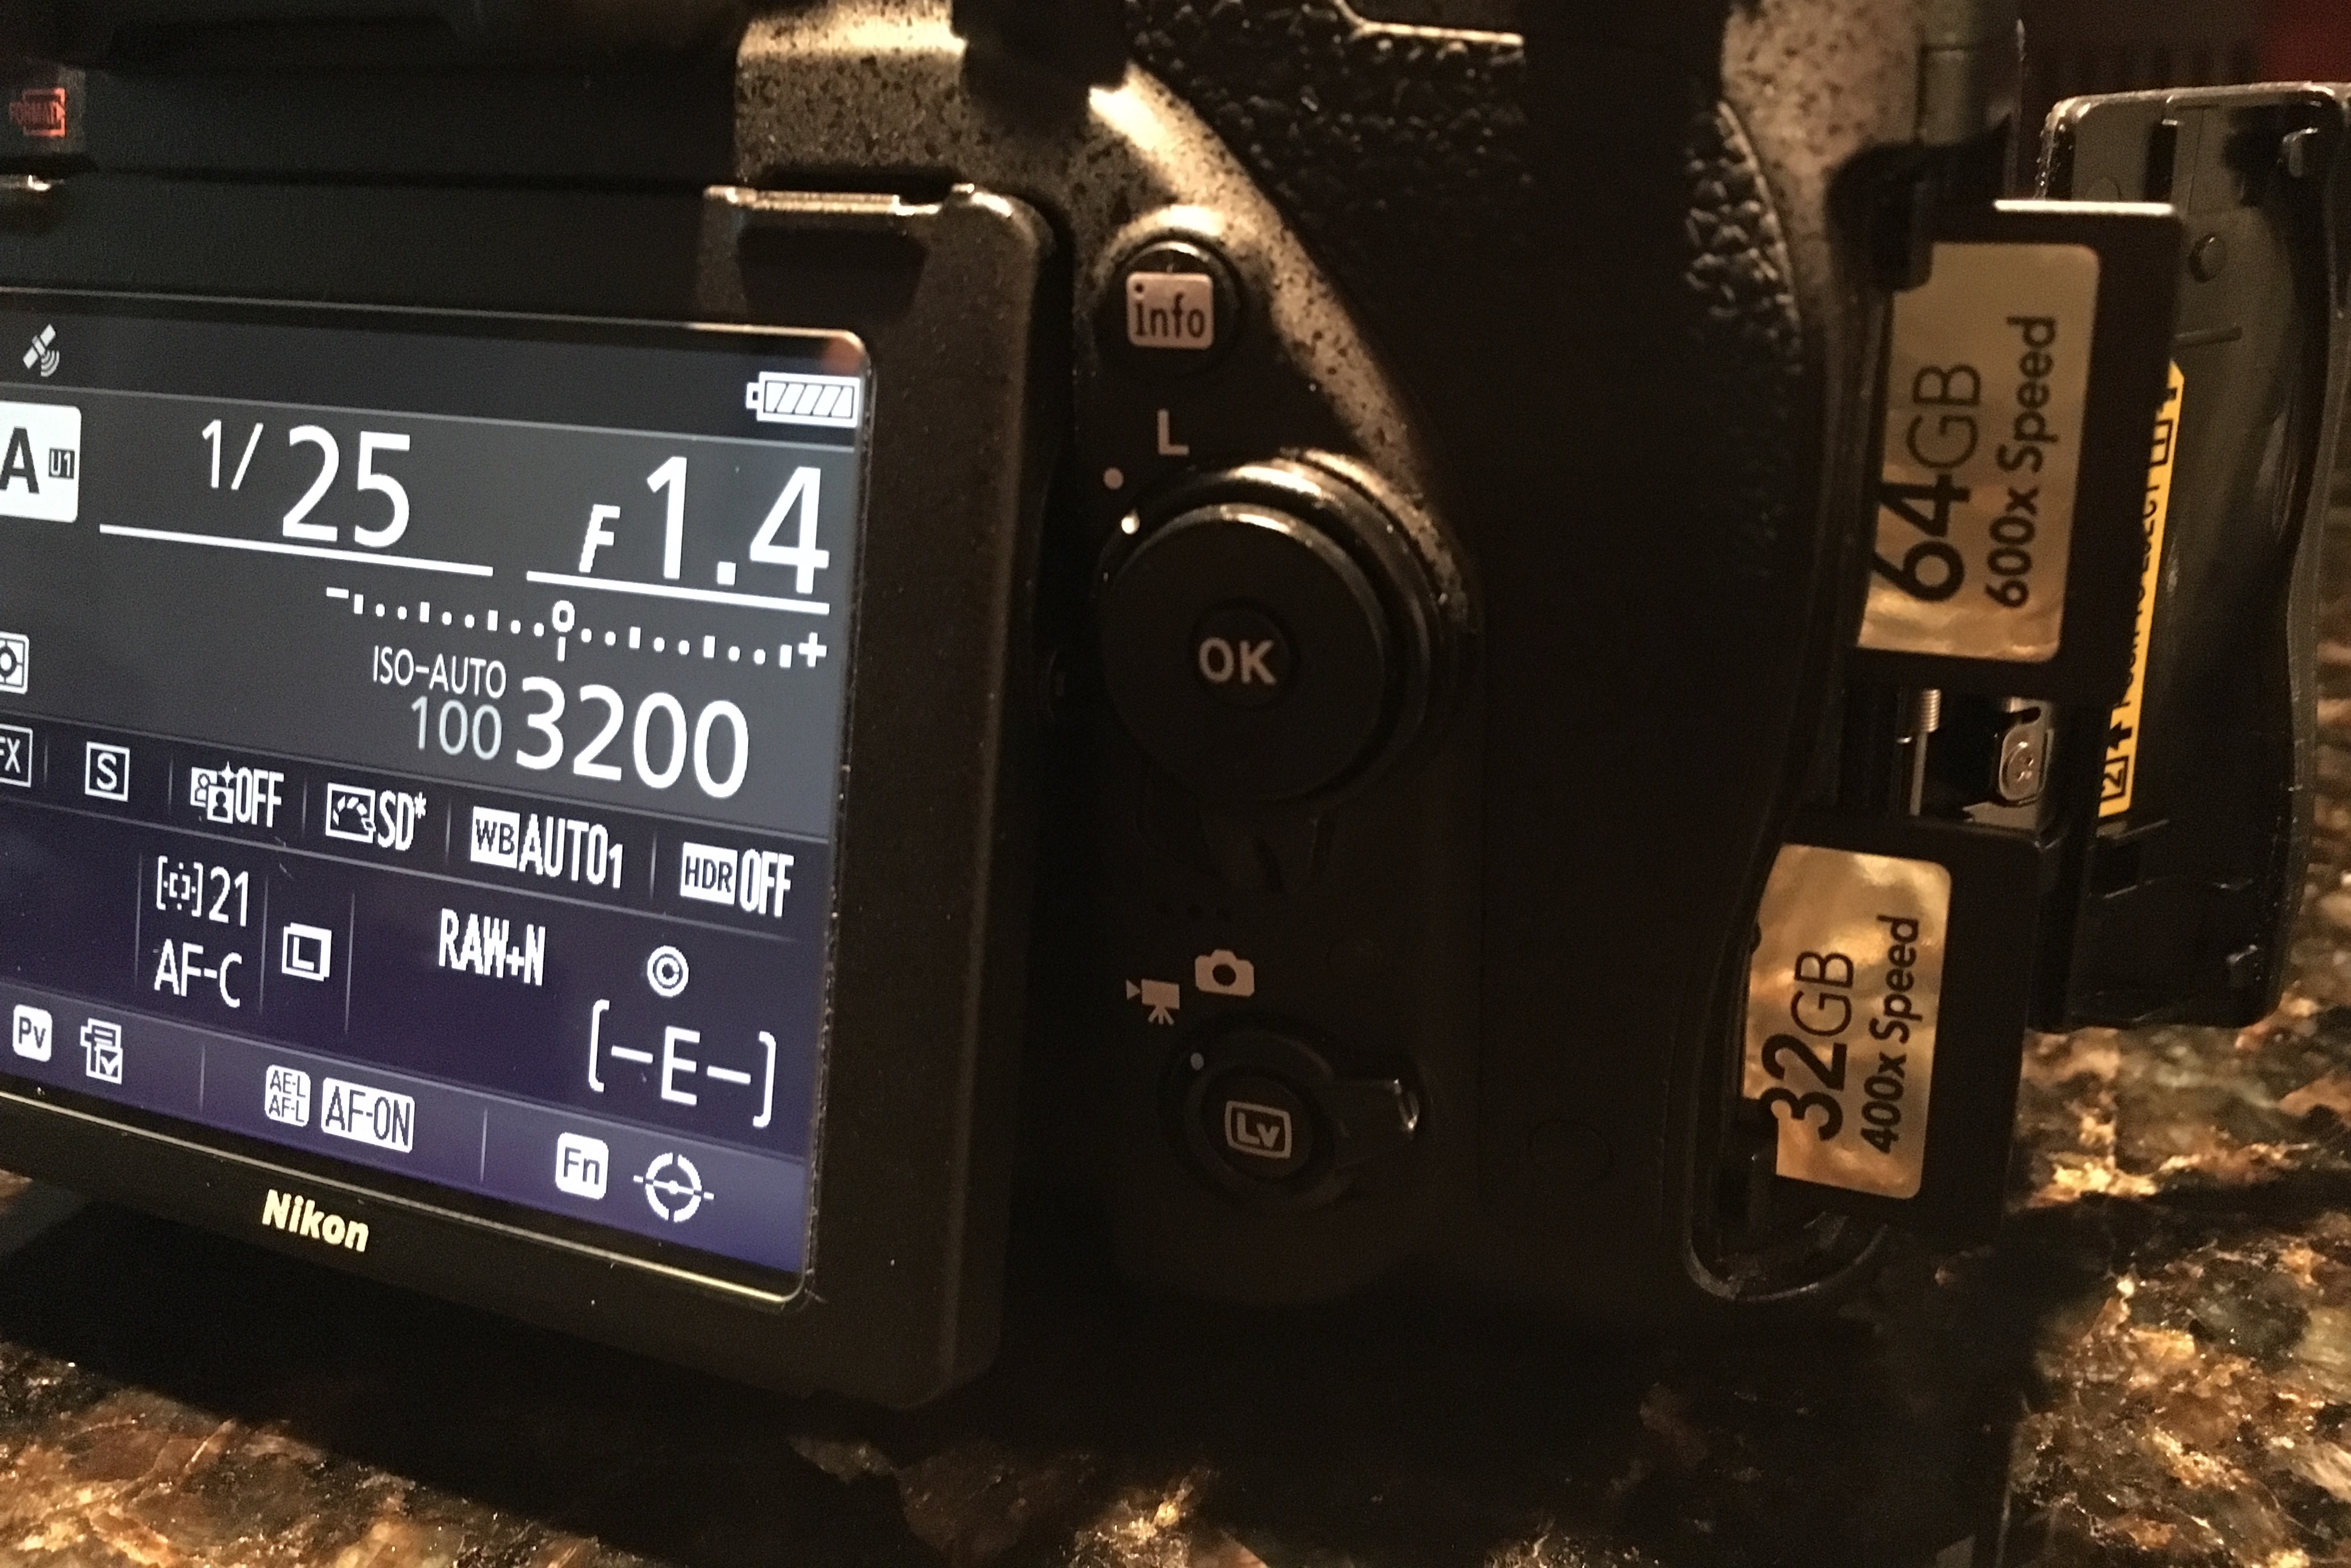
Nikon D750 with SD cards
Each 64 GB card holds about 1,500 12-bit NEF files. (See 14-bit vs 12-bit RAW – Can You Tell The Difference at Photography Life.) I used a 64 GB card in slot 1 of the D750 to store raw photo files. In slot 2 I used a 32 GB card with the D750 set to store Large size JPEG normal quality backups at about 6.7 MB per image.
About halfway into the trip, I swapped out the initial set of cards for the second set. At the end of the trip I ended up with 753 picture files. That’s a shooting rate of 75 per day – less than my average of 100 photos per day on international trips, and a direct reflection of my focus on shooting more efficiently. In addition to JPEG backups, I used the slot 2 card for movie files and ended up with 350 files totaling 1 hour and 21 minutes, about the same as the 1 hour and 28 minutes I recorded in the South Africa. The picture and movie file count also includes iPhone 6S picture and movies files for must-have Machu Picchu selfies and some additional timelapse sequences.
WordPress Blog Updates
For the daily trip blog updates I used the D750’s built-in Wi-Fi to connect via the Nikon Wireless Mobile Utility installed on my phone. Once connected it was easy to select pictures to transfer to the phone, and then incorporate those photos in the daily trip blog updates using the WordPress Mobile App.
Photo Workflow
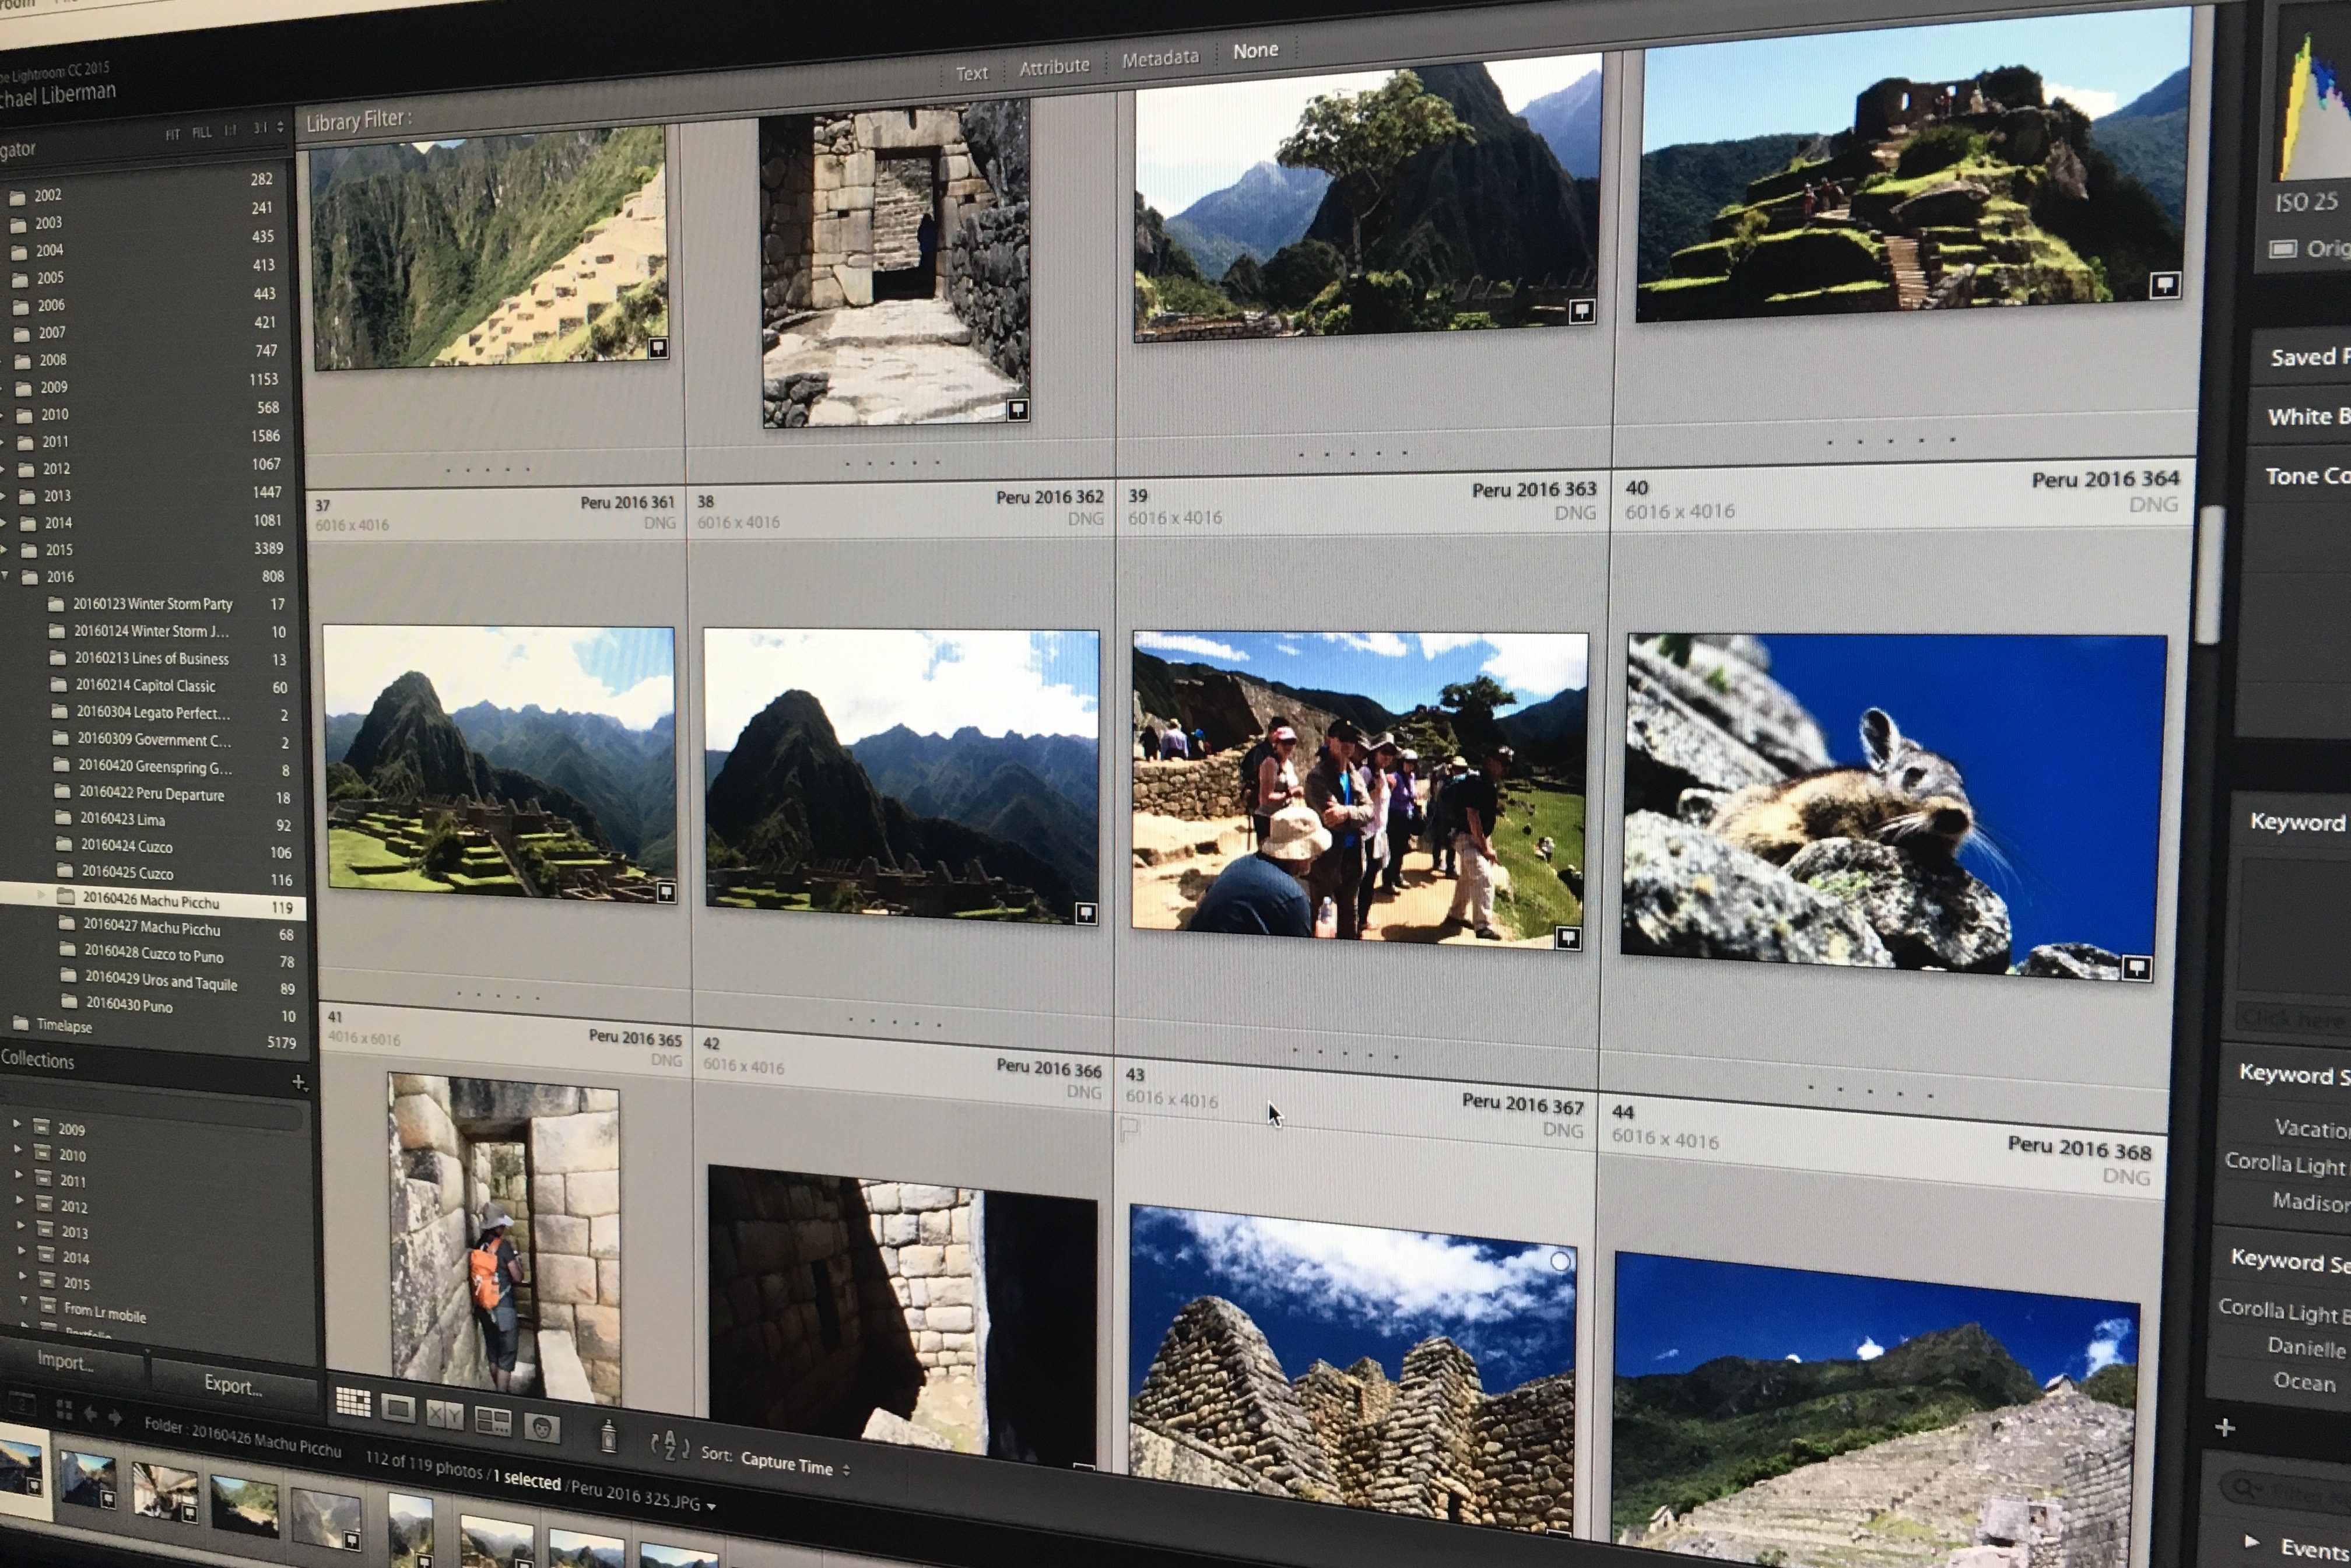
Machu Picchu photos in Lightroom
My standard workflow for photos and video remains the same. I’m still working with Adobe Photoshop Lightroom for photo management and editing – using the Creative Cloud Photography plan. The simplified version of the workflow is:
- Import as DNG (to folders named by date and location)
- Delete (duplicates and rejects)
- Rename (by location or event with sequential numbers)
- Keyword
- Geoencode
- Caption
- Post-process
Video Workflow
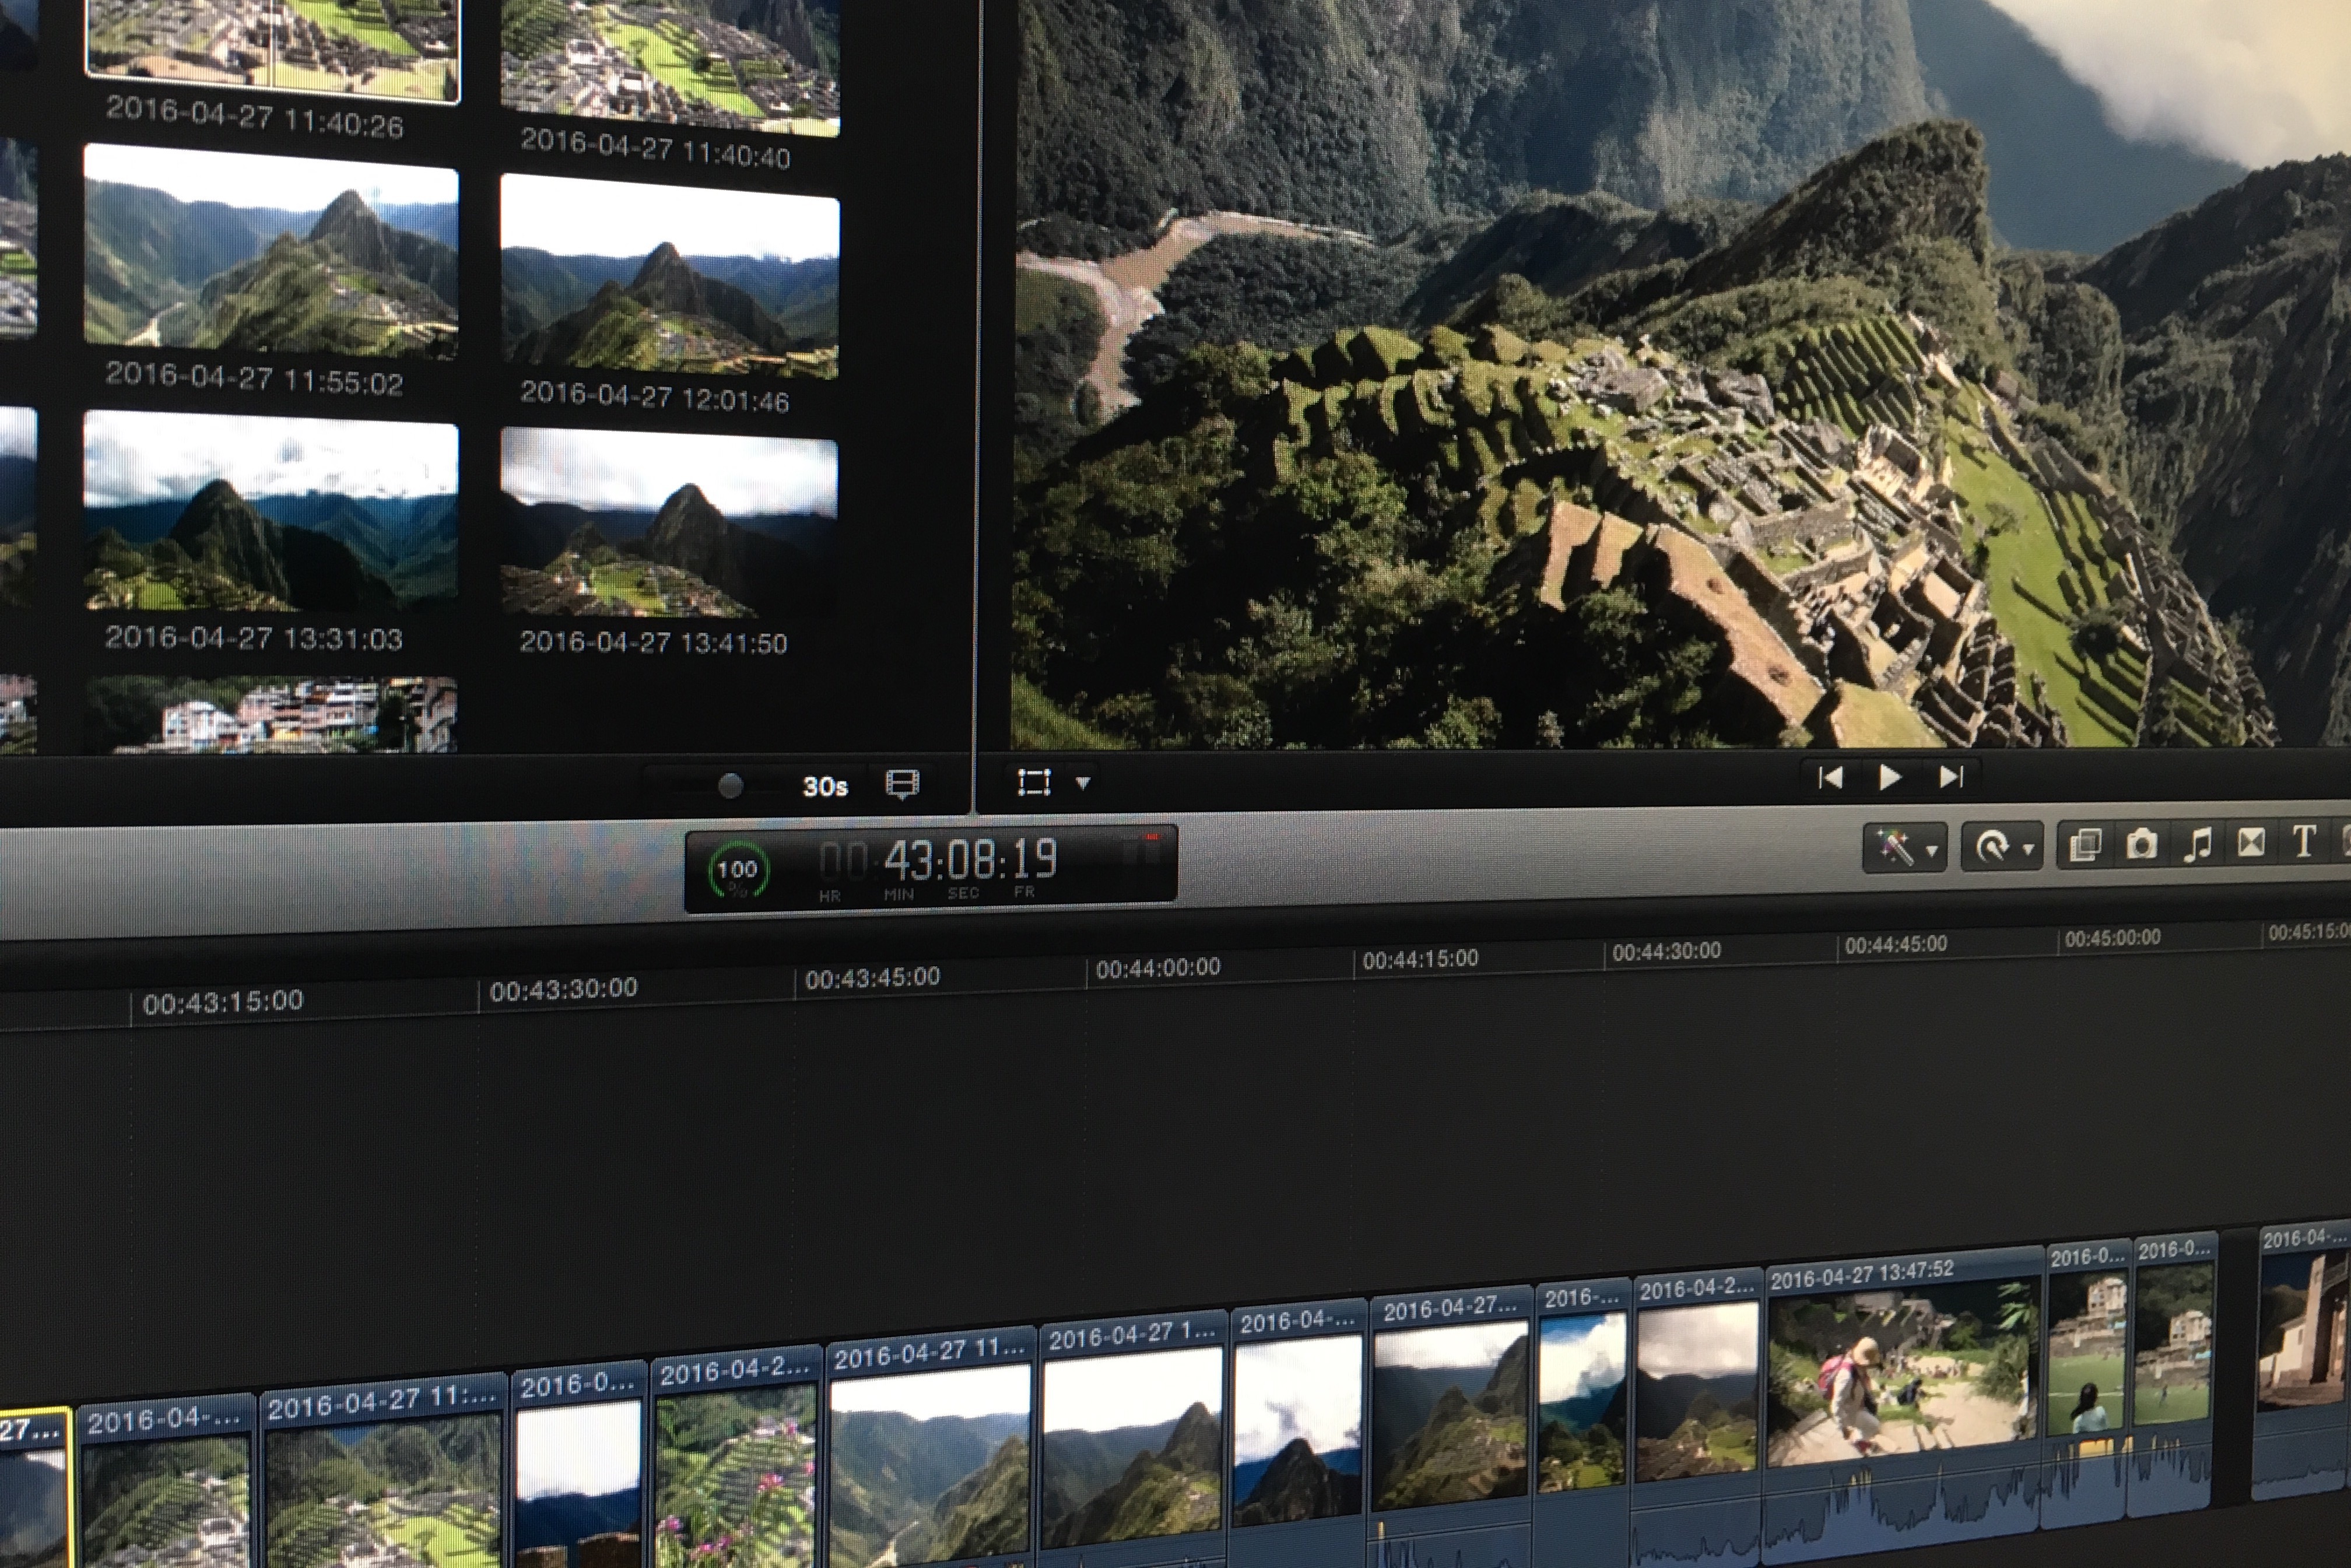
Machu Picchu video clips in Final Cut Pro X
Video files are digitized using Apple Final Cut Pro X to events named by date and location. After import files are renamed by date and time. All movie clips on this trip were shot at 1080p 60.
Timelapse Workflow
[iframe id=”https://player.vimeo.com/video/166391584″]Before going to Peru I saw some timelapse sequences at Machu Picchu and I knew I wanted to capture some timelapse while I was there. On our first day at Machu Picchu I used the Ricoh GR Digital II to shoot a sequence of about 240 images. On our second day at Machu Picchu I captured 2 sequences each of similar length with the D750 and the Ricoh. Back home I used LRTimelapse and Lightroom to process the sequences into video clips for importing into FCPX and editing into the short video above.
With all trip photo and video files transferred I confirm onsite and offsite backups are complete (using CrashPlan to manage both backups) and then reformat the SDXC cards for use on the next project. Now it’s time to get to work on the photo gallery, book, and the trip video!