 Michael S. Liberman
Capturing the Eclipse
I marked August 21st on my calendar a couple of years ago and began thinking about where I could watch and photograph the 2017 Great American Eclipse. I knew that in Northern Virginia the maximum eclipse coverage would only be 81% – no totality here. I considered traveling someplace to experience totality, but ultimately decided to stay close to home for the event.
Several months ago I began to consider the gear I’d need for the shoot. I had the camera. And I had the tripod. I’d taken some moon photos previously – using the 28-300mm telephoto zoom with good results, but the shooting moon with a 300mm telephoto required some pretty aggressive cropping …
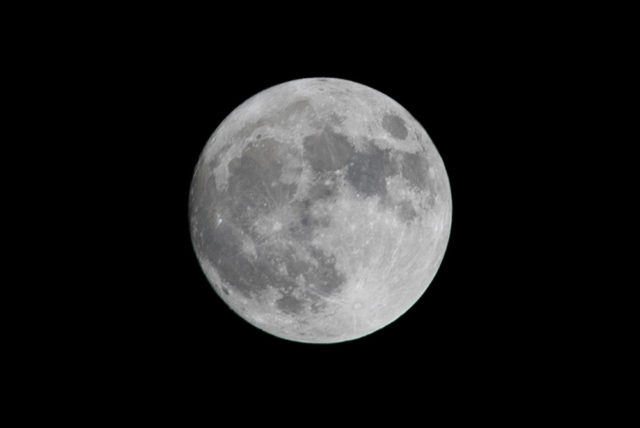
Super Moon – November 2016
Nikon D750 with 28-300mm
The sun is bigger than the moon, of course, but I knew a longer telephoto lens might be a good addition to the current kit and provide a way to capture some excellent closeup images during the eclipse. And with fall on the way a new telephoto lens might also be useful for capturing outdoor sports. (See how the gear acquisition justification process works!) I’d been looking at Nikon’s new 200-500mm super telephoto zoom for a while, so I picked one up a few weeks before the eclipse.
I also needed a solar filter. I couldn’t justify spending $150 for a filter – not after buying a new lens! And I wouldn’t have enough opportunities to use an expensive solar filter. I also waited too long to start researching solar filters online. Many of the options I was interested in were sold out. I eventually found a two-pack of Daystar Universal Solar Lens Filters for sale at B&H Photo. These ISO 12312-2 approved filters are constructed from Thousand Oaks Solarlite Film and cardboard. They fold into a shape that slides over and covers the front end of the lens. I picked the large size to fit over the 95mm end of the 200-500mm. With camera, tripod, lens, and filter on hand, I was ready to go. And then Nikon issued a recall on the D750.
Since the D750 was introduced, Nikon has issued a series of service advisories related to photographing bright light sources … like the sun. My camera wasn’t included in the first two rounds of service advisories. In fact, when I purchased the camera I intentionally waited a period of time before ordering to make sure enough time had passed since the introduction of the camera to sort out any production issues. However, my serial number was included in the service advisory announced by Nikon this summer. I quickly packaged the camera and shipped it off to Nikon Service in Melville, NY – and then hoped I got it back in time to photograph the eclipse.
In the meantime I needed some experience using the solar filter and testing out the setup. I’d picked out a location behind my office building for a couple of reasons, I thought the building would offer an interesting foreground element in the eclipse photos and, since it is my office building, it’s very convenient.
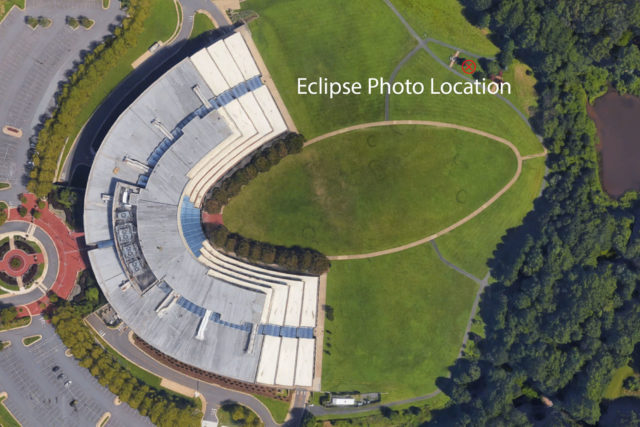
Eclipse photo location behind the Fairfax County Government Center building
On Sunday, August 13, at about 4 PM, I took the D7000 with the 200-500mm and tripod to the location marked above to take some test shots. A few things I noticed right away:
- The only thing visible through the solar filter is the sun. The filter is so dark it wouldn’t be possible to capture foreground elements in the same photograph, without creating a composite in Photoshop.
- At this time of year, during the time of the eclipse, the sun is almost straight up in the sky – and difficult to find with the solar filter in place. An external monitor would help to locate the sun without craning my neck upwards.
- The sun moves through the sky very quickly. I’d need to reposition the camera frequently during the 3 hours of the eclipse event.
- I forgot to pack a remote trigger for the test. A heavy lens mounted on a tripod requires using mirror lockup and a remote trigger.
- It was hot. There’s no shade when you are photographing the sun.
The August 13 test was a good learning exercise, but yielded no usable images. On August 15th I received the D750 back from Nikon Service. Door to door the repair took 30 days, but was delayed for about a week while holding for parts. The camera came back rebuilt with a new shutter mechanism, all new exterior rubber, cleaned image sensor, and an overall check and adjustment. Despite the new shutter mechanism the camera shutter count was not reset and, although Nikon issued a firmware update while the camera was being serviced, the firmware was not updated. While the process was an inconvenience, it was nice to have a two-year old camera get a complete checkout from the manufacturer at no cost to me.
On Saturday, August 19, I was ready for another test. This time an exposure test. I went back to the Government Center location at about 3:30 PM. For the exposure test I shot a sequence of images beginning at 1/4000s and stepping through shutter speeds to 1/30s. I did this sequence at f/8 and again at f/5.6. Reviewing the results I settled on a shutter speed of 1/400s and an aperture of f/5.6 to photograph the eclipse event. During the exposure test I also tried out an external monitor clamped to the tripod and connected via HDMI. It worked great! I could look down at the monitor to frame the shot. Much more comfortable. I borrowed my Black Pearl Flysight drone monitor for this use. It’s small and has an HDMI input.
On Sunday, August 20, I did one final test. This time on my balcony at home. For this test I confirmed the exposure setting I selected the day before and I refined the attachment of the Flysight monitor to the tripod to keep the cable from interfering with the monitor sun shade and to make sure the camera cleared the monitor as I panned across the sky following the sun during the eclipse. After this last test I charged the camera and monitor batteries and packed the following gear into a Think Tank Photo Airport Essentials backpack for the shoot the next day:
- Nikon D750
- Nikon D7000
- Nikkor 200-500mm f/5.6 Super Telephoto Zoom
- Nikkor 16-35mm f/4 Wide Angle Zoom
- Gitzo GT2541 Series 2 Carbon 6X4 Section Tripod
- Markins Q-Ball Q10 Ballhead
- Nikon Remote
- Black Pearl Flysight RC801 7″ HD Monitor
- Daystar Universal Solar Lens
- Batteries and Cables
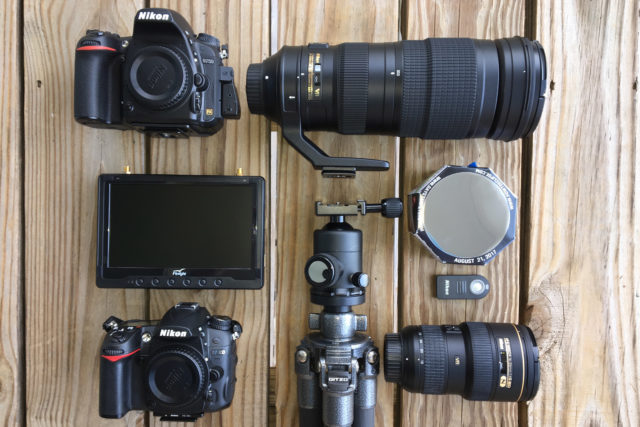
Gear for the shoot
On the morning of the eclipse I packed everything in the car, along with a couple of folding chairs and (fortuitously) a golf umbrella for some shade. At about 12:30 PM, Rebecca helped me carry everything out to the shoot site. After a weekend of perfectly clear skies, there were more clouds in the sky than I wanted, but not too many around the sun. We got everything setup, then waited for the 1:17 PM show to begin.
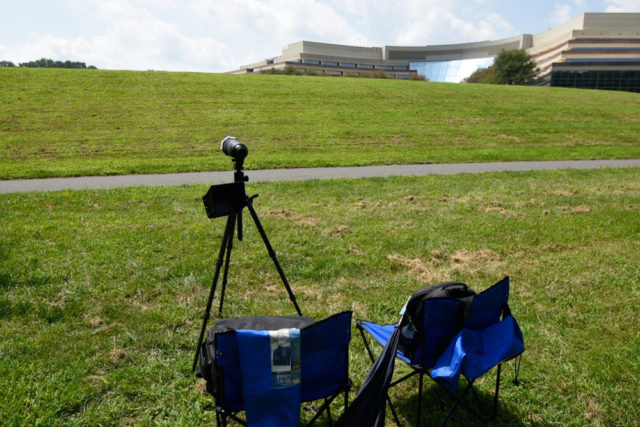
Setting up for the shoot
I knew I wanted to construct a Photoshop composite using the eclipse photographs, so I devised a timeline checklist as a guide for when to take pictures at predetermined intervals. The timeline checklist was setup for a 9-step sequence with one picture every 22 minutes and another sequence to take pictures every 10 minutes.
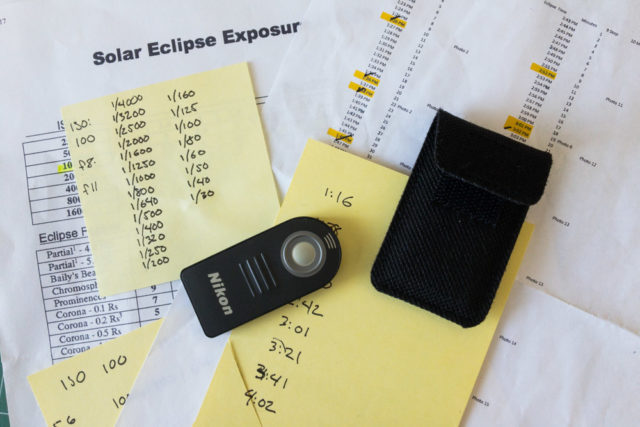
Timeline checklist and Nikon Remote
Rebecca called out the times on the timeline checklist for each picture, while I adjusted the frame and fired the remote.
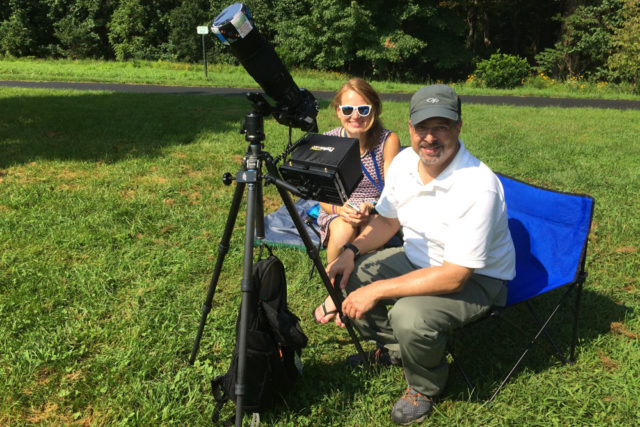
Rebecca calling out times
We quickly settled into a rhythm of taking a picture, posting to social media, and being awestruck by the event. The advanced planning paid off. The camera and monitor setup was working great. A number of co-workers swung by the take a look at the eclipse image on the monitor.
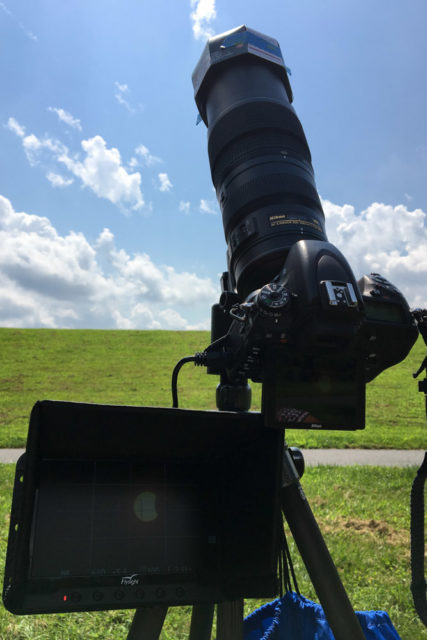
A closer look at the Nikon D750 with the 200-500mm lens and Flysight monitor
An hour or so into the event the eerie partial eclipse sunlight settled over the Government Center …
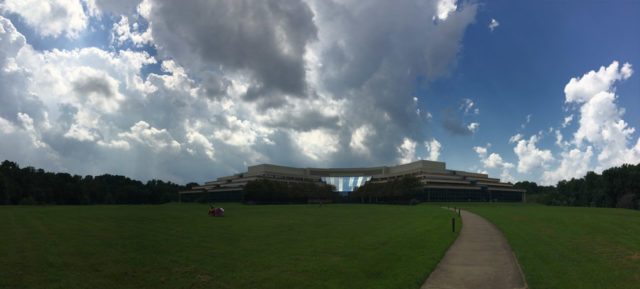
Partial eclipse sunlight over the Government Center
… But 10 minutes later it was a different story. Clouds quickly moved in blocking our view of the eclipse. Then it started to pour. What was a beautiful summer afternoon for taking outdoor photos was now a typical DC area summer afternoon shower. In seconds we had the camera, lens, monitor, camera bag, and chairs under Donna’s waterproof blanket, while we stood with the tripod under my golf umbrella. I thought the umbrella would be good for some shade during the afternoon. Turns out we would have been soaked without the umbrella. Thirty minutes later the shower had passed, the clouds had cleared, and we were back to taking pictures. Outside of being a little damp the only downside was missing the 2:42 PM maximum magnitude of the eclipse – and probably the most important picture of the day. Missing a picture in the 9-step sequence was disappointing, but only missing one picture in the sequence wasn’t bad. We kept shooting until the end of the eclipse at 4:02 PM, then packed up the gear and called it a day.
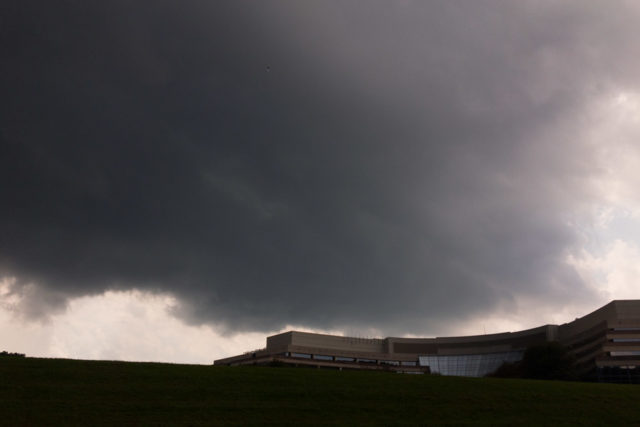
Rain clouds block our view!
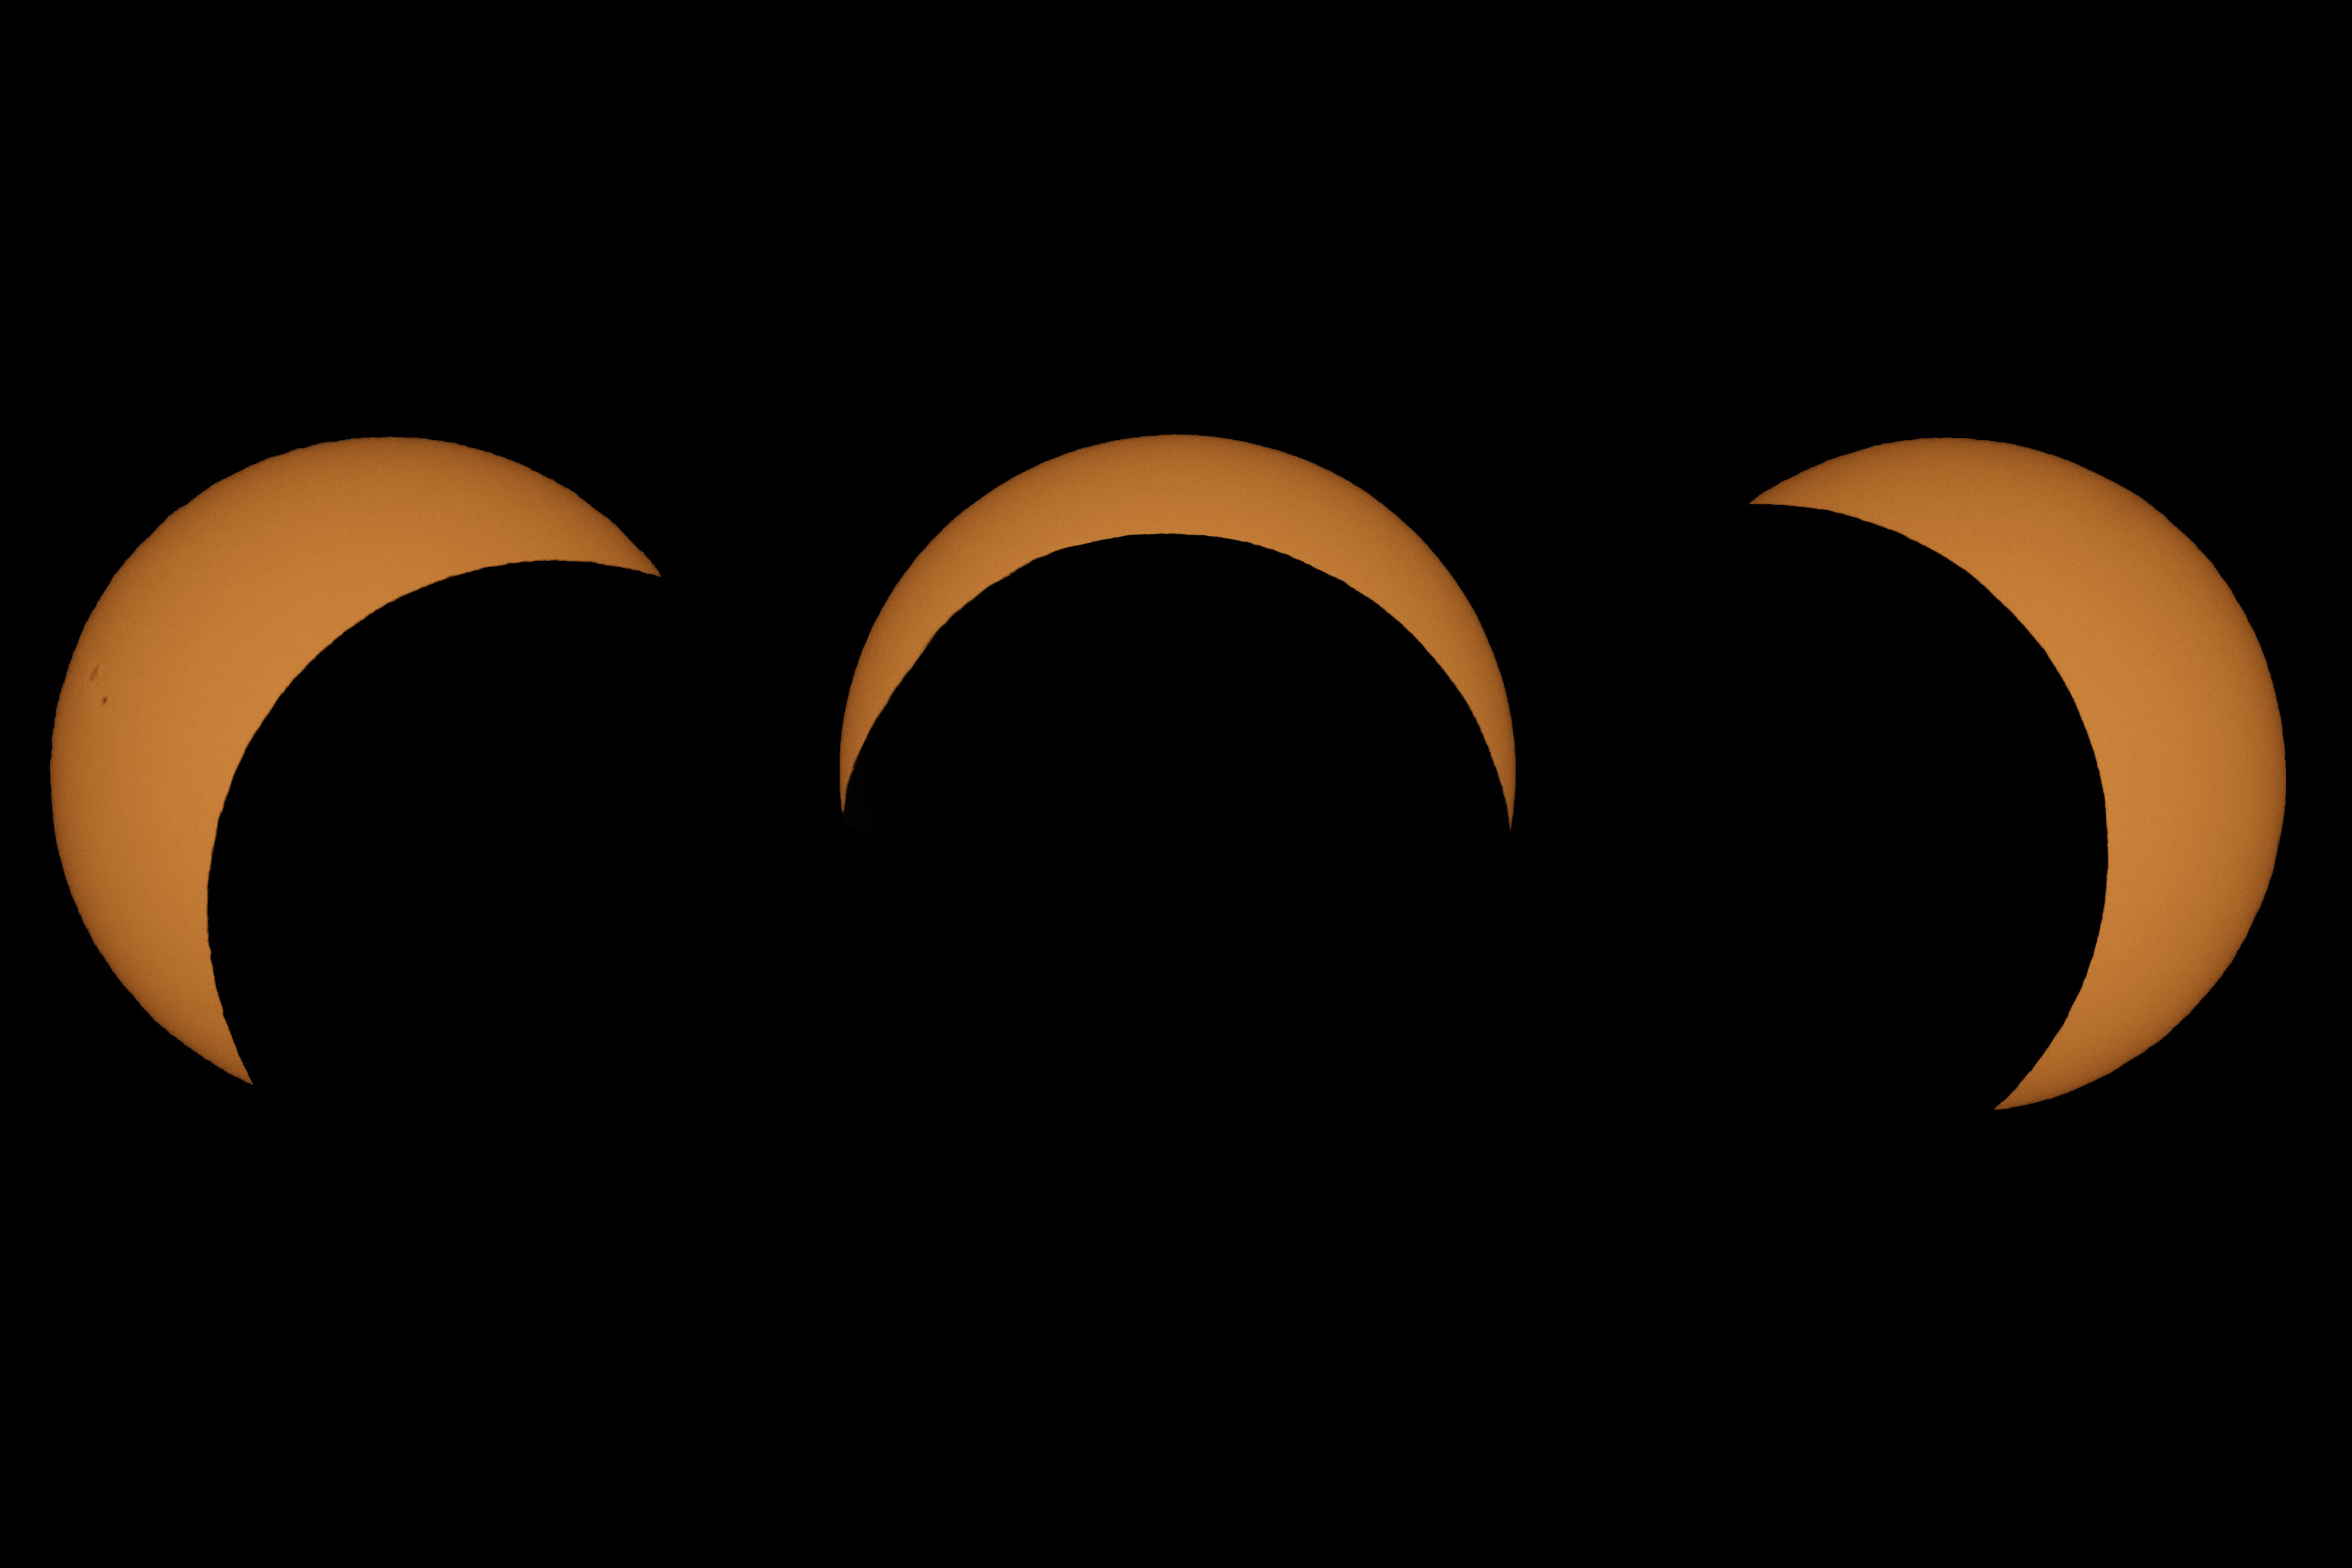
The next day I moved the photos into Lightroom for cataloging, processing and backup. And a few days later I began work on the composite. Matt Kloskowski’s video How to Edit Solar Eclipse Photos in Photoshop and Lightroom was an excellent guide for editing the composite. Of course I was missing the crucial center image, so part of the composite editing process involved recreating the maximum magnitude image using the sun from the just before the start of the eclipse and a mask of the moon to capture to moon’s slightly irregular shape.
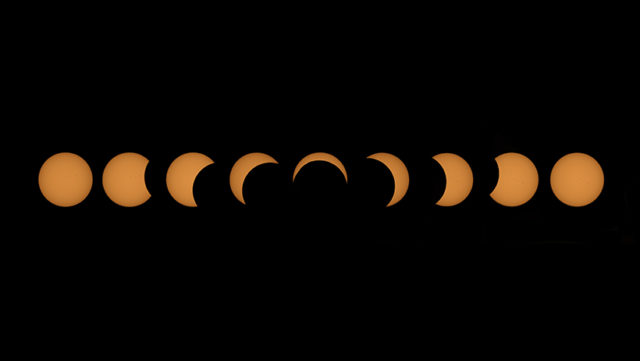
August 21, 2017 Eclipse Composite
The 2017 Great American Eclipse was an amazing event. For me it was a great photographic learning experience and one of the highlights of the summer. I’m looking forward to doing this again and maybe next time experiencing full totality. I’ve got the next North American eclipse on April 8, 2024, marked on my calendar!