 Michael S. Liberman
China Travel Gear and Workflow
Note: I usually write these post-trip gear and workflow reviews a couple of months after I return from a trip. I’m writing this in January 2026 – many years after the China trip – but dating this as July 1, 2009 like it was posted just a couple of months after returning.
Here is my overview of the gear I carried to China followed by the photo and video workflows I used to handle the media files when I returned.
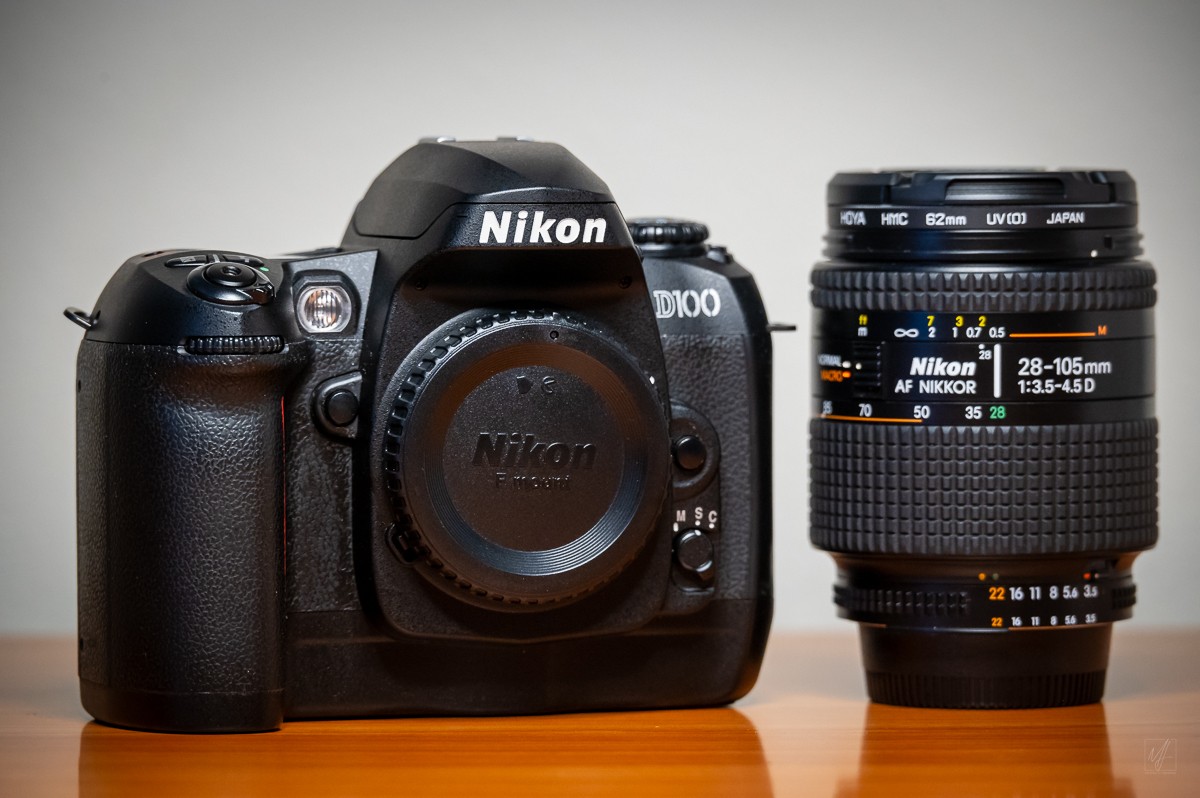
For my first international trip I was really unsure about what to expect and how to travel with a DSLR. I had a Nikon D100 with the 17-55mm, 28-105mm, 70-300mm, and 80-400mm lenses. The 28-105mm and 70-300mm would make a great travel combo. However, as an early generation digital camera the Nikon D100 was stills only without video capability like a more modern DSLR. I would still need to bring a dedicated camcorder to capture video of the trip.
Fairfax, United States
Nikon Z6II • NIKKOR Z 28-400mm f/4-8 VR at 190 mm • ISO 6400 • 1/20 sec at f/8.0
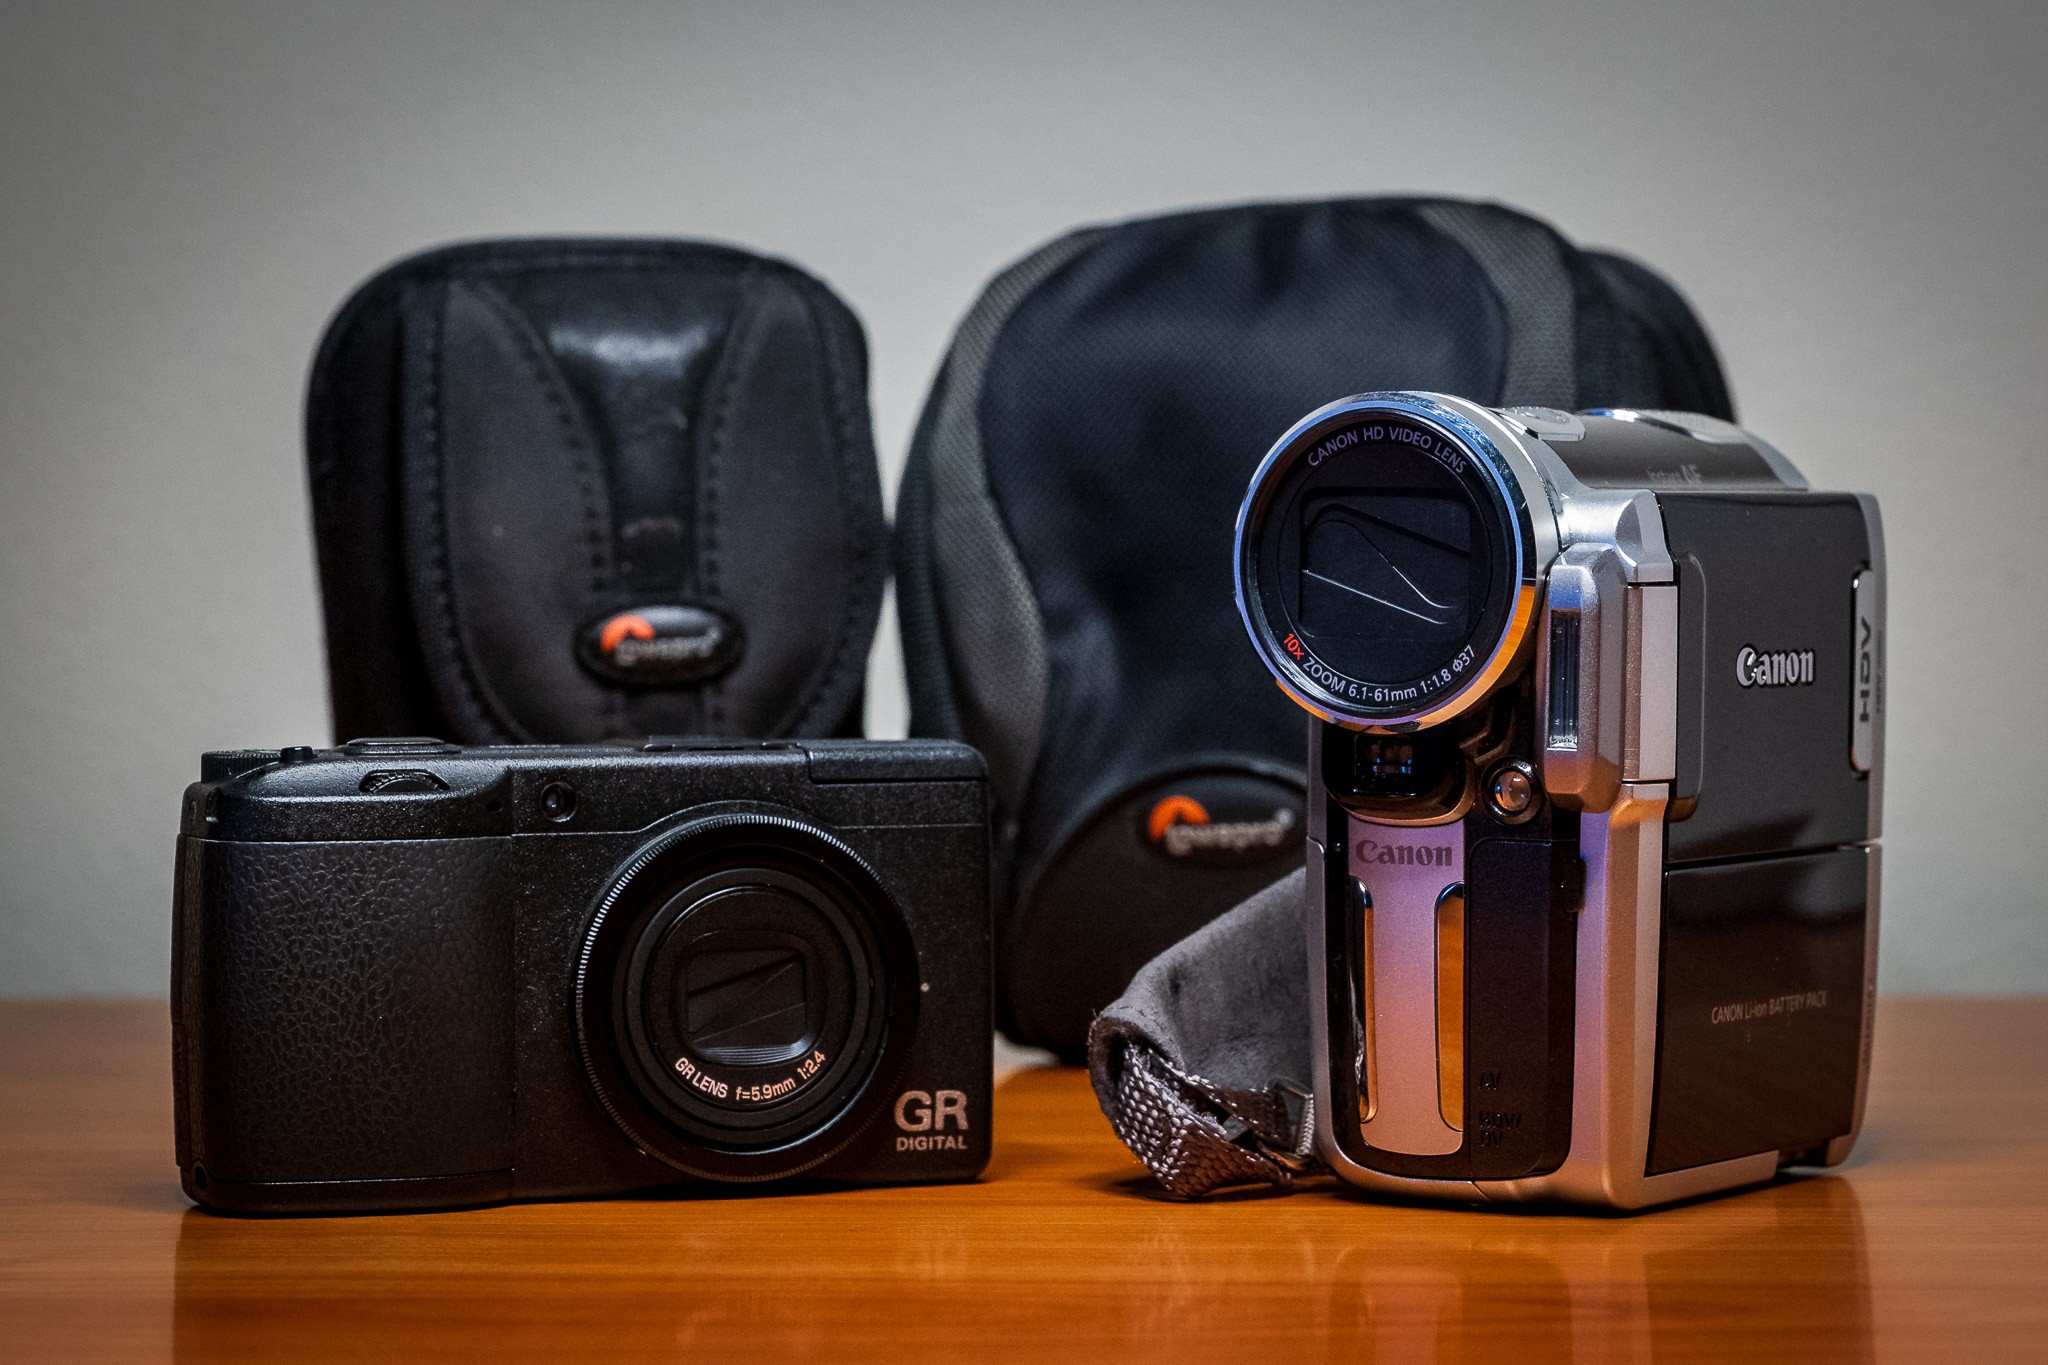
And I knew that we would be on the move almost continually. It seemed like smaller and lighter might be the way to go. Recently I’d been shooting with the Canon PowerShot S50 and the Ricoh GR Digital II compact digital cameras. I picked up the Canon in July 2004 and after it fell apart I purchased the Ricoh in December 2007. While the Canon was a lousy camera characterized by a nearly uncorrectable interpretation of white balance, the Ricoh was brilliant. Small and easily packable for travel. Excellent picture quality. The only drawback … a fixed focal length with a 28mm equivalent prime. Even so I decided to bring the Ricoh GR Digital II for stills paired with the Canon HV10 for video.
Fairfax, United States
Nikon Z6II • NIKKOR Z 24-120mm f/4 S at 69 mm • ISO 6400 • 1/25 sec at f/8.0
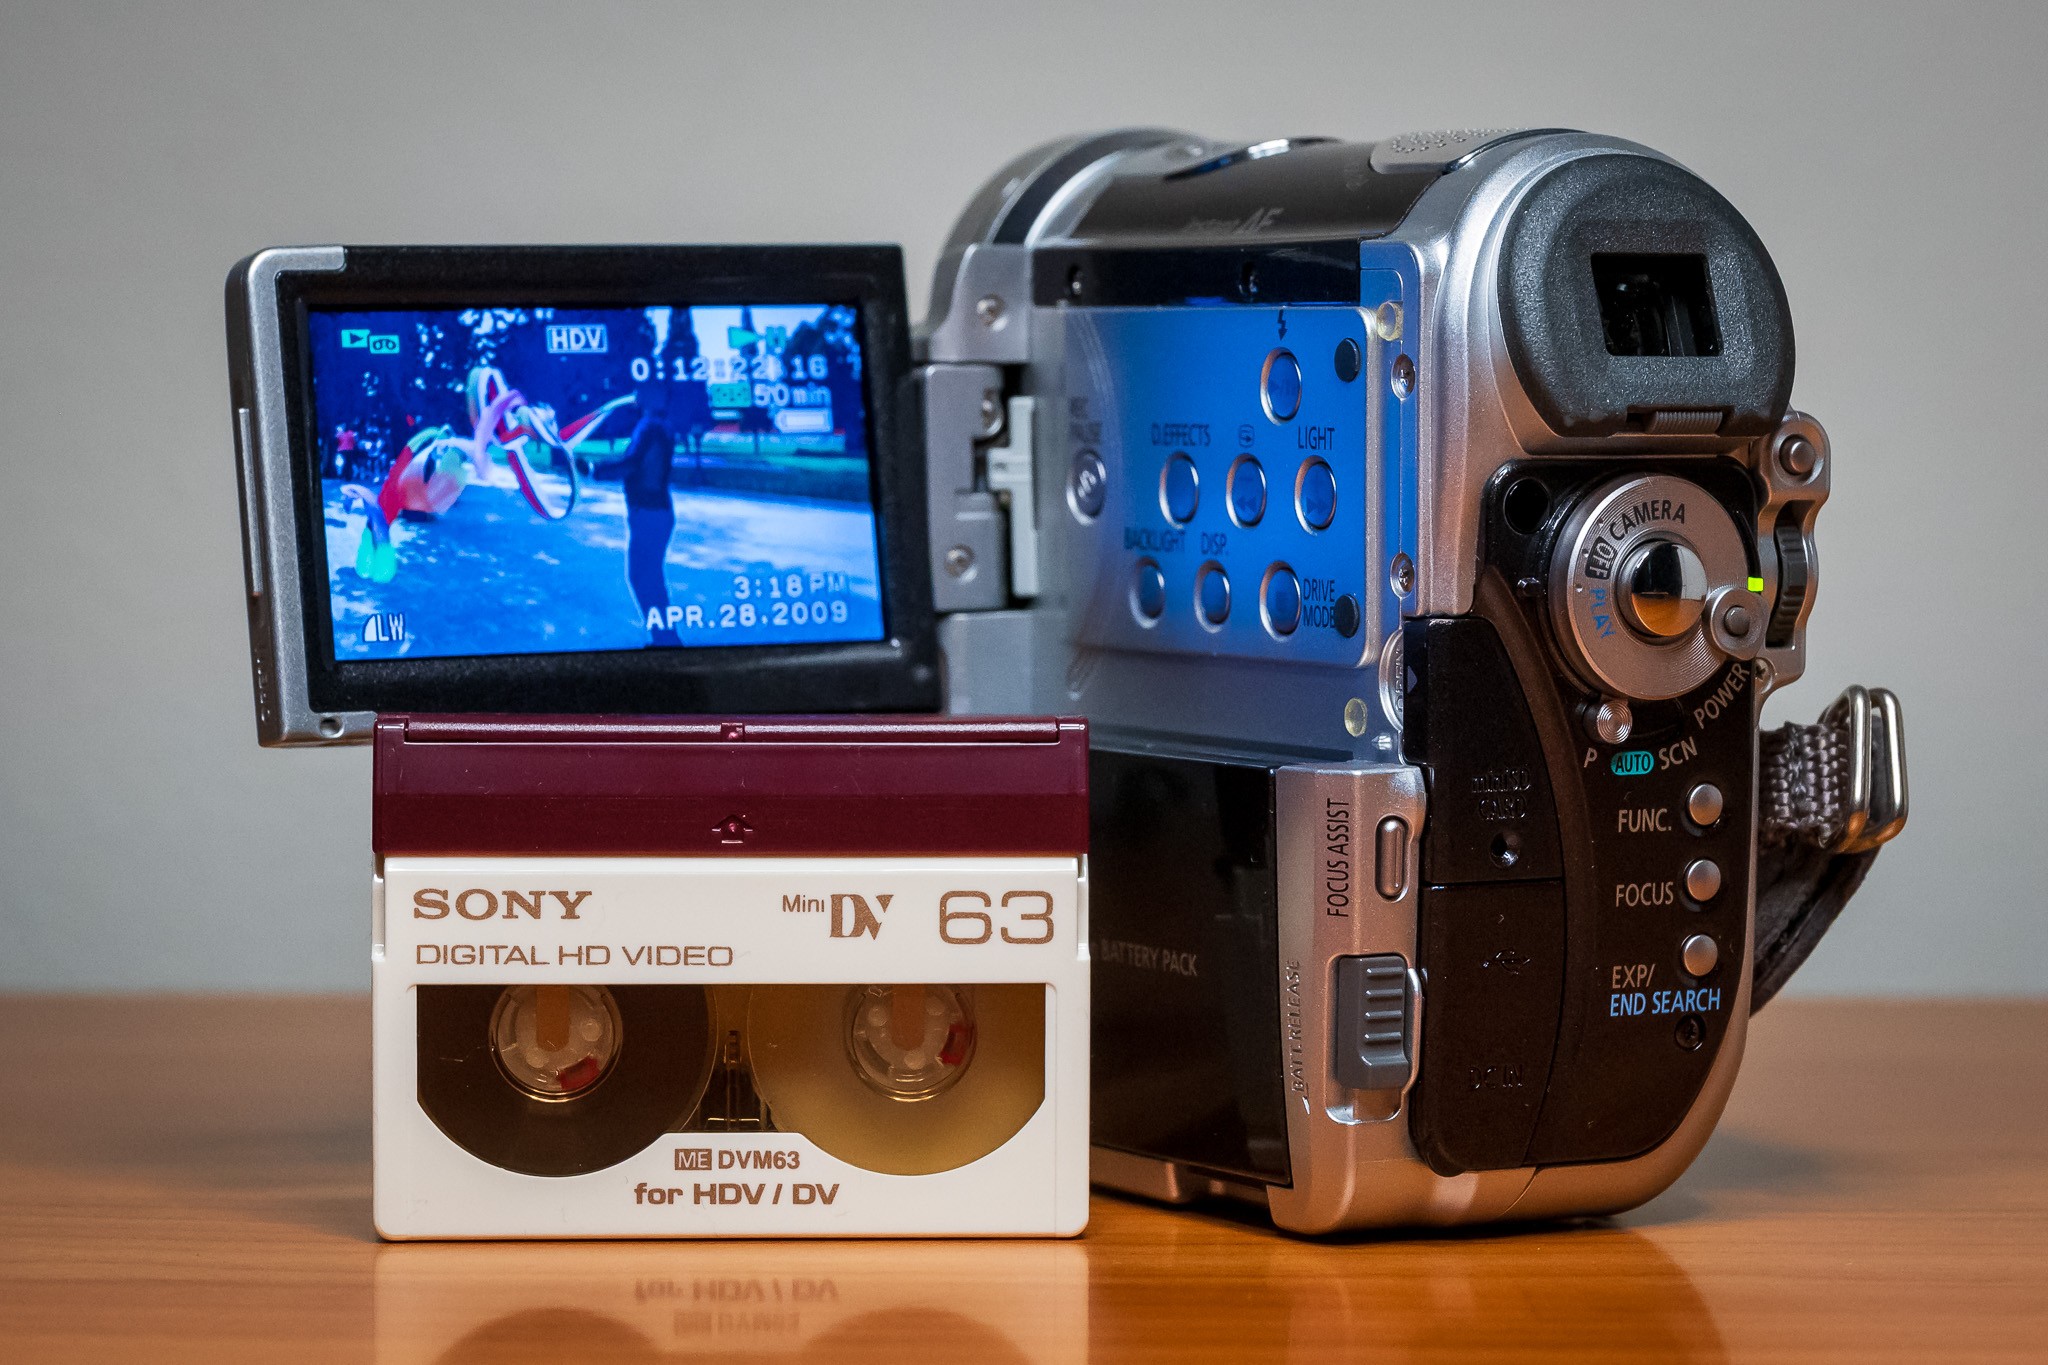
I purchased the Canon HV10 in February 2007. Using DV tapes the HV10 recorded in the HDV format with 1440×1080 resolution … A nice step up from the standard definition DV camcorder I was previously using. I packed the Ricoh and Canon in small LowePro camera pouches and packed the pouches in my carryon backpack.
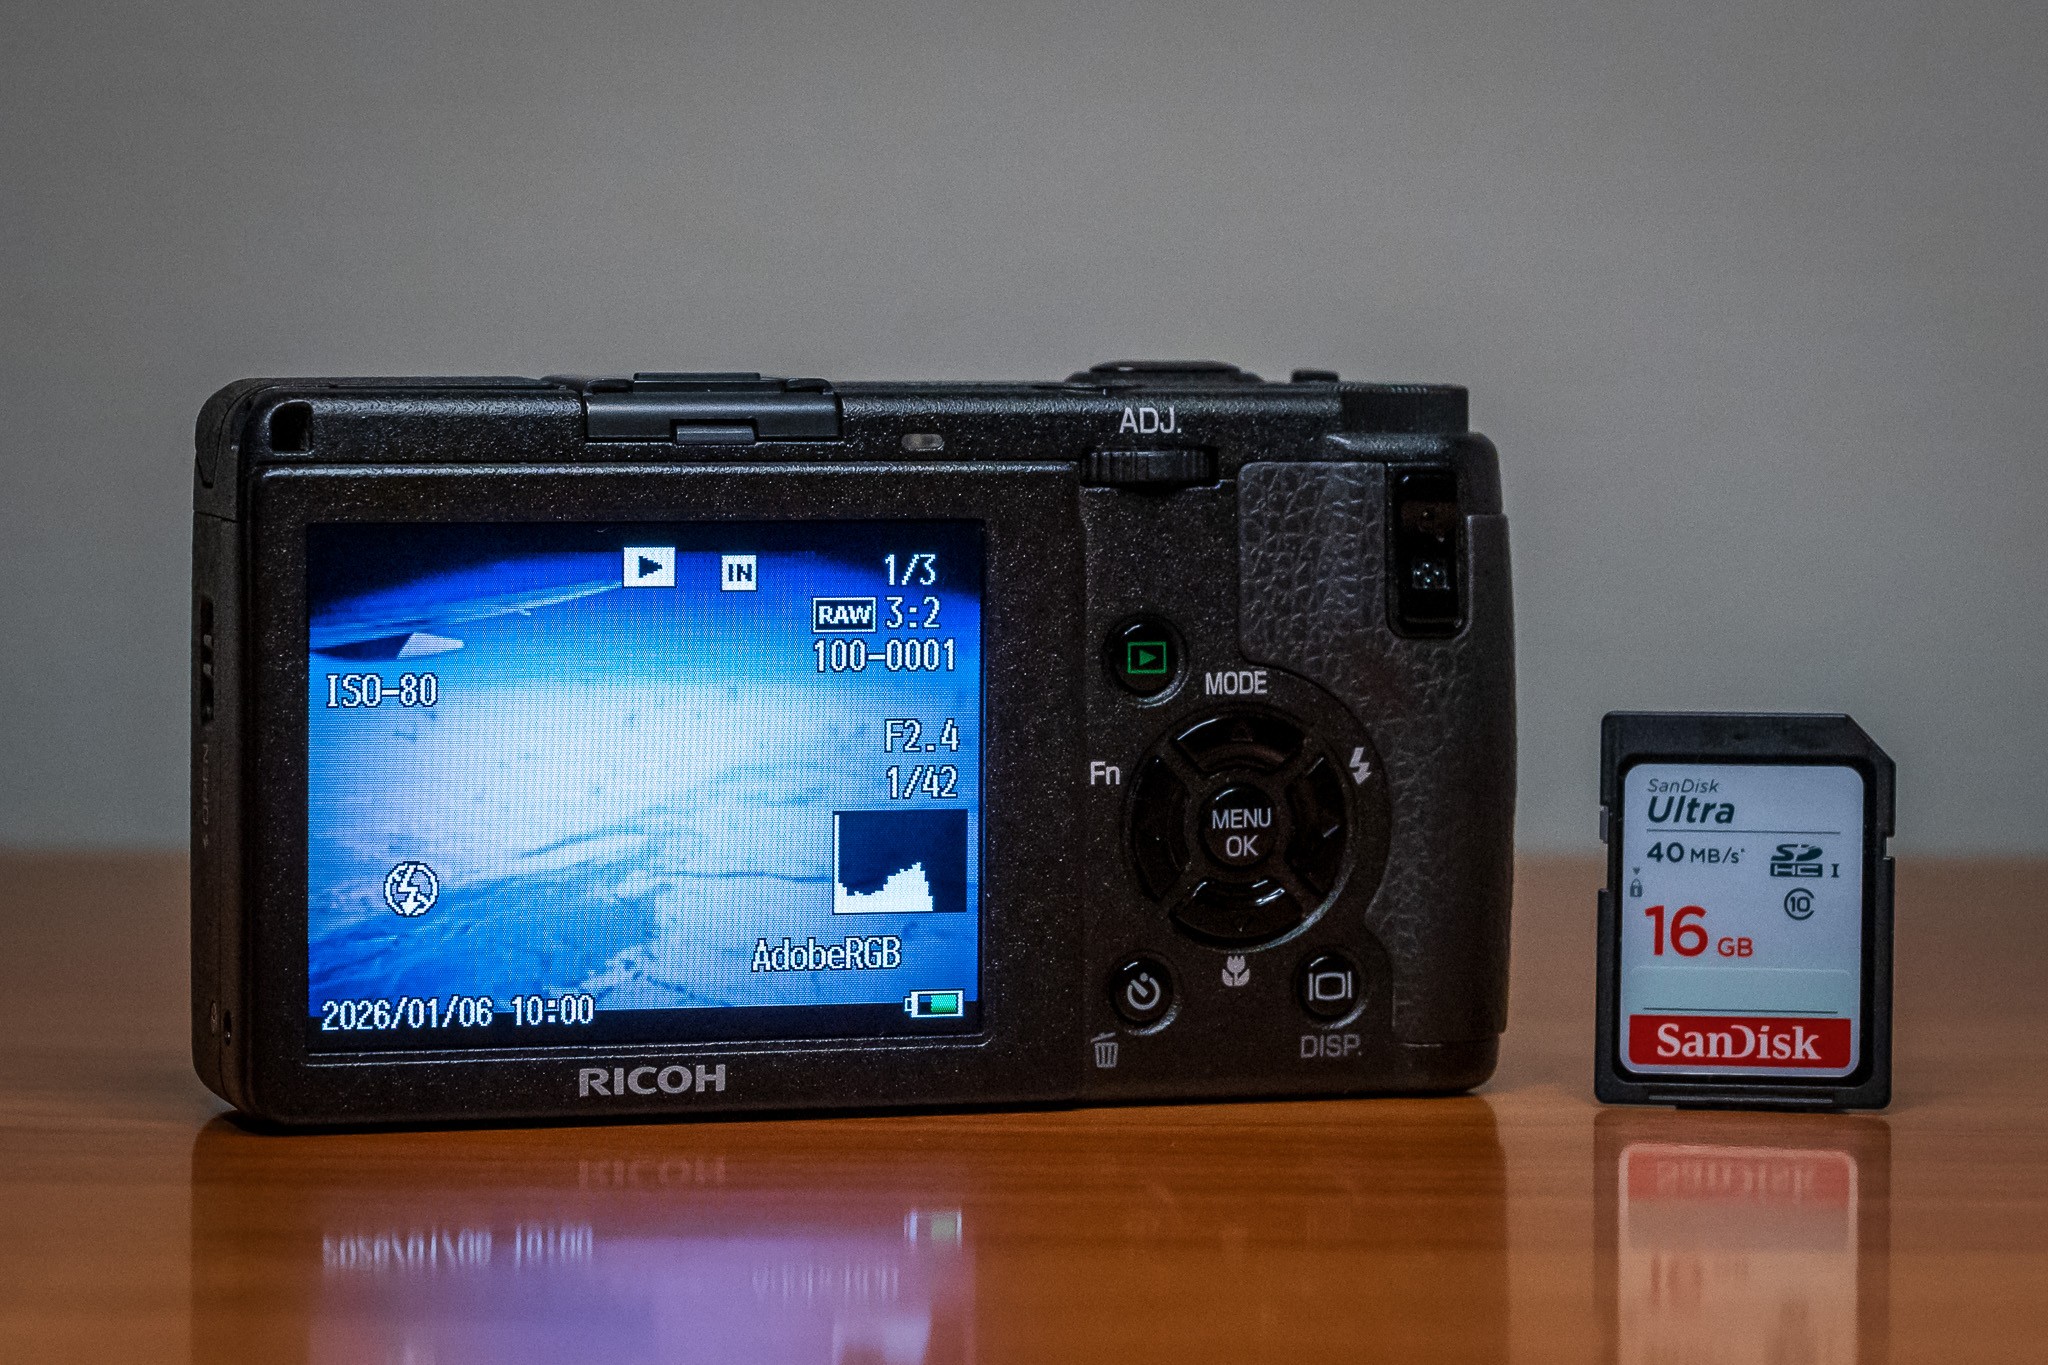
The Ricoh GR Digital II holds one memory card. For this trip I used a SanDisk Ultra 16 GB SDHC Class 10 card. The camera natively captures a RAW file in DNG format with a small JPG as a backup. The DNG files are around 15 MB and the JPG files about 100 KB. With this setup the card capacity was around 800 to 1,000 images. I’m not exactly sure how many photographs I took with the Ricoh GR Digital II on this trip, but once I’d completed the workflow process I ended up with 463 images. That’s a shooting ratio of about 46 images per day – about half of what I average on later trips.
Fairfax, United States
Nikon Z6II • NIKKOR Z 24-120mm f/4 S at 69 mm • ISO 6400 • 1/160 sec at f/8.0
With the Canon HV10 I brought along a single Sony MiniDV tape with a recording capacity of 63 minutes. At the time my shooting strategy was to essentially edit in camera, with a shot length between 5-8 seconds. I finished the trip with about 37 minutes of recorded video, averaging just under 4 minutes of video per day.
Fairfax, United States
Nikon Z6II • NIKKOR Z 24-120mm f/4 S at 69 mm • ISO 6400 • 1/80 sec at f/8.0
The China trip preceded the introduction of this blog by several years. The only online updates were 1 or 2 sentence daily posts to Facebook using a Blackberry with no pictures. My first iPhone wouldn’t show up for another couple of months.
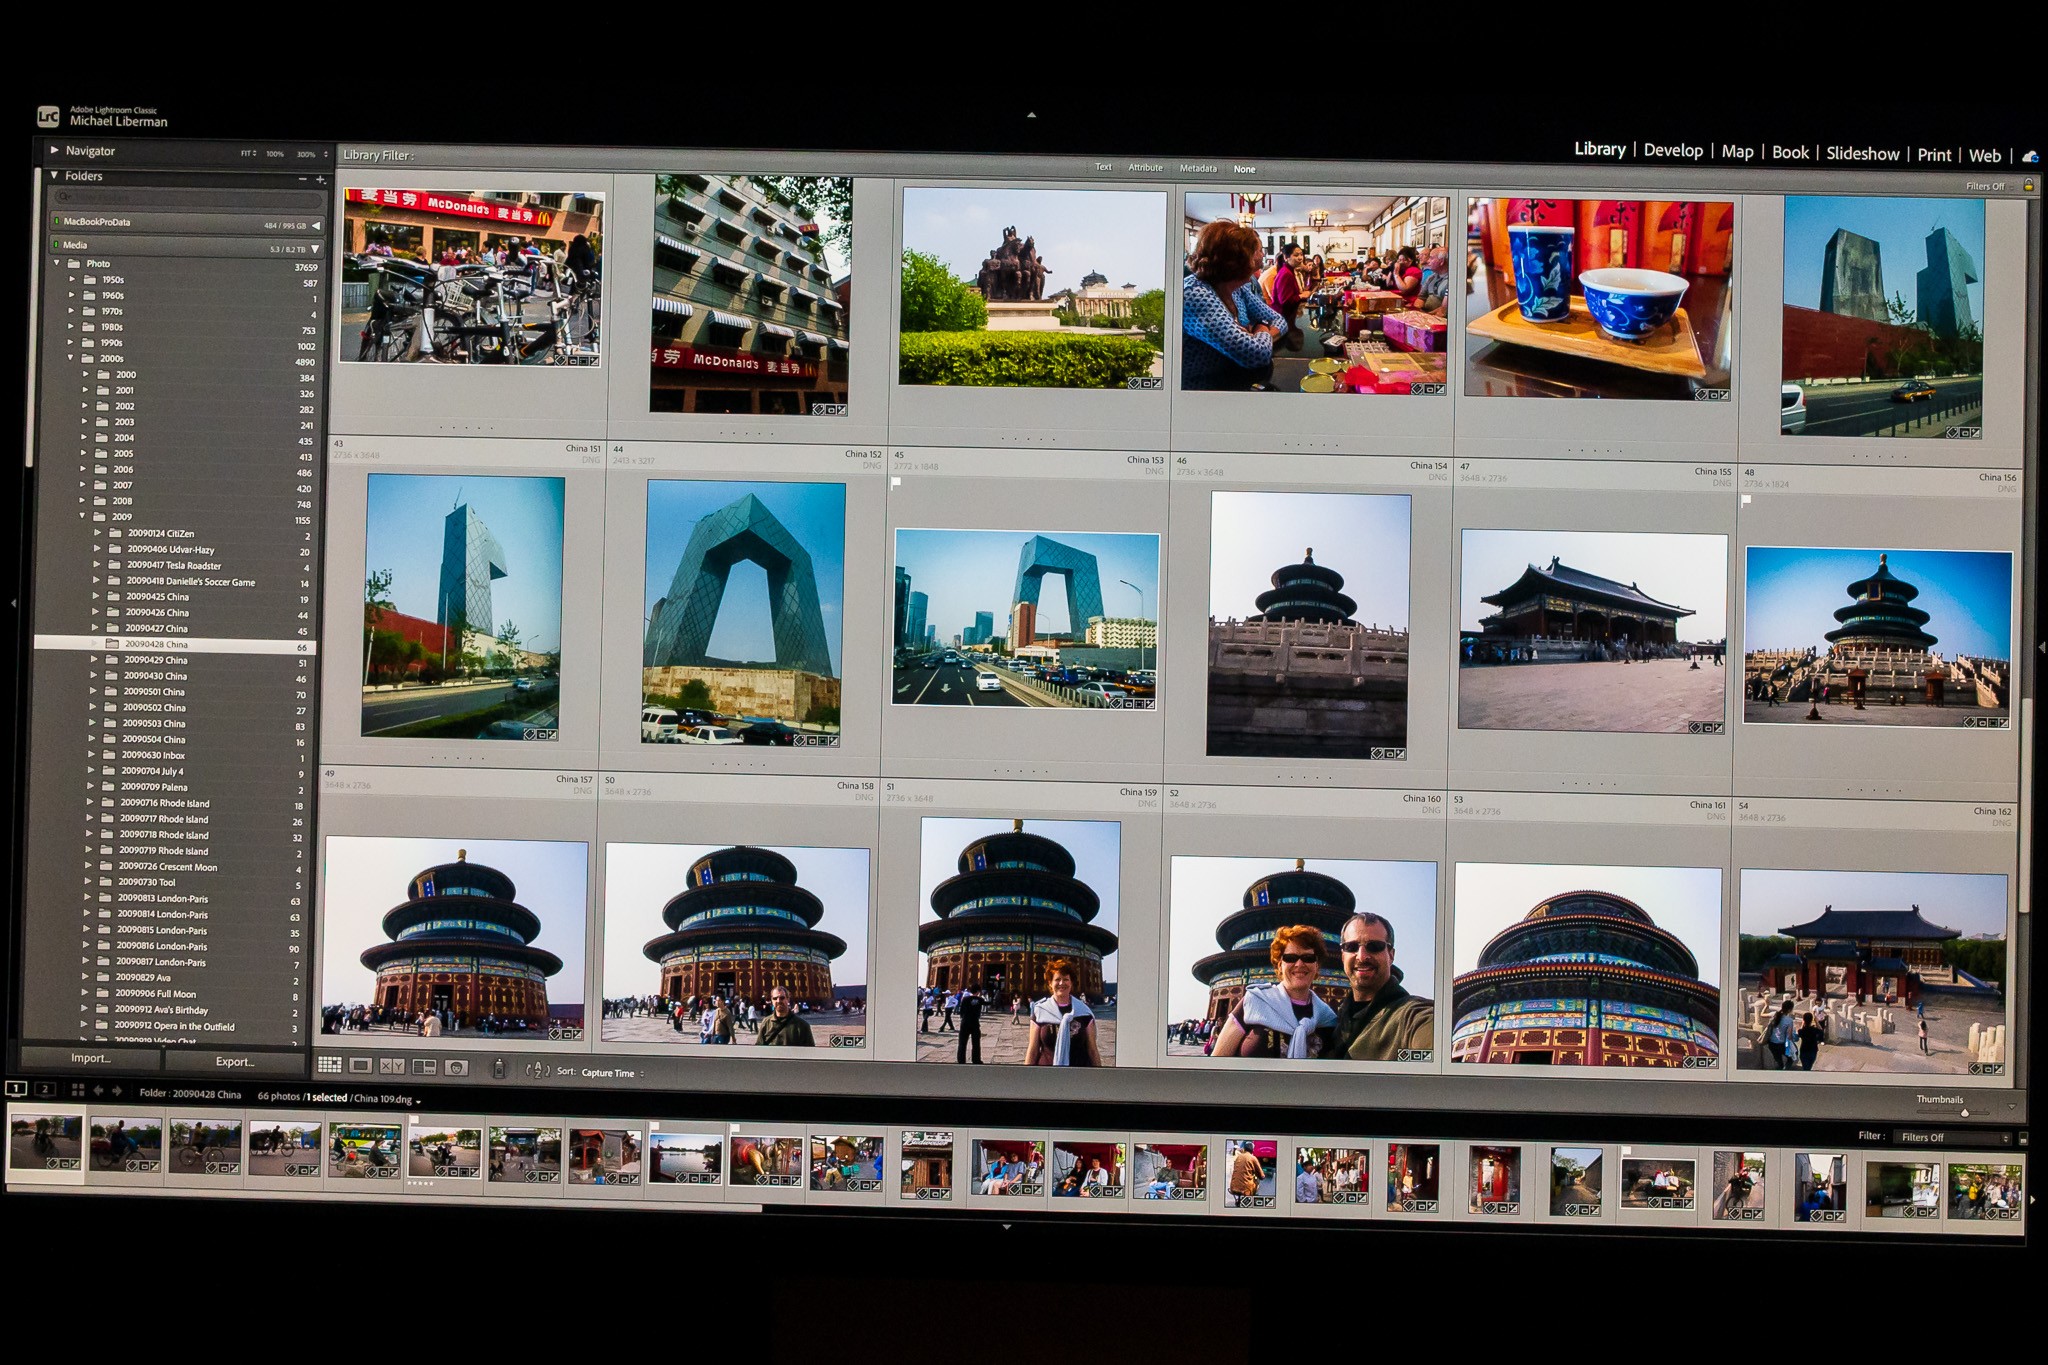
Back at home, I used my established workflows for photo and video. Photos were imported using Adobe Photoshop Lightroom to folders named by date and location or event, duplicates and rejects were deleted, files were renamed by location or event with sequential numbers, keyworded, geoencoded, captioned, and post-processed.
Fairfax, United States
Nikon Z6II • NIKKOR Z 24-120mm f/4 S at 24 mm • ISO 3200 • 1/125 sec at f/8.0
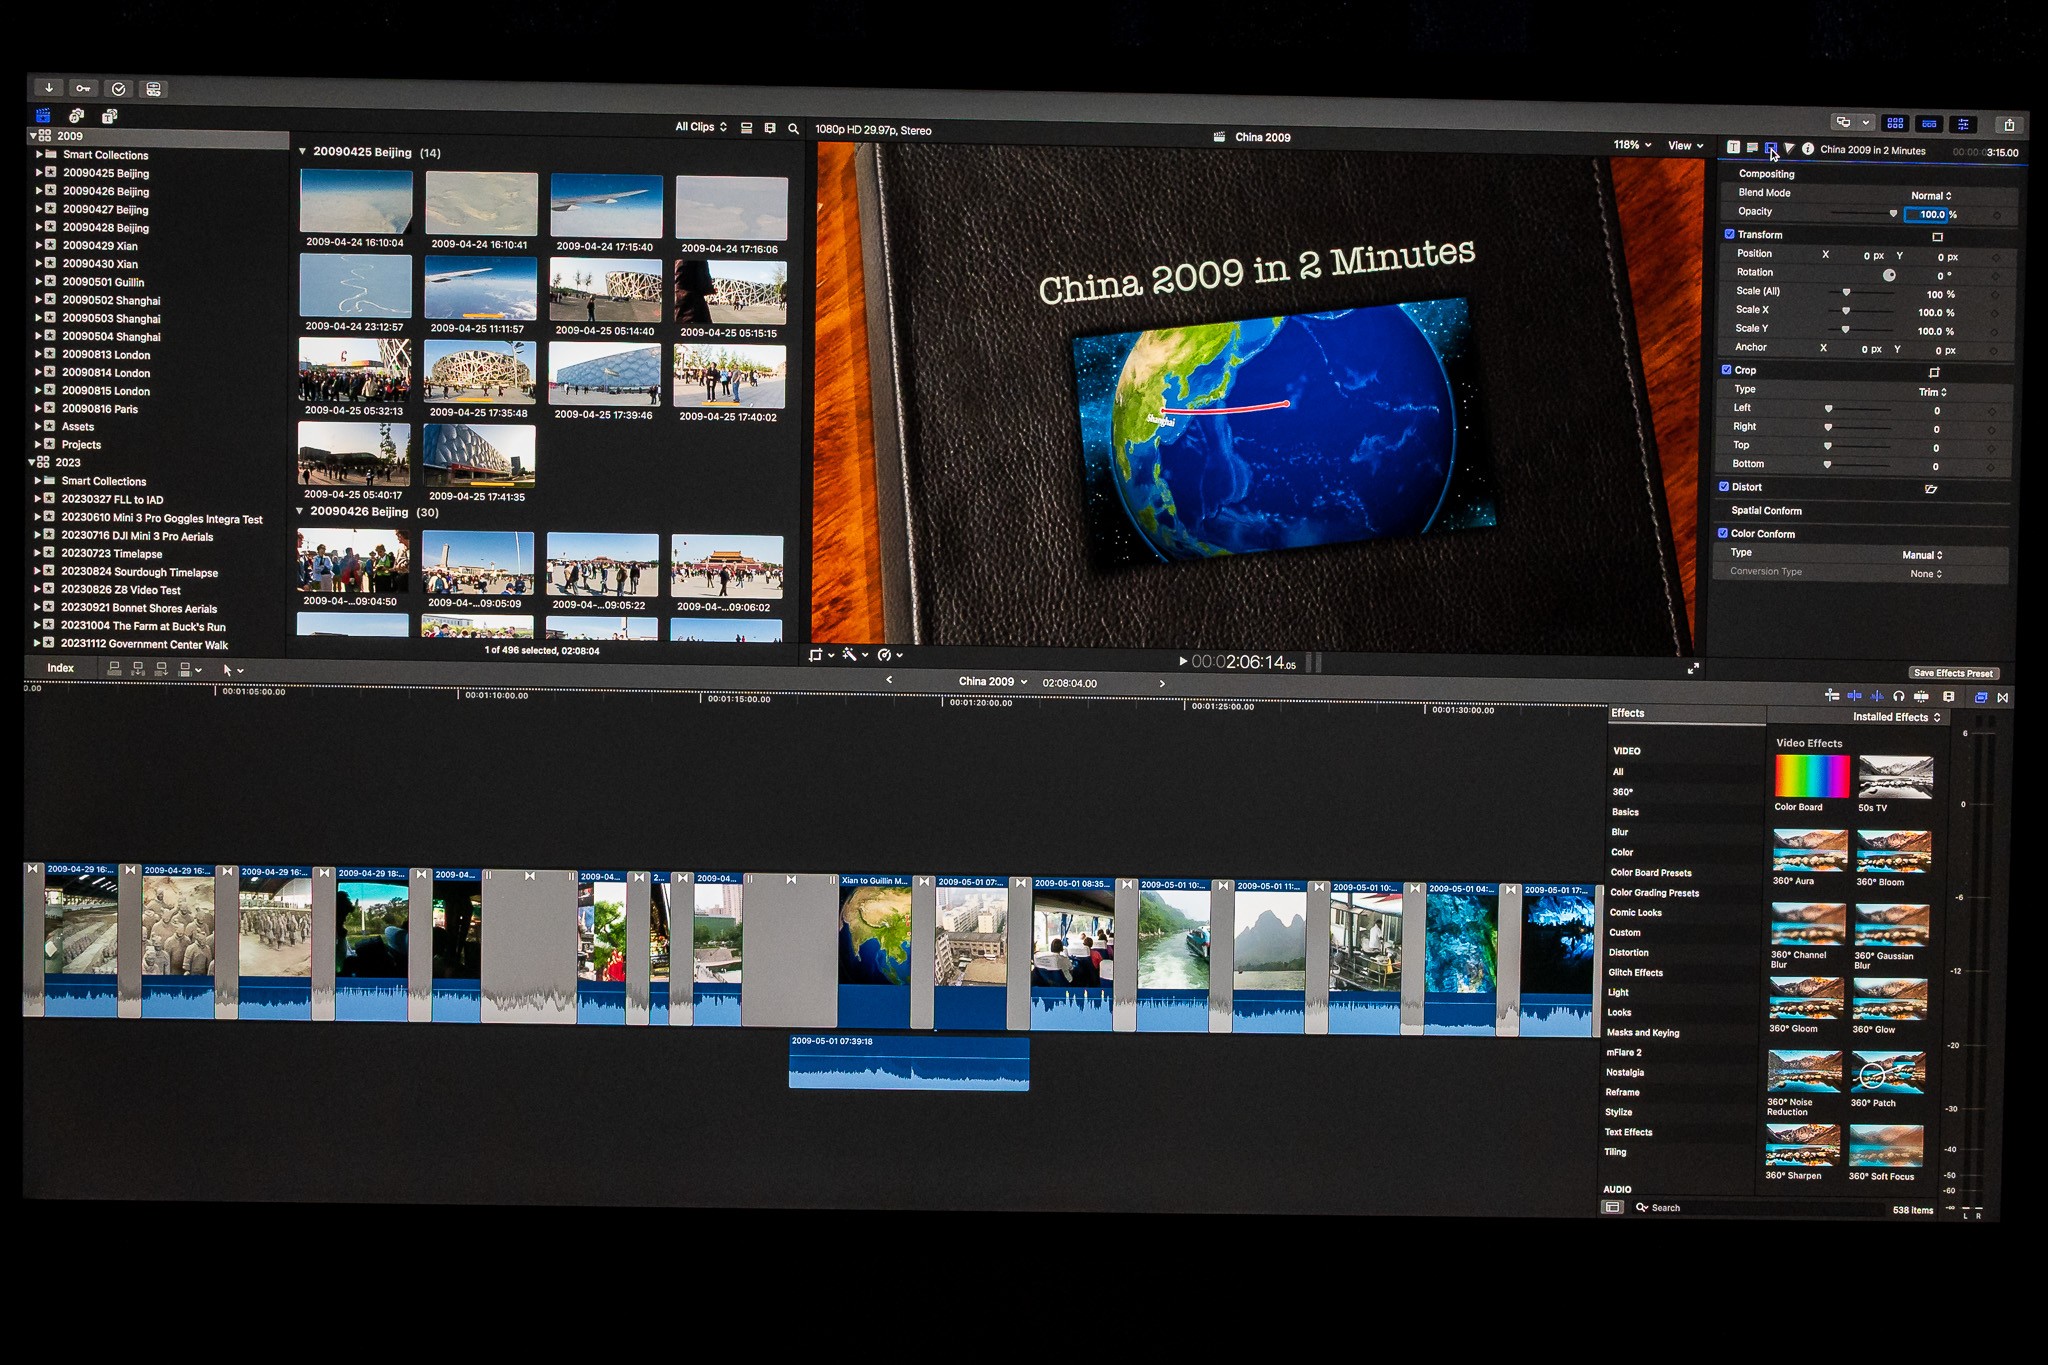
Video? … a little more complicated. I brought the 37 minute long tape to a family gathering in mid-May. I few minutes into playing the tape I noticed that viewers were losing interest. I needed a much shorter video to hold viewers attention. I needed to edit! At the time my home video editing system was Avid Media Composer running on an HP xw4600 Windows workstation. While the HP workstation was a great desktop computer it was just okay with Avid Media Composer. A couple of months before the China trip I purchased an Apple Mac mini to see what Final Cut Express would be like. But the Mac mini also included iMovie and at the time iMovie included some sort of an auto edit capability. After returning home at the beginning of May I digitized the footage on May 31, used the auto edit function to quickly shorten the 37-minute tape to a 2-minute travelogue, spent a few minutes tweaking the edits, and in under a couple of hours I had a finished video! (I wouldn’t start working with Final Cut Pro X for another couple of years and a few years after the trip I recreated the China 2009 video project in FCPX for archival purposes. It took more than a couple of hours!)
Fairfax, United States
Nikon Z6II • NIKKOR Z 24-120mm f/4 S at 24 mm • ISO 3200 • 1/50 sec at f/8.0
I posted the finished the China 2009 in 2 Minutes video on June 2, 2009 then several weeks later posted the China 2009 gallery of photos as well. A much faster turn-around compared to the time to post media from subsequent trips! And just in time to start preparing for the next trip to London and Paris in August of 2009.