It’s only been a little over year since the Iceland trip, which means the gear I traveled with for the Alps and Mediterranean trip remains largely familiar. But there were some significant…
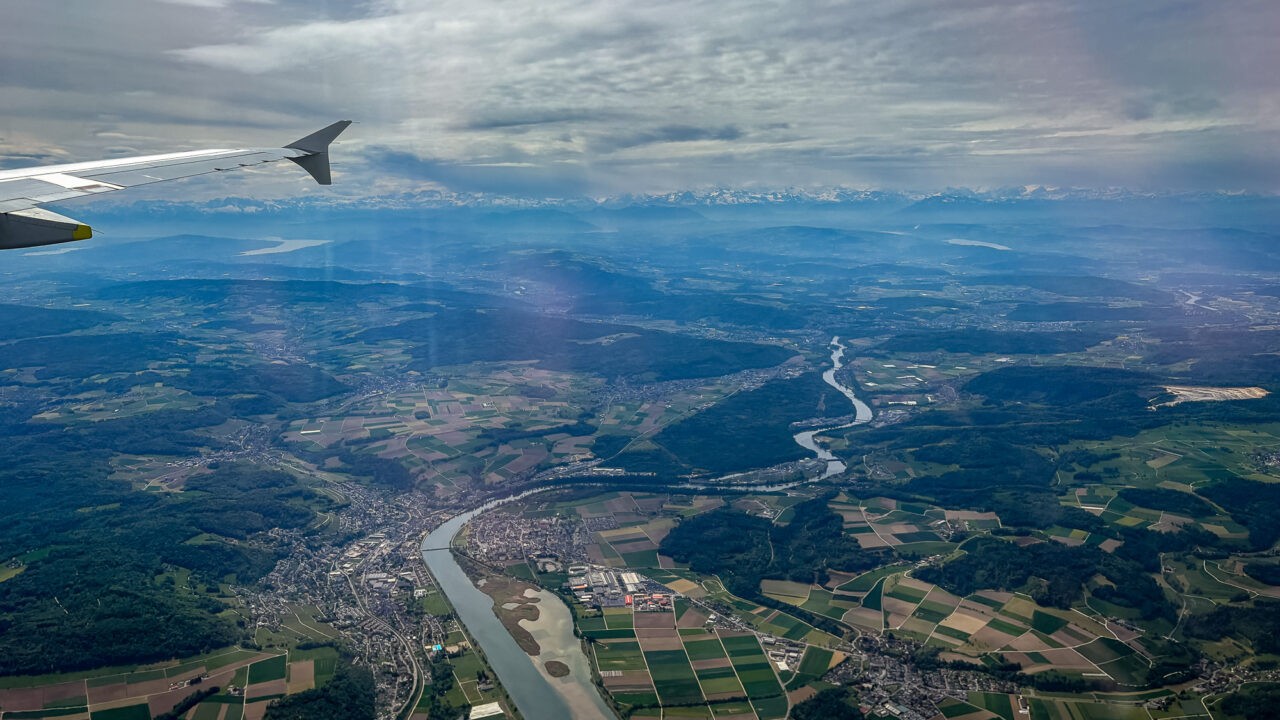
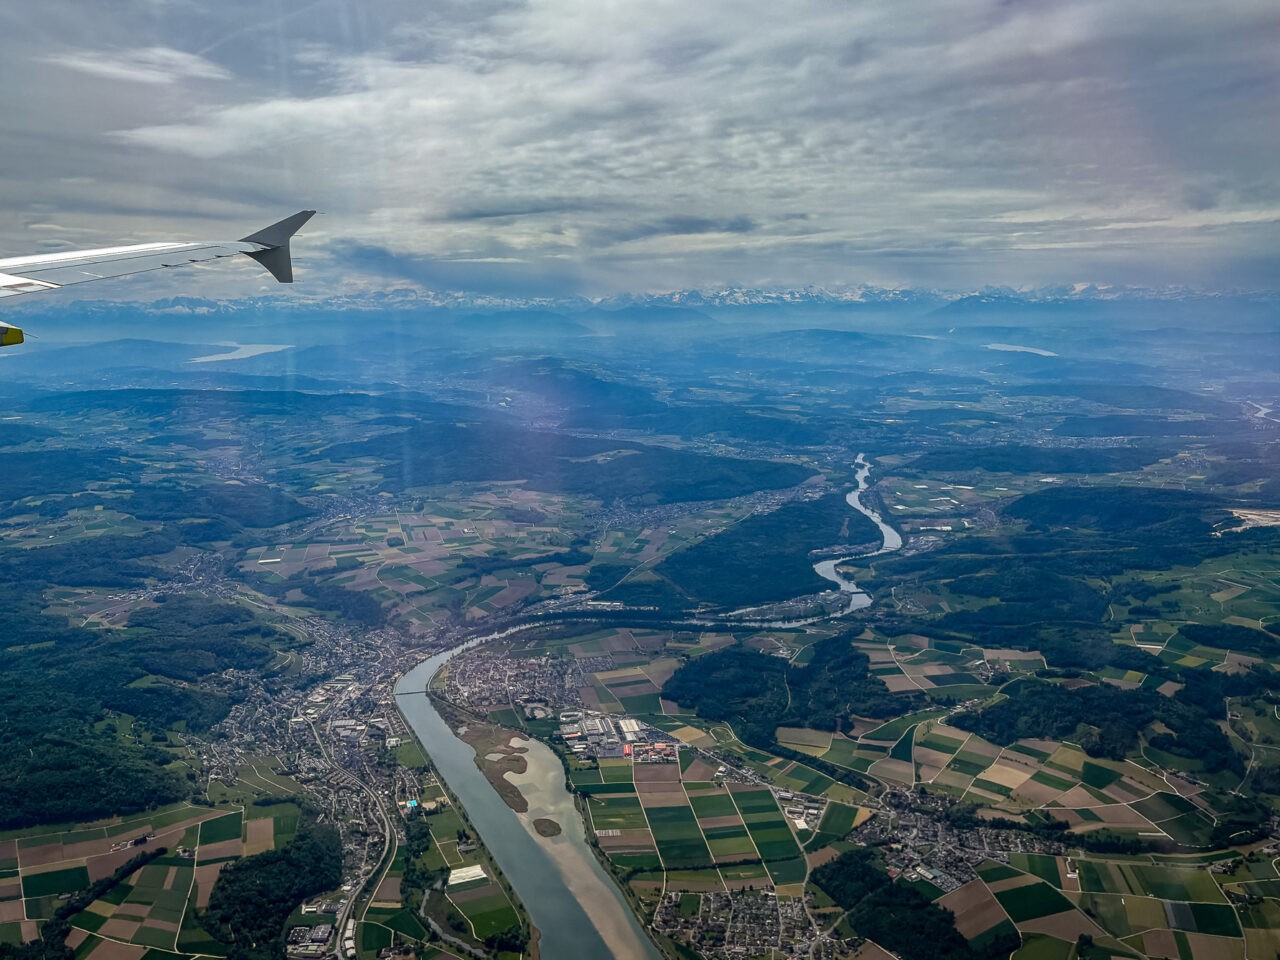
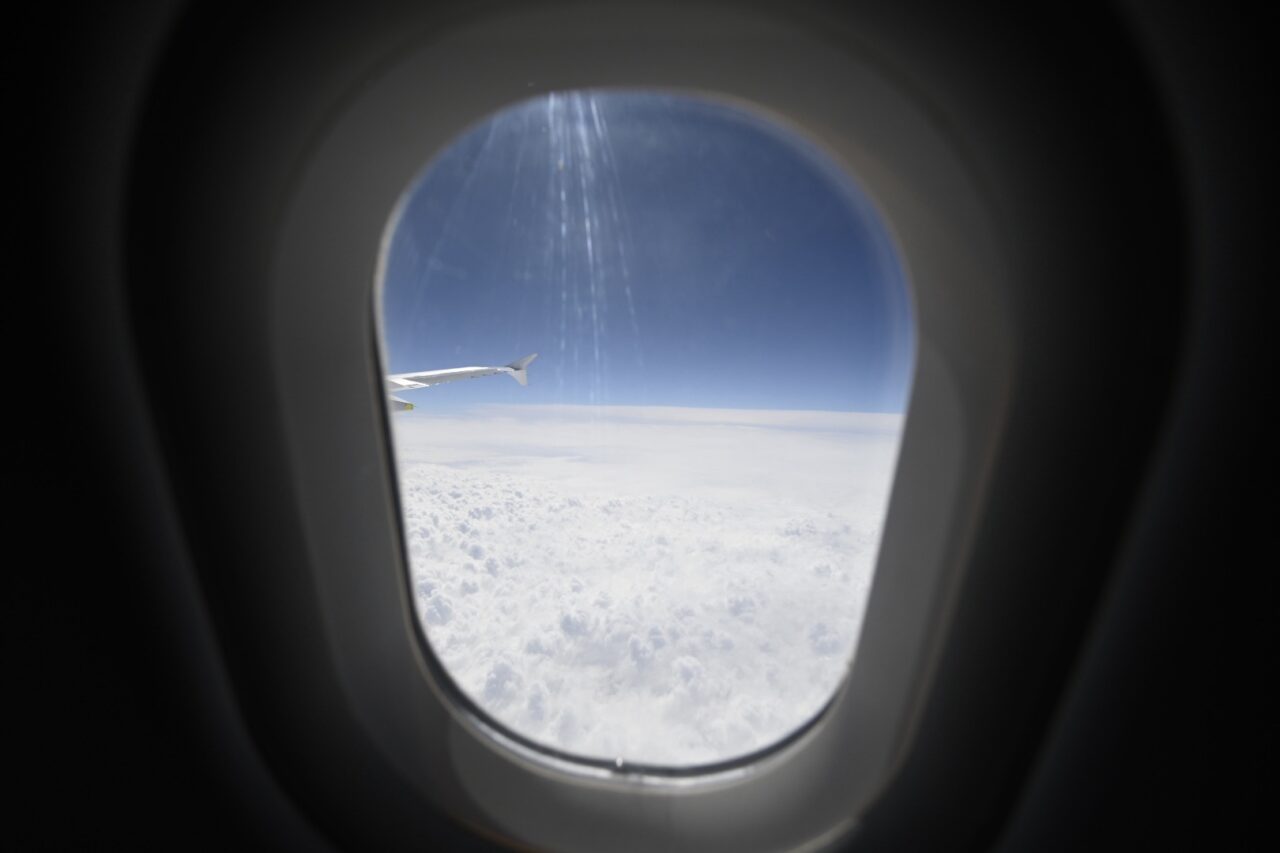
From home … Switzerland, northern Italy, south of France, and Barcelona. What a beautiful part of the world! From looking out over the Swiss Alps at 10,000 feet…
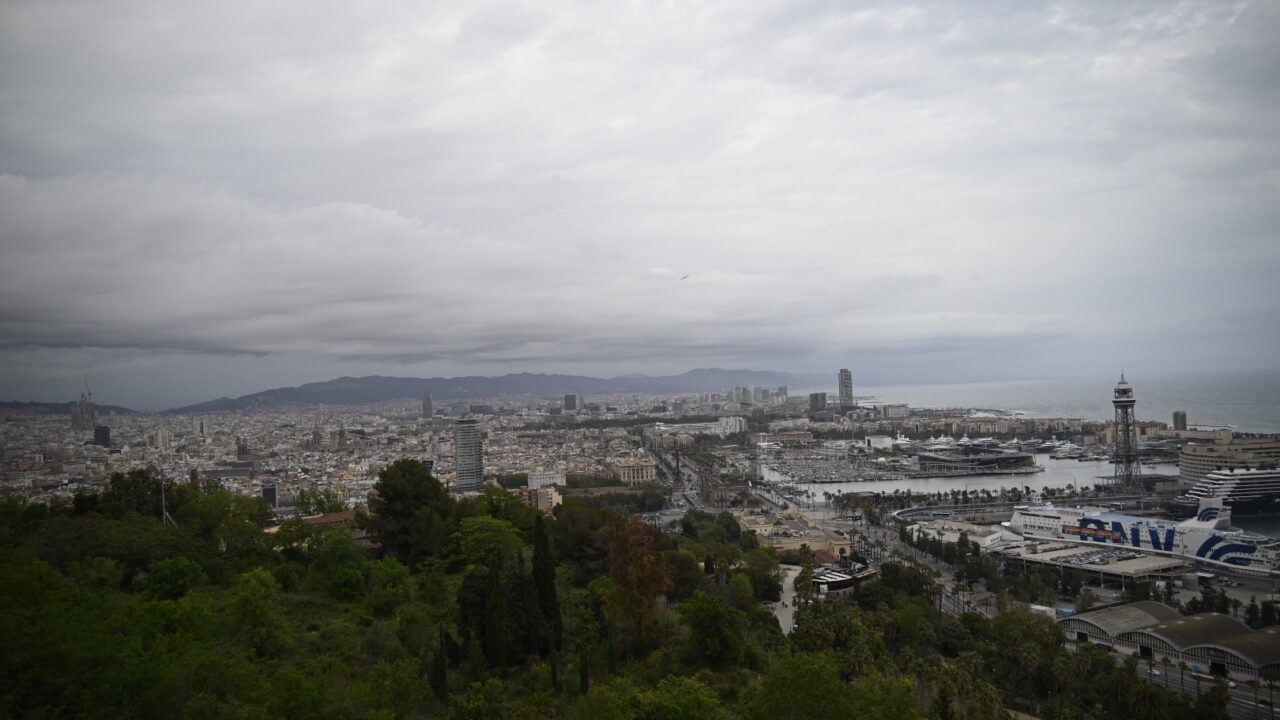
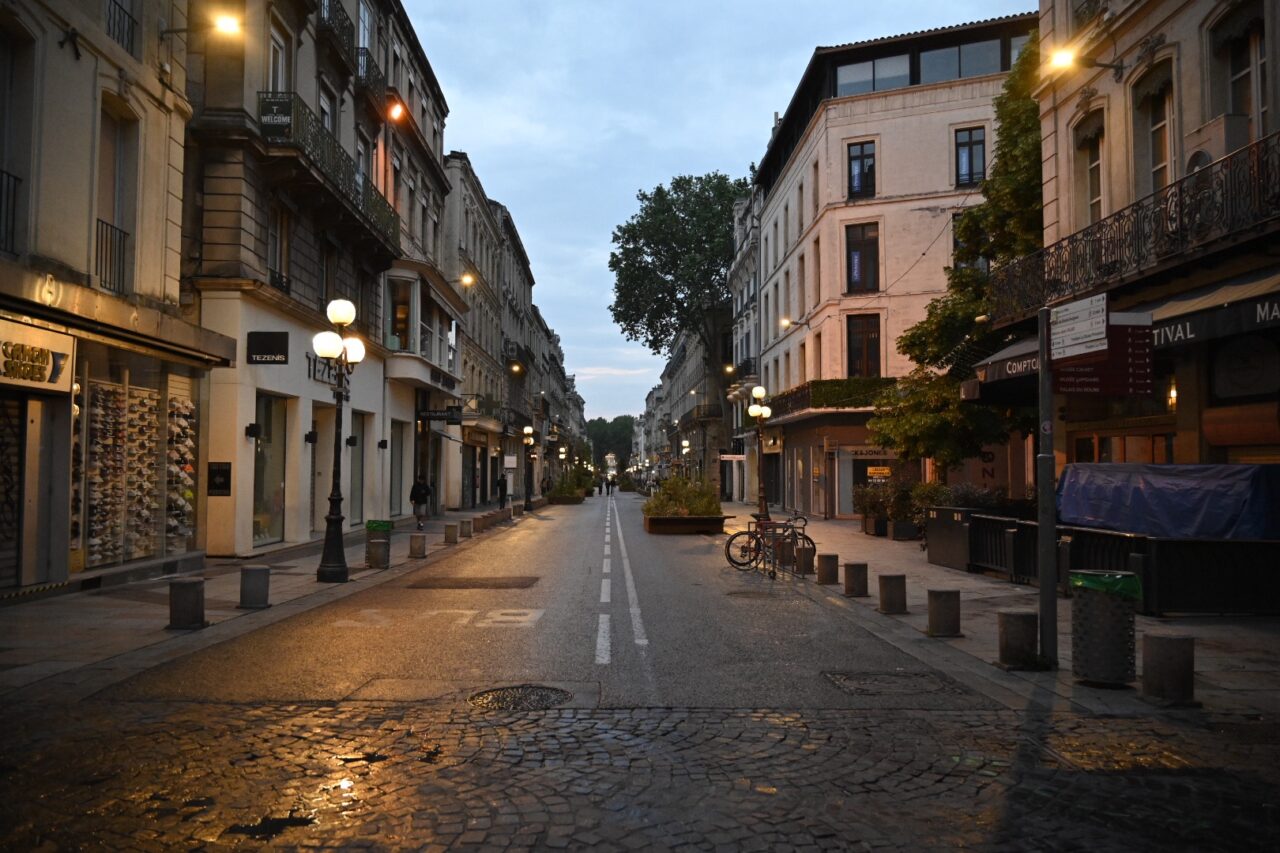
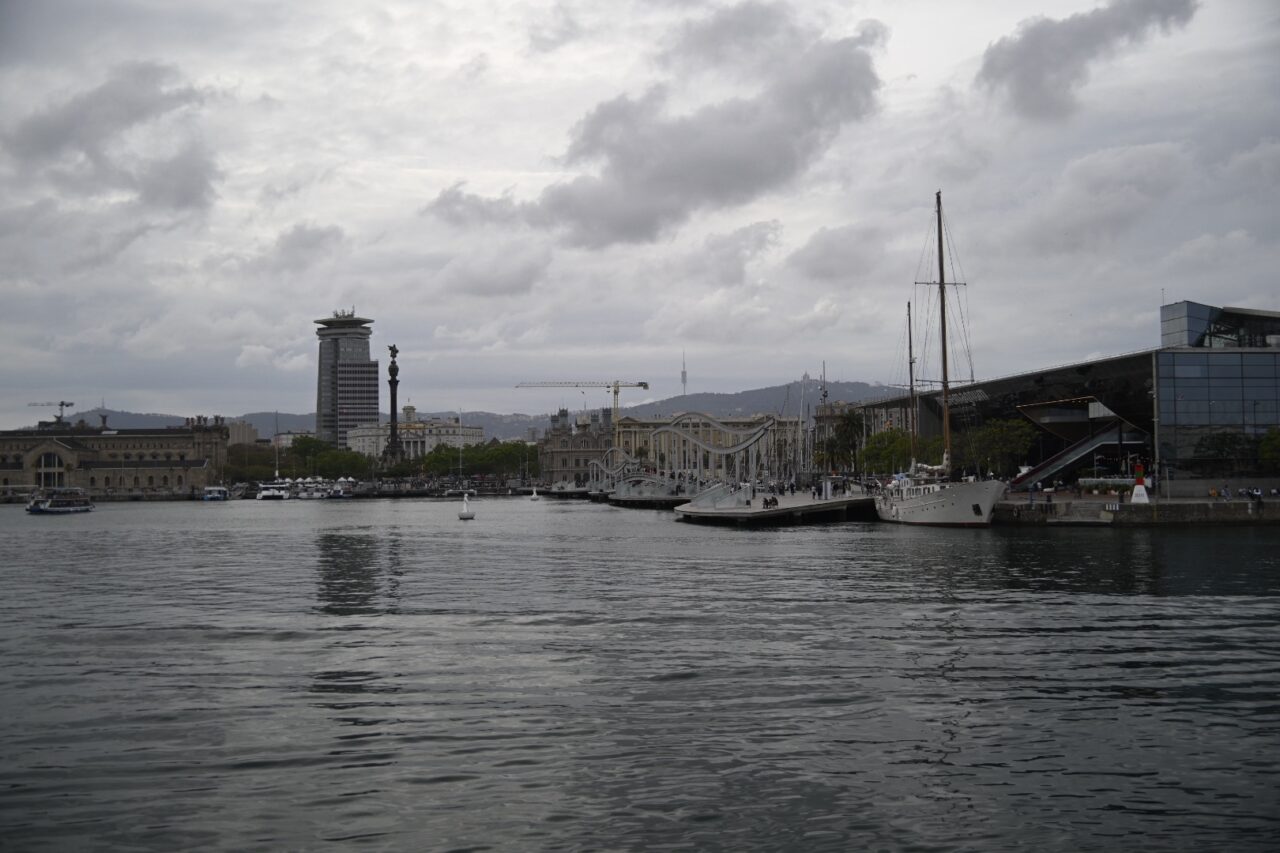
From Barcelona … Barcelona is known for its mix of Mediterranean culture, historic neighborhoods, and modernist architecture. The city’s skyline is defined by the iconic Sagrada Família. Barcelona…
It’s only been a little over year since the Iceland trip, which means the gear I traveled with for the Alps and Mediterranean trip remains largely familiar. But there were some significant changes this time around – a different camera body, a new bag, and some lessons learned from Iceland about what to bring and what to leave at home. Read on for details …
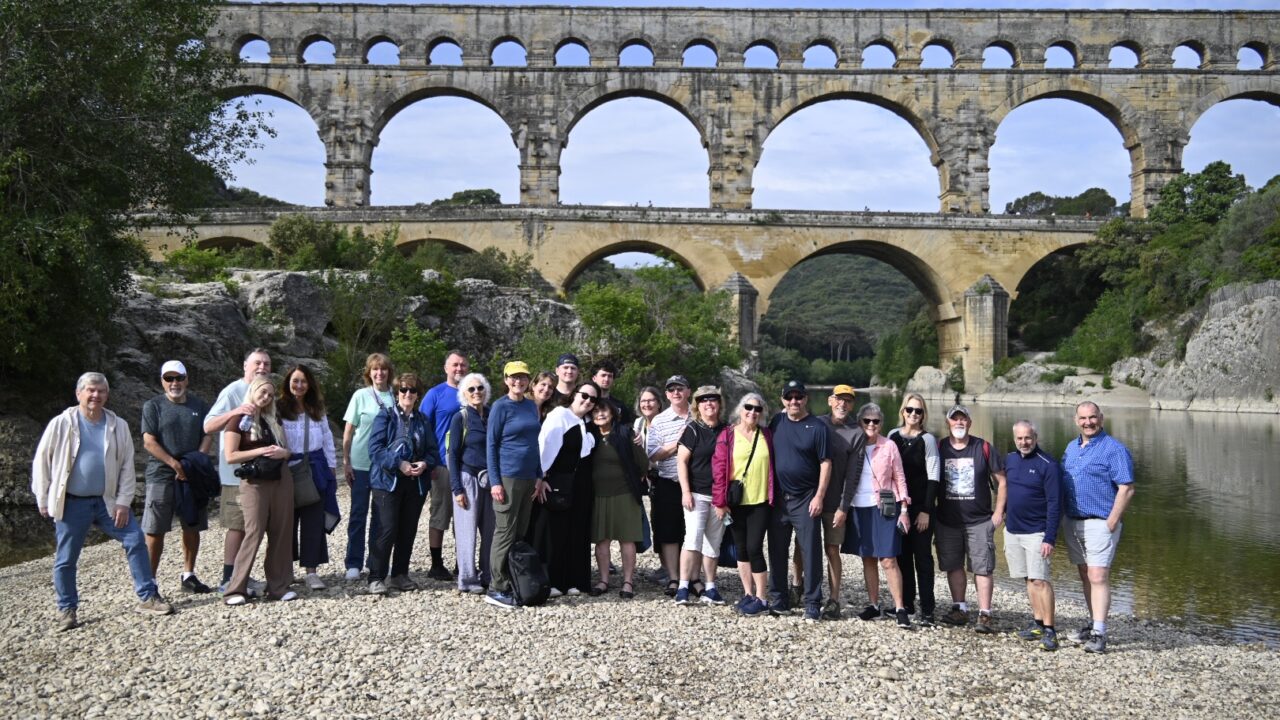
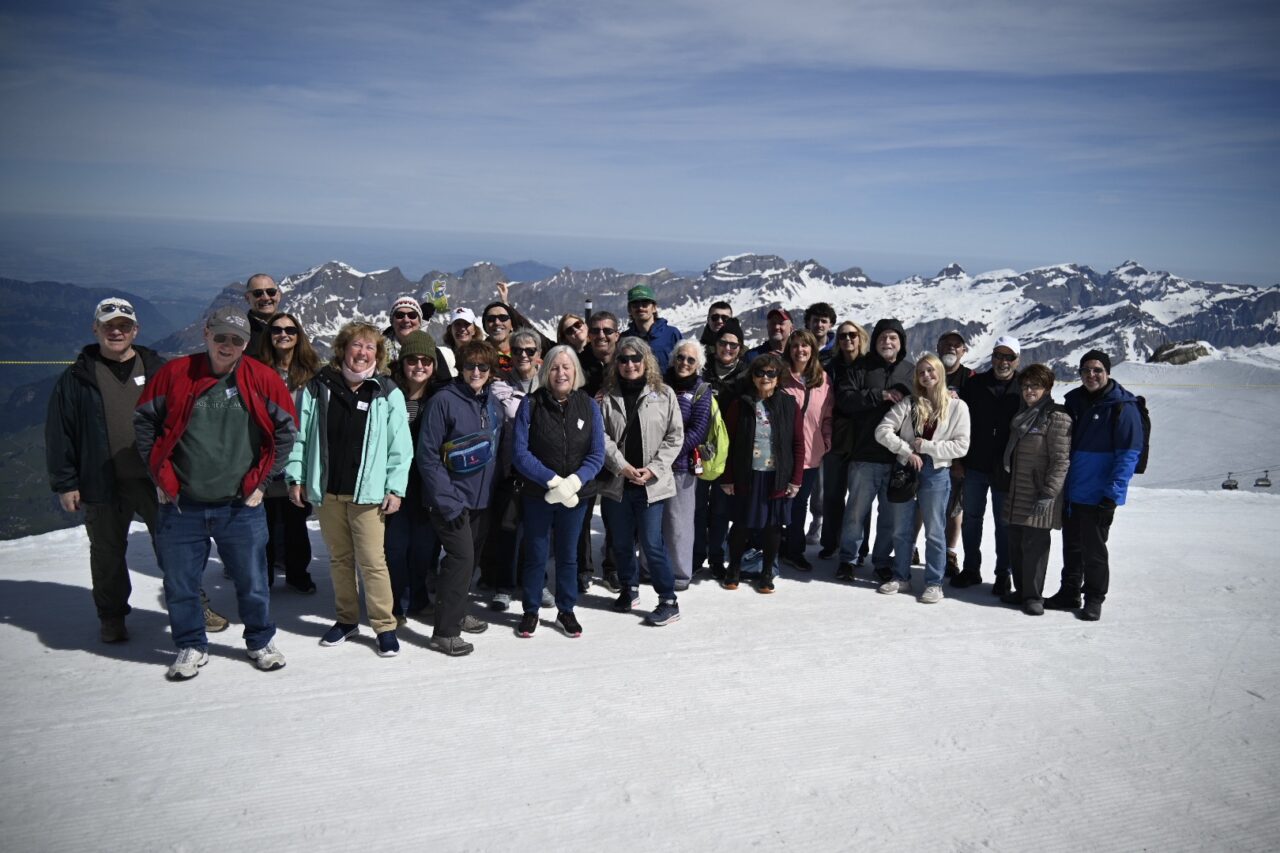
Not Iceland but on Mt. Titlis in Switzerland: Brian, Keith, Peter, Nancy, Jill, Susan, Kacie, Gwen, Sue, Keith, Norma, Mary Gail, Jenny, Bob, Jodi, Alex, Annie, Alex, Marie, Marguerite, Tony, Melissa, Jack, Michelle, Brad, Sophie, Greg, Bruce, Lisa, Michael Engelberg, Switzerland Nikon Z6II • NIKKOR Z 28-400mm f/4-8 VR at 28 mm • ISO 100 • 1/800 sec at f/4.0
Travel Gear and Workflow
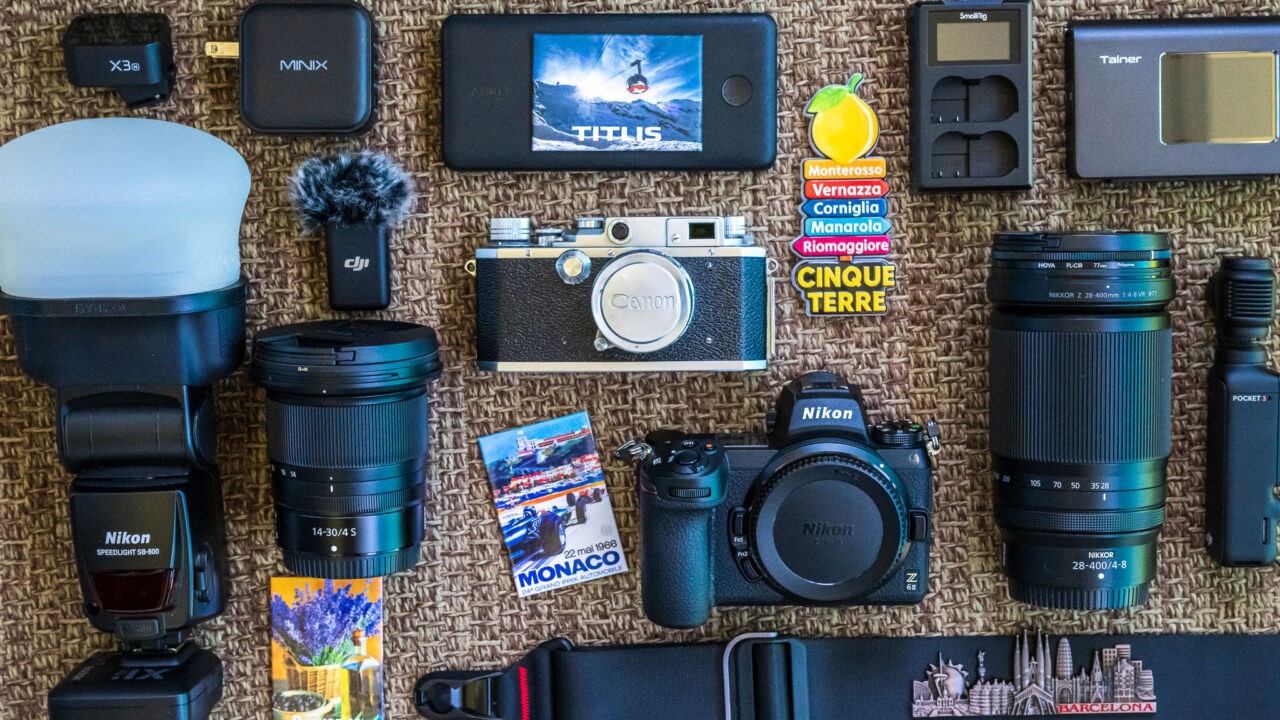
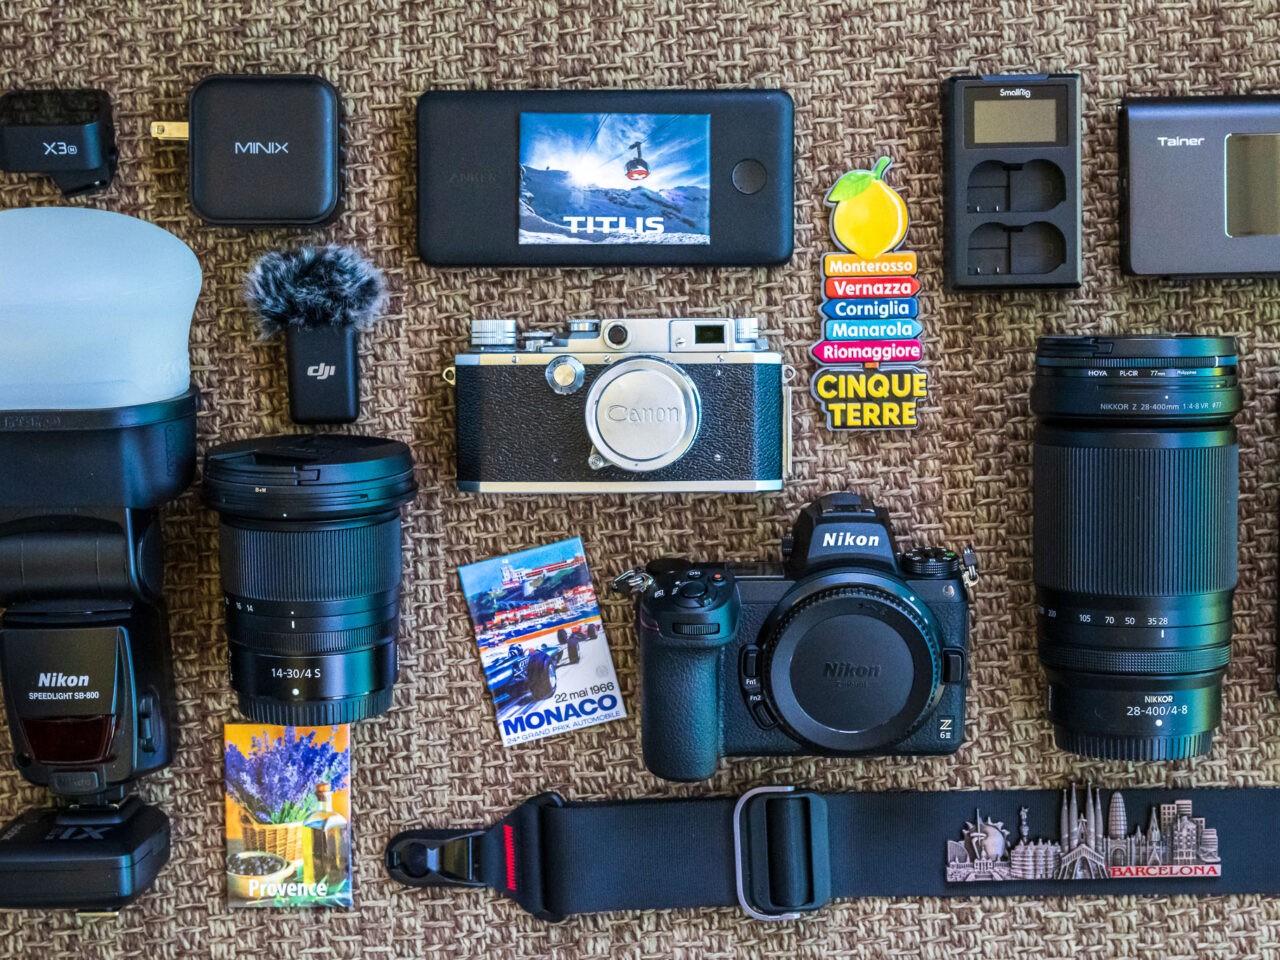
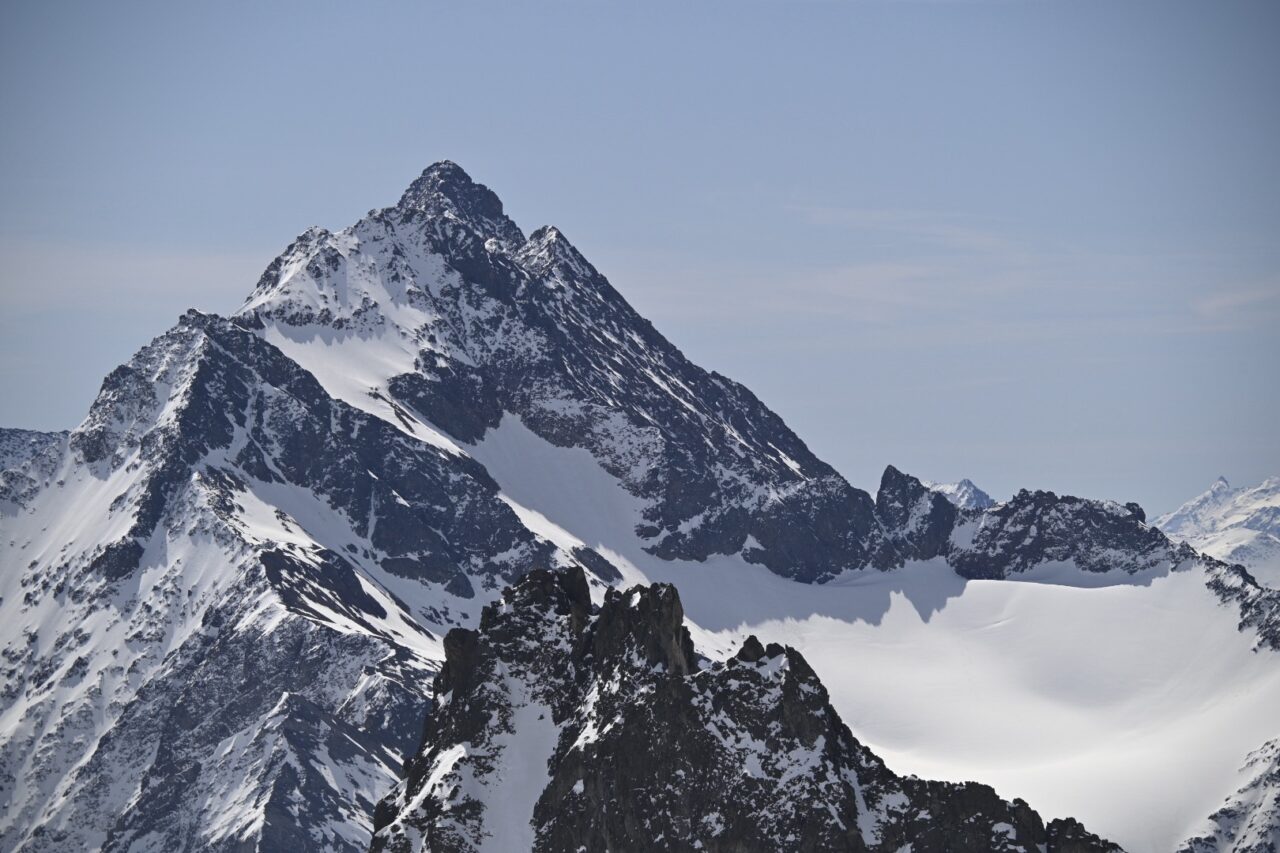
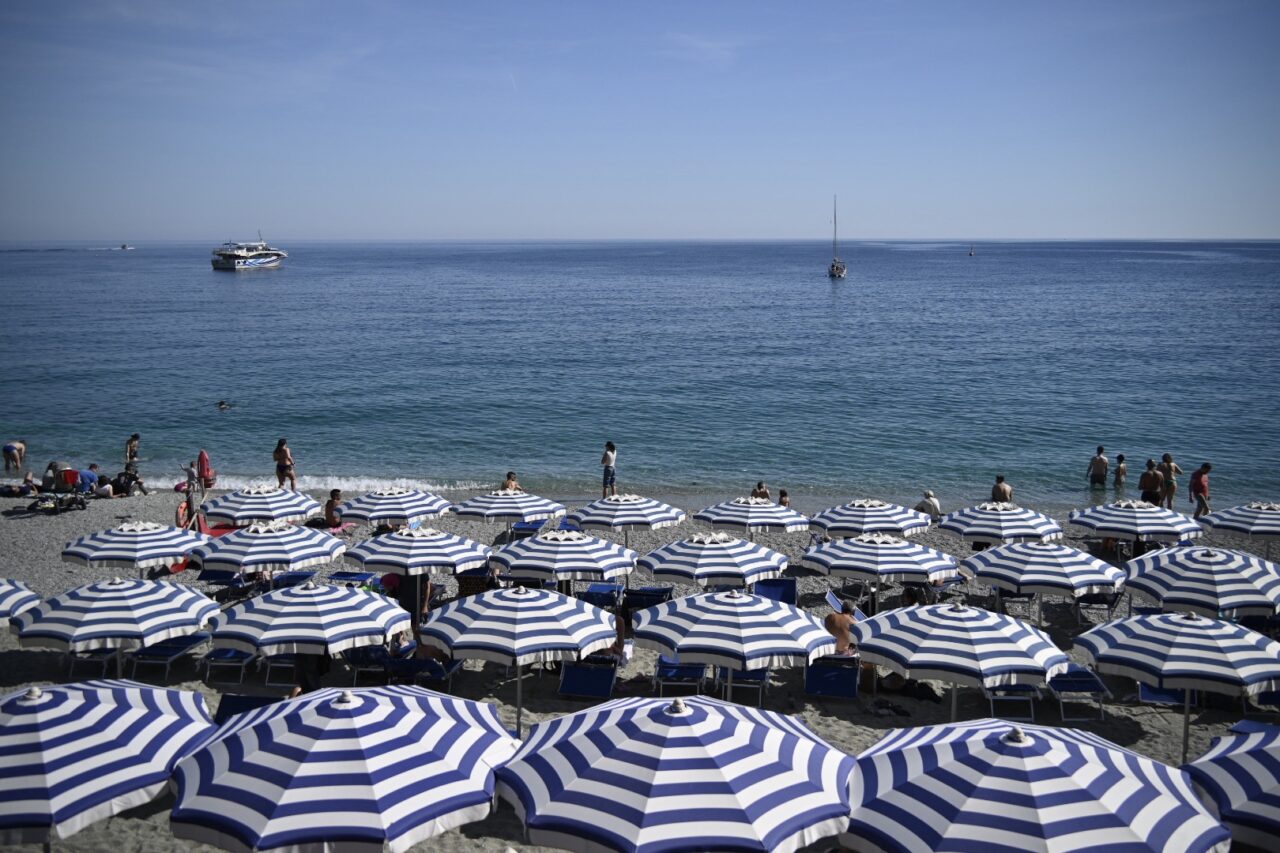
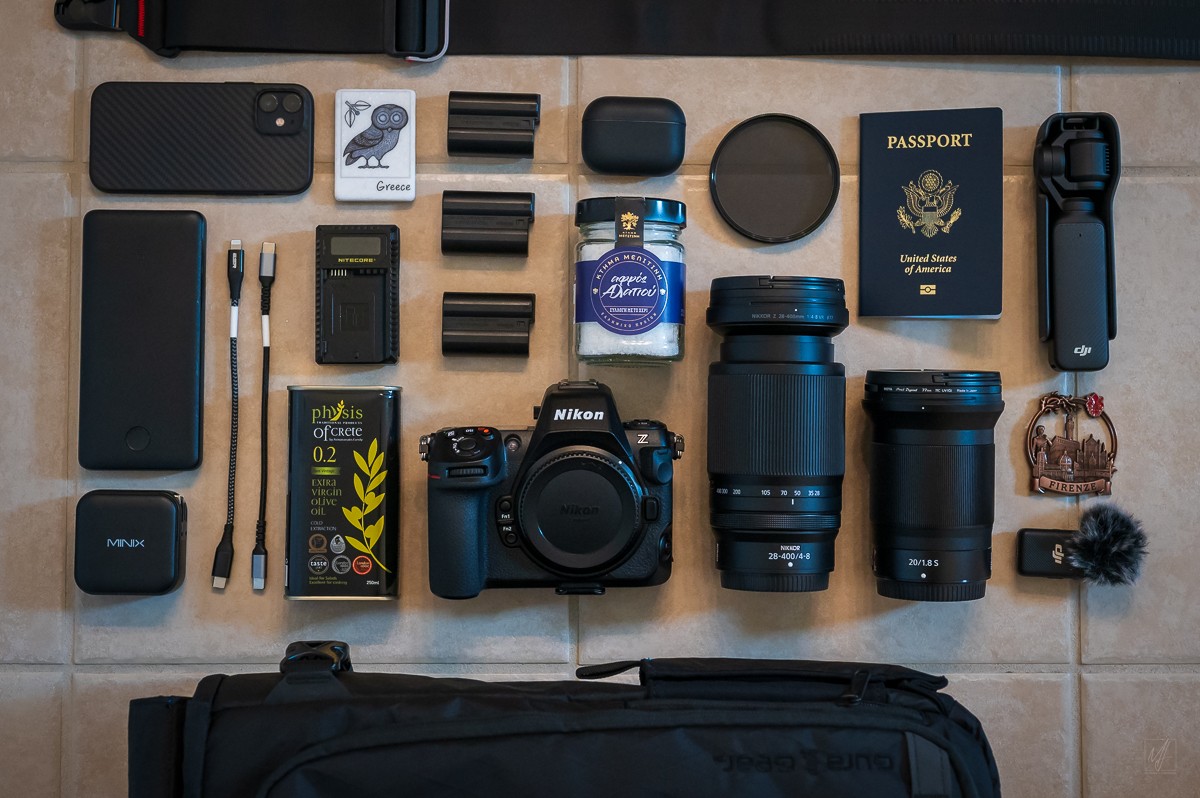
Every international trip starts with the same challenge: carefully considering what to pack to capture the best photos and video while being realistic about what you’re willing and able to carry. At nearly two weeks, the Alps and Med trip was longer than Iceland but shorter than Italy and Greece. The itinerary covered a wide range of environments – from the snow-capped Swiss Alps at 10,000 feet on Mount Titlis, to the rocky coastlines of Cinque Terre, to the warm streets of Barcelona. Average temps ranged from 37°F (2.7°C) in the mountains to 69°F (20.5°C) along the Mediterranean. That kind of range demands careful thought about both camera gear and clothing.
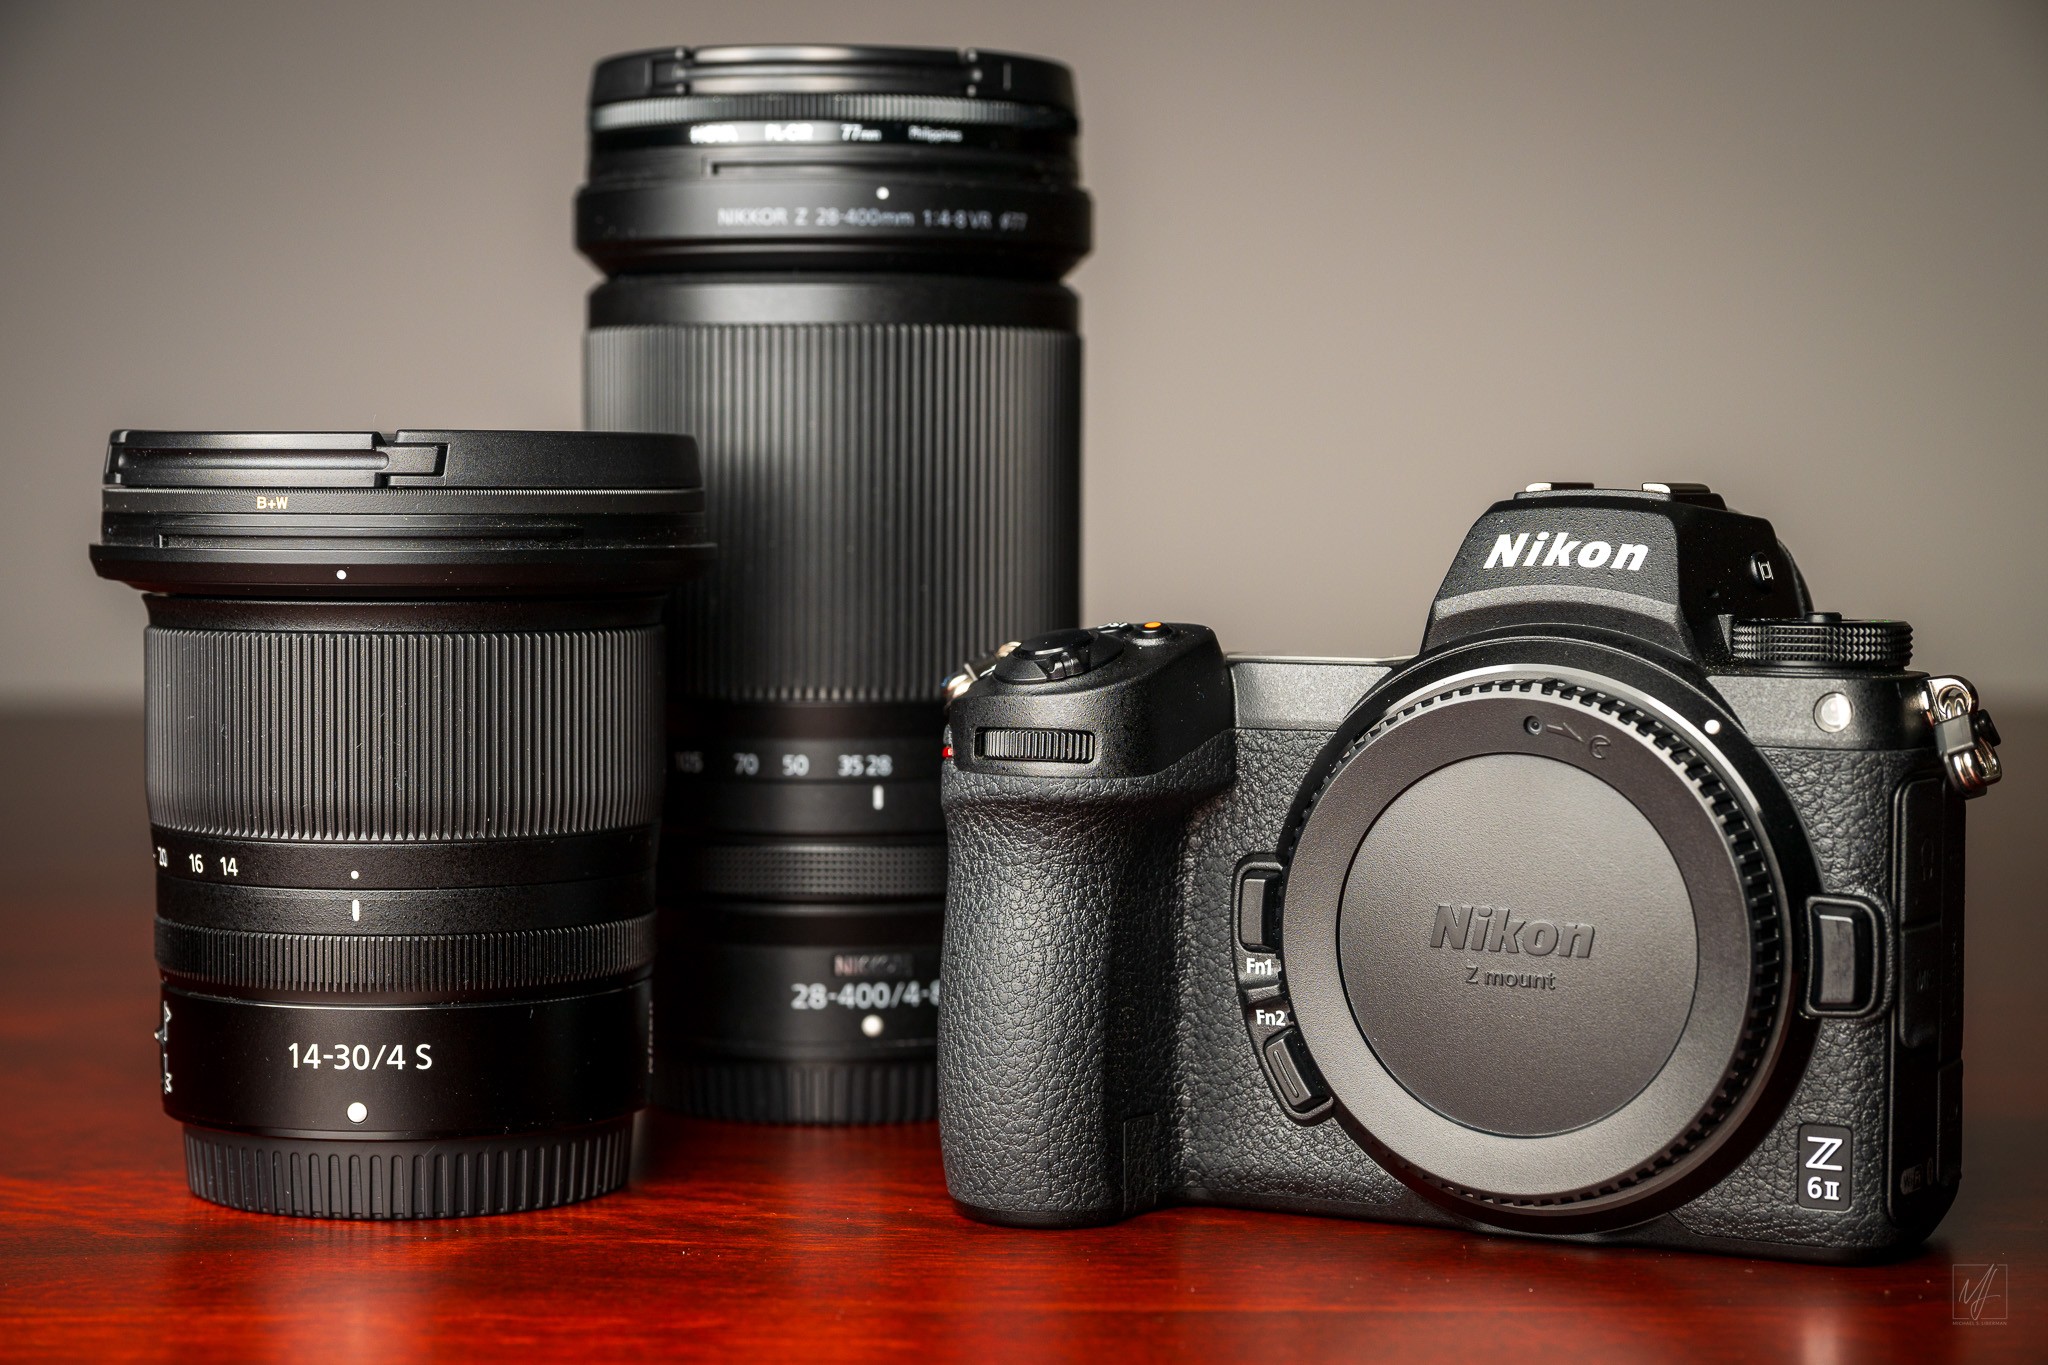
Nikon Z6II with NIKKOR 14-30mm f/4 and NIKKOR 20-300mm f4-8 Nikon Z8 • NIKKOR Z 24-120mm f/4 S at 68 mm • ISO 64 • 1/125 sec at f/8.0
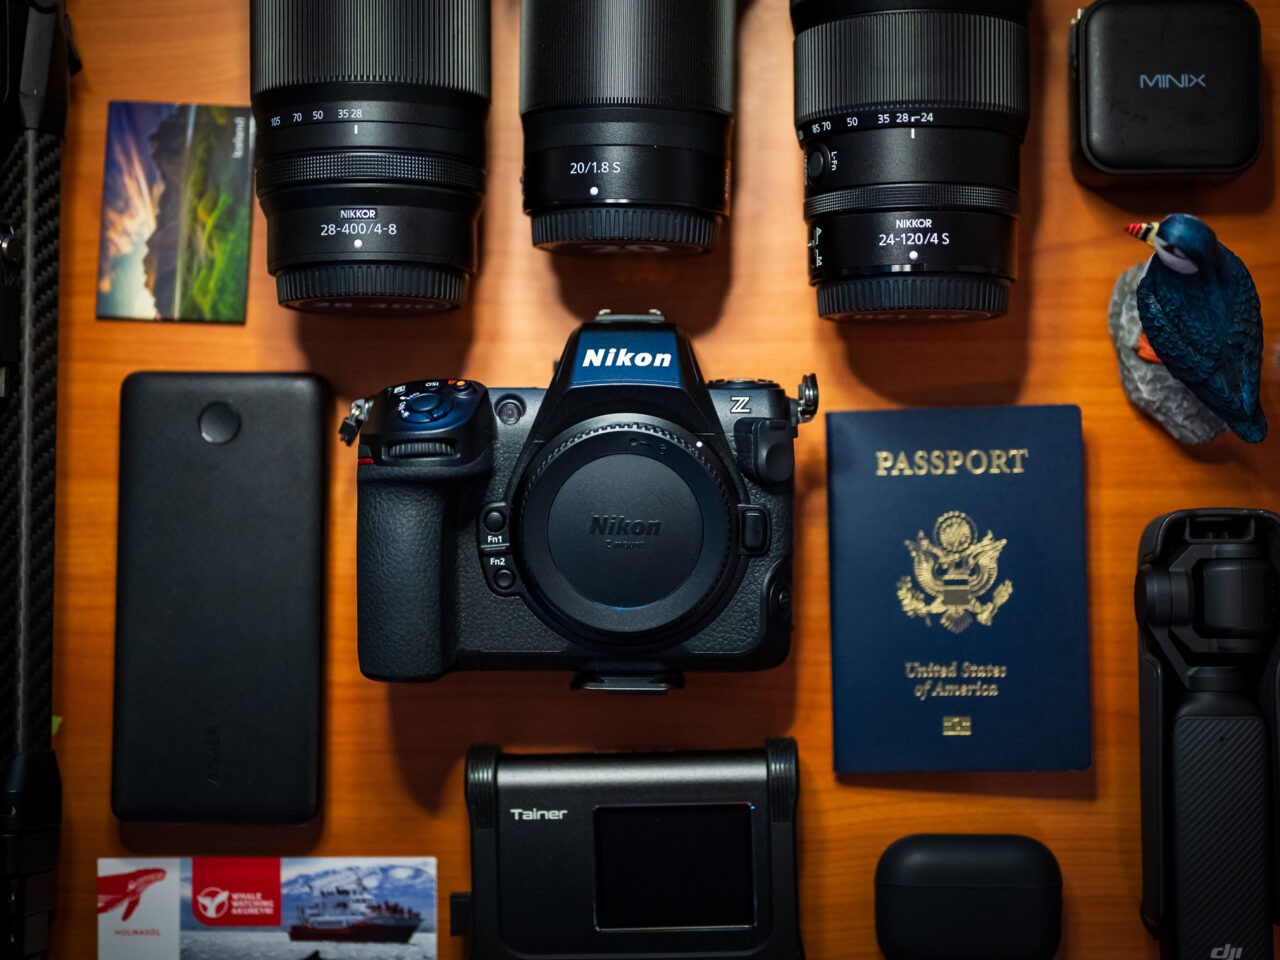
Travel Gear
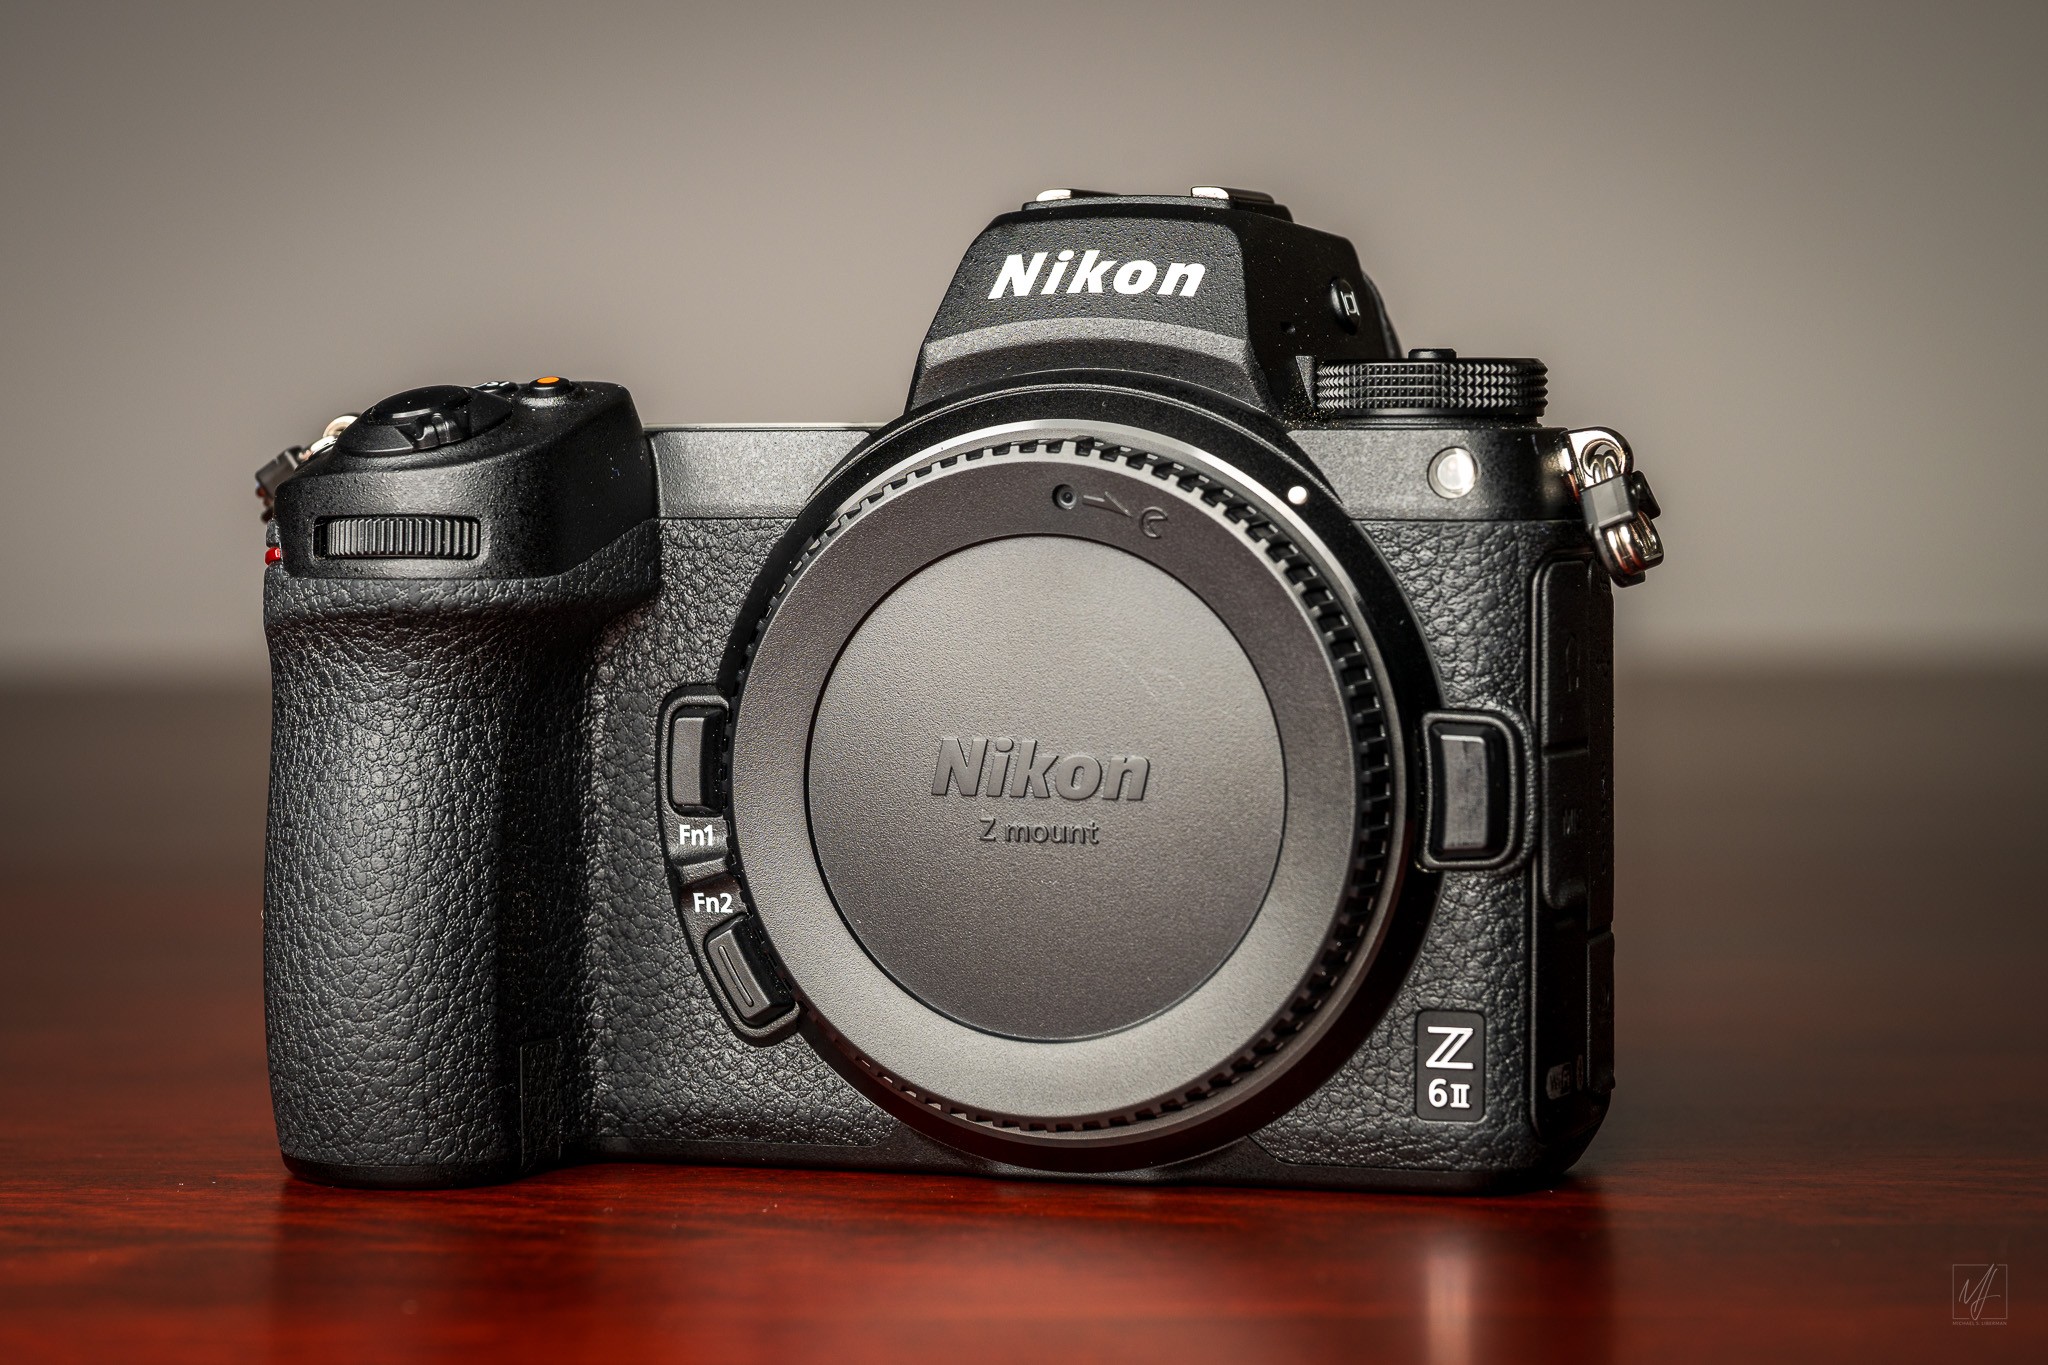
Nikon Z6II 24.5MP Mirrorless Camera: After carrying the Nikon Z8 through Italy and Greece and then Iceland, I made a deliberate choice to go lighter on this trip. The Z6II is the same body I used for the Israel trip and it remains an outstanding travel camera. Saving 205 grams compared to the Z8 was meaningful on a trip with this much walking and bus time. And honestly, I didn’t really need the Z8’s higher resolution and faster buffer on this trip. The Z6II’s RAW files continue to be outstanding, with very little time necessary for post-processing. Sometimes smaller and lighter is the right call.
Nikon Z6II Mirrorless Camera Nikon Z8 • NIKKOR Z 24-120mm f/4 S at 83 mm • ISO 64 • 1/125 sec at f/8.0
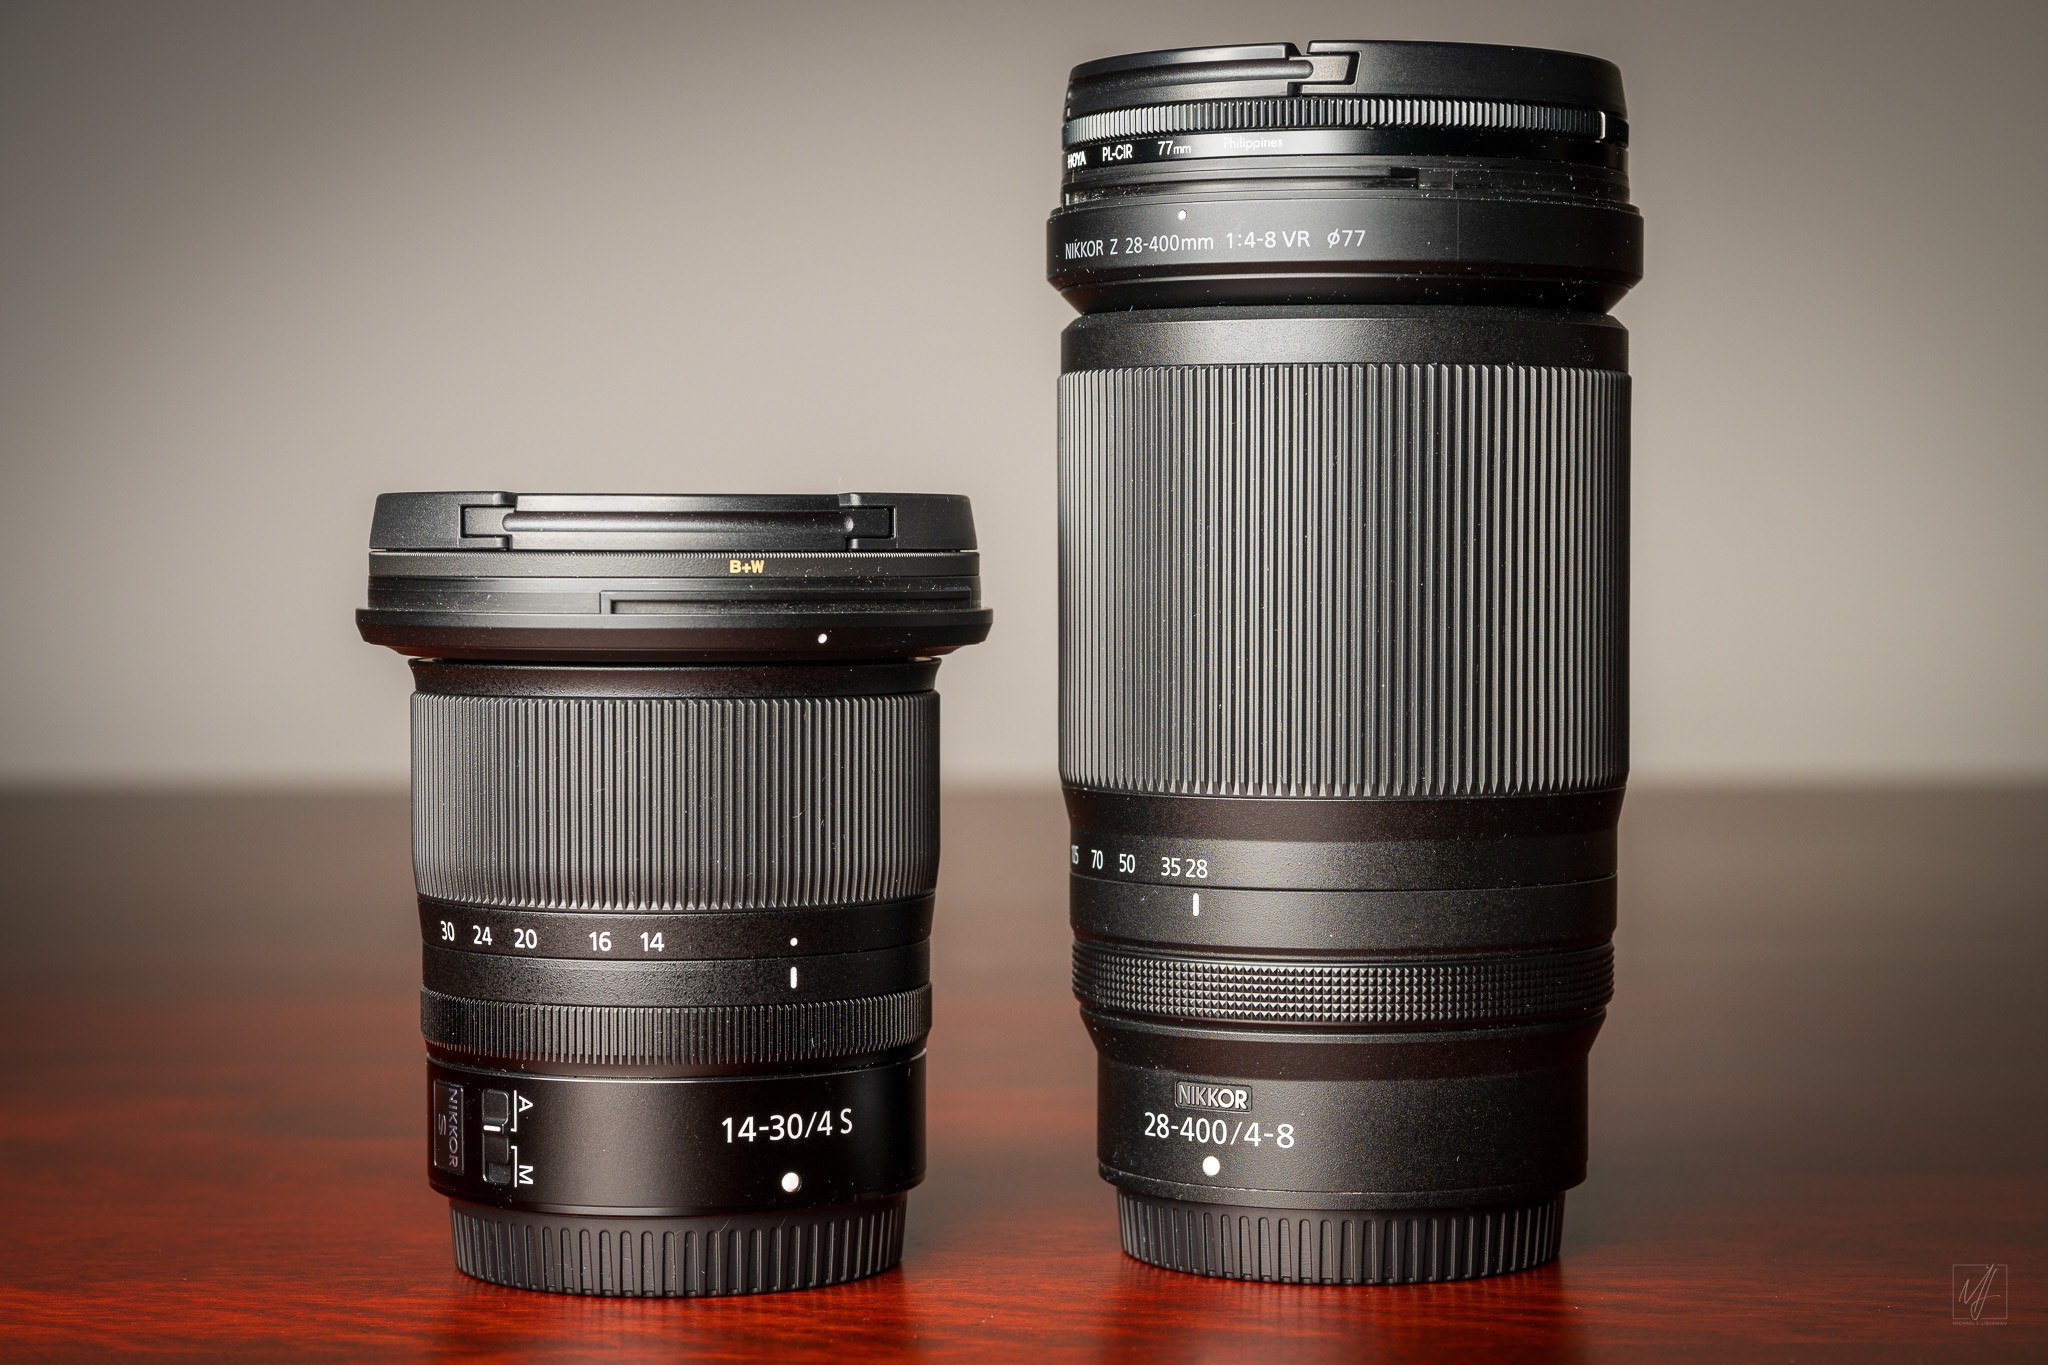
NIKKOR Z 28-400mm f/4-8 VR Travel Zoom: While I sometimes toy with the idea of only traveling with the NIKKOR Z 24-120mm f/4, the 28-400mm has become my default travel lens, and for good reason. From sweeping Alpine vistas to tight architectural details on the Sagrada Família, the 28-400mm handles it all from a single lens. Strong mid-day daylight conditions in Lucerne, Cinque Terre, Monaco, Provence, and Barcelona meant working at f/8 on the telephoto end was never a problem. Outstanding image quality and versatility in a package that’s easy to carry on planes, buses, and boats – and just walking down the cobblestone streets of Les Baux-des-Provence.
NIKKOR 14-30mm f/4 and NIKKOR 20-300mm f4-8 Nikon Z8 • NIKKOR Z 24-120mm f/4 S at 64 mm • ISO 64 • 1/125 sec at f/8.0
NIKKOR Z 14-30mm f/4 S Wide Angle Zoom: Packed specifically for landscapes and wide panoramas like Lake Como, the 14mm end also proved useful in tight spaces in the winding streets of Cinque Terre. And I entertained myself during the longer bus rides to Provence and Barcelona with the 14-30mm. For next year’s trip to New Zealand and Australia it will be tough to choose whether to bring this wide angle zoom or the 20mm f/1.8 prime.
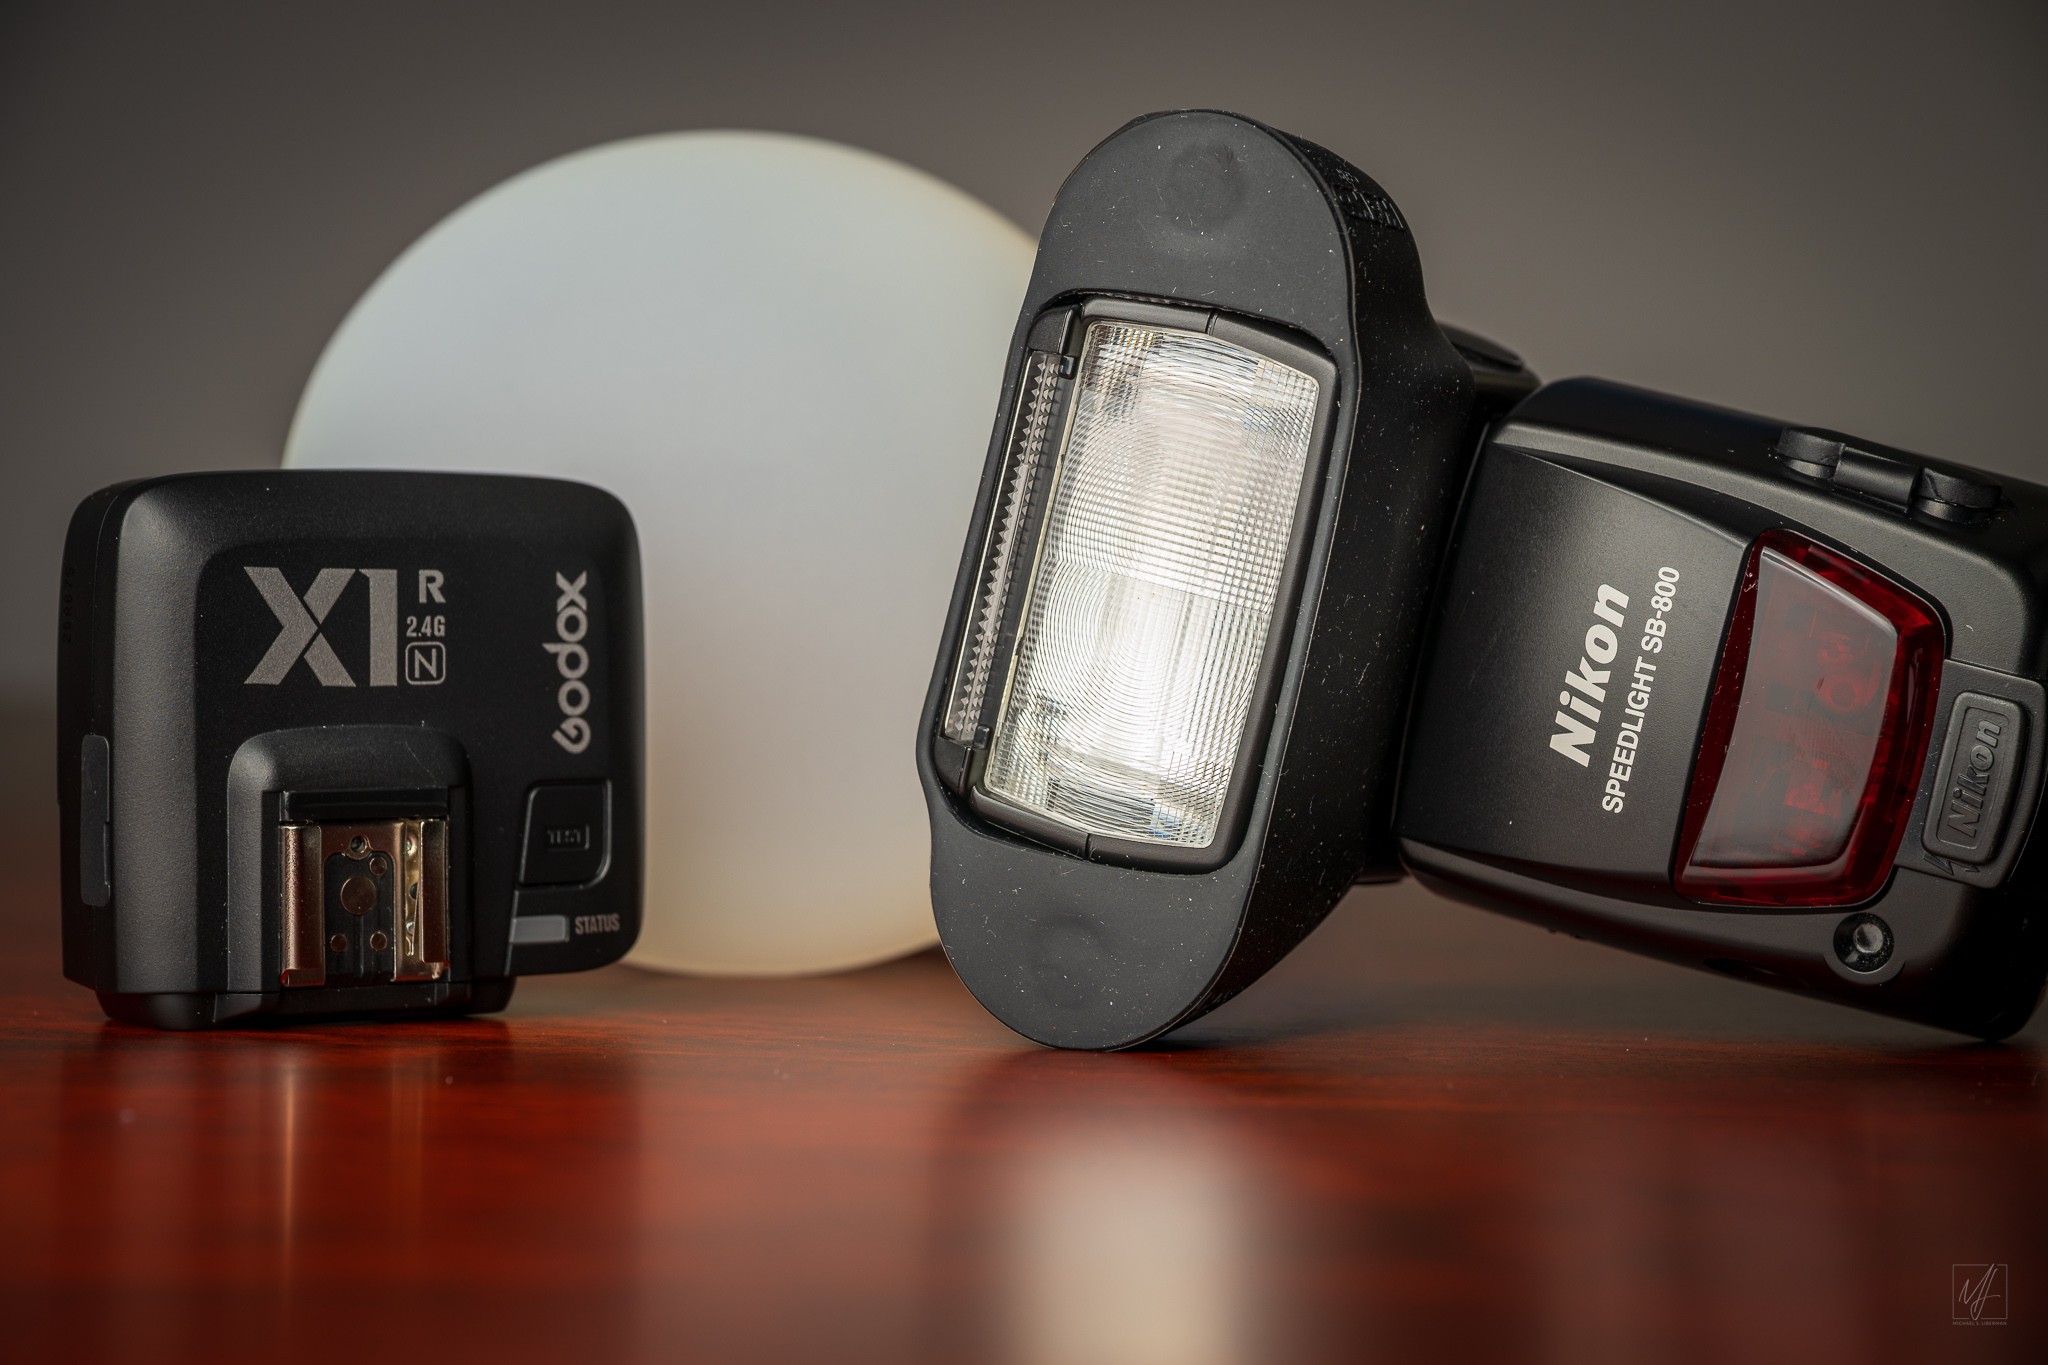
Nikon SB-800 Speedlight Flash: Not a regular part of the travel kit but brought along for a specific purpose: capturing a graduation photo under less-than-ideal lighting conditions. The right tool for the job on this trip.
Nikon SB-800 Speedlight with Godox X1R-N Flash Receiver Nikon Z8 • NIKKOR Z 24-120mm f/4 S at 85 mm • ISO 64 • 1/125 sec at f/8.0
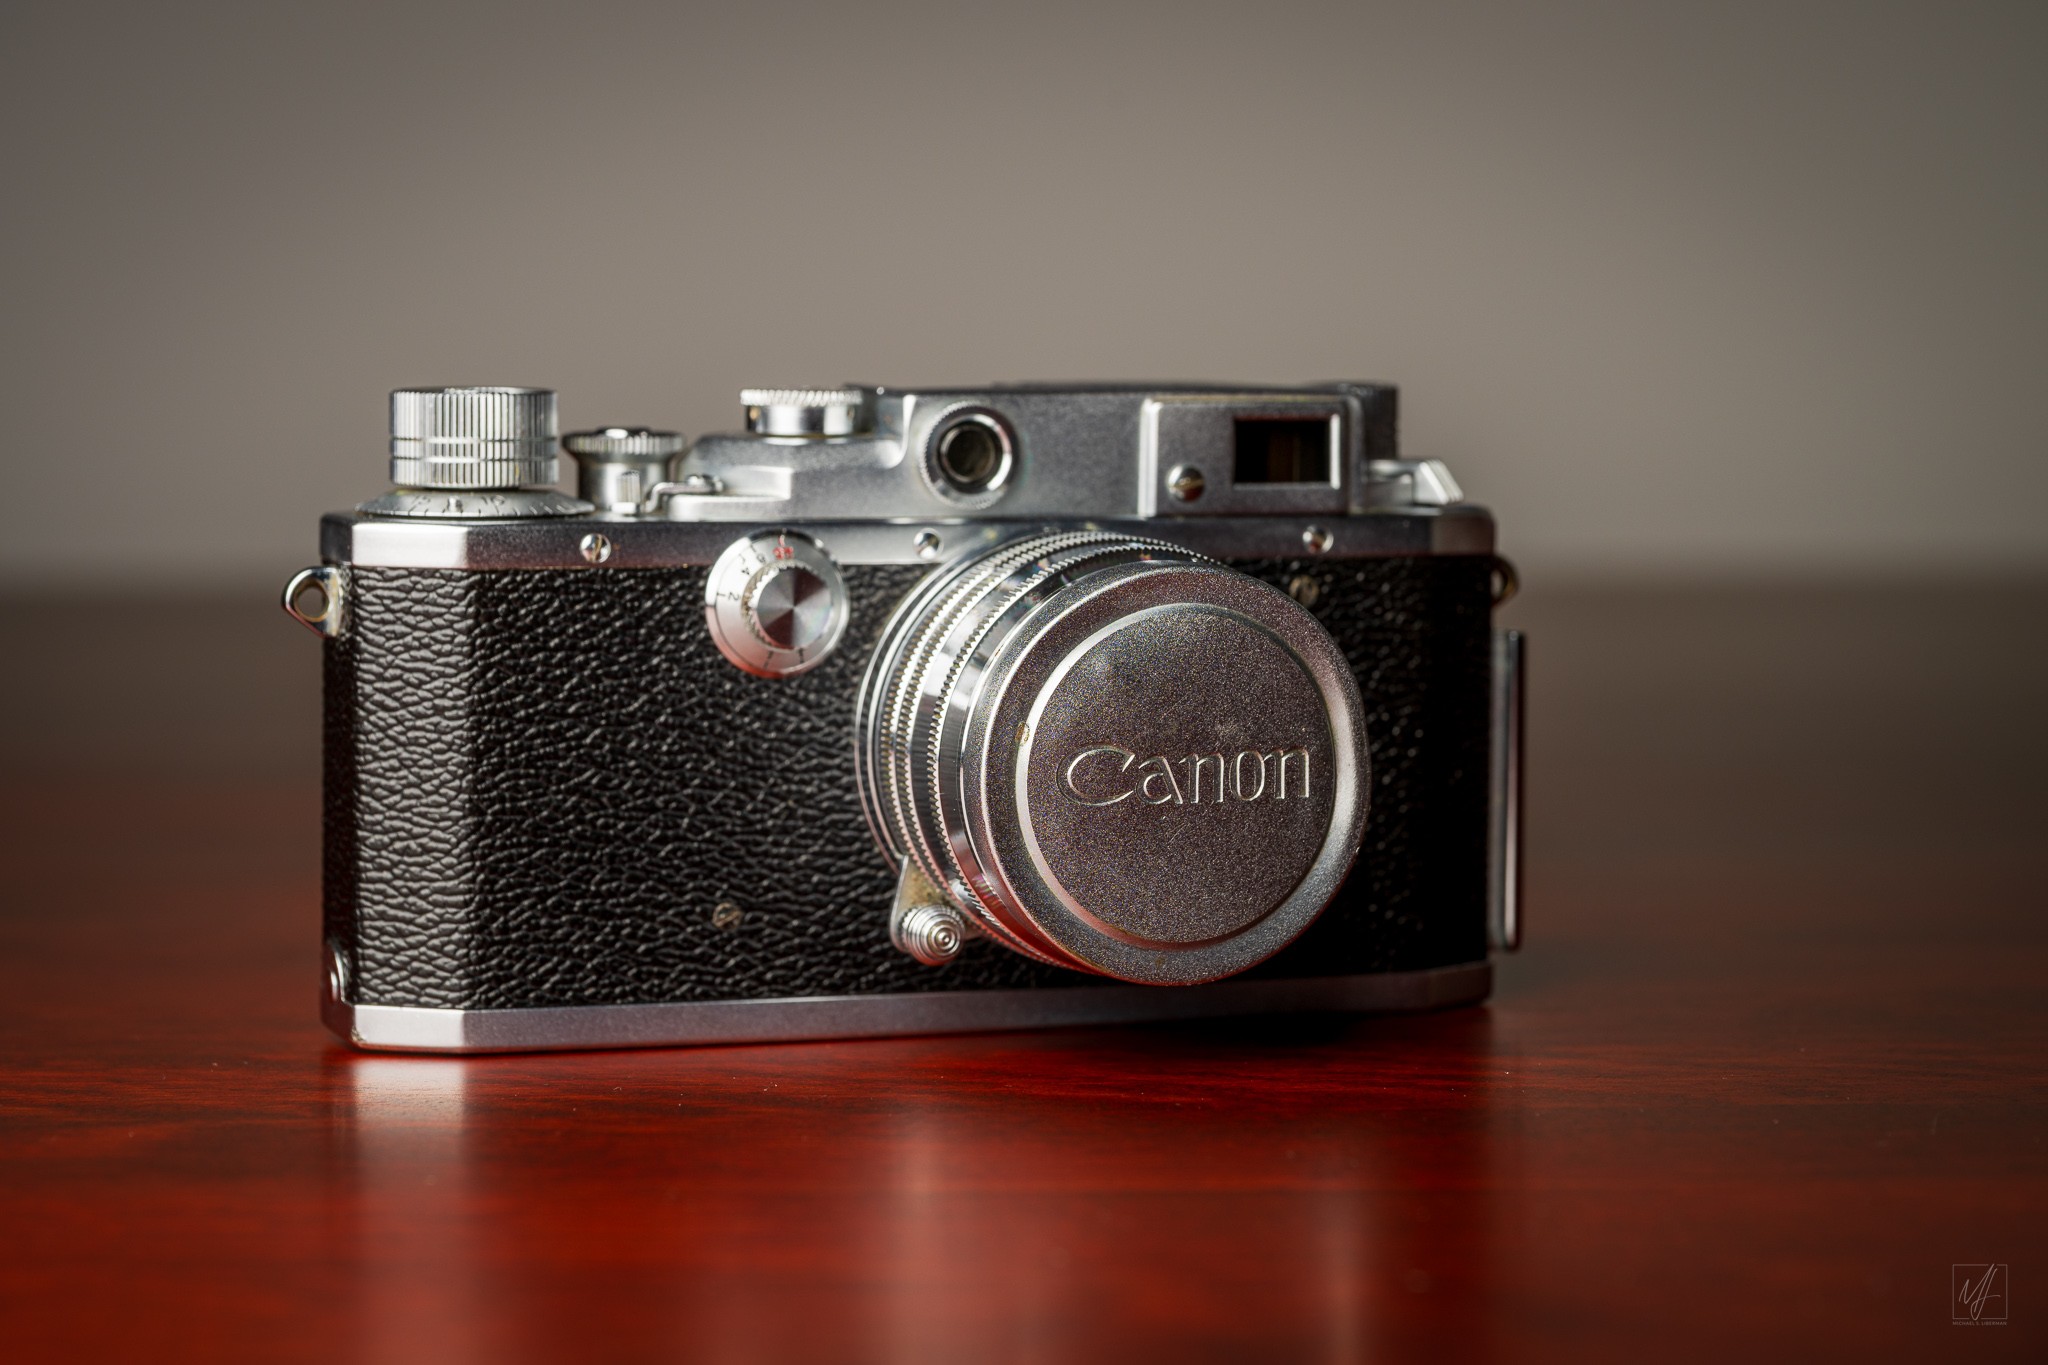
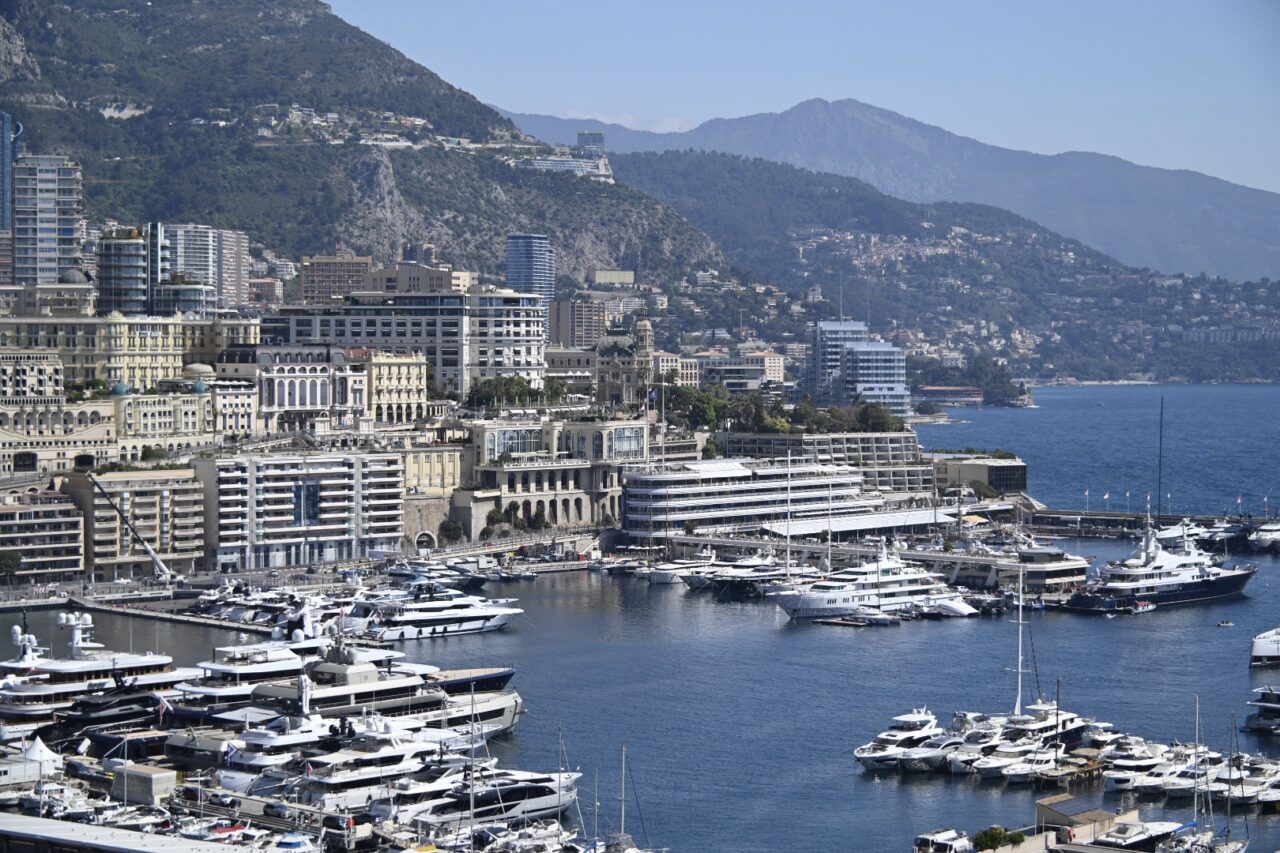
Canon II F Rangefinder with Kodak Ektar 100 Film: The most unusual addition to the kit on this trip. In the mid-1960s, my dad took a business trip to the IBM La Gaude research campus in Nice and visited Monaco, shooting slides along the way with this Canon II F – a camera he had purchased in Japan while stationed in Korea in the 1950s. I grew up seeing those slides. So as a last-minute idea, I packed his Canon II F and two rolls of Kodak Ektar 100, with the goal of retracing his steps overlooking the harbor of Monaco and along the Promenade des Anglais in Nice. This rangefinder camera is fully manual, so I used a light meter app for exposure and bracketed a few shots for good measure. Once the film is back from processing, I’ll do a follow up post to share the results. But the act of carrying his camera to the same places, 60 years later, made Day 6 one of the most memorable of the trip.
Canon II F Rangefinder Camera Nikon Z8 • NIKKOR Z 24-120mm f/4 S at 83 mm • ISO 64 • 1/125 sec at f/8.0
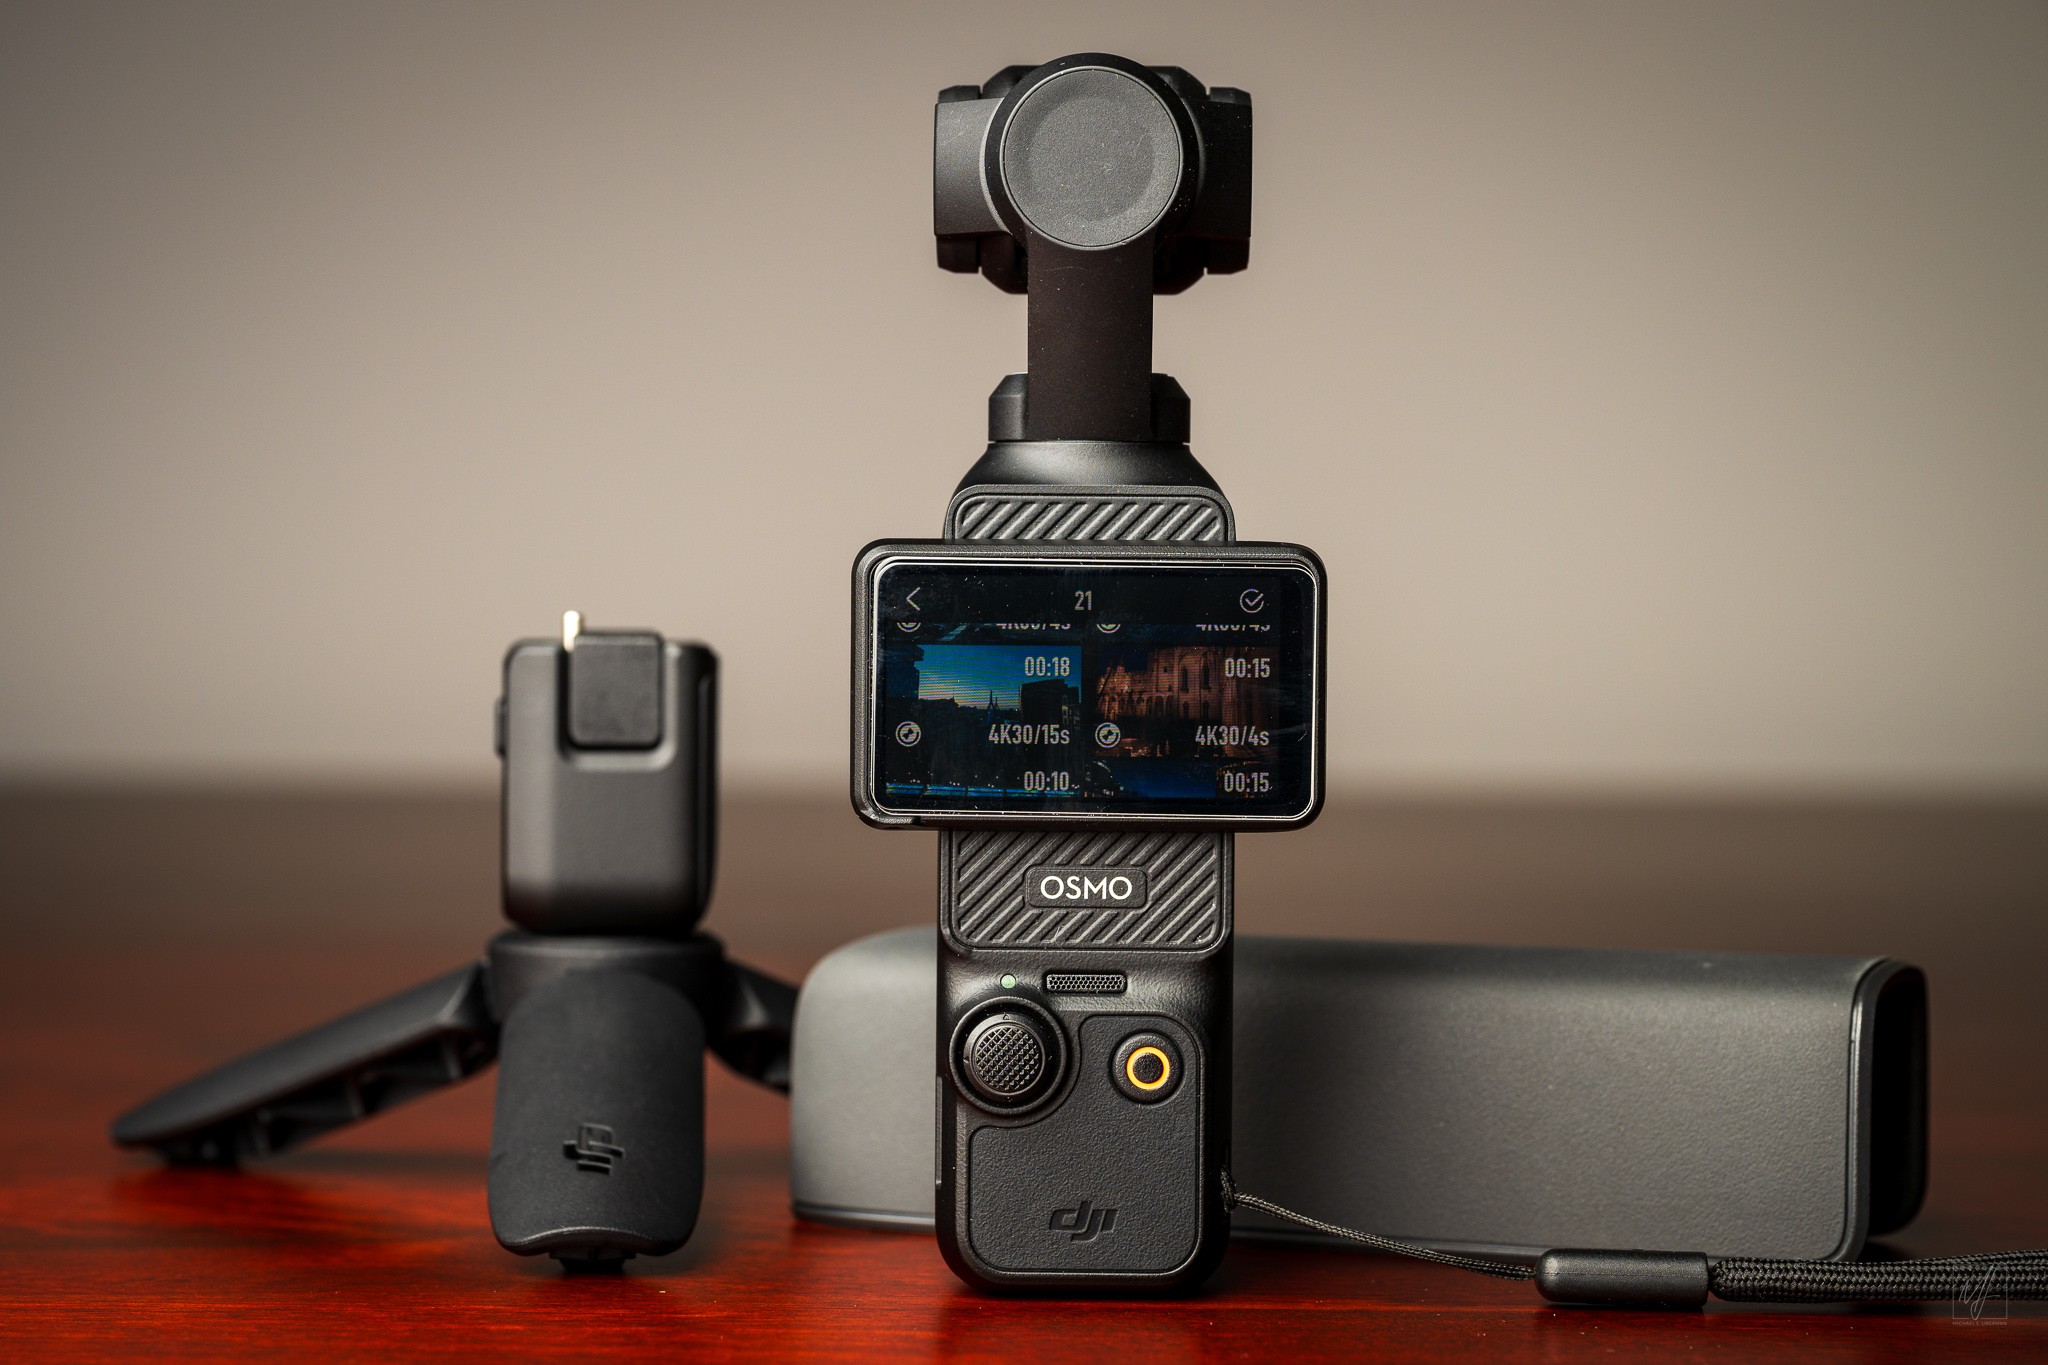
DJI OSMO Pocket 3: The tiny form factor of the OSMO Packet 3 is perfect for crowded streets, bus-window sequences, or on watercraft where the built-in stabilizer makes for smooth video. But on this trip, I decided to use the OSMO Pocket 3 exclusively for timelapse video, capturing 10 MP4 timelapse sequences across the trip. But was difficult to capture timelapse sequences because we were never in one place long enough. Whether I’ll bring the OSMO Pocket 3 on future trips will depend on if the itinerary includes situations where this smaller device would be preferable to a full-size mirrorless camera.
DJI OSMO Pocket 3 Nikon 8 • NIKKOR Z 24-120mm f/4 S at 70 mm • ISO 64 • 1/125 sec at f/8.0
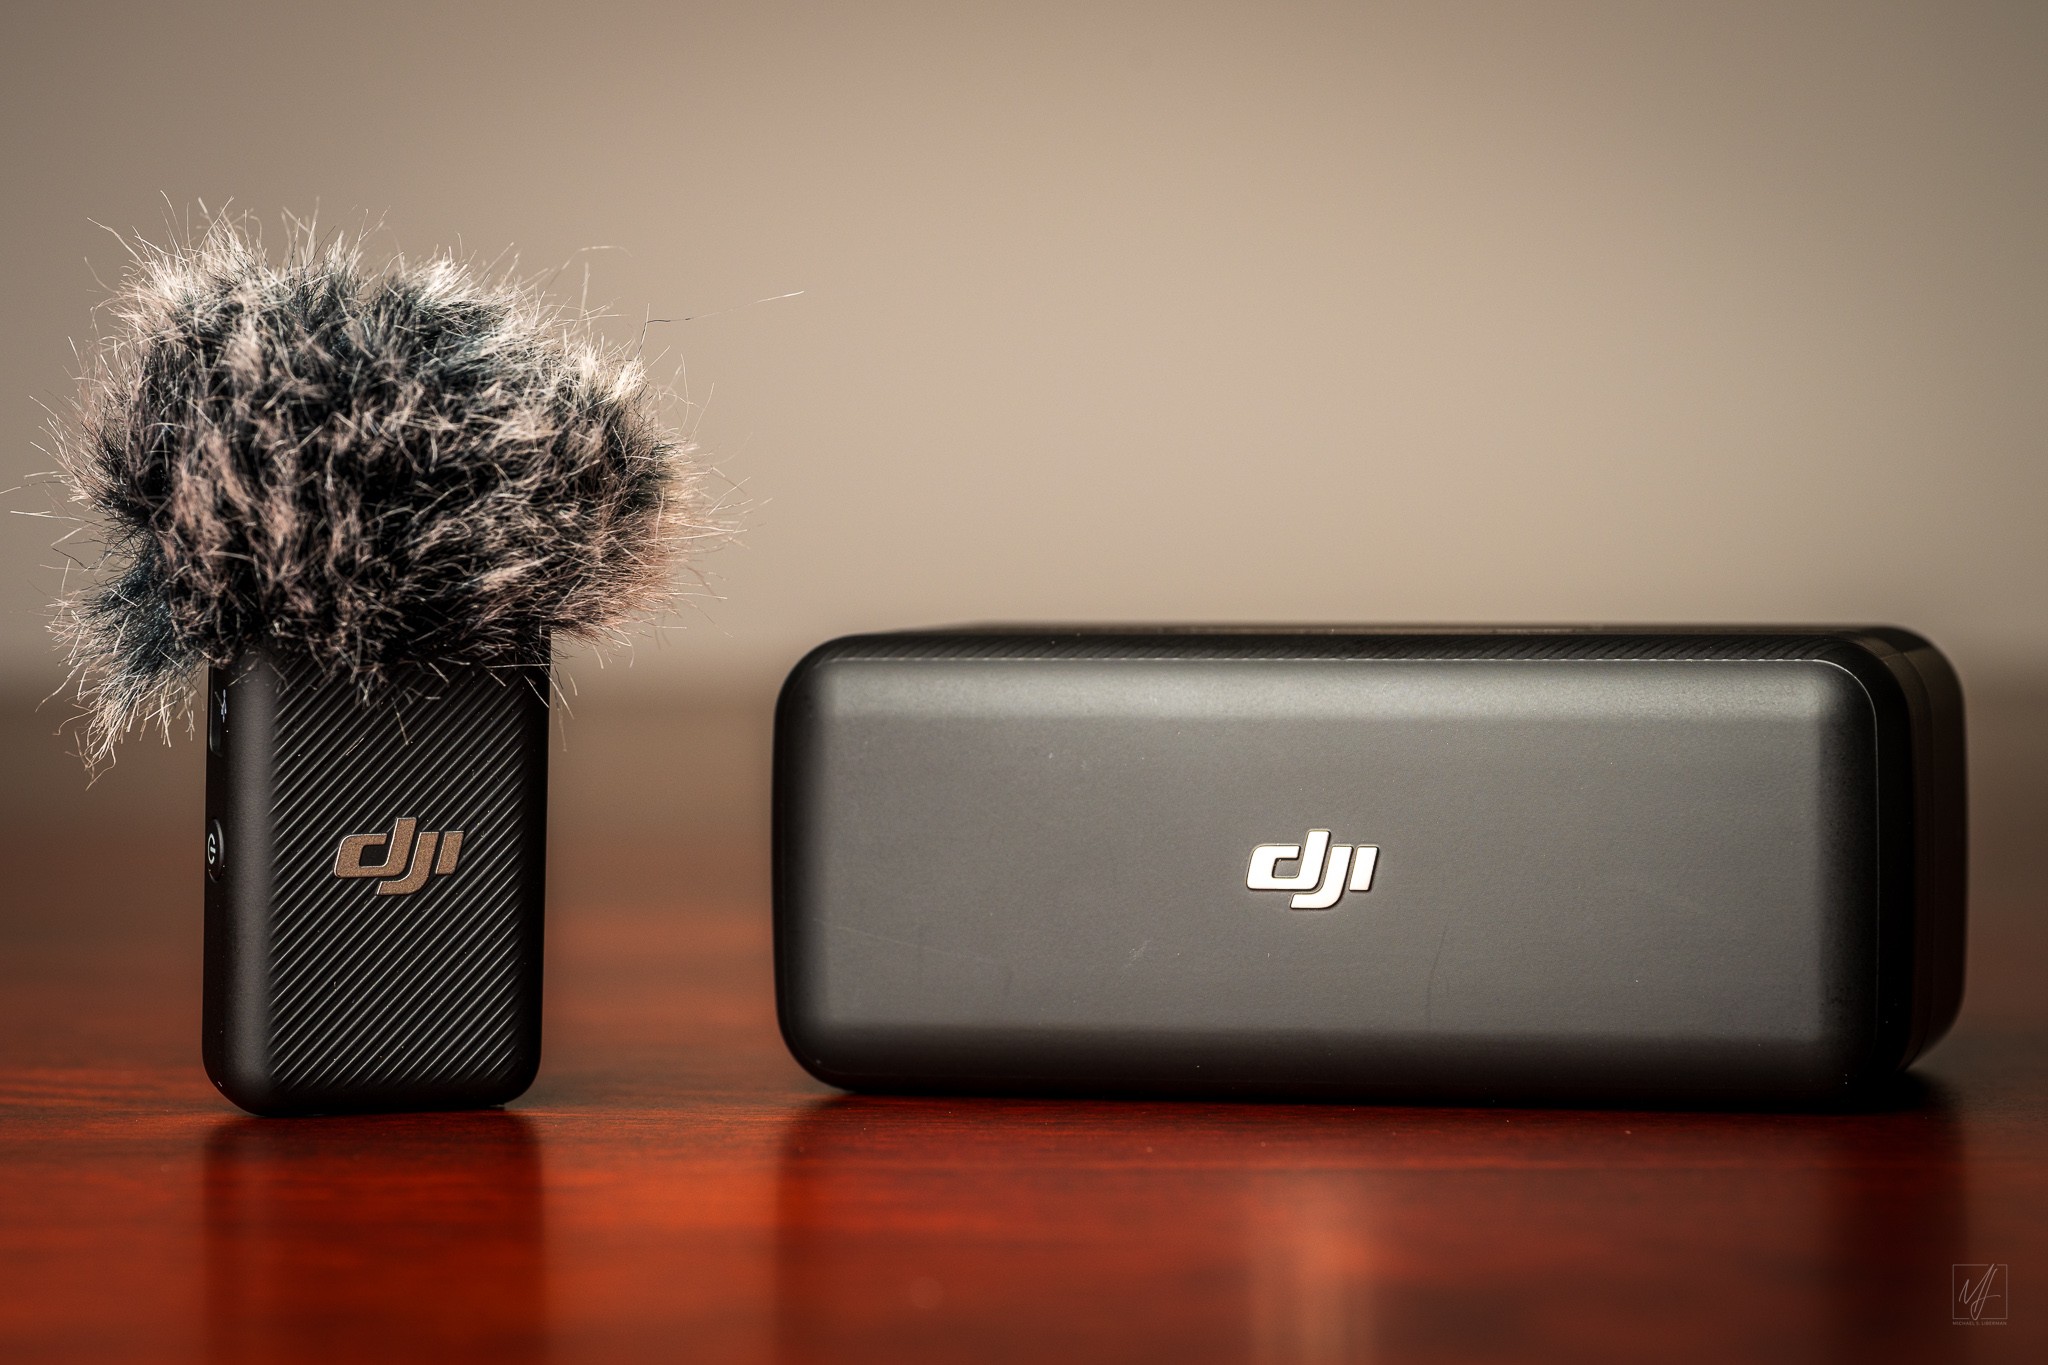
DJI Mic Transmitter: I intended the same workflow as Iceland: at each location, step away from the group and record 30 seconds of clean ambient audio for use in the final video edit. However, I only did this at four locations – in Lucerne, at Lake Como, in Avignon, and in Provence. I did set the audio gain slightly higher than the Iceland recordings, a lesson carried forward after reviewing those audio clips. But the reality is that there was always a lot of unwanted ambient noise – conversations, overflying planes, construction noise, traffic, and wind. And was frequently difficult to step away from the group. I may leave the DJI Mic home and instead rely on AI generated ambient tracks to solve the problem of unwanted noise.
DJI Mic Nikon Z8 • NIKKOR Z 24-120mm f/4 S at 85 mm • ISO 64 • 1/125 sec at f/8.0
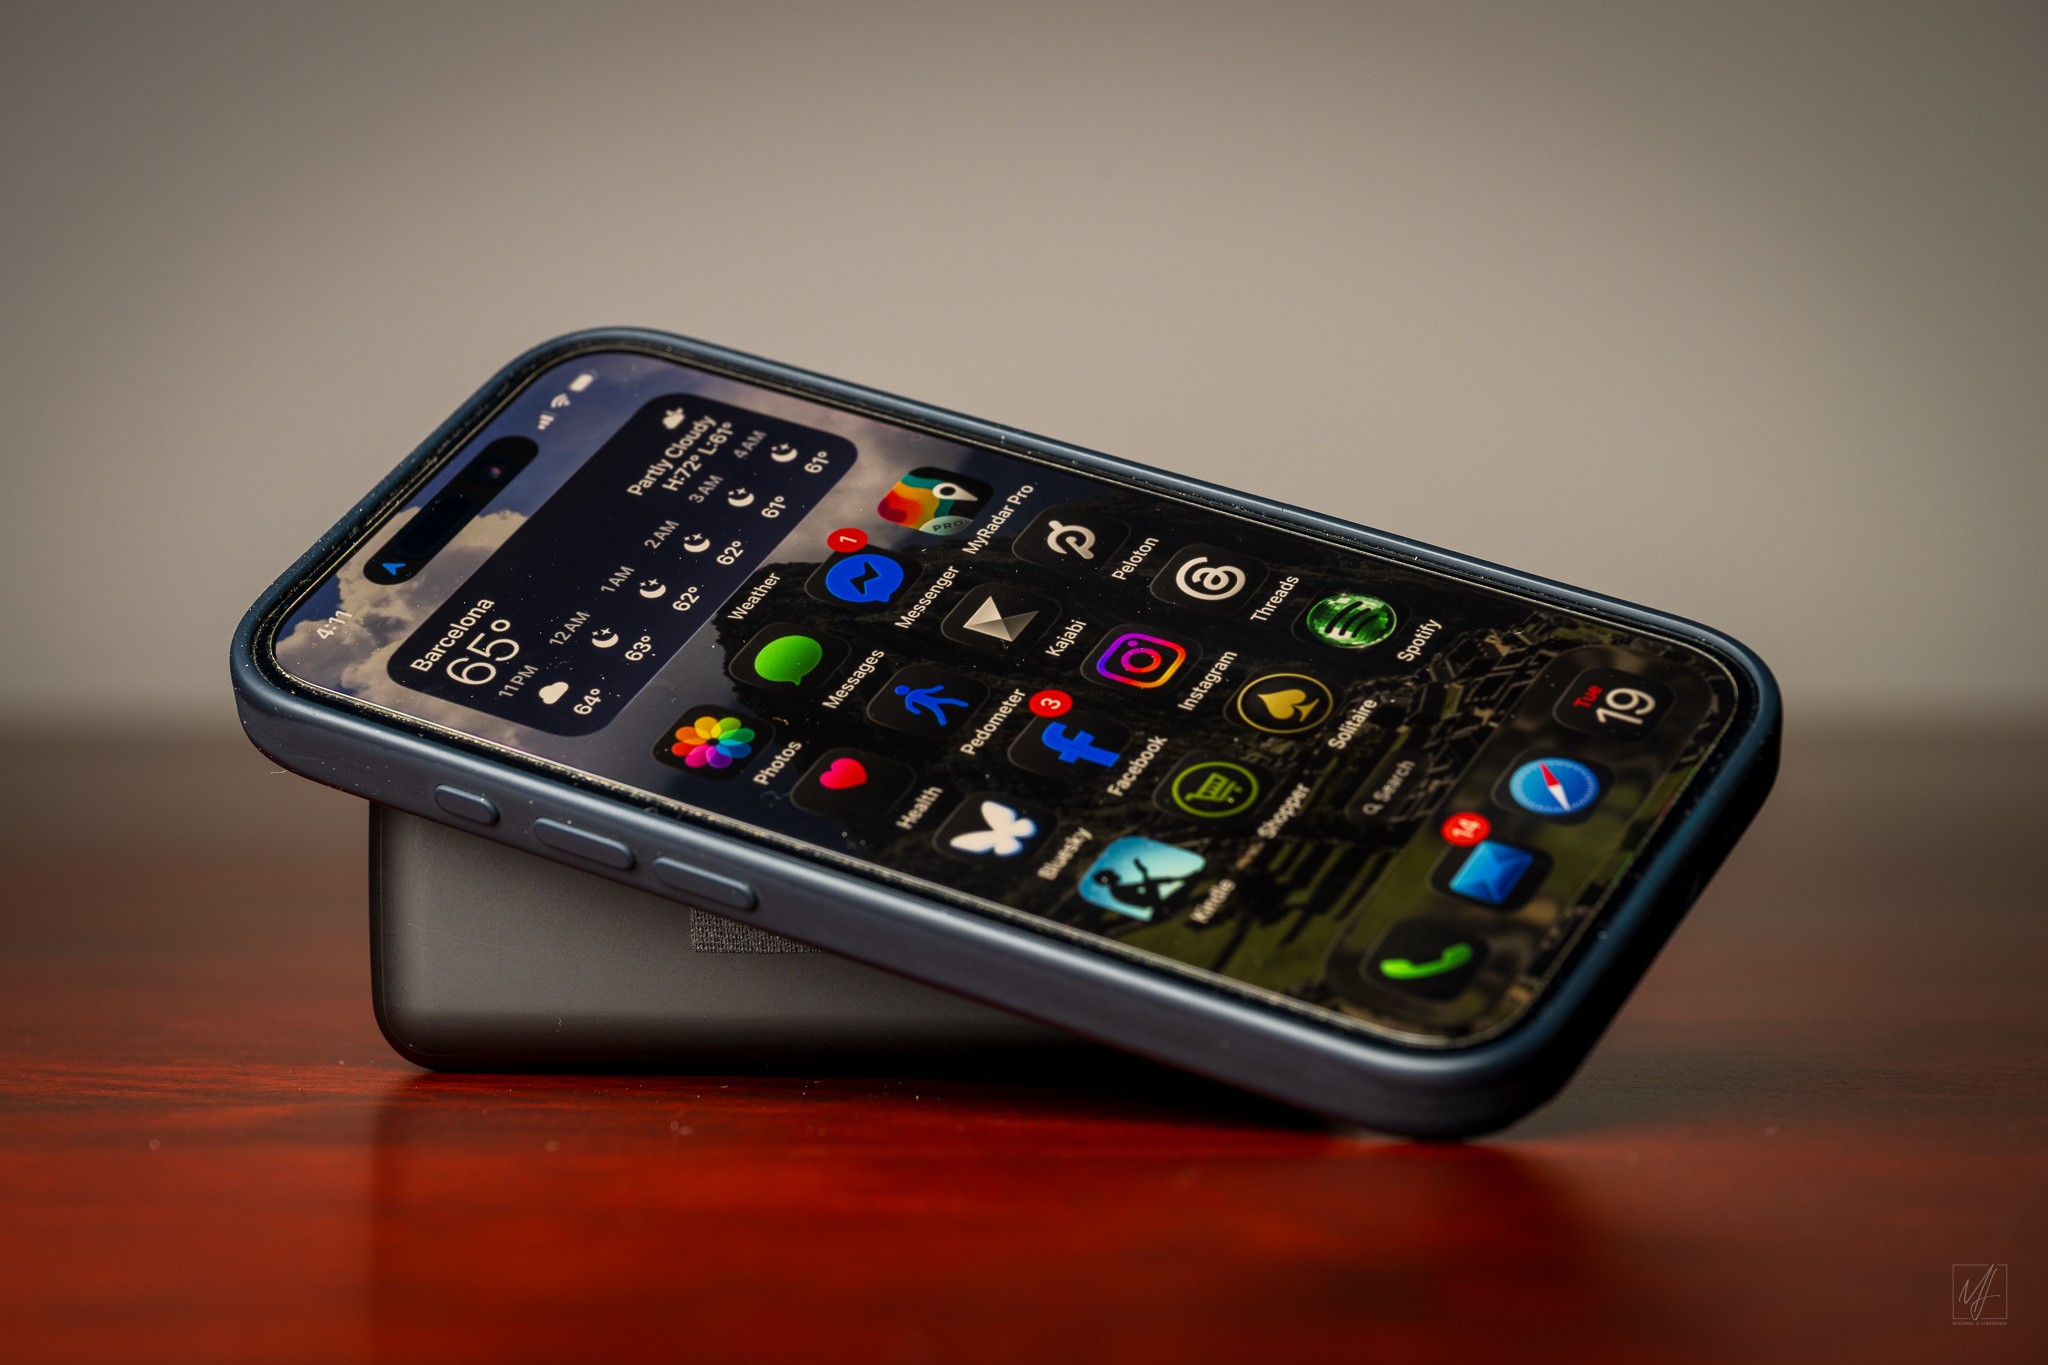
Apple iPhone 16: The iPhone continues to serve as the operational hub for travel photography. The Nikon SnapBridge app connects directly to the Z6II for GPS location data and photo transfers throughout the day. The WordPress Jetpack app handles daily blog drafting and publishing – usually on the bus between locations. Internet access was solid throughout Switzerland, Italy, France, and Spain. And once again, the iPhone 16’s larger battery compared to my previous phone meant no mid-day recharging was ever needed despite heavy daily use.
iPhone 16 Nikon Z8 • NIKKOR Z 24-120mm f/4 S at 85 mm • ISO 64 • 1/10 sec at f/8.0
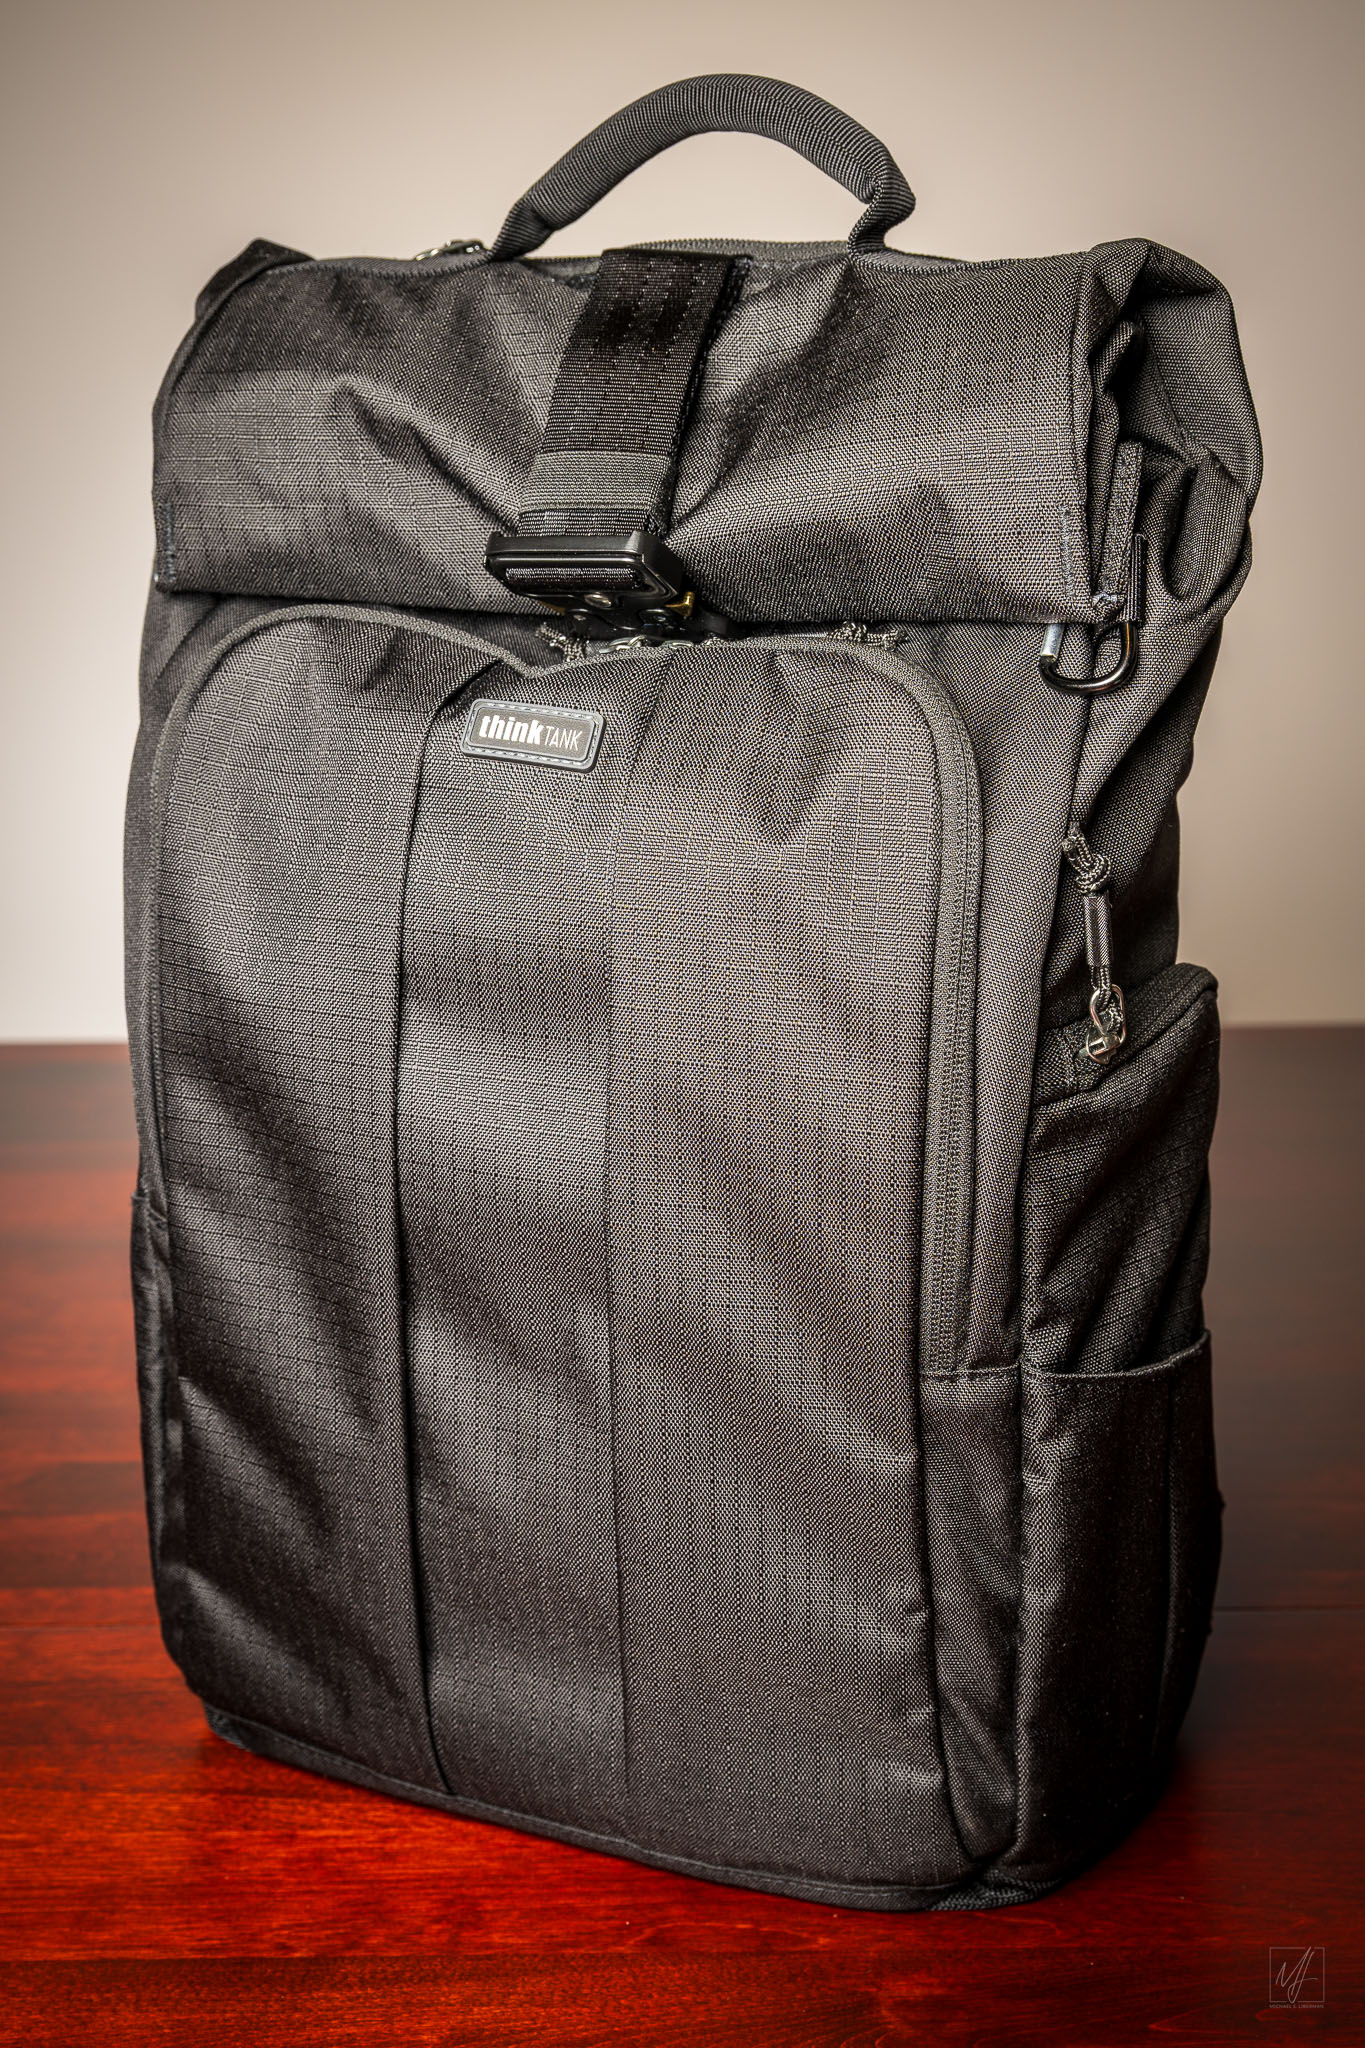
Think Tank Photo FocusPoint 30L: After trying the Gura Gear Kiboko City Commuter 18L for Italy and Greece and the Shimoda Urban Explorer 25 for Iceland, I switched bags again for the Alps and Med trip. The FocusPoint 30L offered excellent camera access and organization for the Z6II with multiple lenses. In a bag that feels more compact the FocusPoint has slightly more volume compared to the Shimoda and proved useful when packing the 14-30mm in addition to the 28-400mm. A strong contender to become the go-to travel bag going forward.
Think Tank Photo FocusPoint 30L Camera Bag Nikon Z8 • NIKKOR Z 24-120mm f/4 S at 50 mm • ISO 64 • 1/125 sec at f/8.0
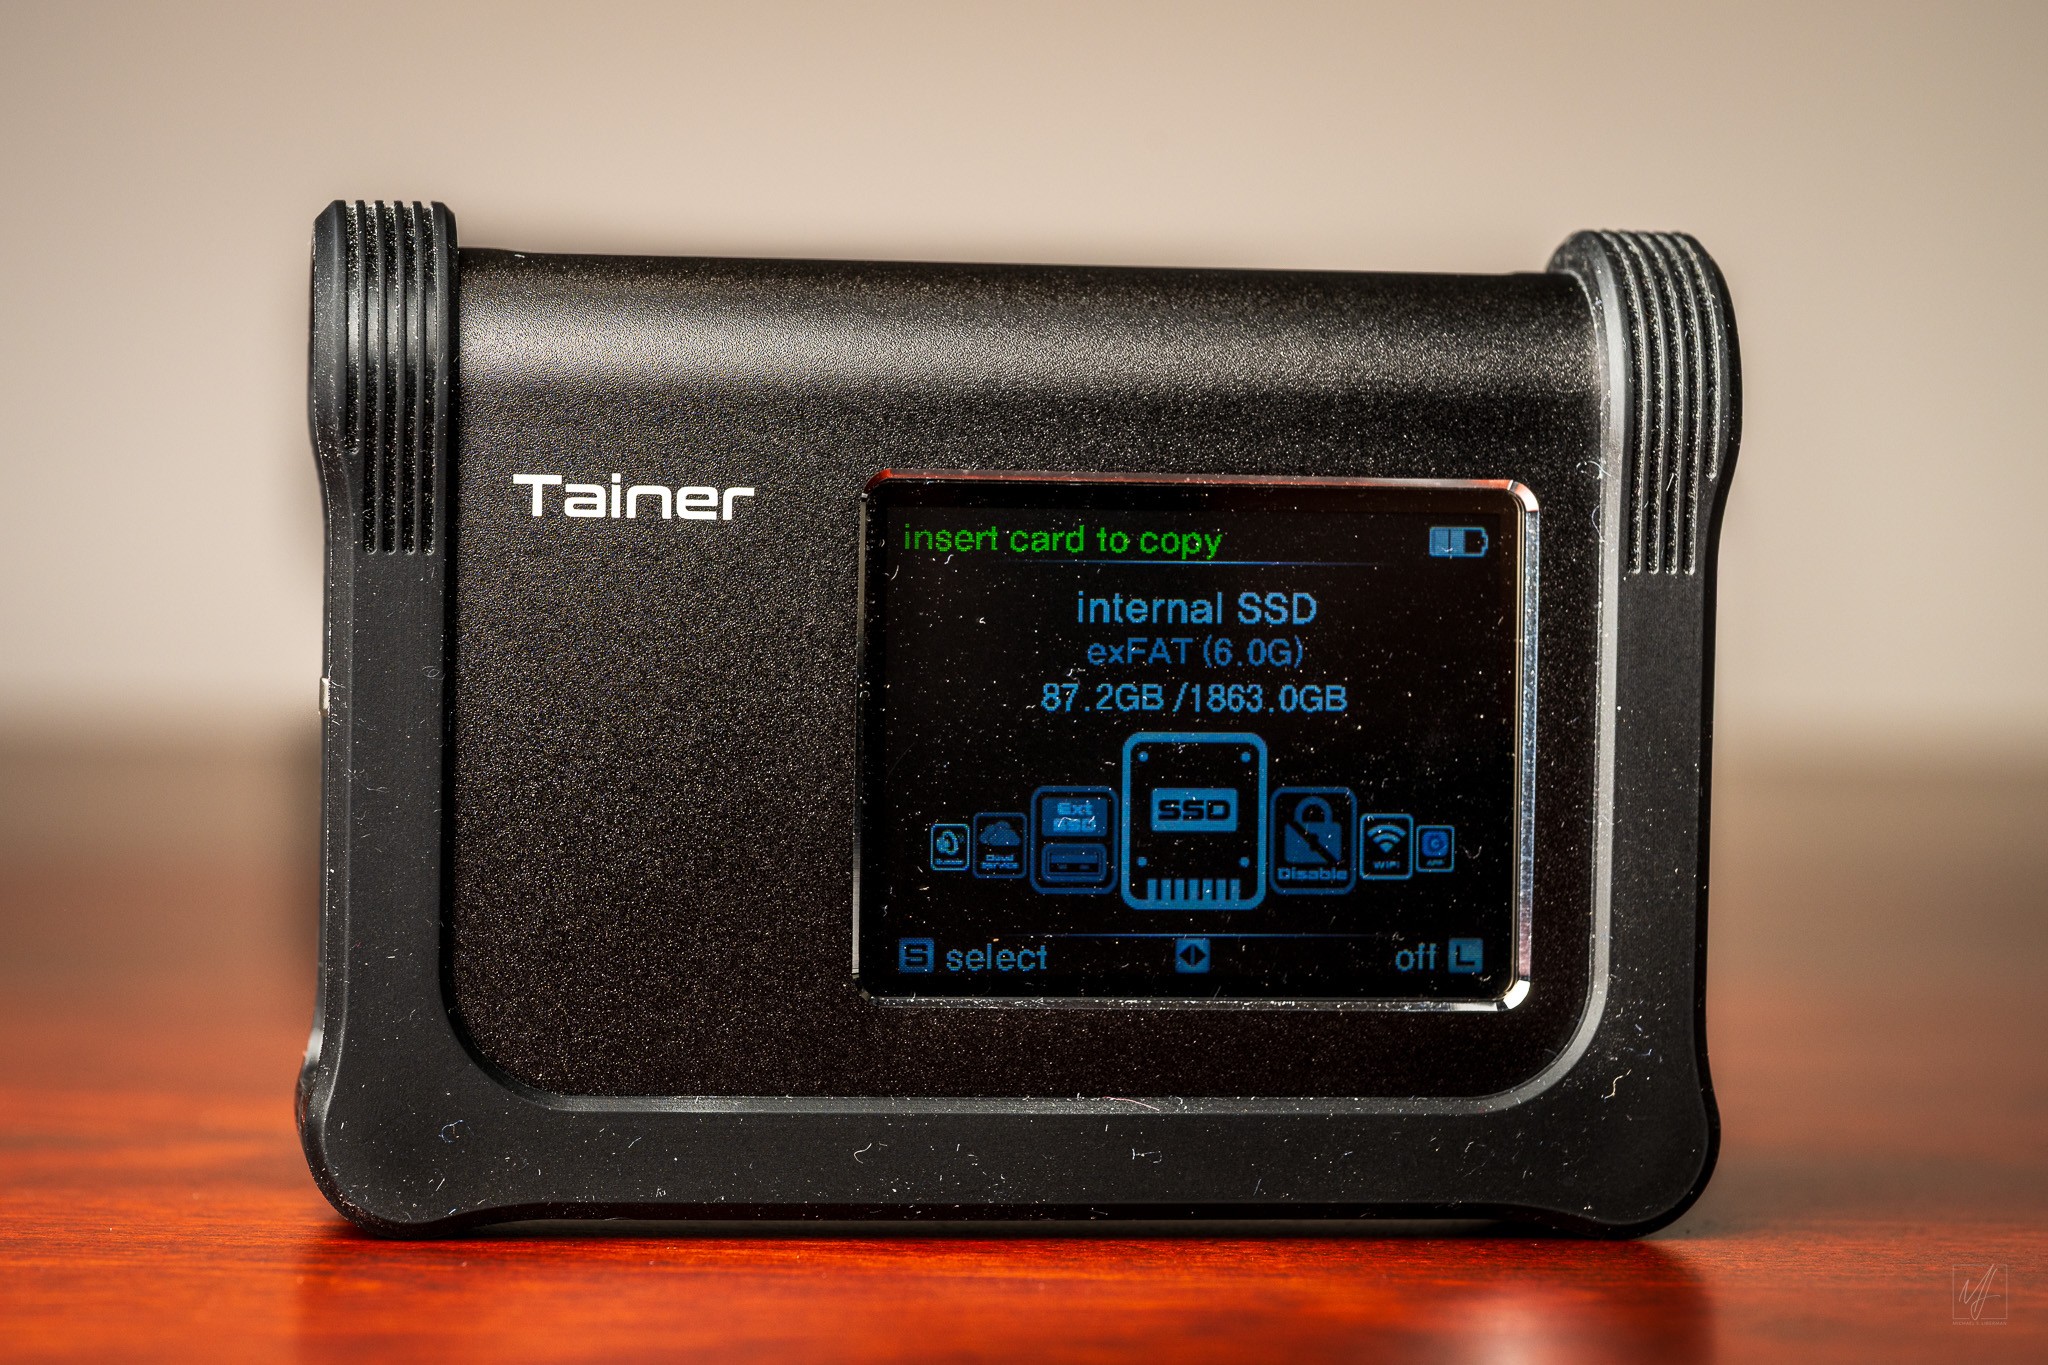
Clouzen Tainer: Now a permanent part of the travel kit after its successful debut in Iceland. End-of-day card backups became routine – usually on bus transfer days or in the hotel room before bed. With nearly two weeks of shooting across four countries, having a reliable backup copy of all media was essential peace of mind.
Clouzen Tainer Nikon Z8 • NIKKOR Z 24-120mm f/4 S at 85 mm • ISO 64 • 1/125 sec at f/8.0
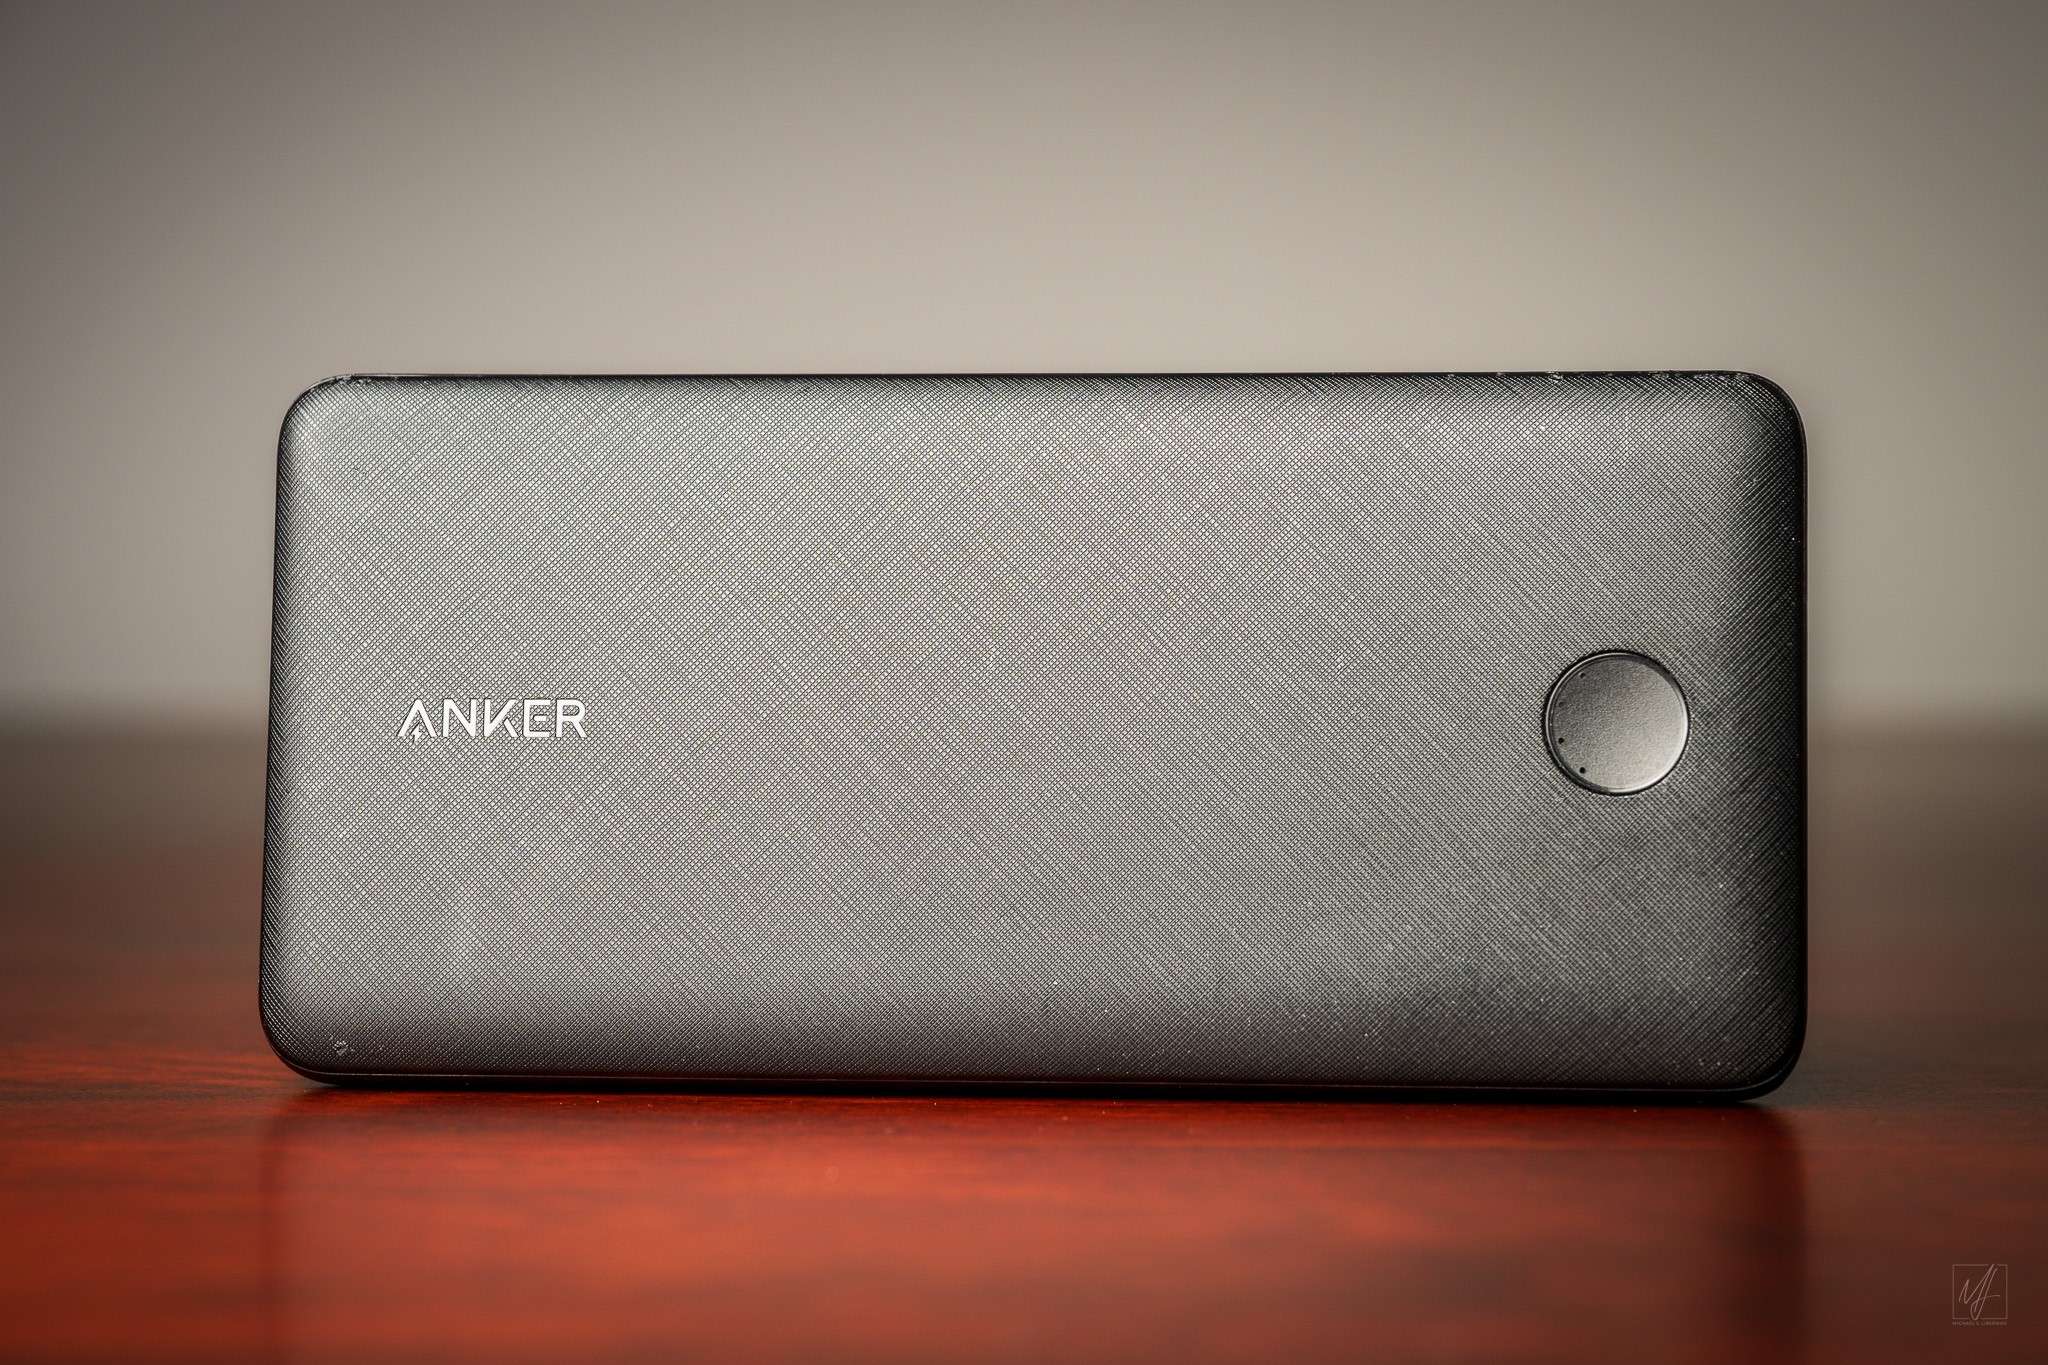
Anker 525 PowerCore Essential PD: At 20,000 mAh this power bank has enough capacity to charge the iPhone, Apple Watch, AirPods, and Z6II batteries multiple times. Indispensable for long travel days and layovers, and especially useful during the back-to-back flight and transfer days on this trip.
Anker 525 PowerCore Essential PD Nikon Z8 • NIKKOR Z 24-120mm f/4 S at 85 mm • ISO 64 • 1/125 sec at f/8.0
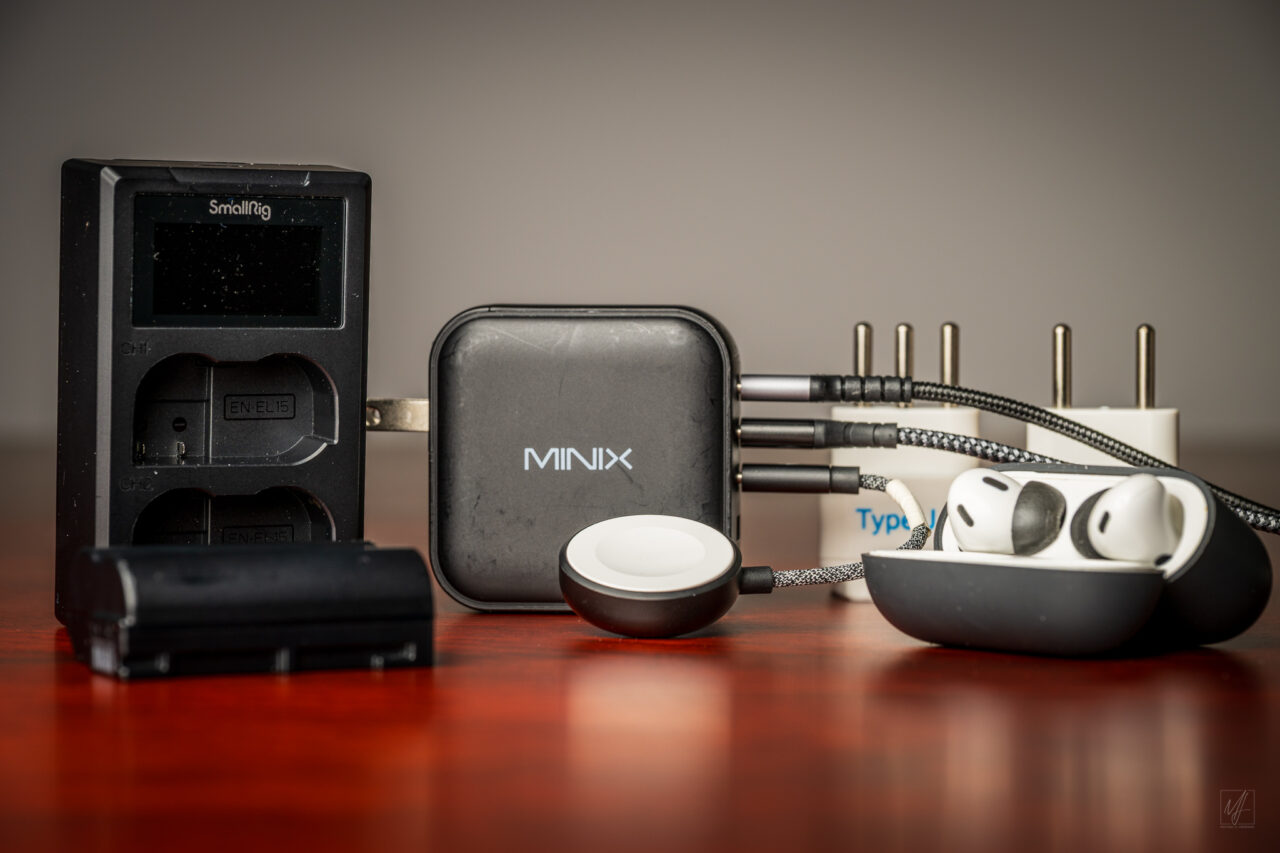
MINIX NEO P3 100W GaN Wall Charger: The 4-port GaN charger with worldwide voltage support continues to anchor the overnight hotel charging setup. The Z6II EN-EL15 batteries via the now-discontinued SmallRig EN-EL15 Camera Battery Charger, iPhone 16, Apple Watch, AirPods Pro, Anker power bank, and OSMO Pocket 3 – all recharged overnight with a handful of short cables and a single wall plug.
NINIX NEO P3 100W GaN Wall Charger with SmallRig Charger and AirPods Pro Nikon Z8 • NIKKOR Z 24-120mm f/4 S at 85 mm • ISO 64 • 1/125 sec at f/8.0
Memory Card and File Management
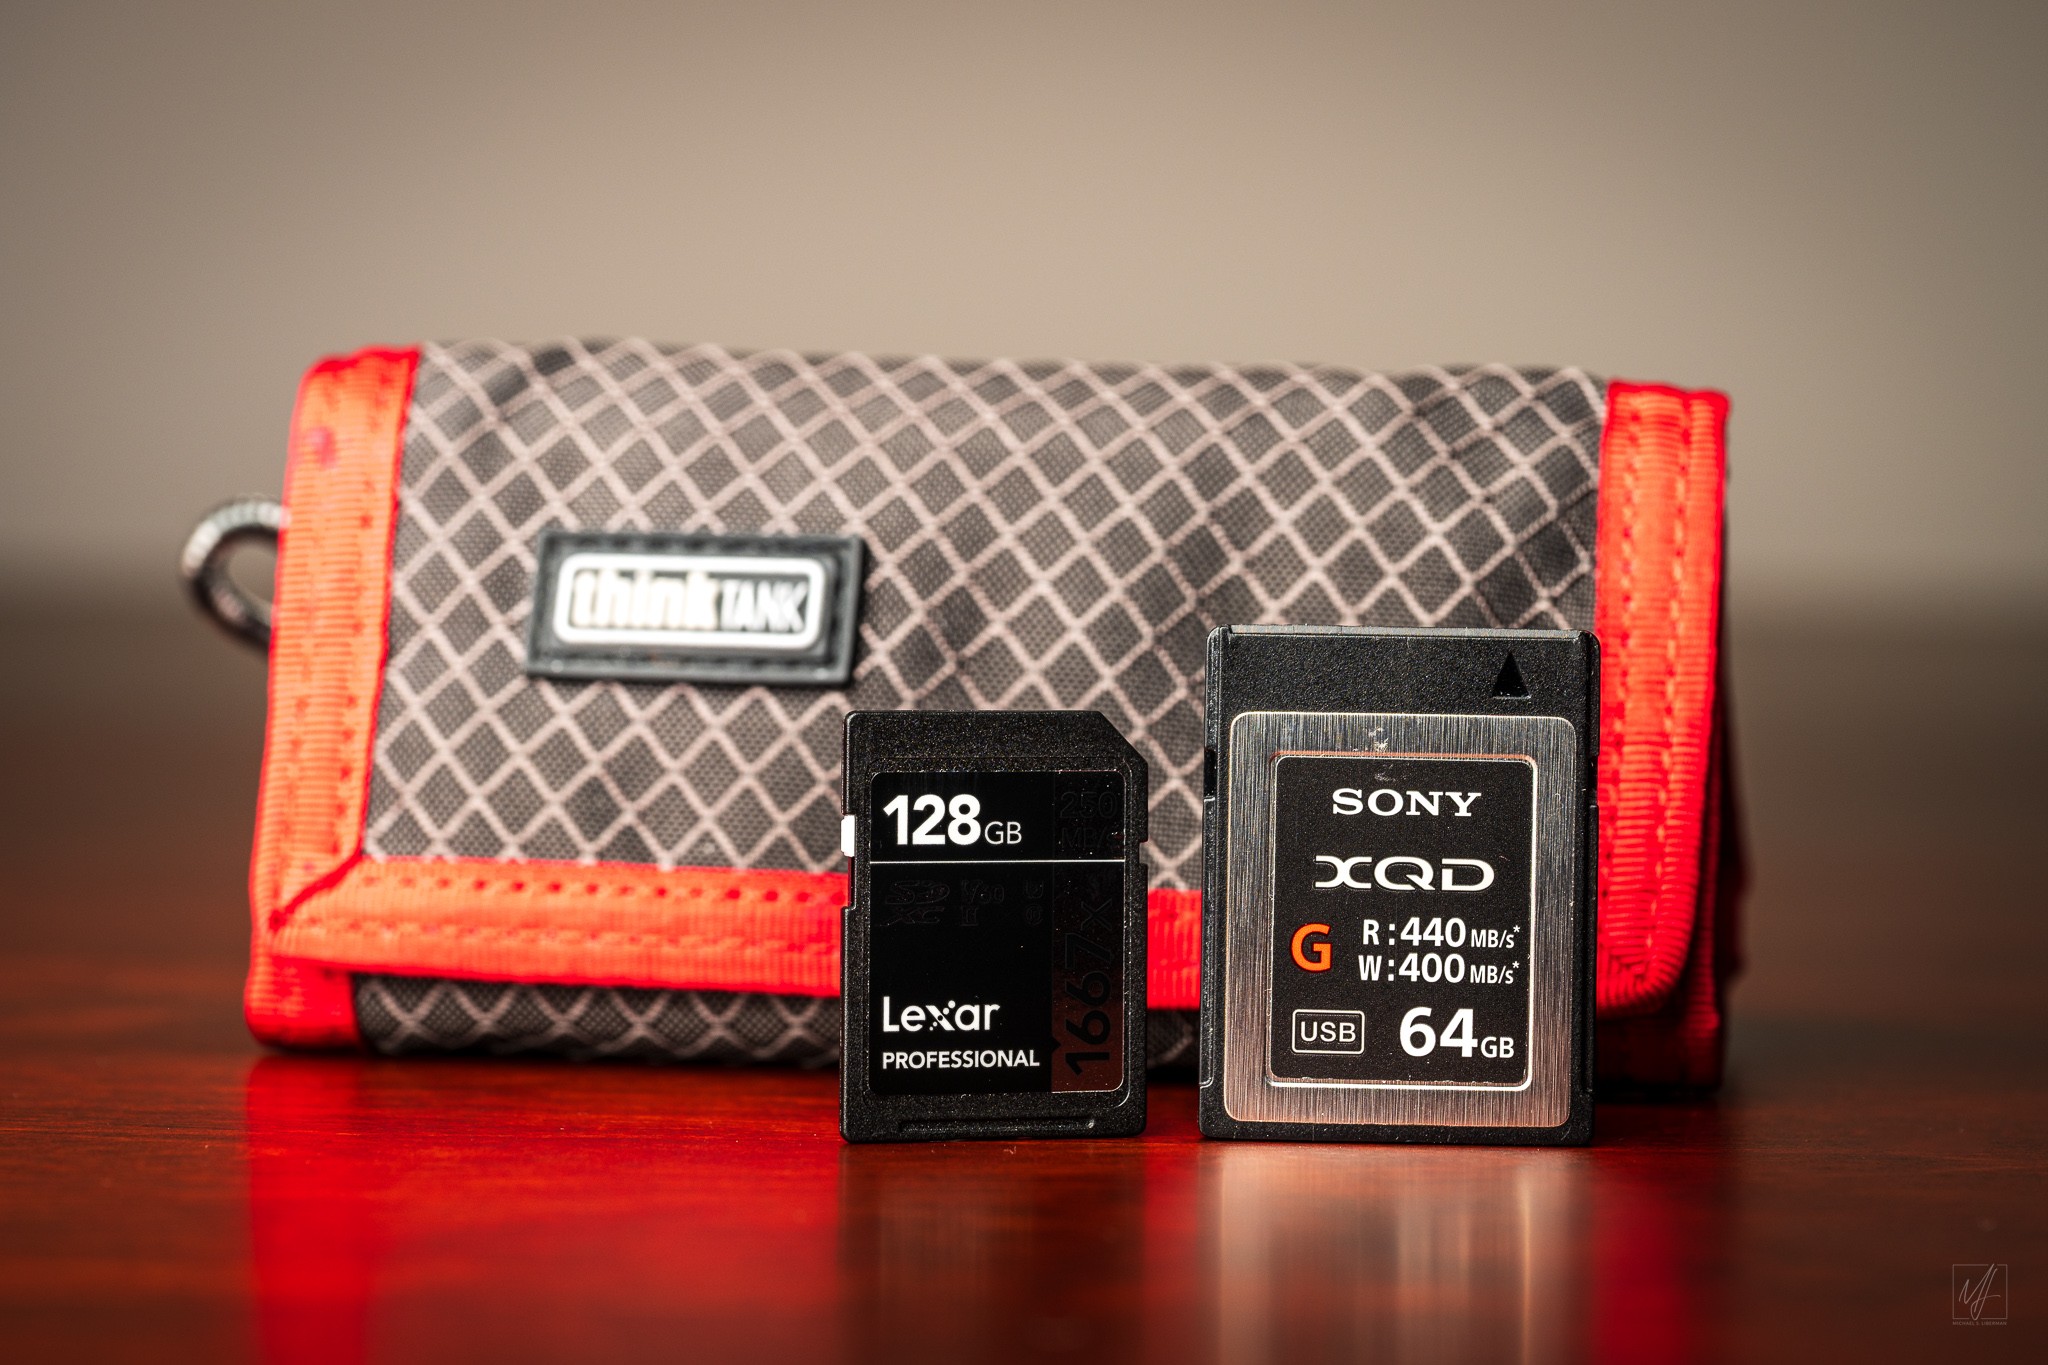
Lexar 1667x SDXC UHS-II and Sony XQD G Series Memory Cards Nikon Z8 • NIKKOR Z 24-120mm f/4 S at 85 mm • ISO 64 • 1/125 sec at f/8.0
For this trip I brought the Z6II’s two 64GB Sony XQD G Series Memory Cards and two 128GB Lexar Professional 1667x SDXC UHS-II Memory Cards. The Z6II was set up with the XQD card in slot 1 for 14-bit NEF raw photo files and the SDXC card in slot 2 for 4K H.265 MOV video files. Midway through the trip I swapped to the second set of cards. At the end of the trip, across the Z6II, OSMO Pocket 3, and DJI Mic, the final file counts were as follows:
Photos
Files
Gigabytes
Nikon Z6II NEF
958
28.80
iPhone 16 JPG
9
0.03
TOTAL
967
28.83
Video and Audio
Files
Gigabytes
Nikon Z6II MOV
300
47.45
DJI OSMO Pocket 4 MP4 Timelapse
10
1.53
iPhone 16 MOV
0
0.00
DJI Mic Transmitter WAV
4
0.02
TOTAL
314
49.00
Not counting travel days, the Z6II shooting rate was about 80 photos per day — slightly below my usual average of 100. Not counted – 36 exposures from one roll of Kodak Ektar 100 film.
Shooting Guidelines
Building on the guidelines developed for Iceland, here are the rules set for the Alps and Med trip and how they played out:
Record 30 seconds of ambient audio at each site using the DJI Mic Transmitter … Did this at four locations: Lucerne, Lake Como, Avignon, and Provence. Audio gain set slightly higher than Iceland recordings for a better level.
Capture all photos and video with the Nikon Z6II … Mostly but did use the iPhone 16 for several photos during flights.
Capture interstitial timelapses with the DJI OSMO Pocket 3 … Did this. 10 timelapse MP4 sequences captured.
No iPhone photos or video … Did this for video, but see second bullet above for photos.
Back up media cards daily using the Clouzen Tainer … Did this every day without exception.
Fitness Data
The Apple Watch tracked every step across the 13-day trip. Some of the most walking-intensive days were Barcelona (19,389 steps / 8.2 miles) and Provence (19,810 steps / 7.7 miles). The full trip totals:
Day
Steps
Miles
Stairs
IAD to BOS
16,073
7.2
14
BOS to ZRH
14,924
6.6
4
Lucerne
7,960
3.4
6
Mount Titlis
18,912
7.5
32
Lake Como
12,376
5.3
9
Cinque Terre
12,051
4.9
17
Monaco, Èze, Nice
17,105
7.4
20
Avignon
13,479
5.8
24
Provence
19,810
7.7
24
Provence to Barcelona
14,030
6.1
6
Barcelona
19,389
8.2
10
BCN to ZRH to BOS
8,776
3.8
5
BOS to IAD
7,995
3.7
16
TOTAL
182,880
77.6
187
For comparison, Iceland totaled 102,691 steps and 44.6 miles over 9 days. The Alps and Med trip covered significantly more ground – nearly 78 miles – over 13 days, reflecting the longer duration and the sheer amount of walking through cities like Barcelona and Avignon.
WordPress Blog Updates
Same workflow as previous trips. The Z6II’s built-in Wi-Fi connects to the SnapBridge app on the iPhone for photo transfers throughout the day. The Jetpack for WordPress mobile app handles drafting and publishing the daily updates – usually on the bus between locations, sometimes over dinner. Sophie and Greg provided proofreading under the less-than-ideal conditions of a restaurant table at the end of a long day. Internet connectivity across Switzerland, Italy, France, and Spain was consistently good, making it easy to upload photos and post updates in near real time.
Photo Workflow
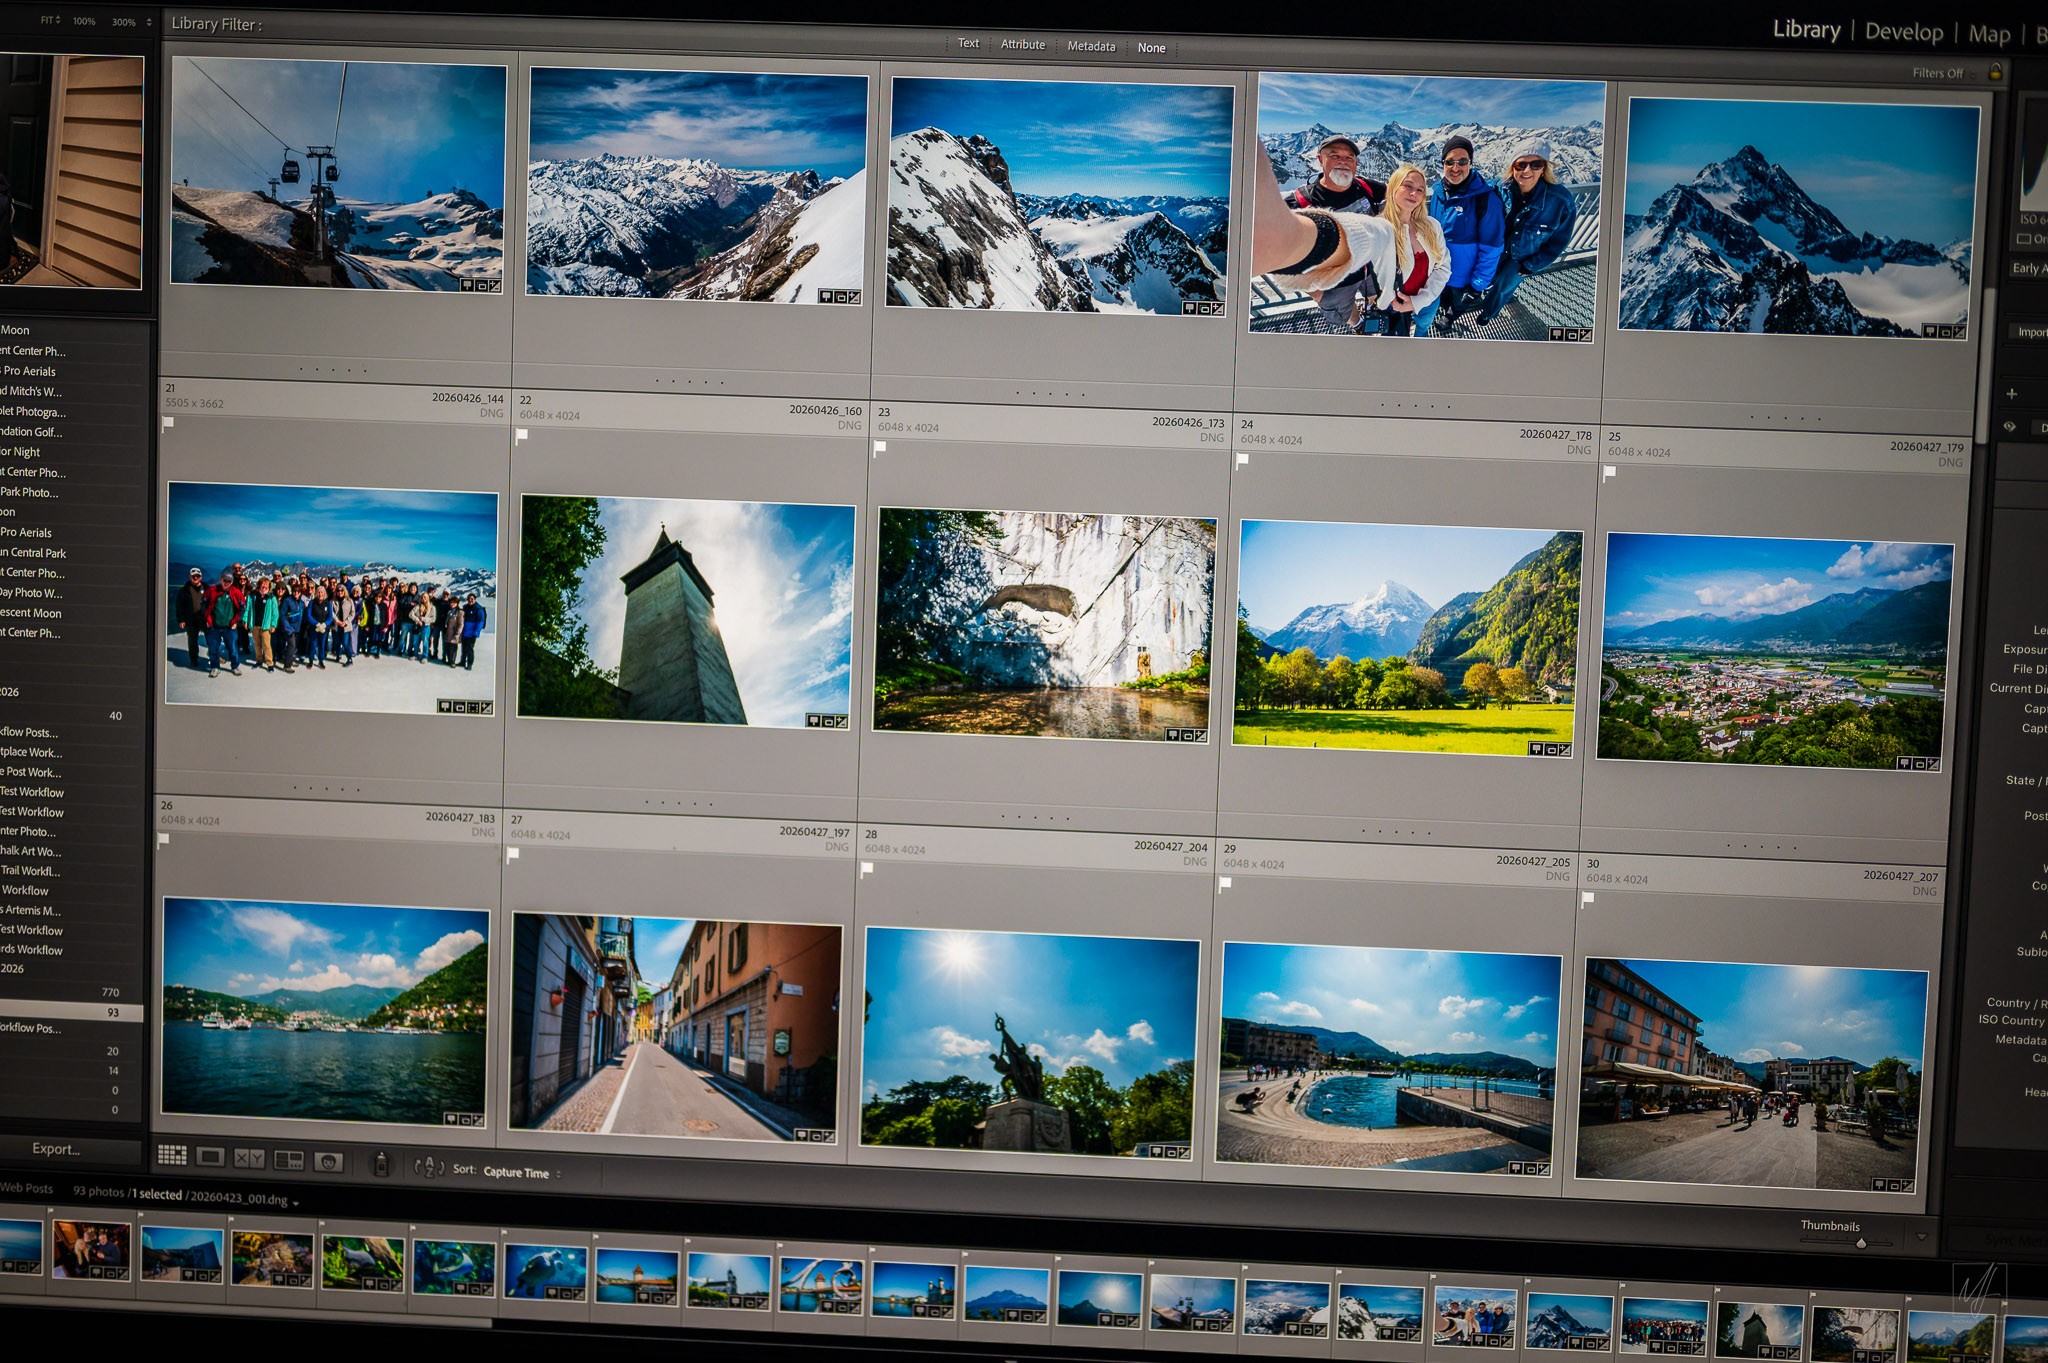
Lightroom Classic Alps and Med Collection Nikon Z6II • NIKKOR Z 50mm f/1.8 S • ISO 640 • 1/500 sec at f/1.8
Import as DNG to folders named by date and location
Delete duplicates and rejects
Geoencode
Rename by date with sequential numbers
Collections for Full Shoot and Web posts
Post-process
Caption
Output using Jeffrey Friedl’s Metadata Wrangler Lightroom plugin to format captions including caption text, city, country, GPS location, camera, lens, and exposure information
Reimport to WordPress with Katsushi Kawamori’s Upload Media Exif Date plugin so that uploads to the Media Library are sorted chronologically by date and time captured
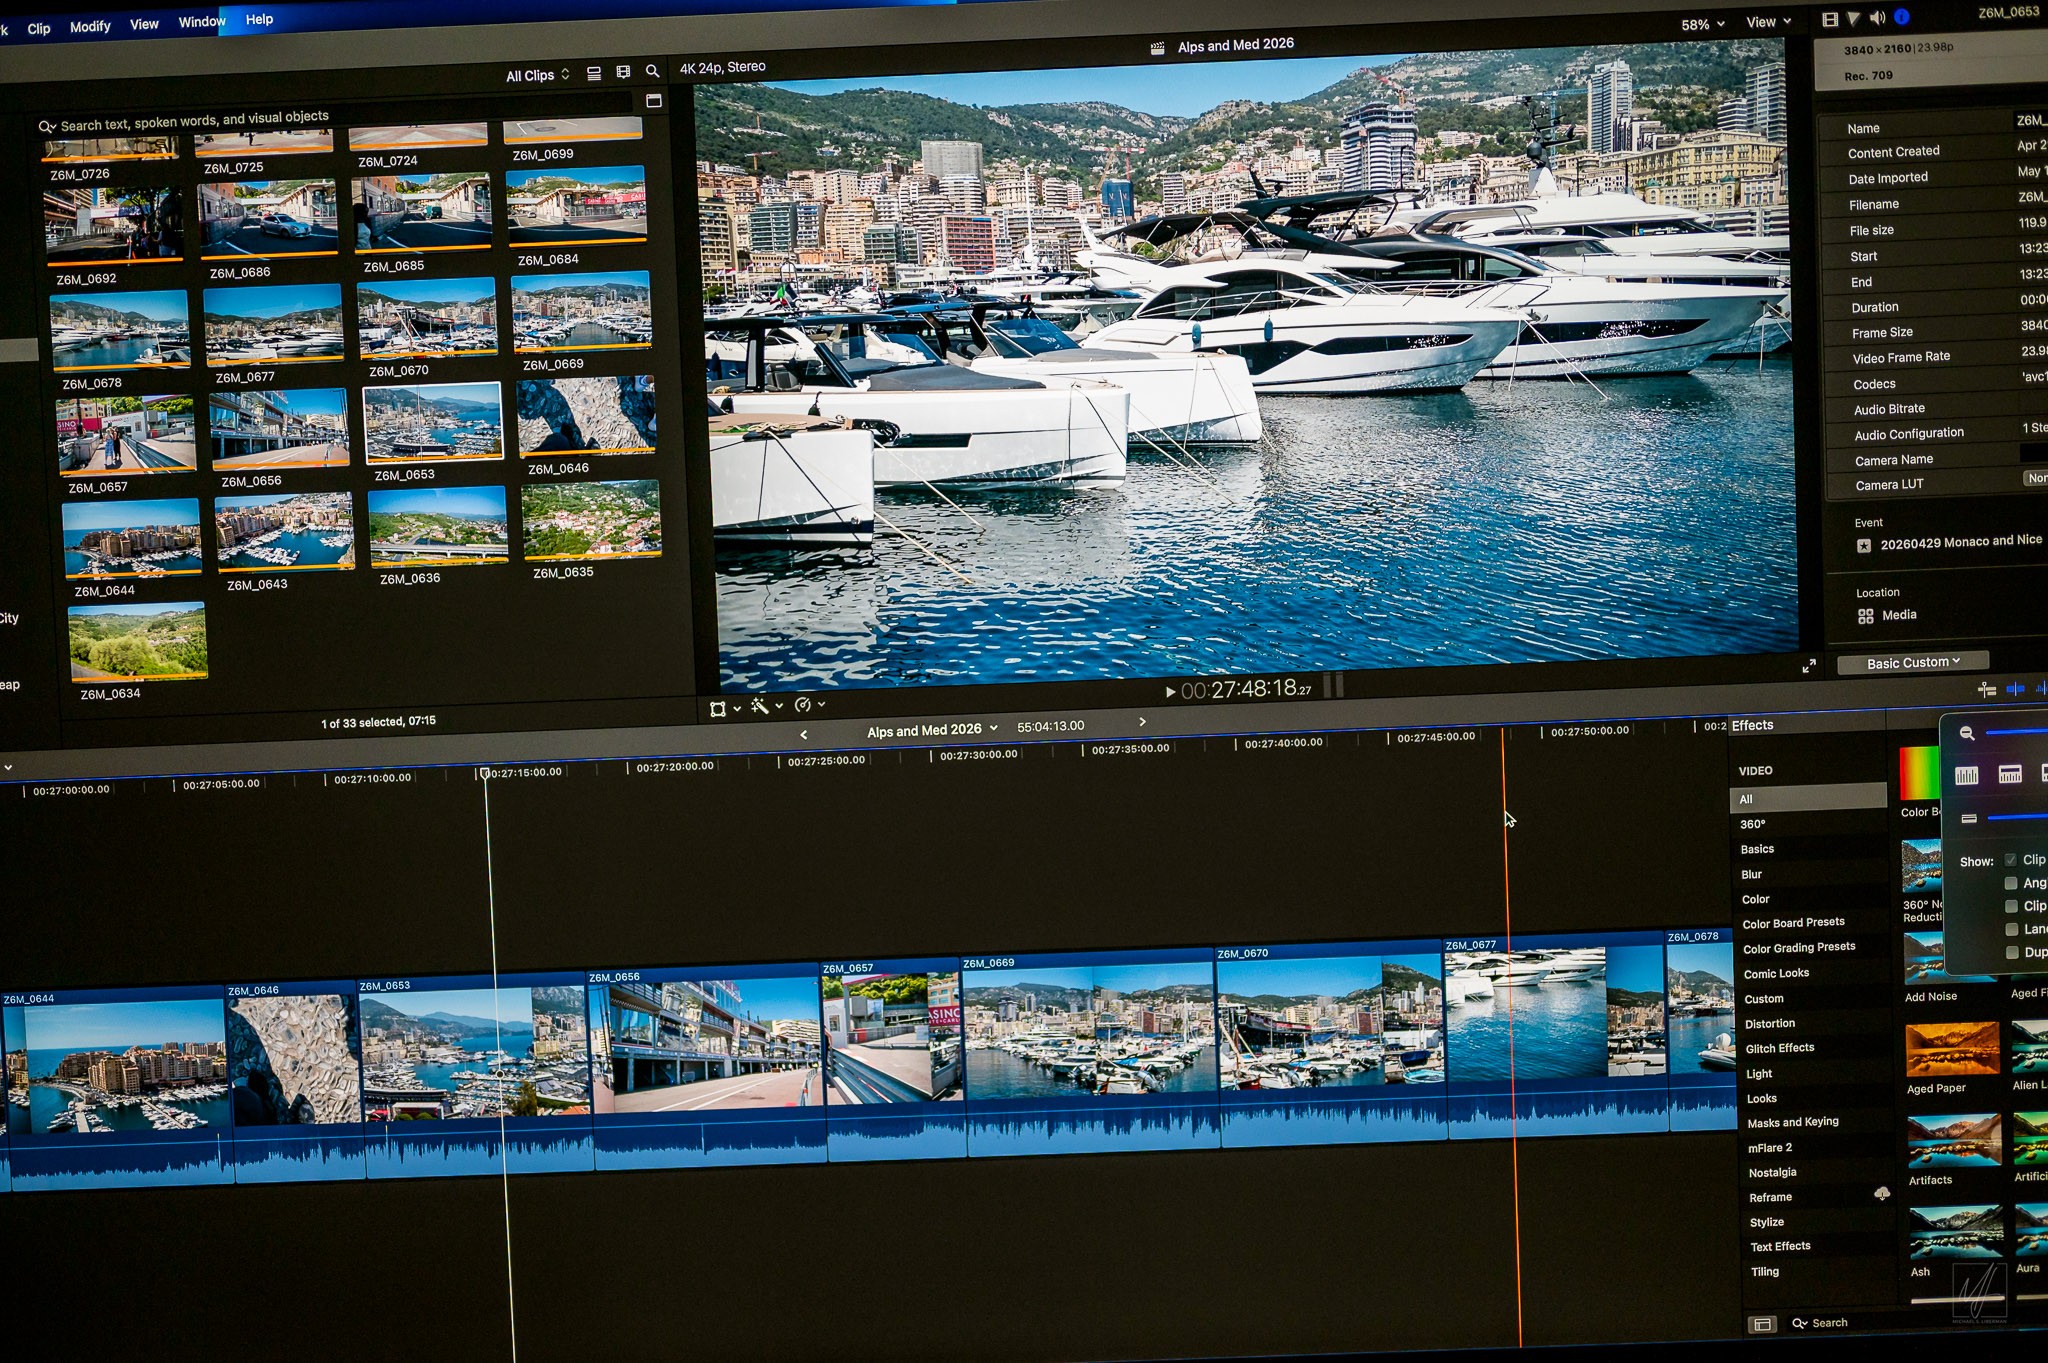
Video Workflow
Final Cut Pro Alps and Med Timeline Nikon Z6II • NIKKOR Z 50mm f/1.8 S • ISO 720 • 1/500 sec at f/1.8
Video files are organized in Apple Final Cut Pro into events named by date and location. After import, files are renamed by date and time.
Wrapping Up
With all trip photo and video files transferred, onsite and offsite backups confirmed via CrashPlan for Small Business, and then the XQD and SDXC cards reformatted and ready for the next project. Now to figure out when I’ll sit down and edit the video – I’m a few trips and several years behind! In the meantime, time to start working on the packing list for New Zealand and Australia in the summer of 2027.
Switzerland, northern Italy, south of France, and Barcelona. What a beautiful part of the world! From looking out over the Swiss Alps at 10,000 feet at the top of Mount Titlis, to walking down the Formula One race course next to the harbor in Monaco on the Mediterranean Sea! Some trips are about history or hard to reach locations. This trip was all about the stunning scenic views! And as Greg reminded me, these trips are traveling and not vacations.
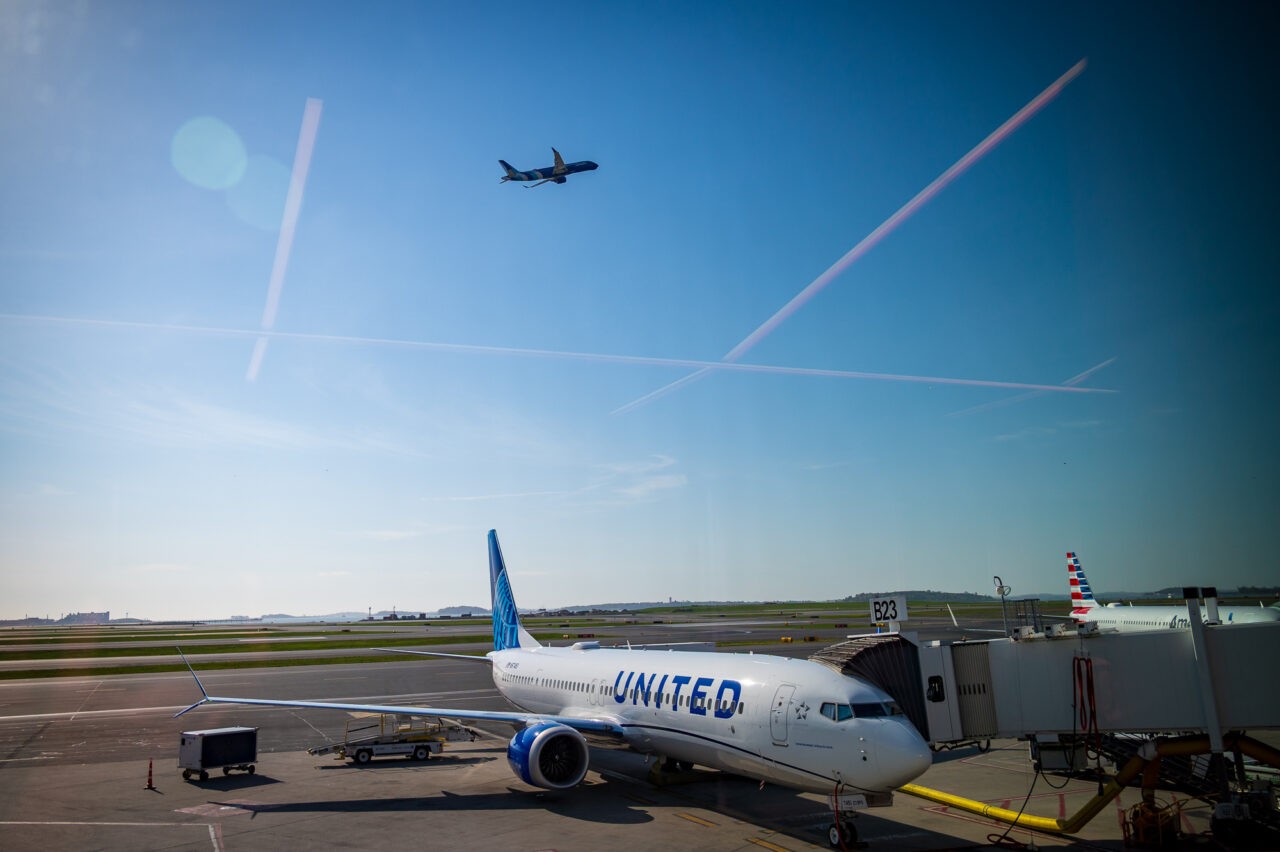
This morning I check out of the Courtyard Boston Downtown at 6:30 AM. By 7 AM I’m in United’s Lounge at Boston Logan. I like this lounge because it offers a great view of the runway and flight activities on a busy Tuesday morning at Logan. United Flight 2098 departs on time at 9:30 AM and I’m home by noon to start unpacking.
An early morning departure at Boston LoganUnited Flight 2098 to IAD Prior to Departure Nikon Z6II • NIKKOR Z 28-400mm f/4-8 VR at 28 mm • ISO 160 • 1/500 sec at f/4.0
Shortly after returning from the Italy and Greece trip in 2024, the M&M’S (Michael, Michelle, and Sophie) started looking for another travel experience. This trip fit the bill for location, itinerary, and timing. So we signed up with Greg completing our foursome. And once we got to Zurich, Peter joined the travel pod. Our group of 5 shared a lot of laughs, few great meals, and a decent number of adult beverages. And on this trip there were multiple travel pods all sharing the same kind of experience we were having.
Greg, Michelle, me, Peter, and Sophie
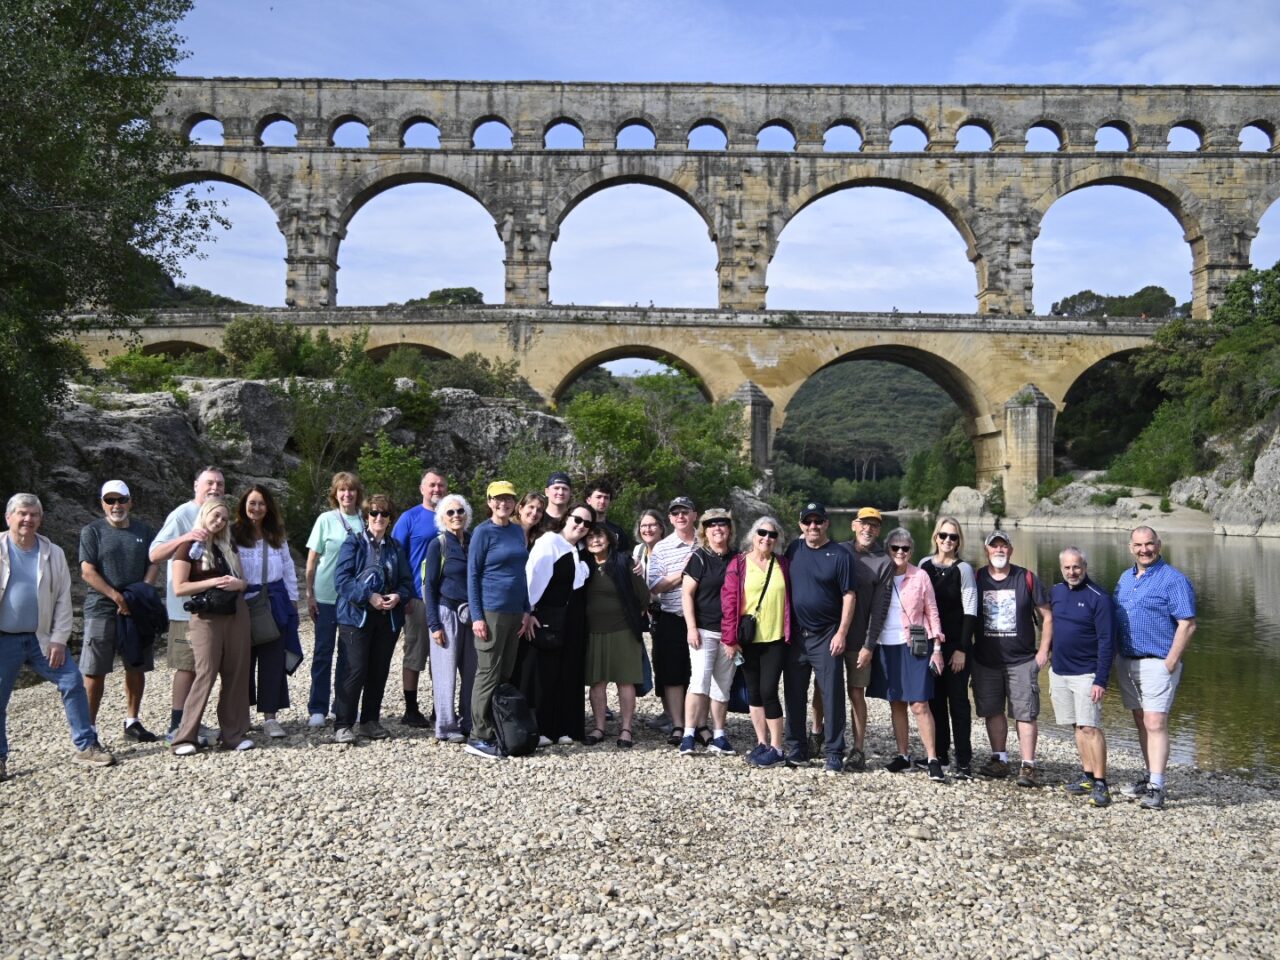
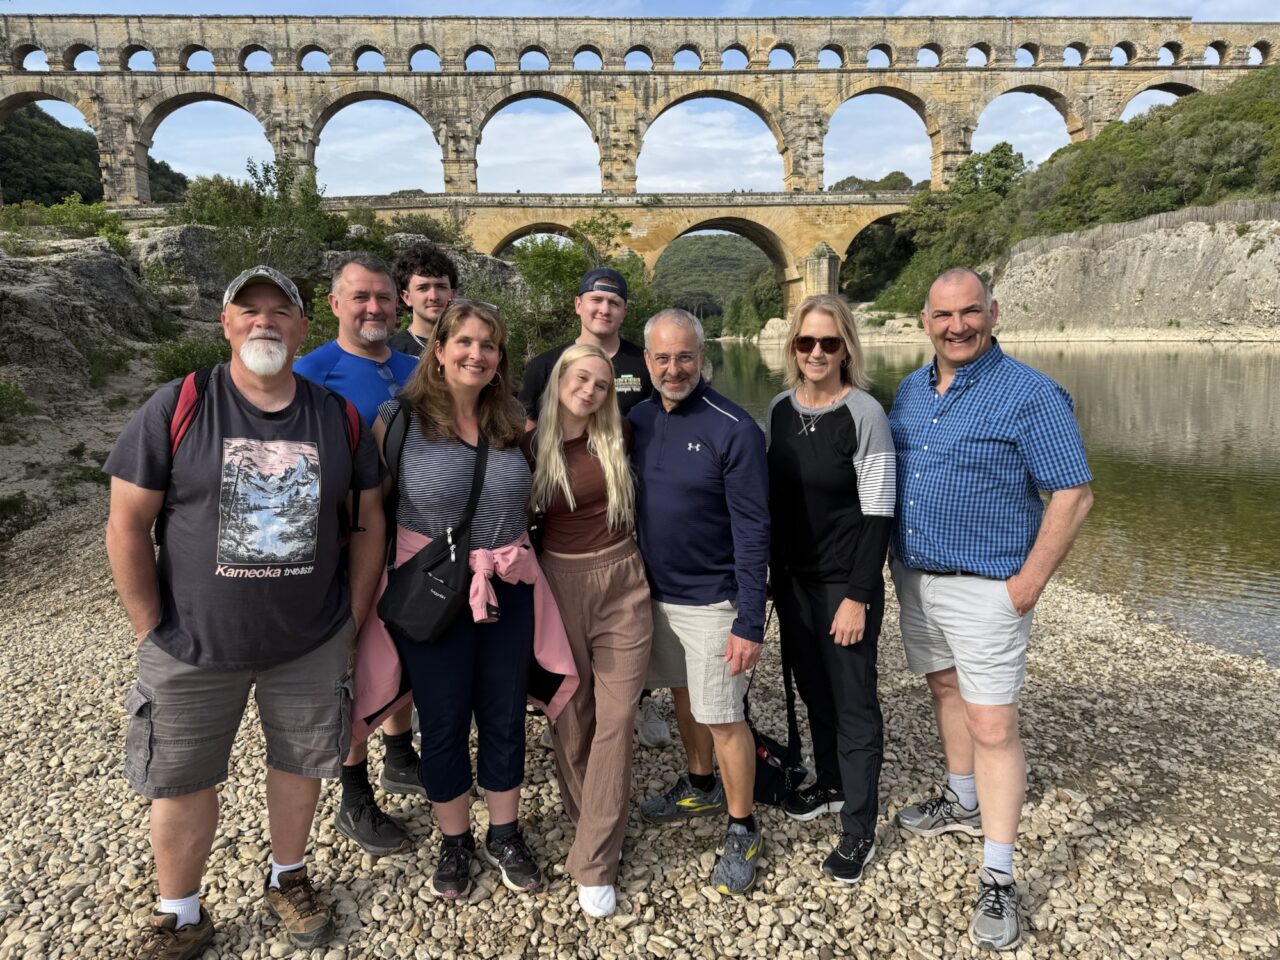
For trips with smaller groups I usually add a few comments on the final trip post about each participant, and when the group is 30 travelers that’s a tall order. But what a fun and cohesive group. As we walk from bus to destination or to another part of town, inevitably you start the walk taking to one person, shuffle around at the next traffic light and resume an earlier conversation with another person, and repeat until you arrive at the next location. Over the course of a week or two you have a chance to catch up with everyone on the trip. Here is our entire group at the peak of Mount Titlis!
A big thank you to Sophie for being my Social Media Consultant during the past two weeks. I got helpful input and advice whenever I needed! What a resource! And thanks to both Sophie and Greg for proofreading the daily blog posts … usually in the middle of dinner when there are better things to do! Our Tour Guide for this trip was Rodolphe Rousseux. He is passionate about travel, easy-going, and adept at last-minutes changes based on weather or traffic. Our Bus Driver was Silvano … or Silvano Andretti as we came to know him! Silvano got the bus and us to our destinations quickly, even when traffic was working against us.
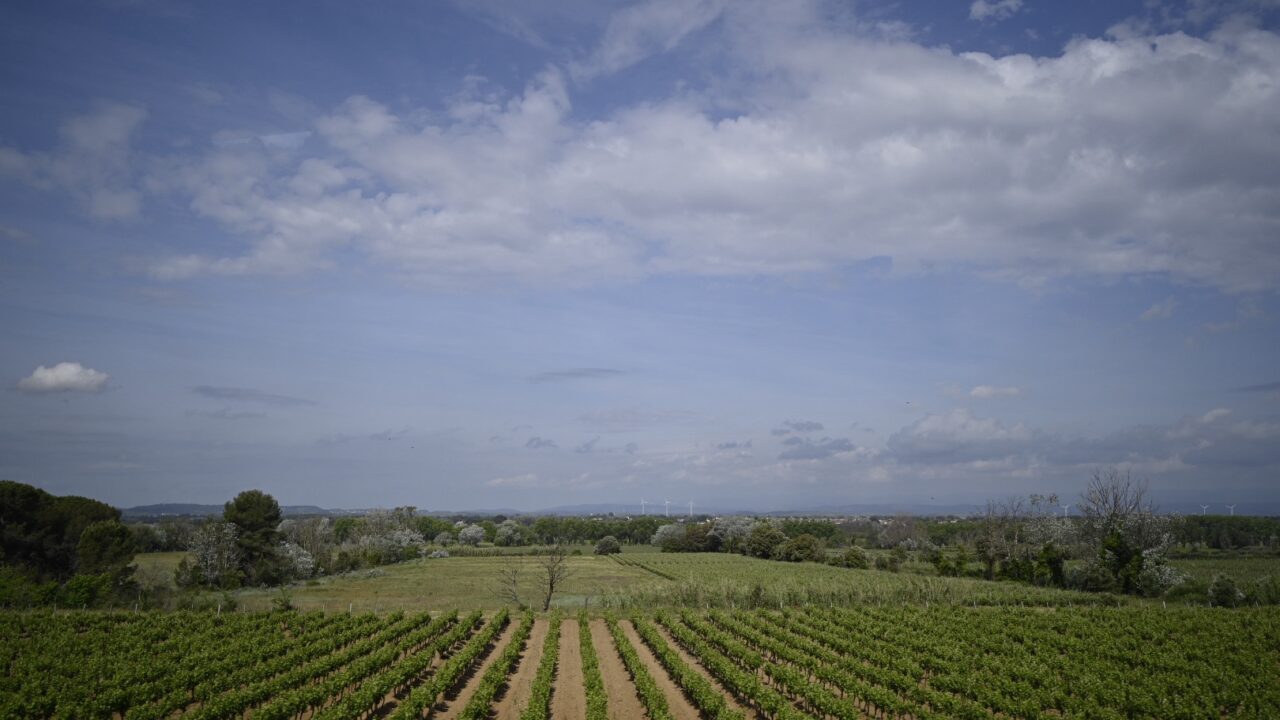
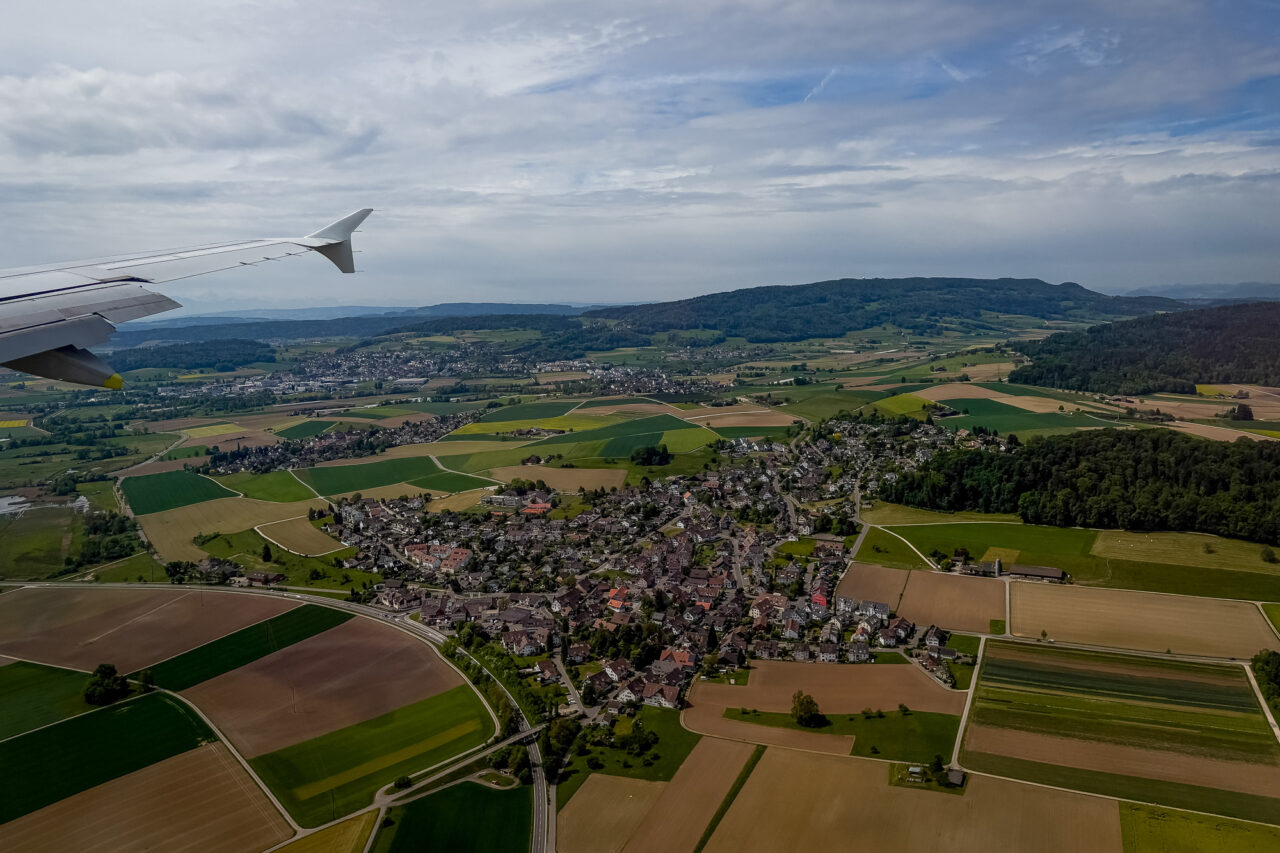
I’ve mentioned before that I really enjoy the days on the bus. Some time to look out the window at the countryside and work on some bus window photography. Holding a camera up to the window of a moving bus is a metaphor for life’s uncertainty. Looking out that window as the scenery comes rushing by, who knows what will come into frame. Maybe there is a plan. Maybe not. Will I be ready to press the shutter. Ready for the decisive moment? Sometimes not! One of my favorite images from our bus journey was leaving Nice early in the morning on the way to Avignon. Through mountain tunnels and over valley bridges. On one such bridge I noticed the silhouetted shadow of the bus above the arches of the bridge as the valley descended into the distance. I didn’t take that picture. I wasn’t ready. The camera was stowed in my camera bag. I tried for the next hour to get something similar. But the angle of the sun was different or the road curved in another direction or the shadow was too small. I came close and included a similar picture in the post that day. But not that photograph. It happens, That’s life!
But here are some of my favorite photos I did take on this trip. I hope you enjoyed these posts over the past couple of weeks as much as I enjoyed writing and photographing each day’s highlights. Thank you for taking a look, reading the posts, and commenting. It’s been much fun to share with you!
The AlpsCinque TerreMonacoAvignonPont du GardOutside of Salles-d’AudeCasa BatllóSagrada Família
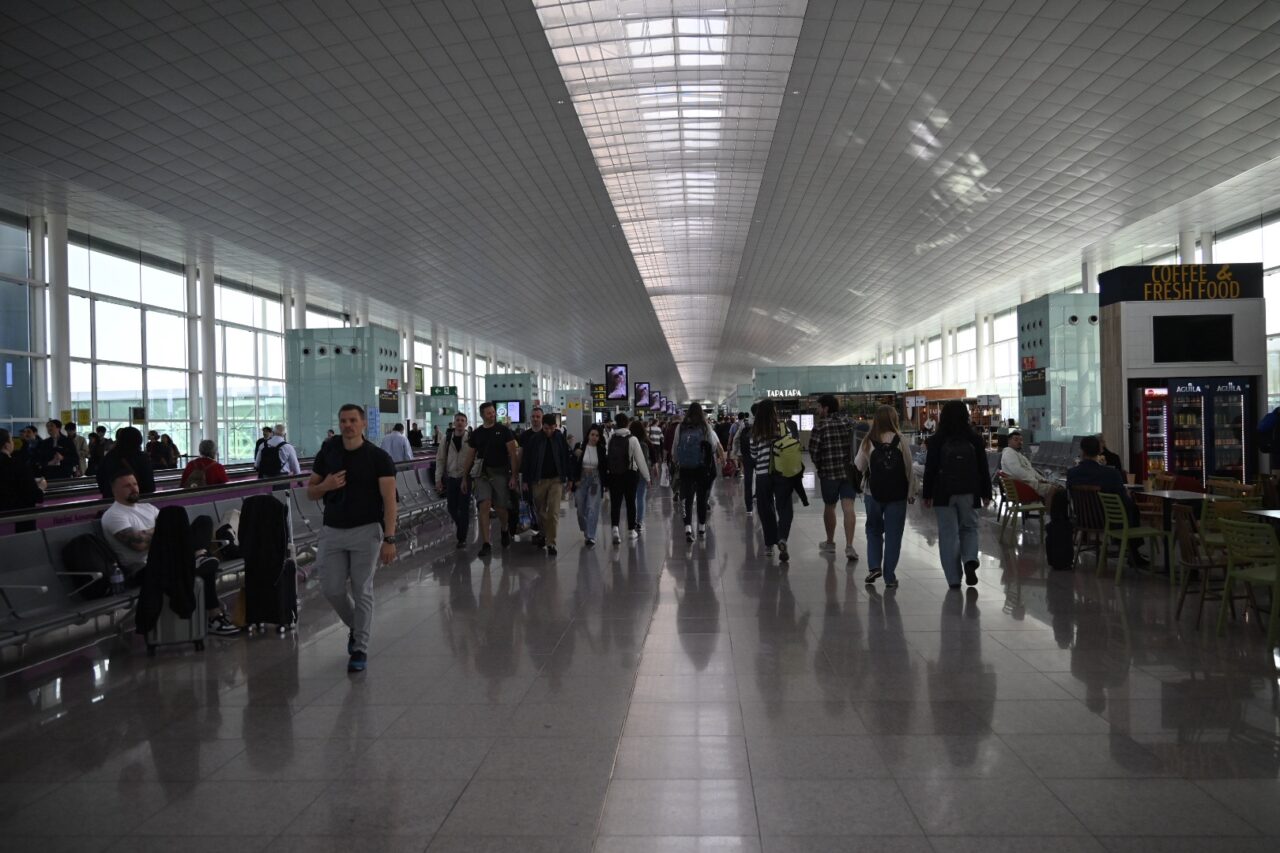
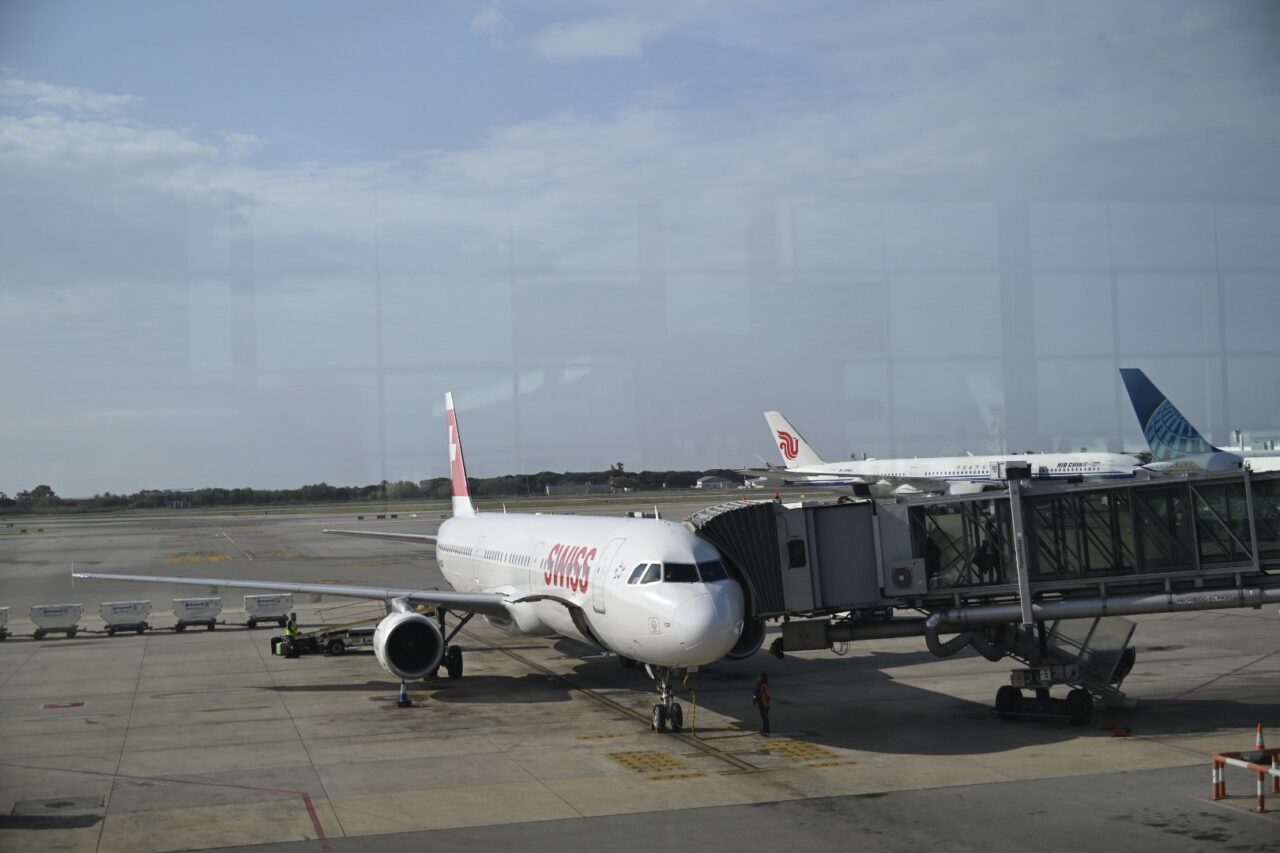
A long day of flying today as we make the return trip to the United States. We check out of the hotel at 7 AM and board the bus for the airport. Our planned 9:40 AM departure from Barcelona-El Prat Airport onboard Swiss International Air Lines flight 1953 to Zurich is delayed 25 minutes. Not to worry. More time for a Starbucks in the exterior airport courtyard.
Barcelona-El Prat AirportSwiss International Air Lines Flight 1953Swiss International Air Lines Flight 1953Swiss International Air Lines Flight 1953 iPhone 16 back dual wide camera 5.96mm f/1.6 • ISO 32 • 1/10000 sec at f/1.6
We arrive at Terminal A in Zurich, but our Boson-bound flight departs from Terminal E. It takes 30-minutes to get from the A gates to our E19 departure gate. At 1 PM we leave Zurich Airport enroute to Boston Logan on Swiss International Air Lines flight 54.
We’re back in Boston about 20 minutes before the scheduled 3 PM arrival time. Then it’s through customs and baggage claim to bring the international portion of this trip to a close. Time to say our goodbyes until the next trip. Most of the group leaves Logan by express bus back to New Hampshire. When planning my flights to Boston and back I decided not to try and make a connection flight to DC today. Instead Sophie, Greg, and I share an Uber to North Station. I check in at the Courtyard Boston Downtown. Sophie and Greg drop their bags at Sophie’s a few blocks away. We grab a quick bite at A&B before I reset for tomorrow’s return to DC.
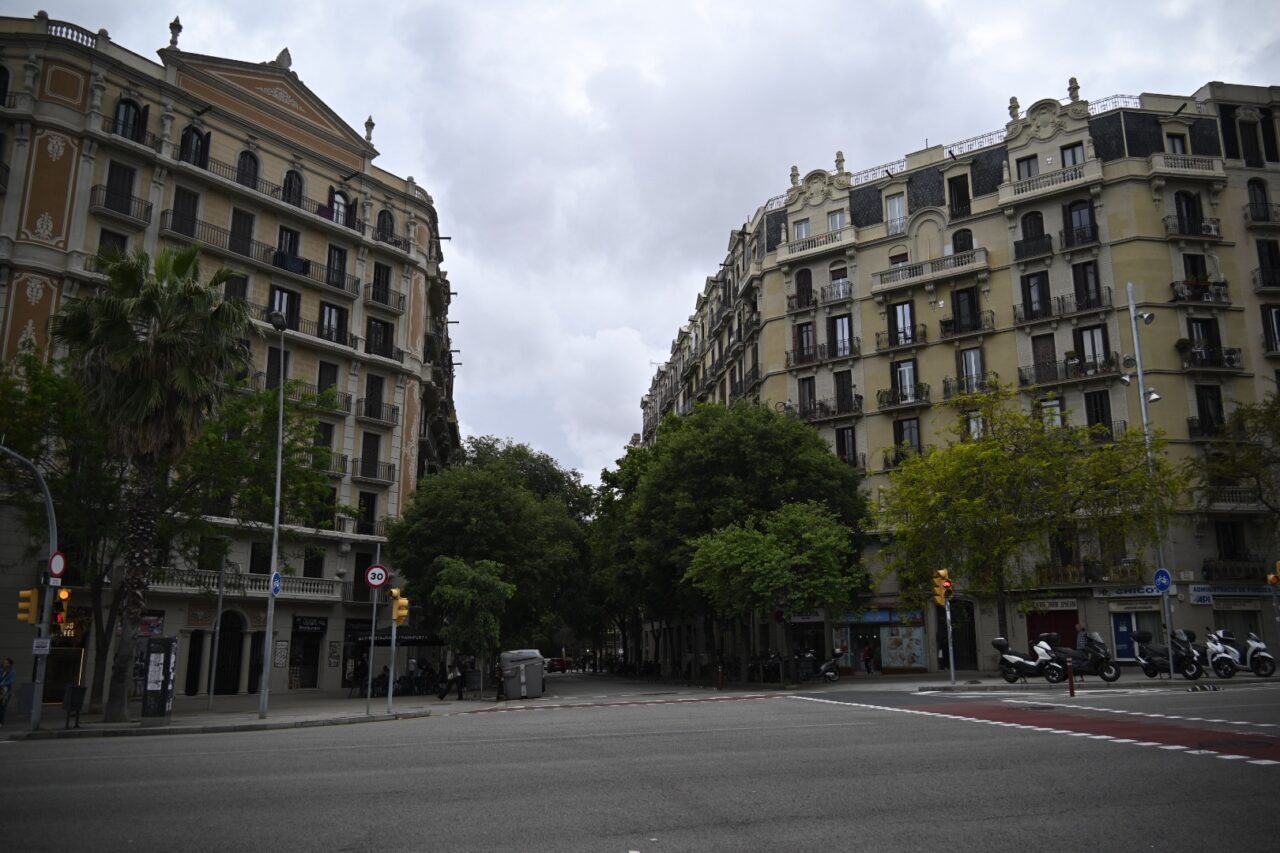
Barcelona is known for its mix of Mediterranean culture, historic neighborhoods, and modernist architecture. The city’s skyline is defined by the iconic Sagrada Família. Barcelona also offers the lively street life we saw yesterday along Las Ramblas, beautiful Mediterranean beaches, and a strong Catalan identity expressed through cuisine, language, and traditions.
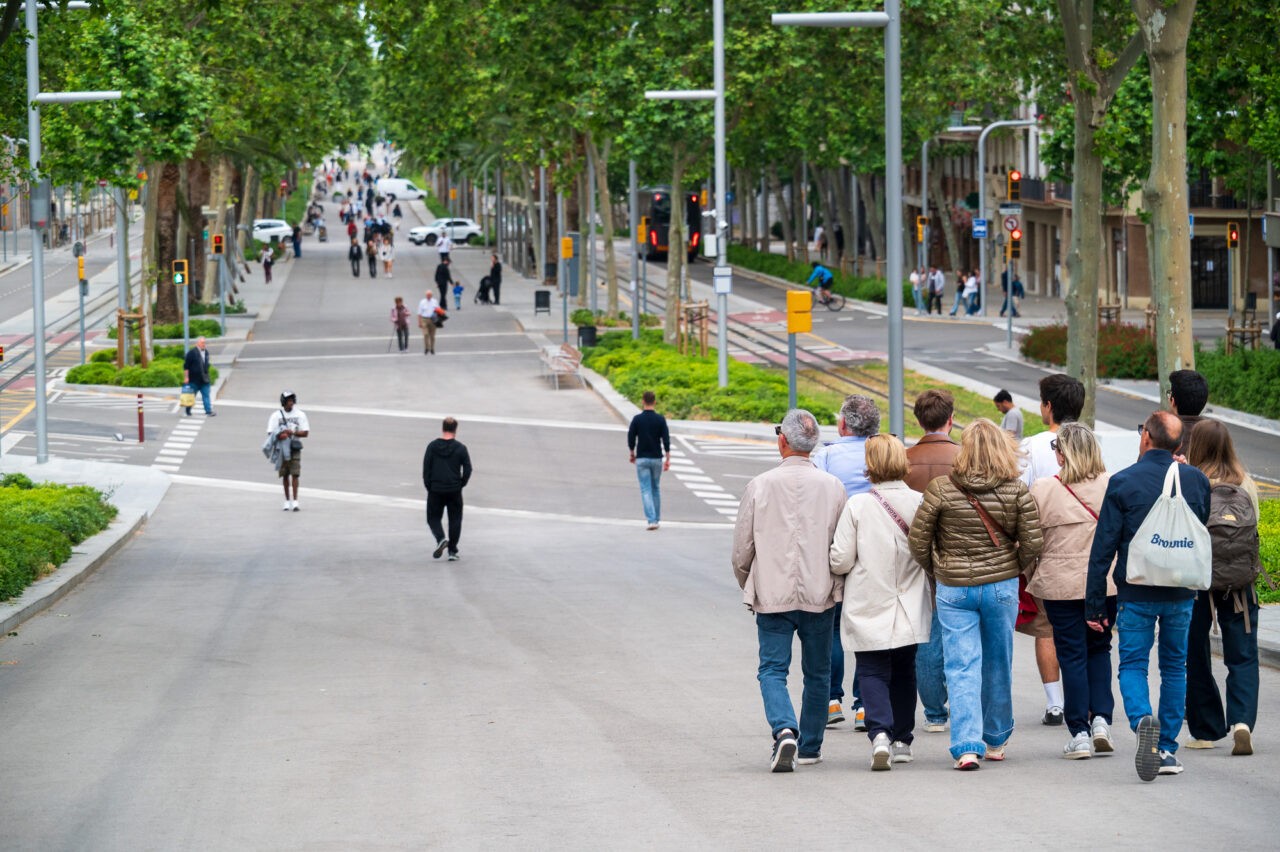
And it’s an incredibly pedestrian friendly city. The areas we walk through have been converted to 3×3 Superblocks that are car-minimized. Also, buildings at intersections are chamfered so that each intersection is diamond shaped, increasing visibility and light.
Pedestrian-friendly Barcelona Nikon Z6II • NIKKOR Z 28-400mm f/4-8 VR at 125 mm • ISO 1100 • 1/500 sec at f/6.7Chamfered building intersection
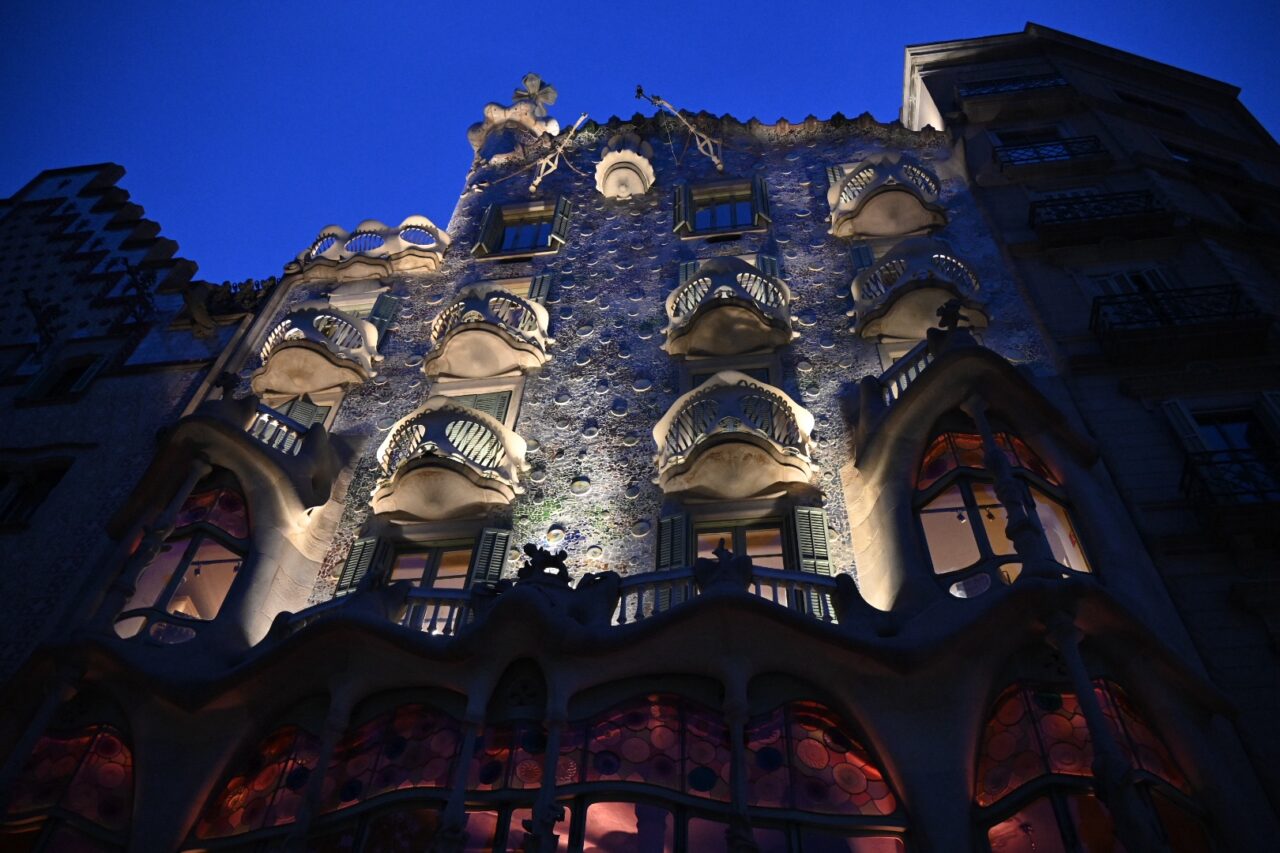
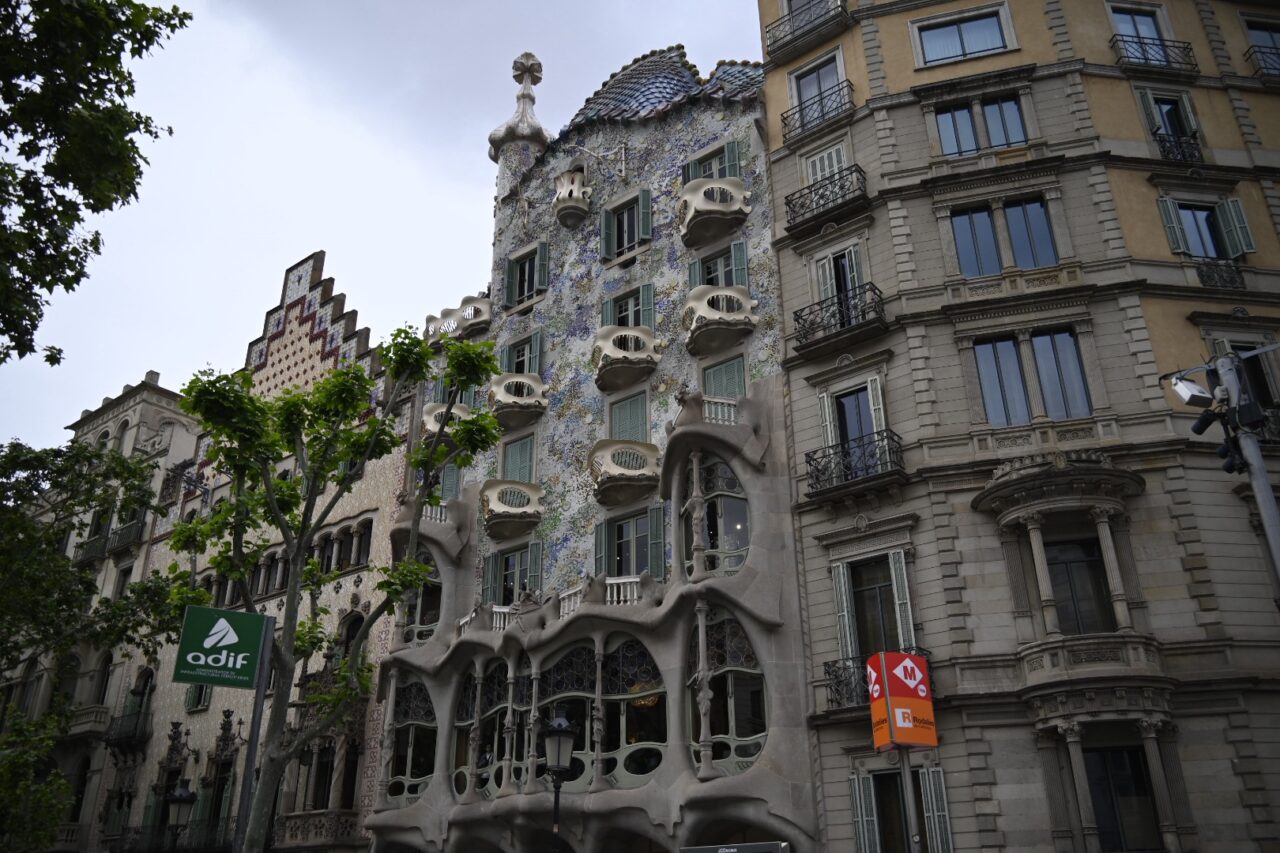
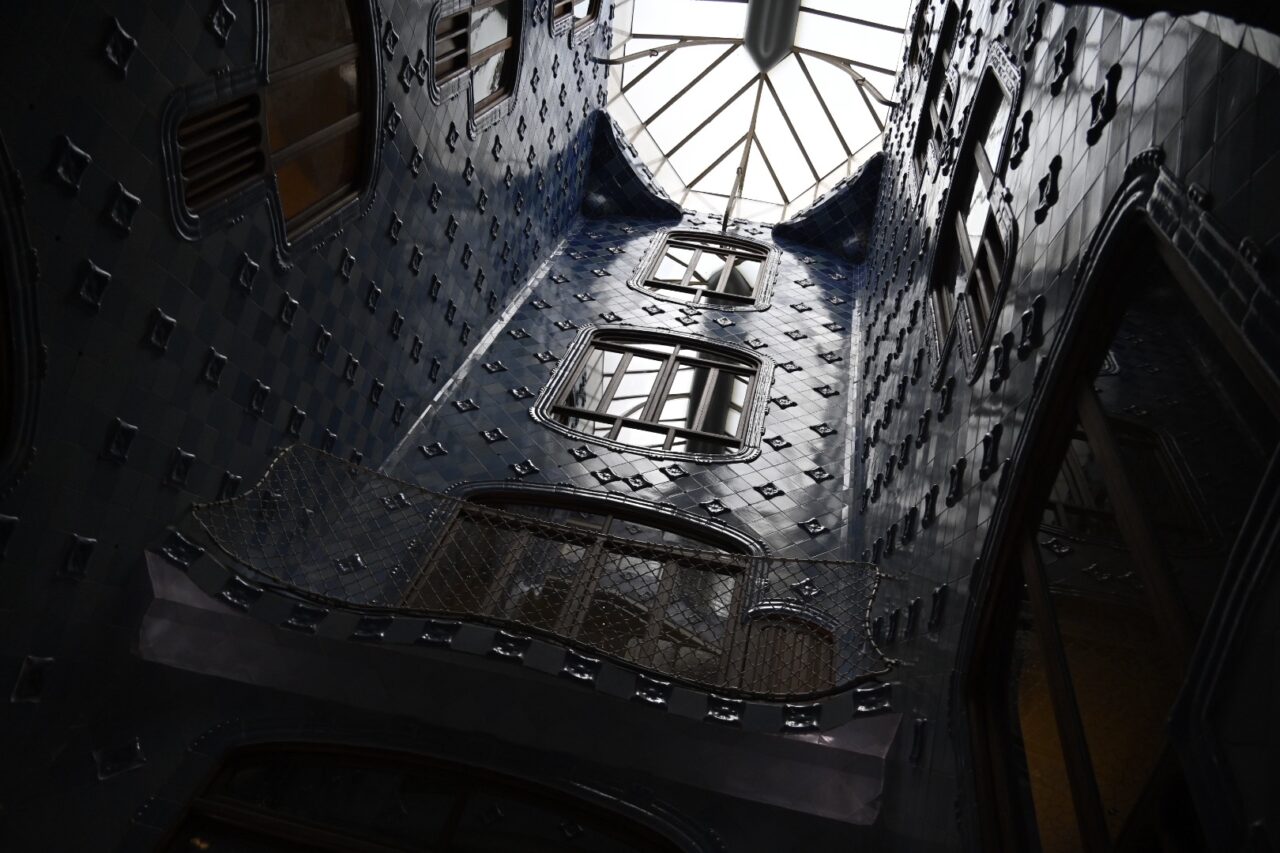
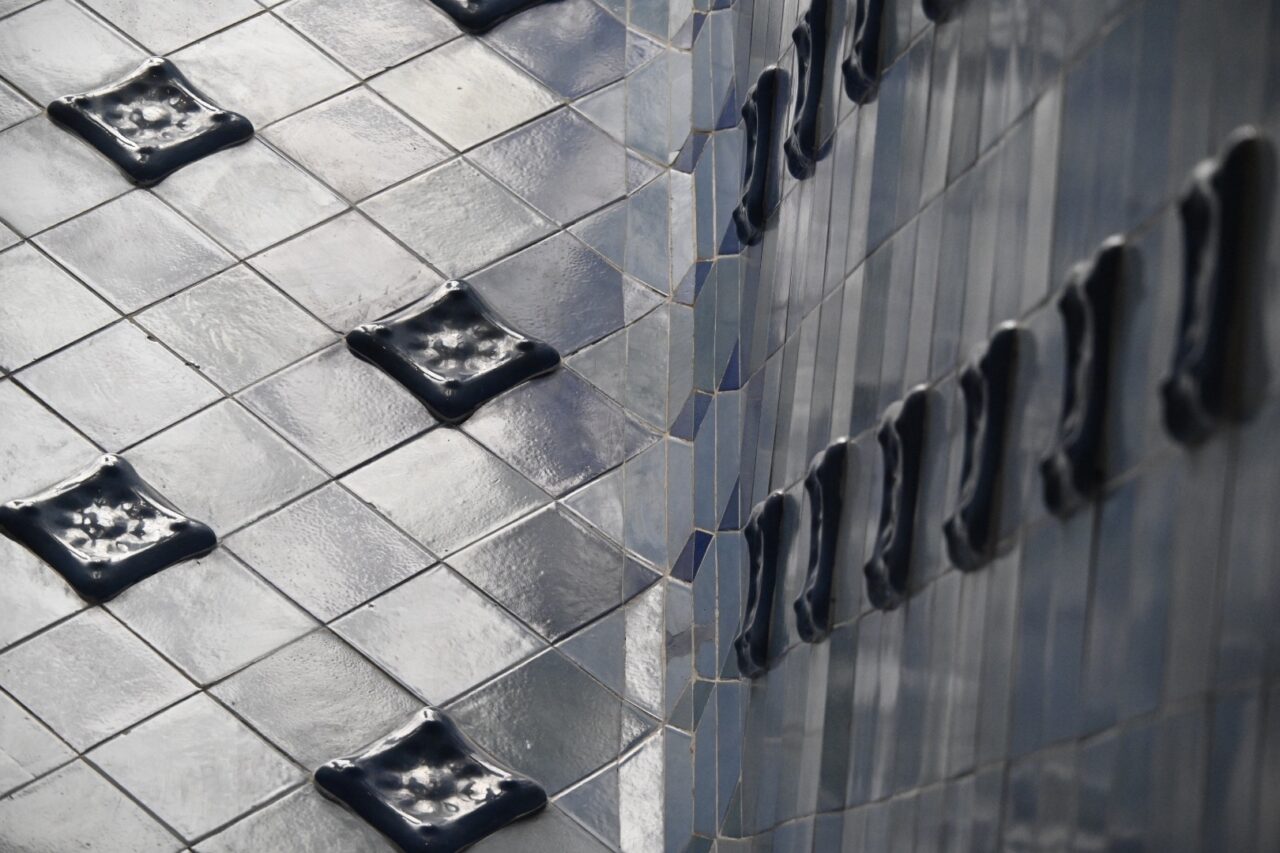
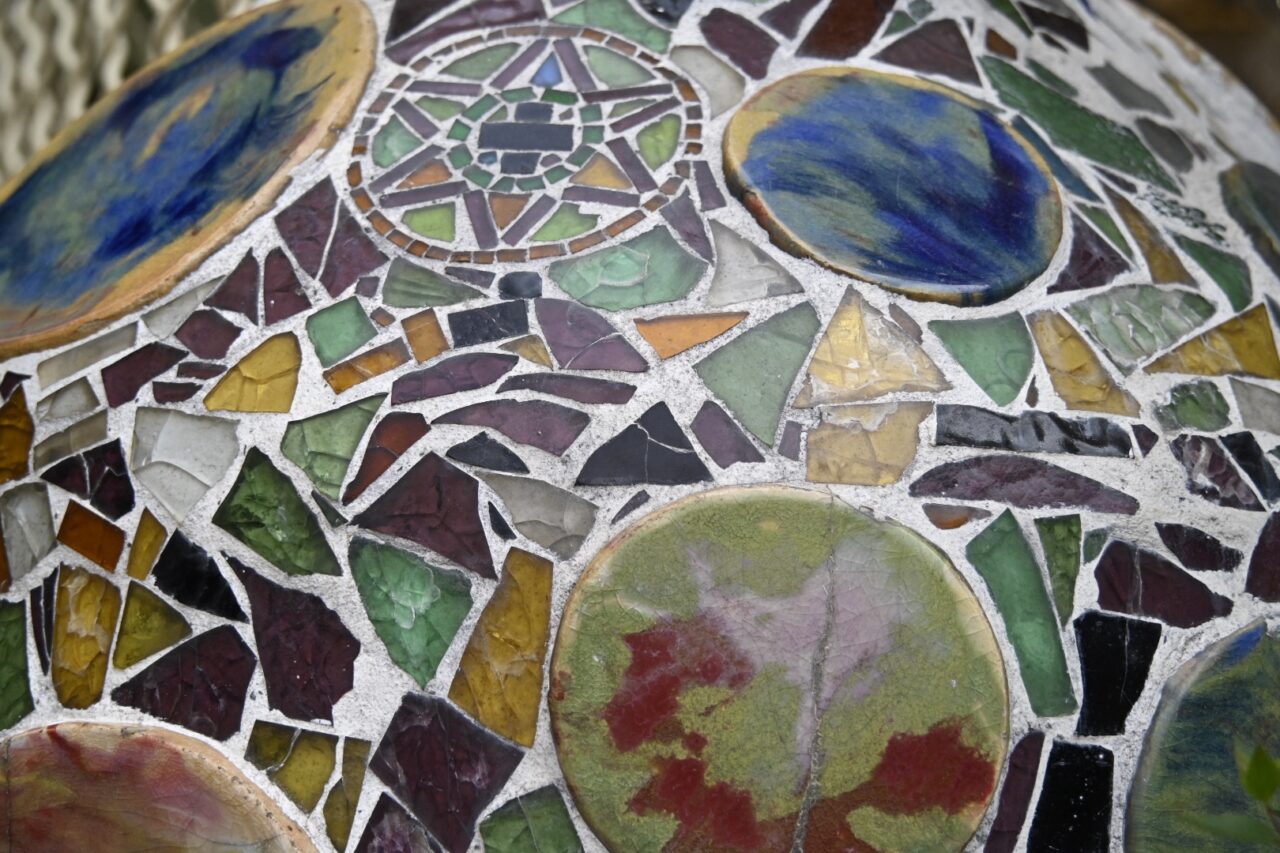
Our morning stop is Casa Batlló, Antoni Gaudi’s whimsical and organic building, commissioned by Joseph Batlló. Known as the House of Bones or the House of the Dragon the structure is a prime example of Catalan Modernism architecture.
Casa BatllóCasa BatllóCasa BatllóCasa Batlló
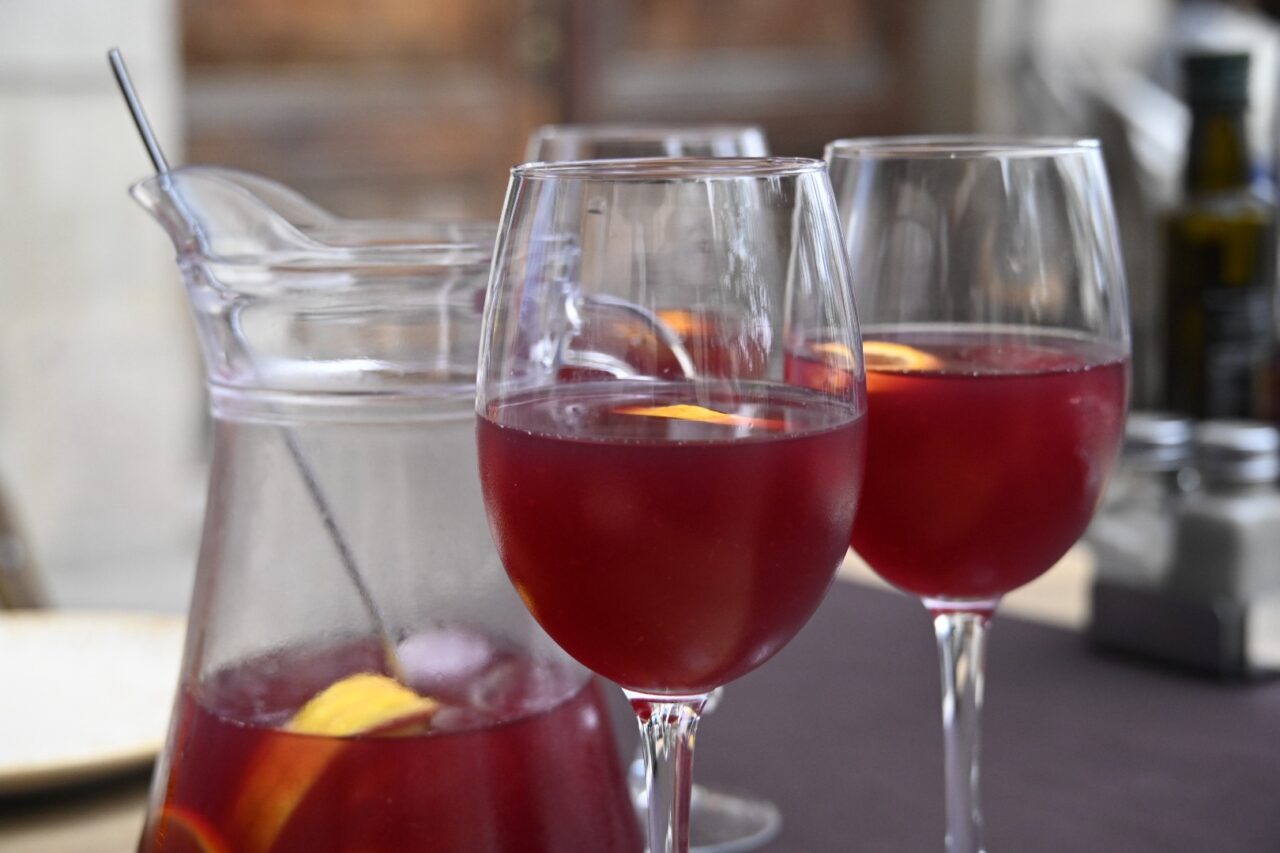
Lunch is at The Grill with Michelle and Peter and features a firm cheese selection, the jumbo-sized chicken, and an enhanced sangria.
Sangria at The Grill
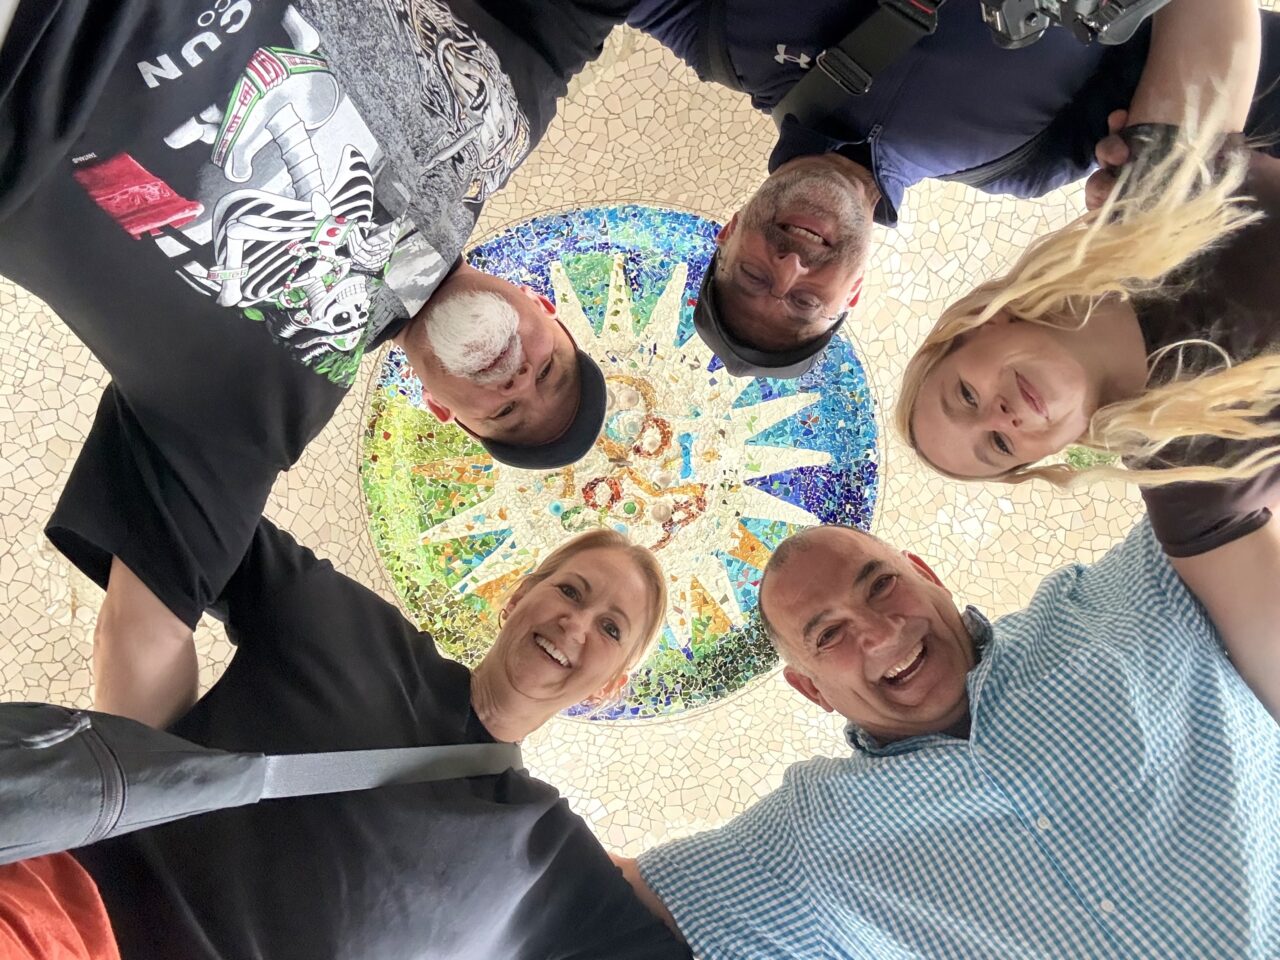
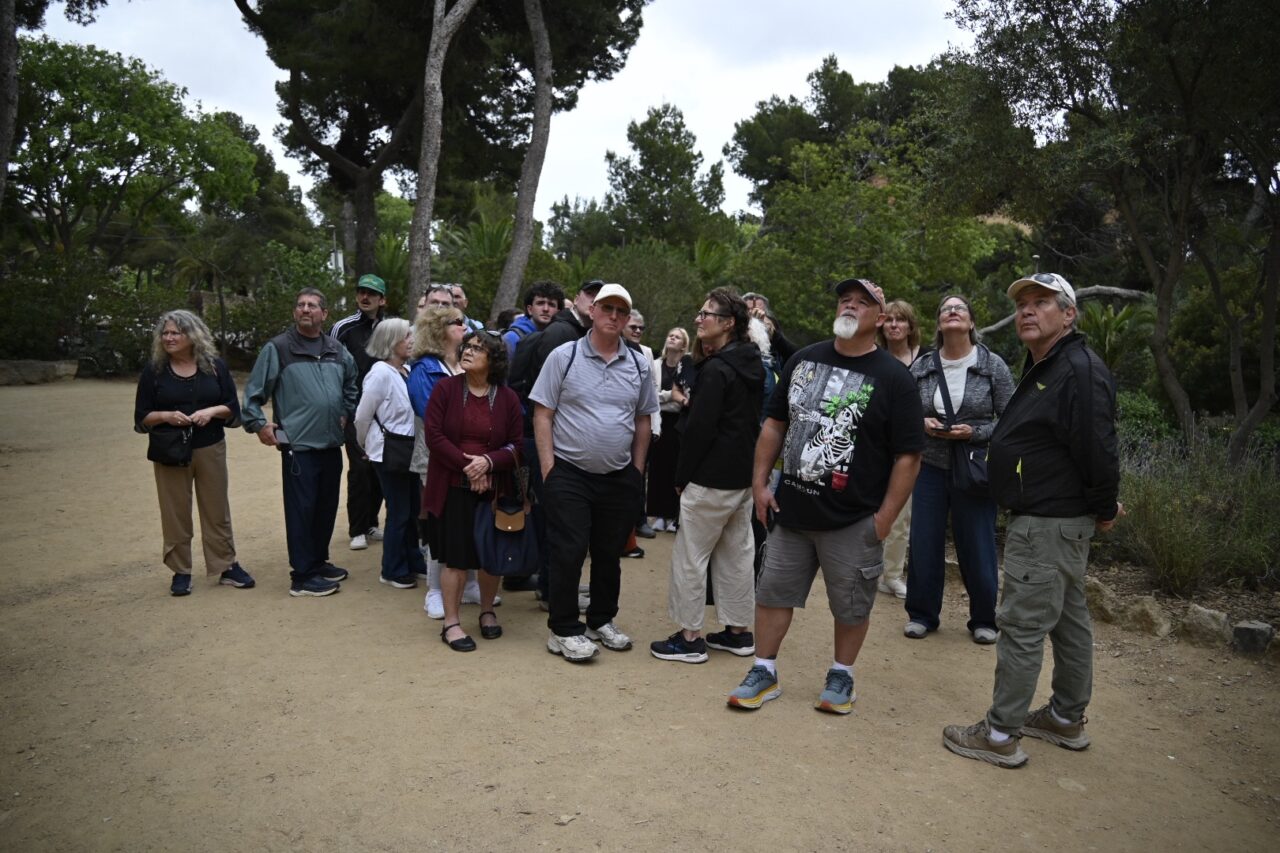
It’s about an hour by bus to our next destination. Originally a housing development and now a municipal garden, Park Güell was also designed by Antoni Gaudí, Sagrada Família’s architect. Construction of the park began in 1900 and the park officially opened in 1924. The park’s common elements feature symbolic references to Catalanism, Catholicism, and Greek mythology.
Park GüellOur group at Park GüellPark Güell
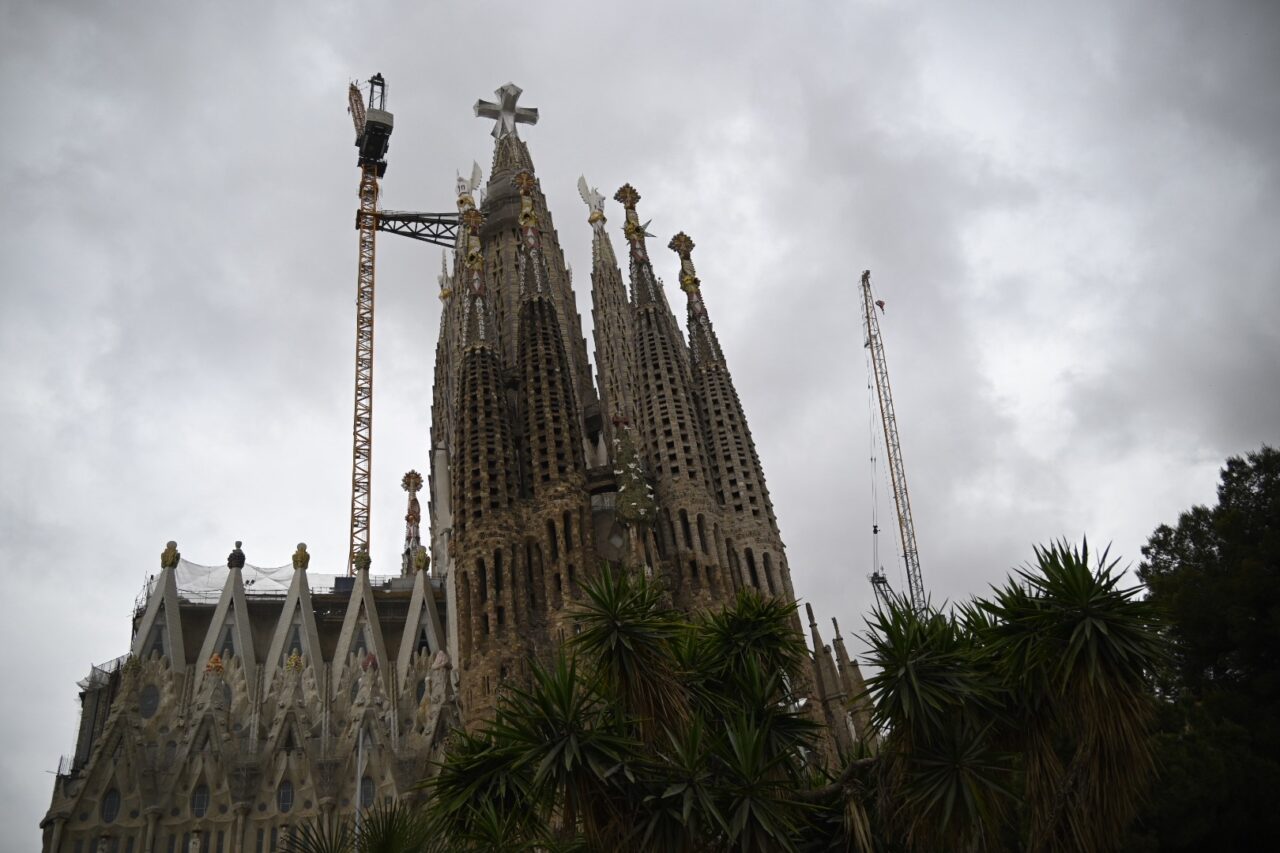
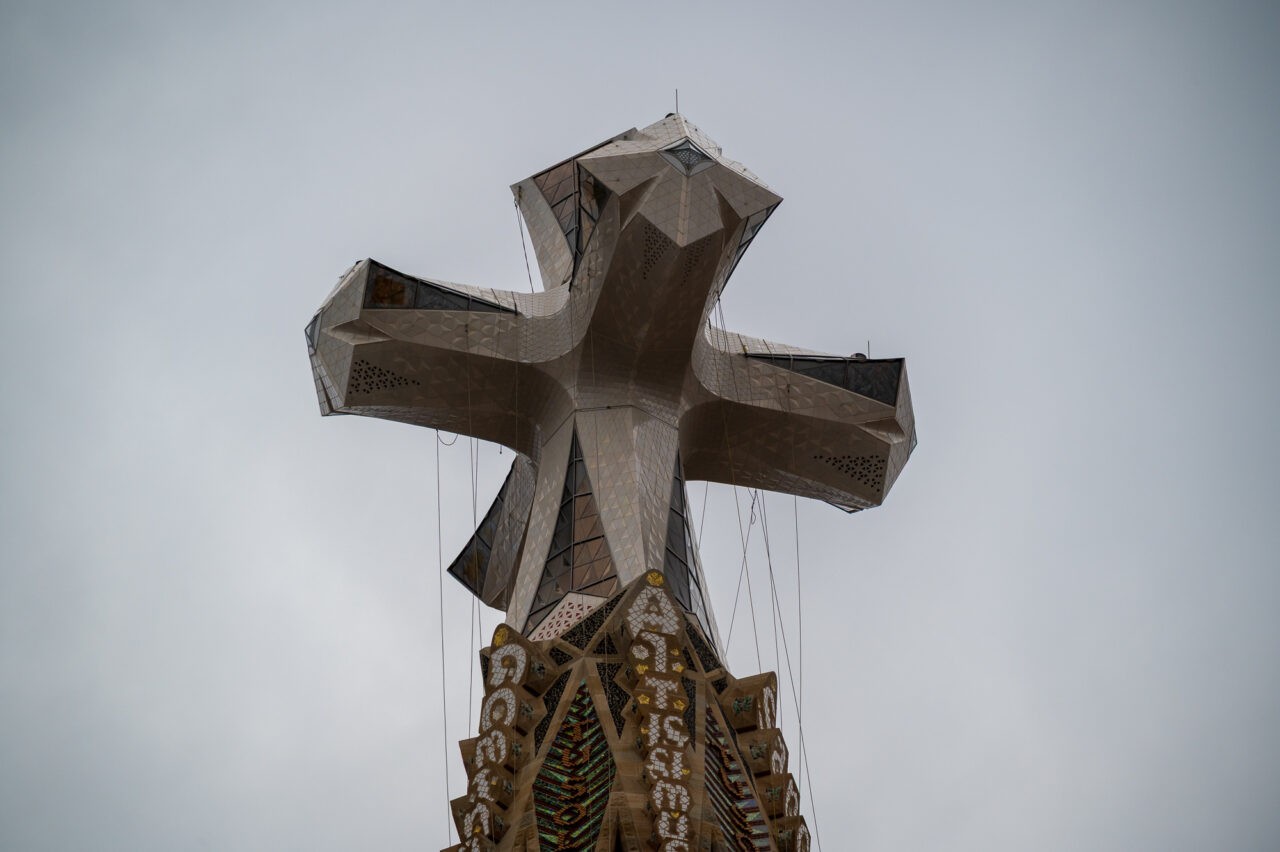
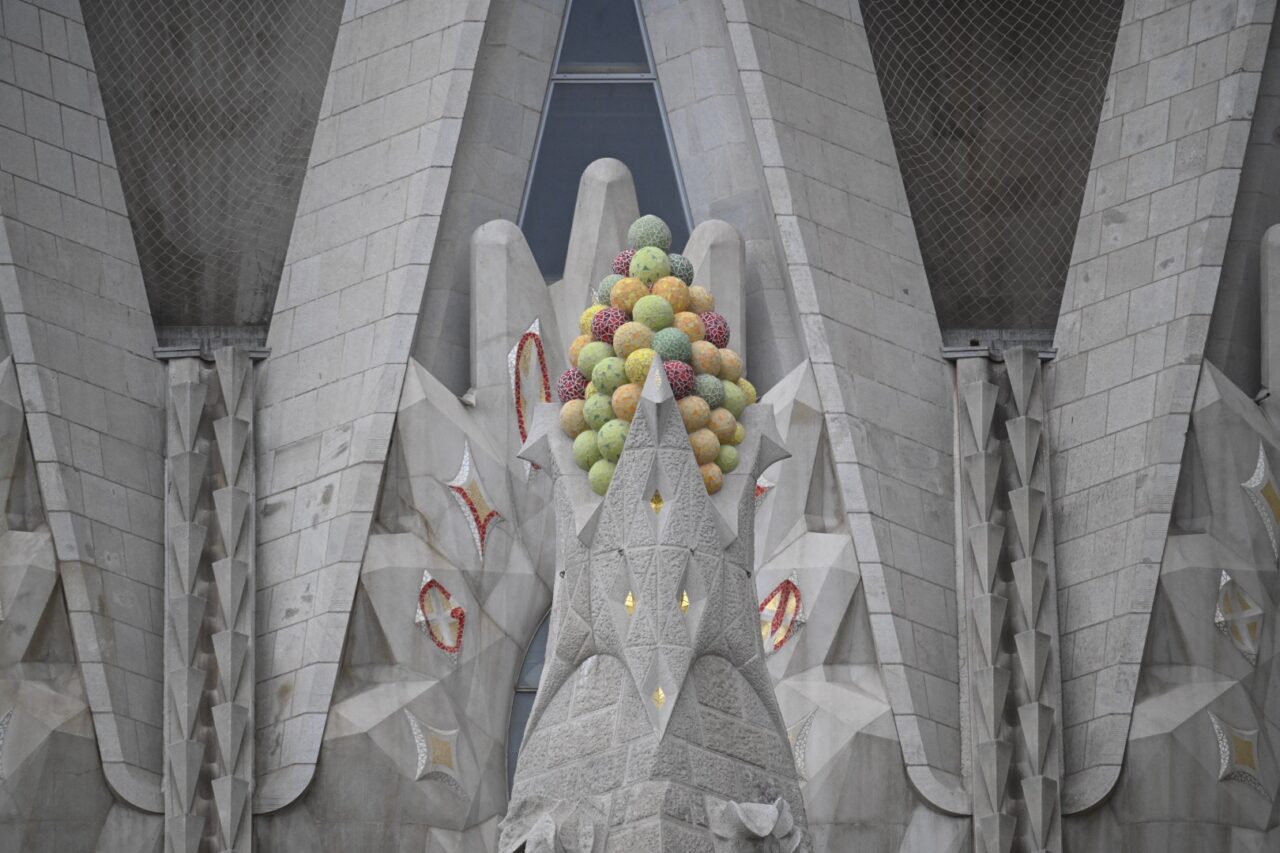
Under construction since 1882 the soaring towers of the Sagrada Família basilica make it one of the most recognizable structures anywhere. Designed by architect Antoni Gaudí, it’s the largest unfinished Catholic church in the world. But that will change with the expected completion of construction this summer. The design features 18 spires representing the Twelve Apostles, the 4 Evangelists, the Virgin Mary, and Jesus Christ.
Sagrada FamíliaSagrada Família Cross Nikon Z6II • NIKKOR Z 28-400mm f/4-8 VR at 290 mm • ISO 280 • 1/500 sec at f/8.0Sagrada Família Detail
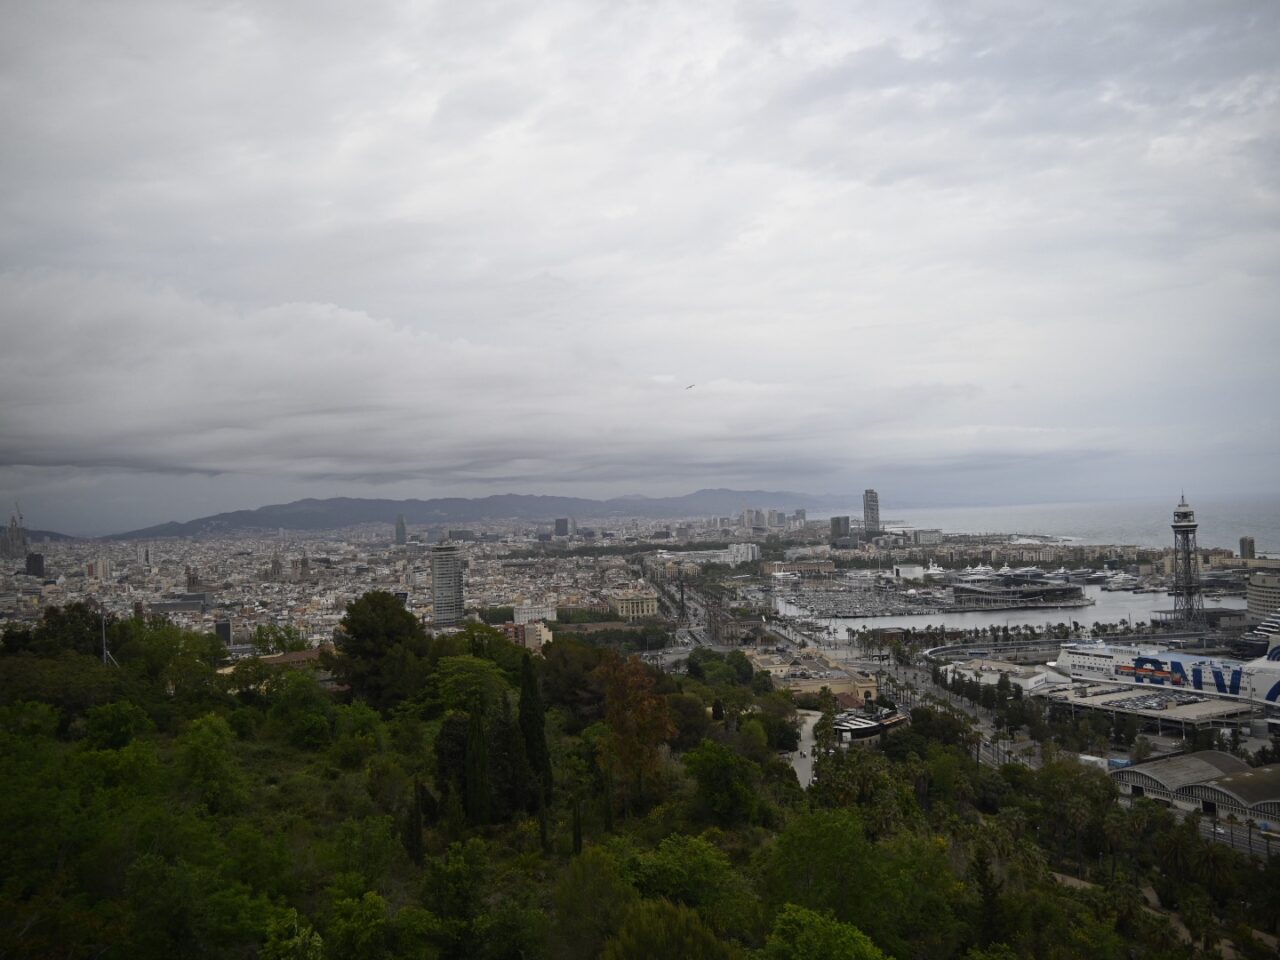
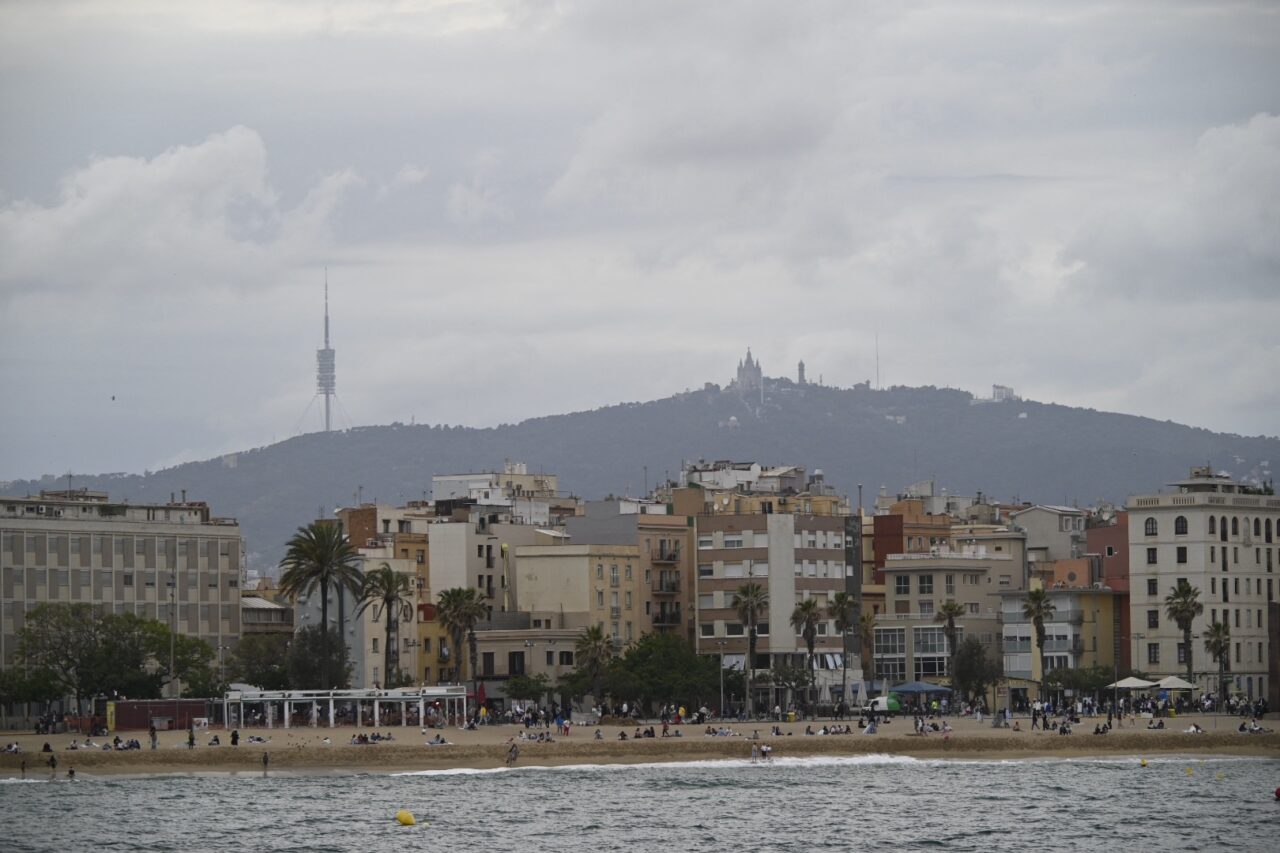
Montjuïc, located to the southwest of the city, is just under 200 meters tall. The site of a medieval Jewish cemetery, Montjuïc translates to “Jewish Mountain.” More recently this was the location of the 1929 World Fair and the 1992 Summer Olympic Games. With miles of forests and parks this is the largest “green zone” in Barcelona.
The view from Montjuïc
Today is the last day of touring on this trip. Tomorrow we make our way back to the US. But before we leave, tonight’s dinner at El Glop features Paella, a traditional Spanish rice dish from the Valencia region about 200 miles southwest of Barcelona.
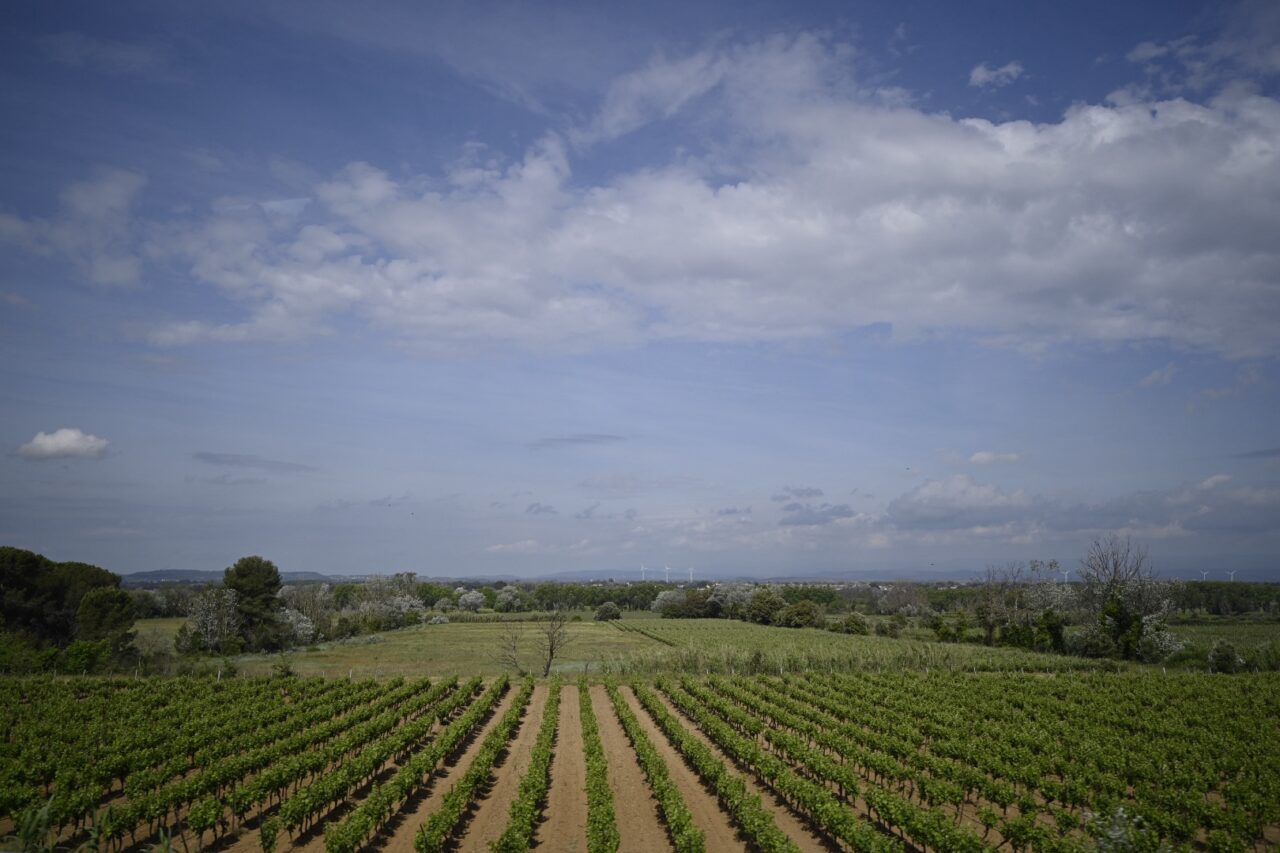
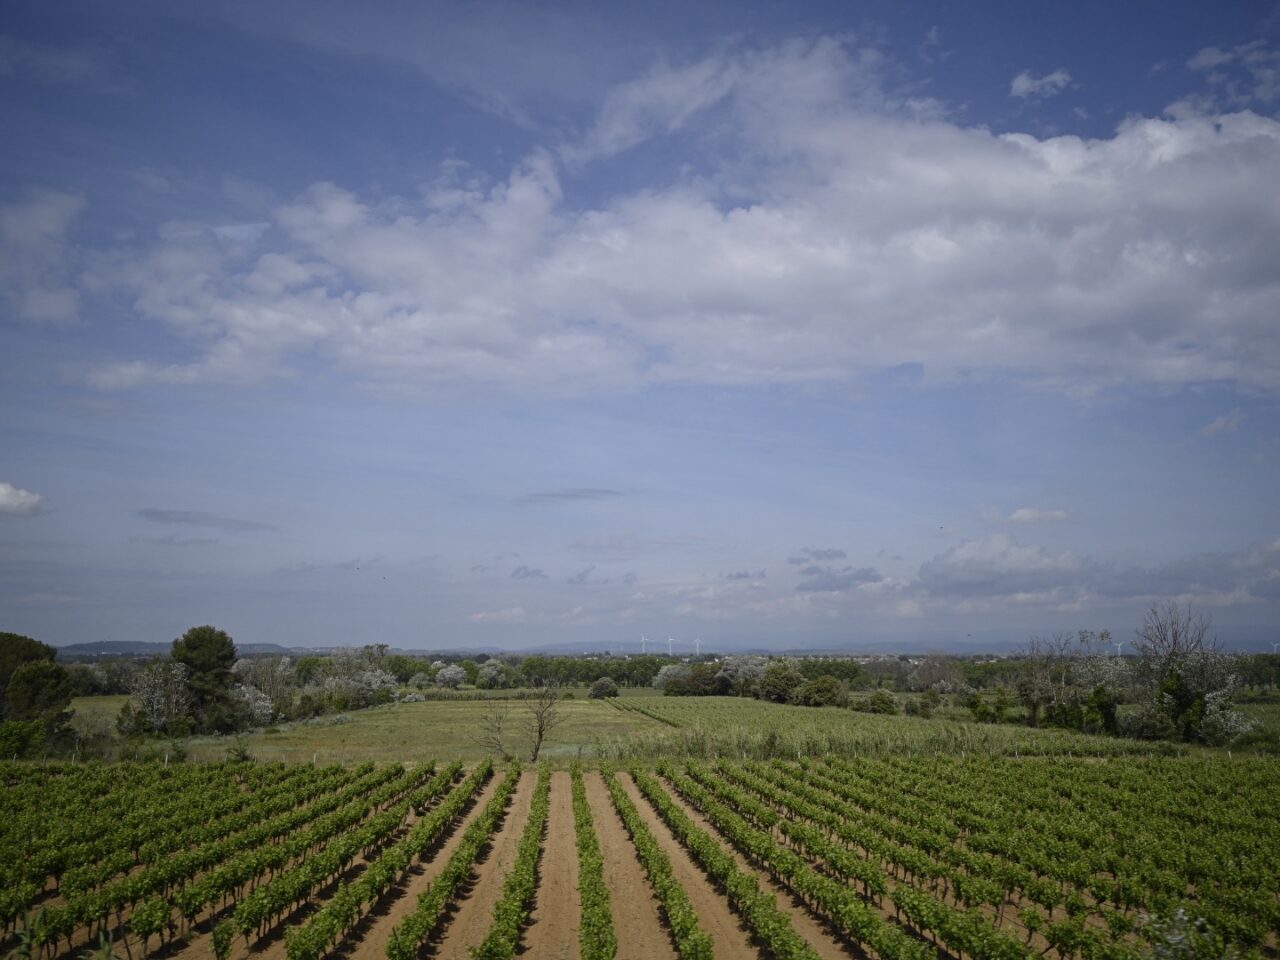
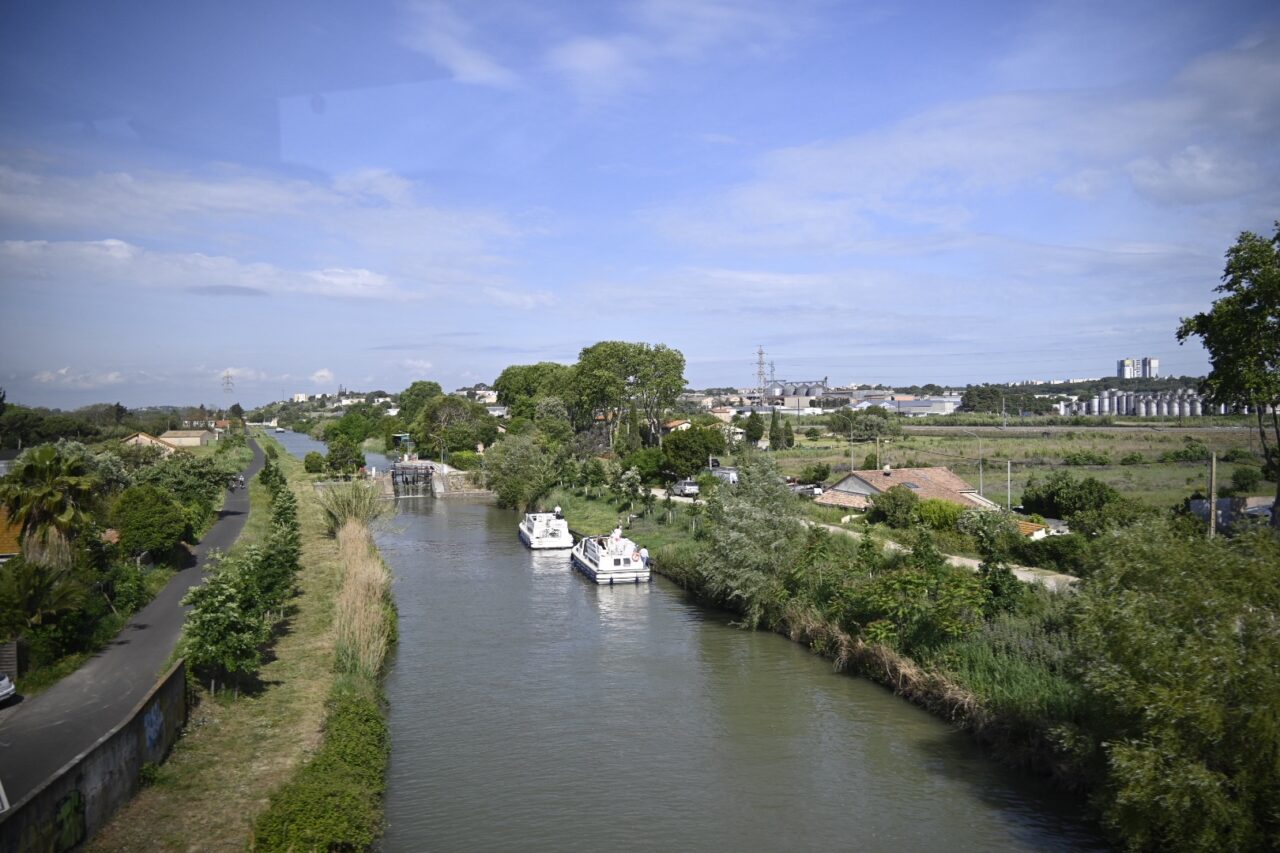
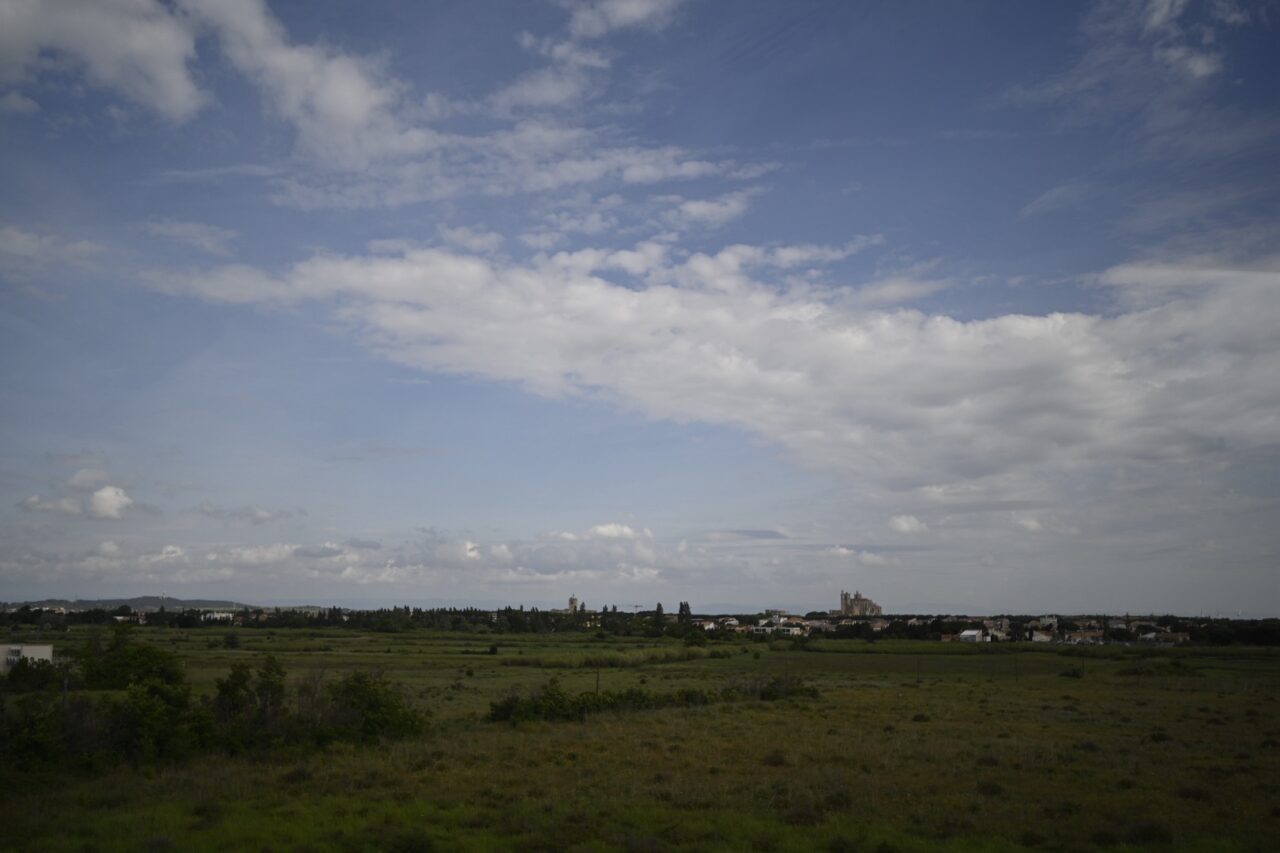
After breakfast at the hotel, we check out at 8 AM for the short walk from central Avignon to our bus parked just outside the city walls. Today is our longest transfer day. We leave France and head to Spain. It’s a 6-hour bus ride from Provence to Barcelona with a couple of road stops along the way. (Thanks to Brad and Michelle for the mid-morning potato chip snack!) Our route today takes us around the Gulf of Lion past Montpellier and Carcassonne. My soundtrack for this part of the journey … Exile on Main Street by The Rolling Stones, recorded in 1972 in the basement of Nellcôte in nearby Villefranche-sur-Mer.
Passing over Quai du Canal near Villeneuve-lès-Bèziers on the A9Outside of Salles-d’Aude on the A9 Cathédrale Saint-Just et Saint-Pasteur in Narbonne way in the distance
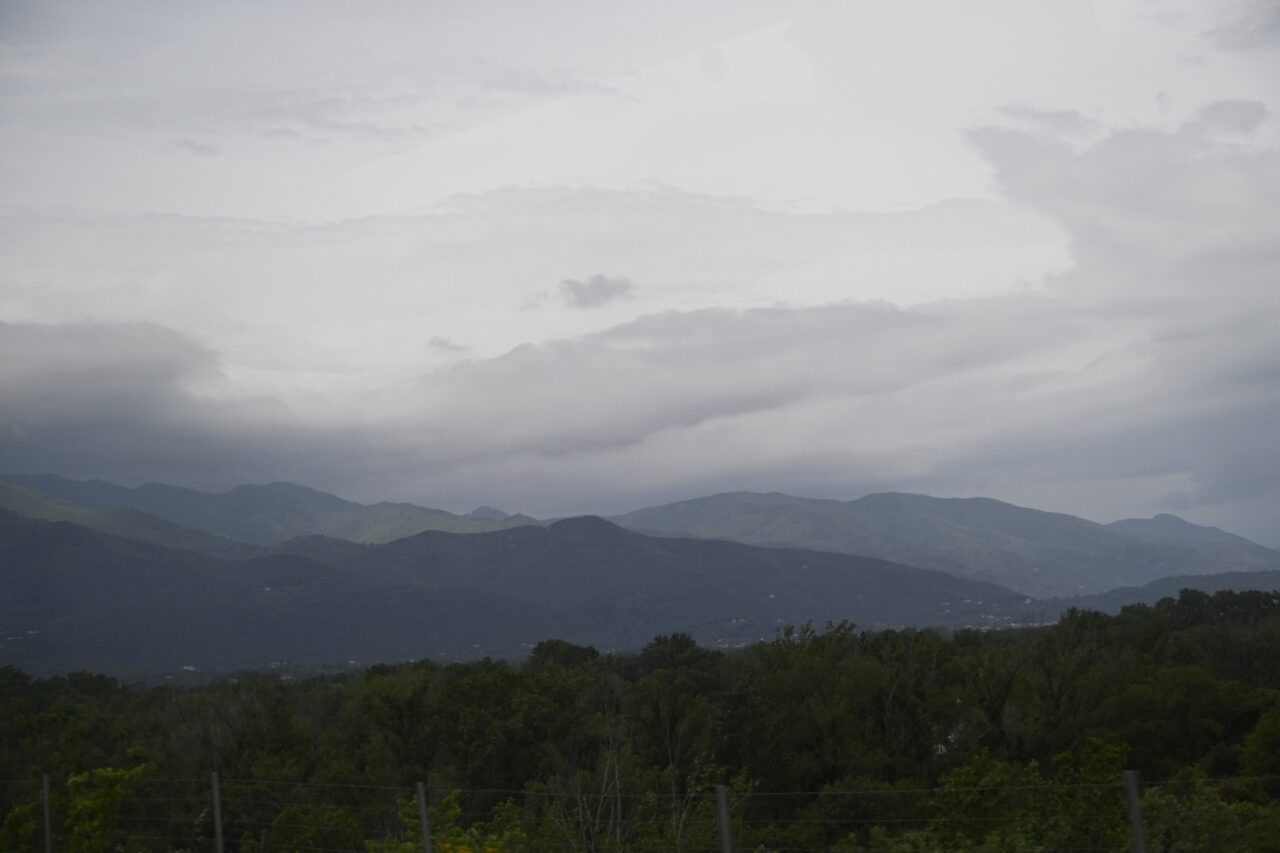
At 11:30 AM we stop at Village Catalan for lunch. Rest stop wine and cheese in France for lunch is pretty good! Then we’re back on the road at 12:30 PM, quickly cross into Spain, and enter the Pyrenees Mountains.
The Pyrenees Mountains
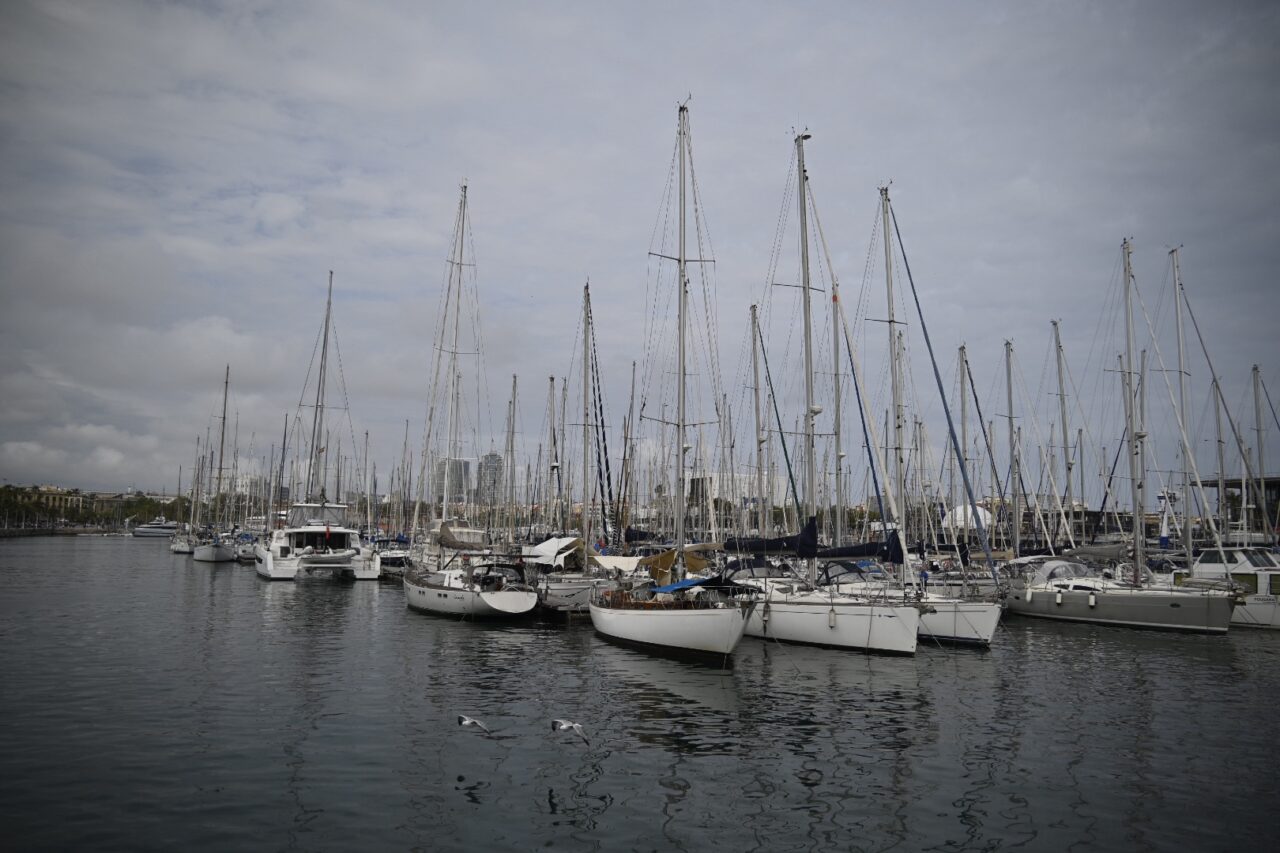
Once we get to Barcelona we check into our hotel, take a walk around the hotel block, then hop on the subway to the harbor area at Las Ramblas a pedestrian promenade connecting Plaça de Catalunya to the Christopher Columbus monument and activated with cafes and street performers. We board a boat for a harbor tour of the waterfront and beachfront. Then it’s back on the subway and a 15-minute walk to Txapela a tapas dinner. That’s a busy day!!
The Barcelona harborThe Barcelona waterfrontThe Barcelona harbor
It’s only been a little over year since the Iceland trip, which means the gear I traveled with for the Alps and Mediterranean trip remains largely familiar. But there were some significant…
Usually, these post-trip gear and workflow overviews begin with a recounting of the number of years since the previous international trip. But in this case, it’s only been…
My last international trip to Israel was in April 2022. I noted then that because of the pandemic that it had been two-and-a-half years since my previous international…
 Michael S. Liberman