 Michael S. Liberman
Brazil Gear and Workflow Overview
Note: This post is way overdue. I usually write these post-trip gear and workflow reviews a couple of months after I get home. I’m writing this in May 2021 – a year and a half after returning from Brazil – but dating this as February 1, 2020 like it was posted just a couple of months after returning.
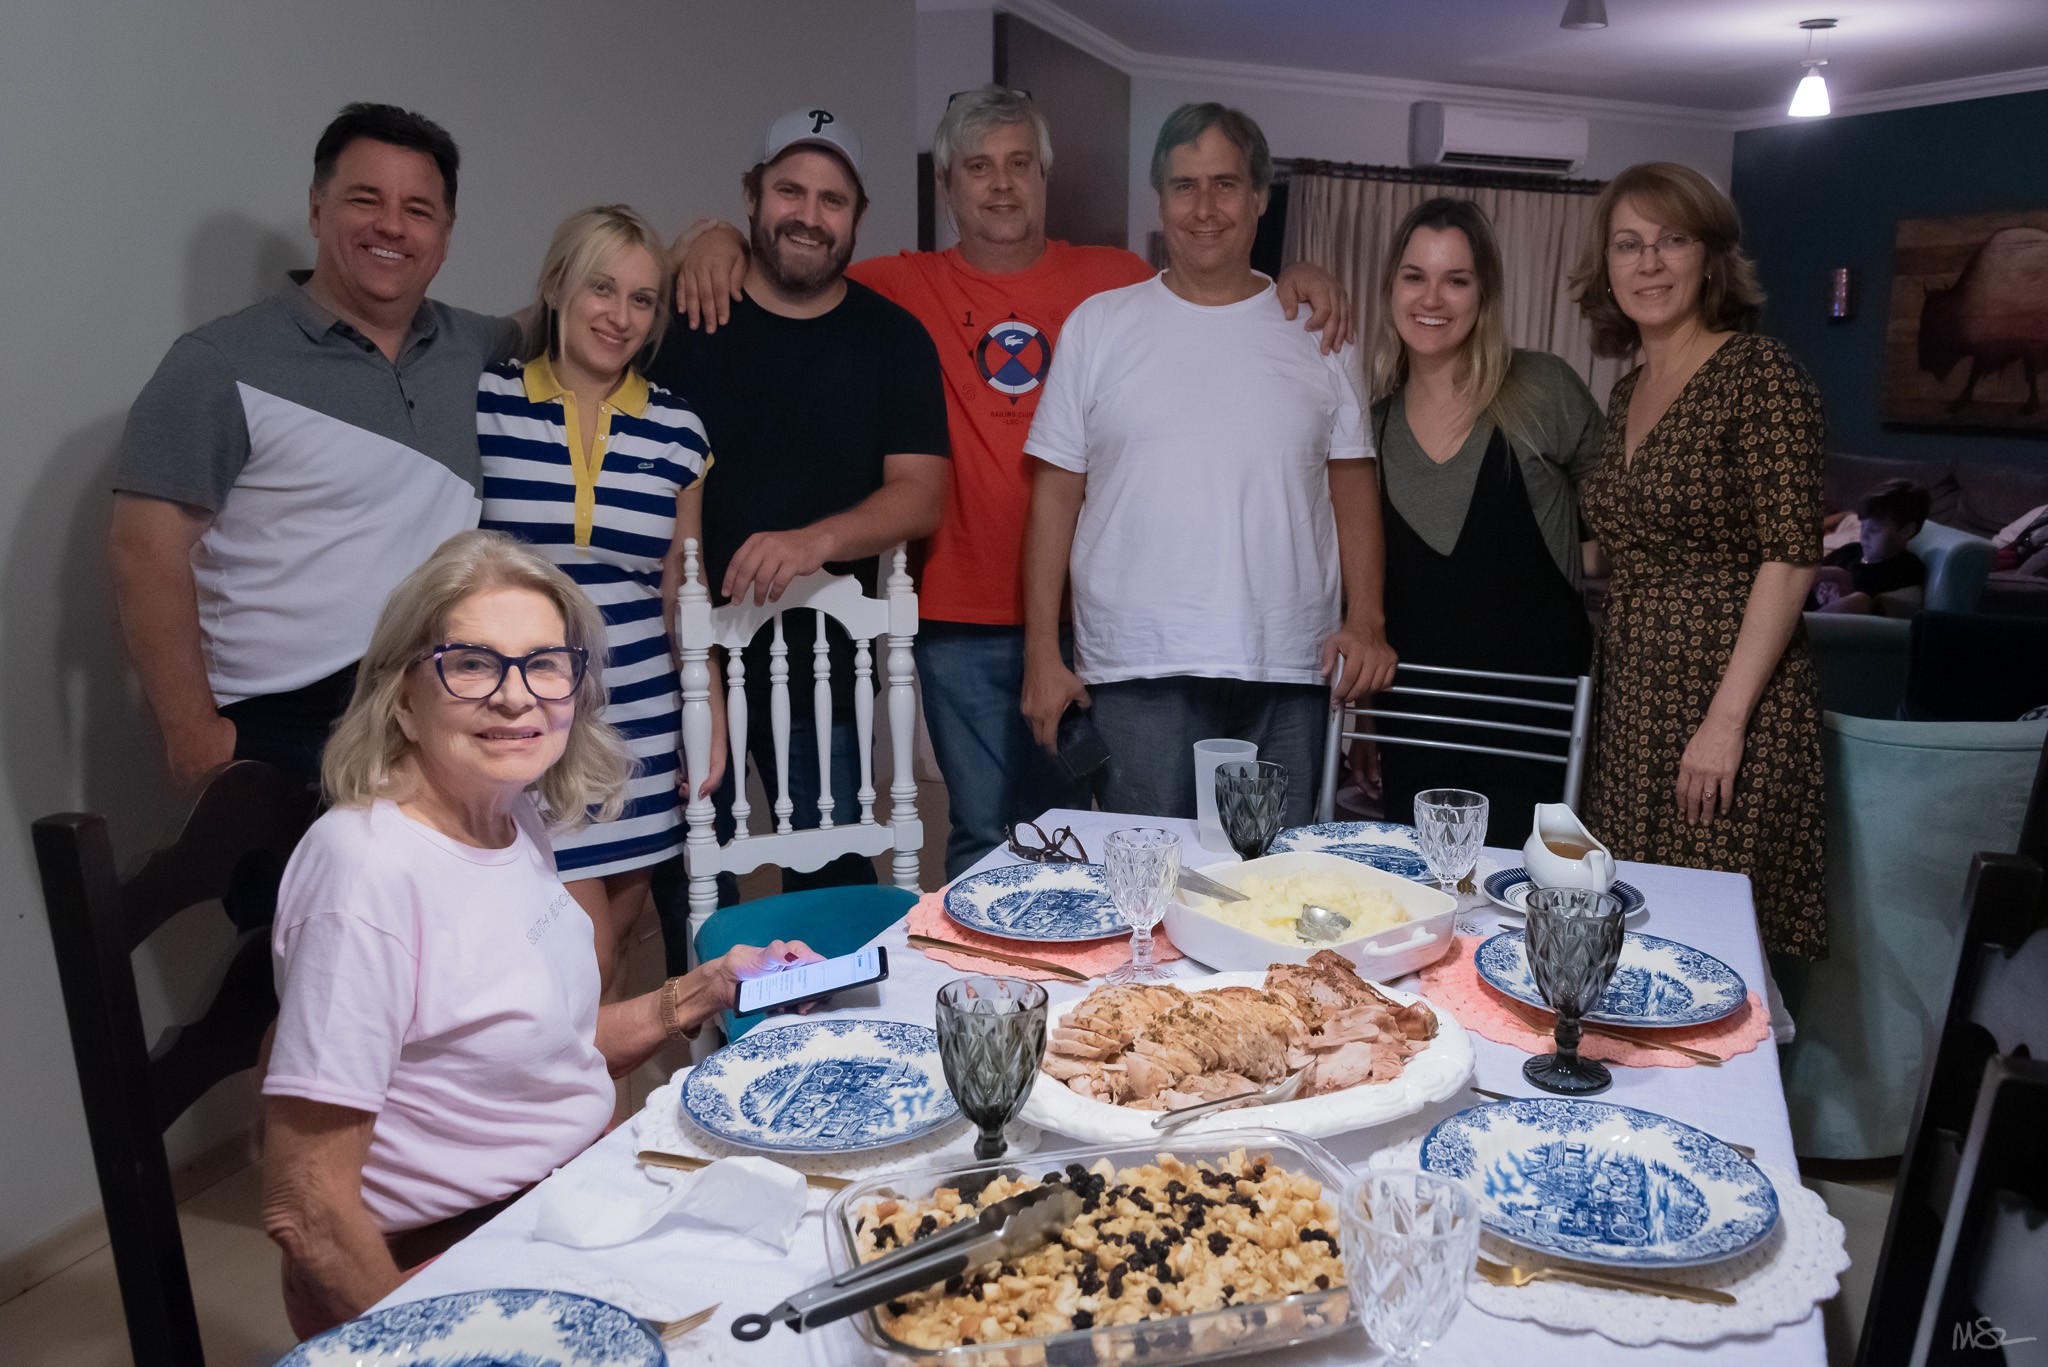
I’ve been traveling with Mickey and Donna long enough that they know a certain amount of my day is going to be devoted to taking pictures, shooting video, writing the daily blog, and posting about the day on social media. The writing and posting usually happen on the bus following the day’s touring, during cocktail hour, or at dinner. I’m a so-so multitasker, so for a while each day I just need to concentrate on content. But in Brazil I was traveling with John, Donna, and Julianna. How would they react to the time I want to spend documenting a trip? It turns out pretty well. Like most things about Brazil, the trip was very laid back – with plenty of time to work on the blog without appearing too antisocial. And it turns out that John, Donna, and Julianna are excellent proofreaders … exactly what I need for travel companions! Of course, the primary purpose of the trip was to celebrate Thanksgiving in Penápolis …
Nikon D750 • 28-300 mm f/3.5-5.6 at 28 mm • ISO 6400 • 1/20 sec at f/5.6
Travel Workflow!
So here is the Brazil gear and workflow update. Every trip requires a carefully considered pack list that balances the demands of international shooting locations with the willingness (or ability!) to carry a certain amount of equipment. After the 20-hour journey each way to Southeast Asia, the 12-hour trip to São Paolo seemed brief by comparison. But security concerns in the big cities of Brazil also informed the gear that I chose to bring on the trip. While I chose not to carry the DSLR while touring Rio de Janeiro and São Paolo in retrospect I would have felt safe doing so. Like any big city you need to be aware of your surroundings and those around you – even more so when your eye is looking through the viewfinder.
As I did for Southeast Asia, India, Cuba, Peru, Galapagos, and South Africa, here is an overview of the gear I carried to Brazil followed by the photo and video workflows I used to handle the media files when I returned.
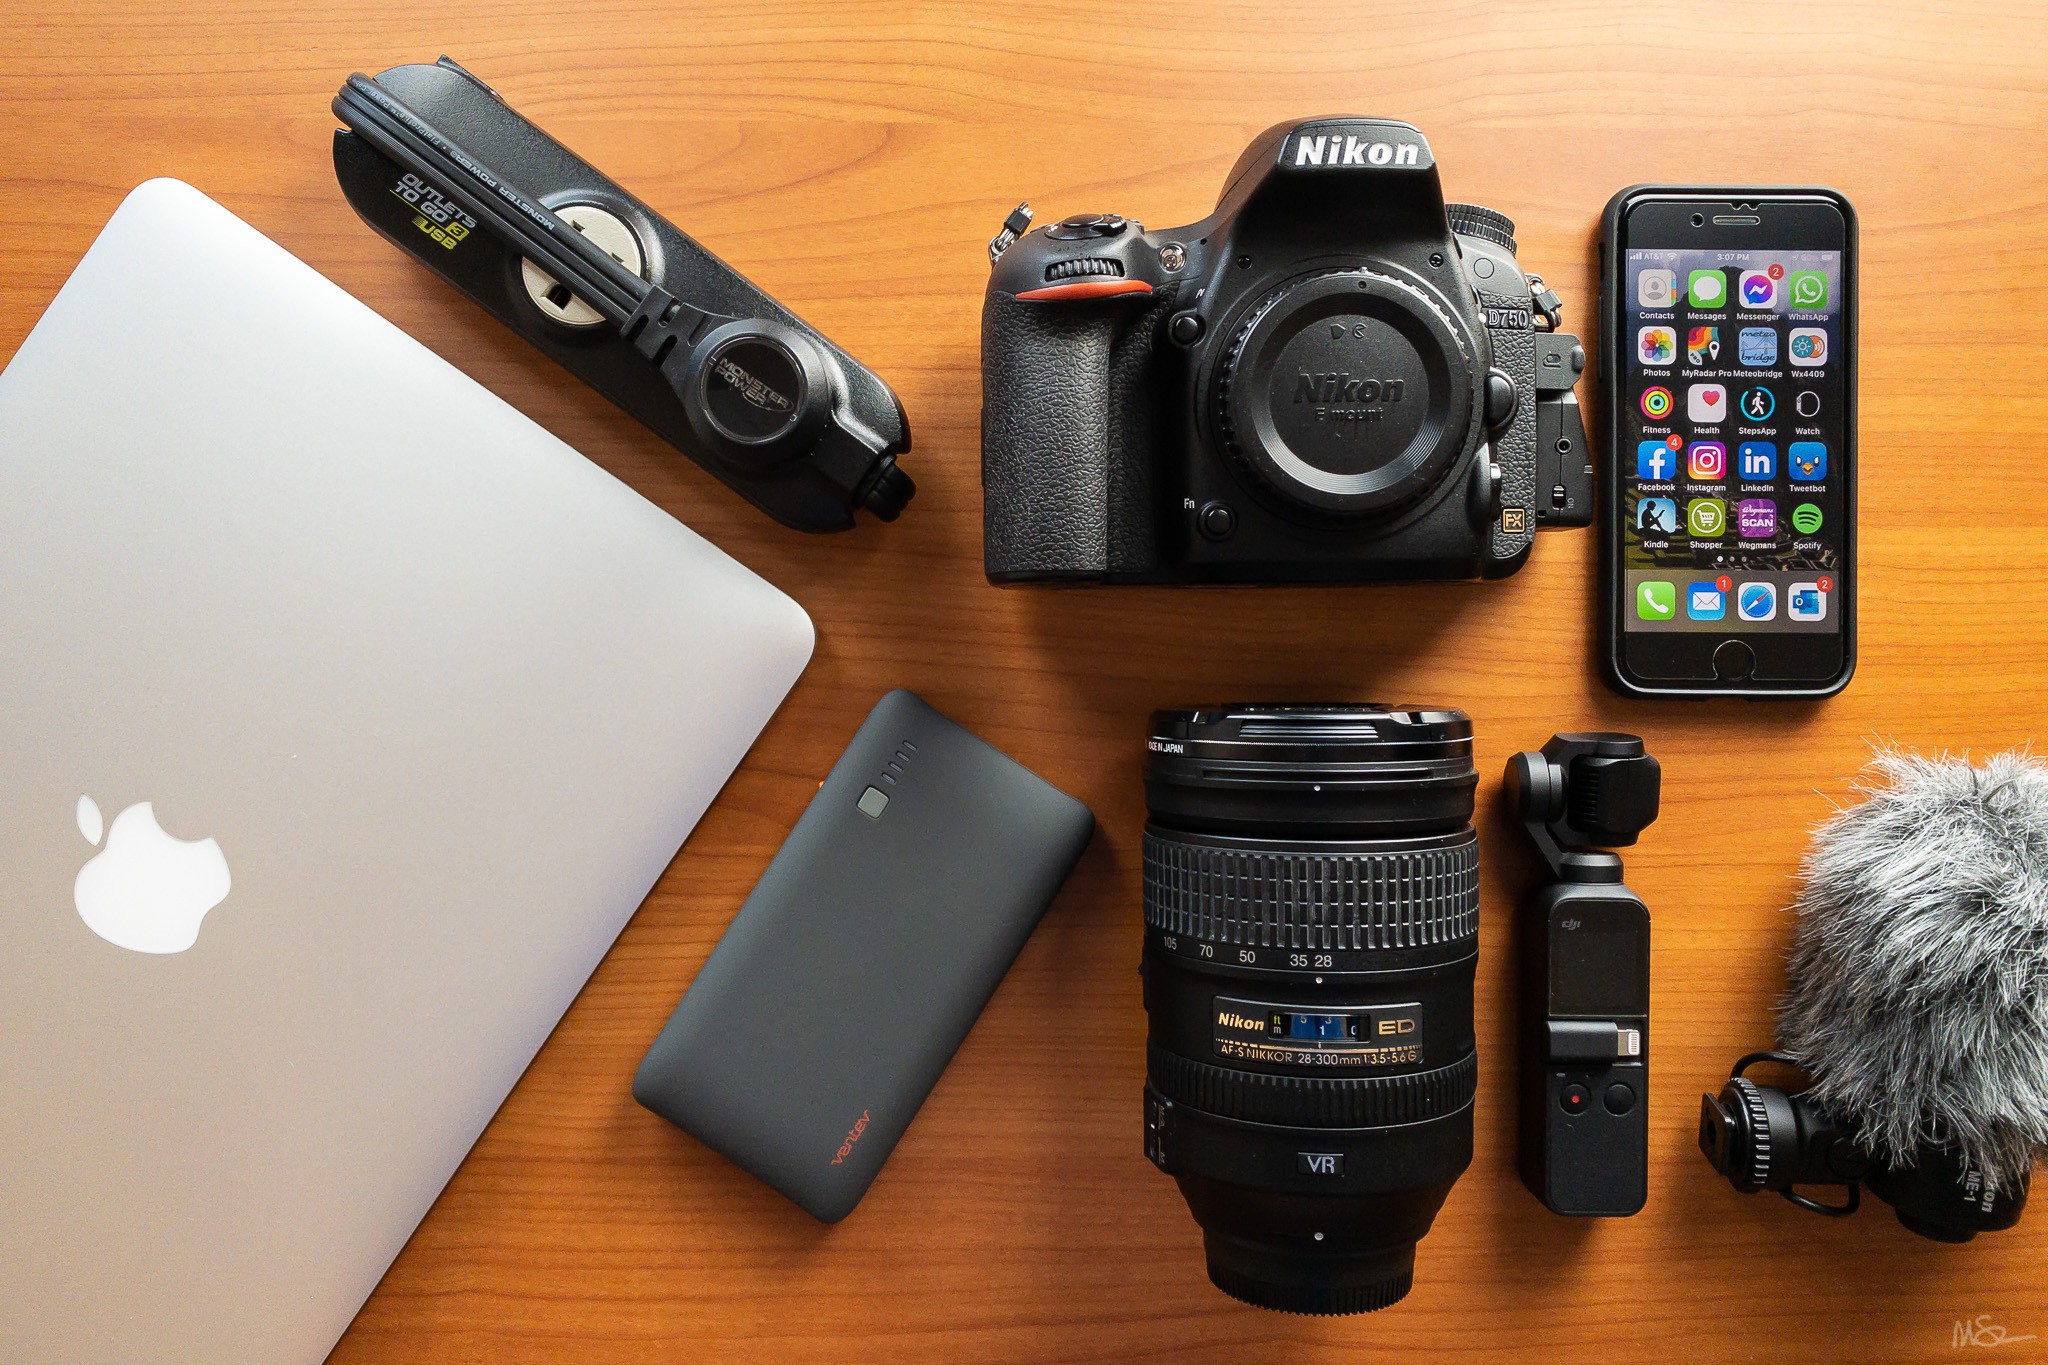
Travel Gear
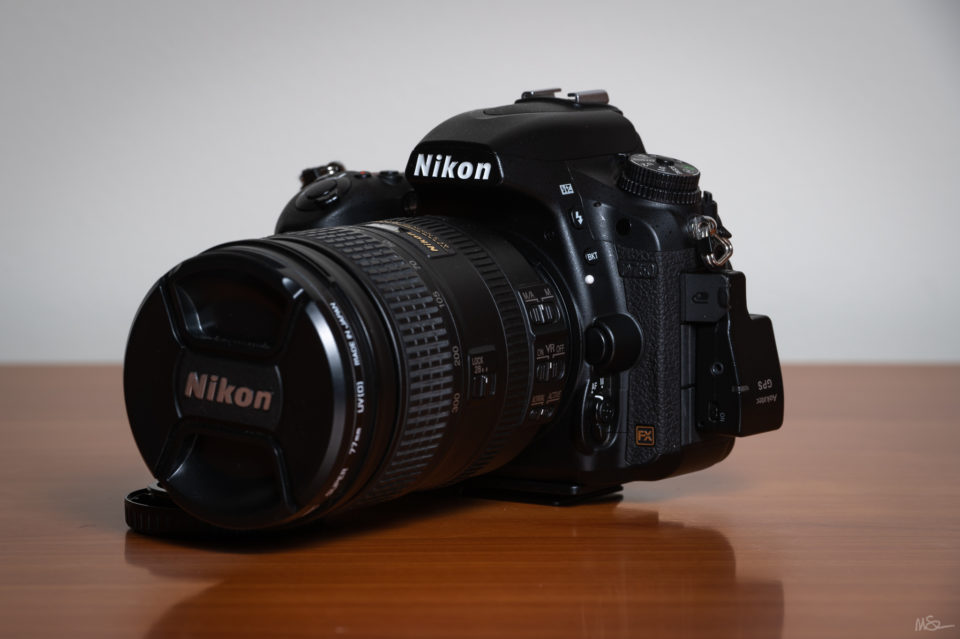
Nikon D750 24 MP FX DSLR: The D750 is a great travel camera! Paired with the 28-300mm the combination of image quality and portability for stills and video is outstanding. As I mentioned in the Southeast Asia Gear and Workflow Overview post and in the Moving to Mirrorless post, I have started the transition to mirrorless with the purchase of a new camera. I thought about bringing the new camera to Brazil, but ultimately decided not to since I hadn’t added the camera to my photo gear insurance.
Nikon Z6II • VR 70-200mm f/2.8G at 200 mm • ISO 100 • 1/125 sec at f/11
NIKKOR 28-300mm AF-S f/3.5-5.6G ED VR Travel Zoom: I really enjoying traveling with this lens. Great image quality and range from a single lens in a size that’s easy to carry on planes, trains, ships, buses, and just walking down the street. Since the Brazil trip I have purchased a NIKKOR Z 24-200mm f/4-6.3 VR that will likely replace the 28-300mm at some point in the future.
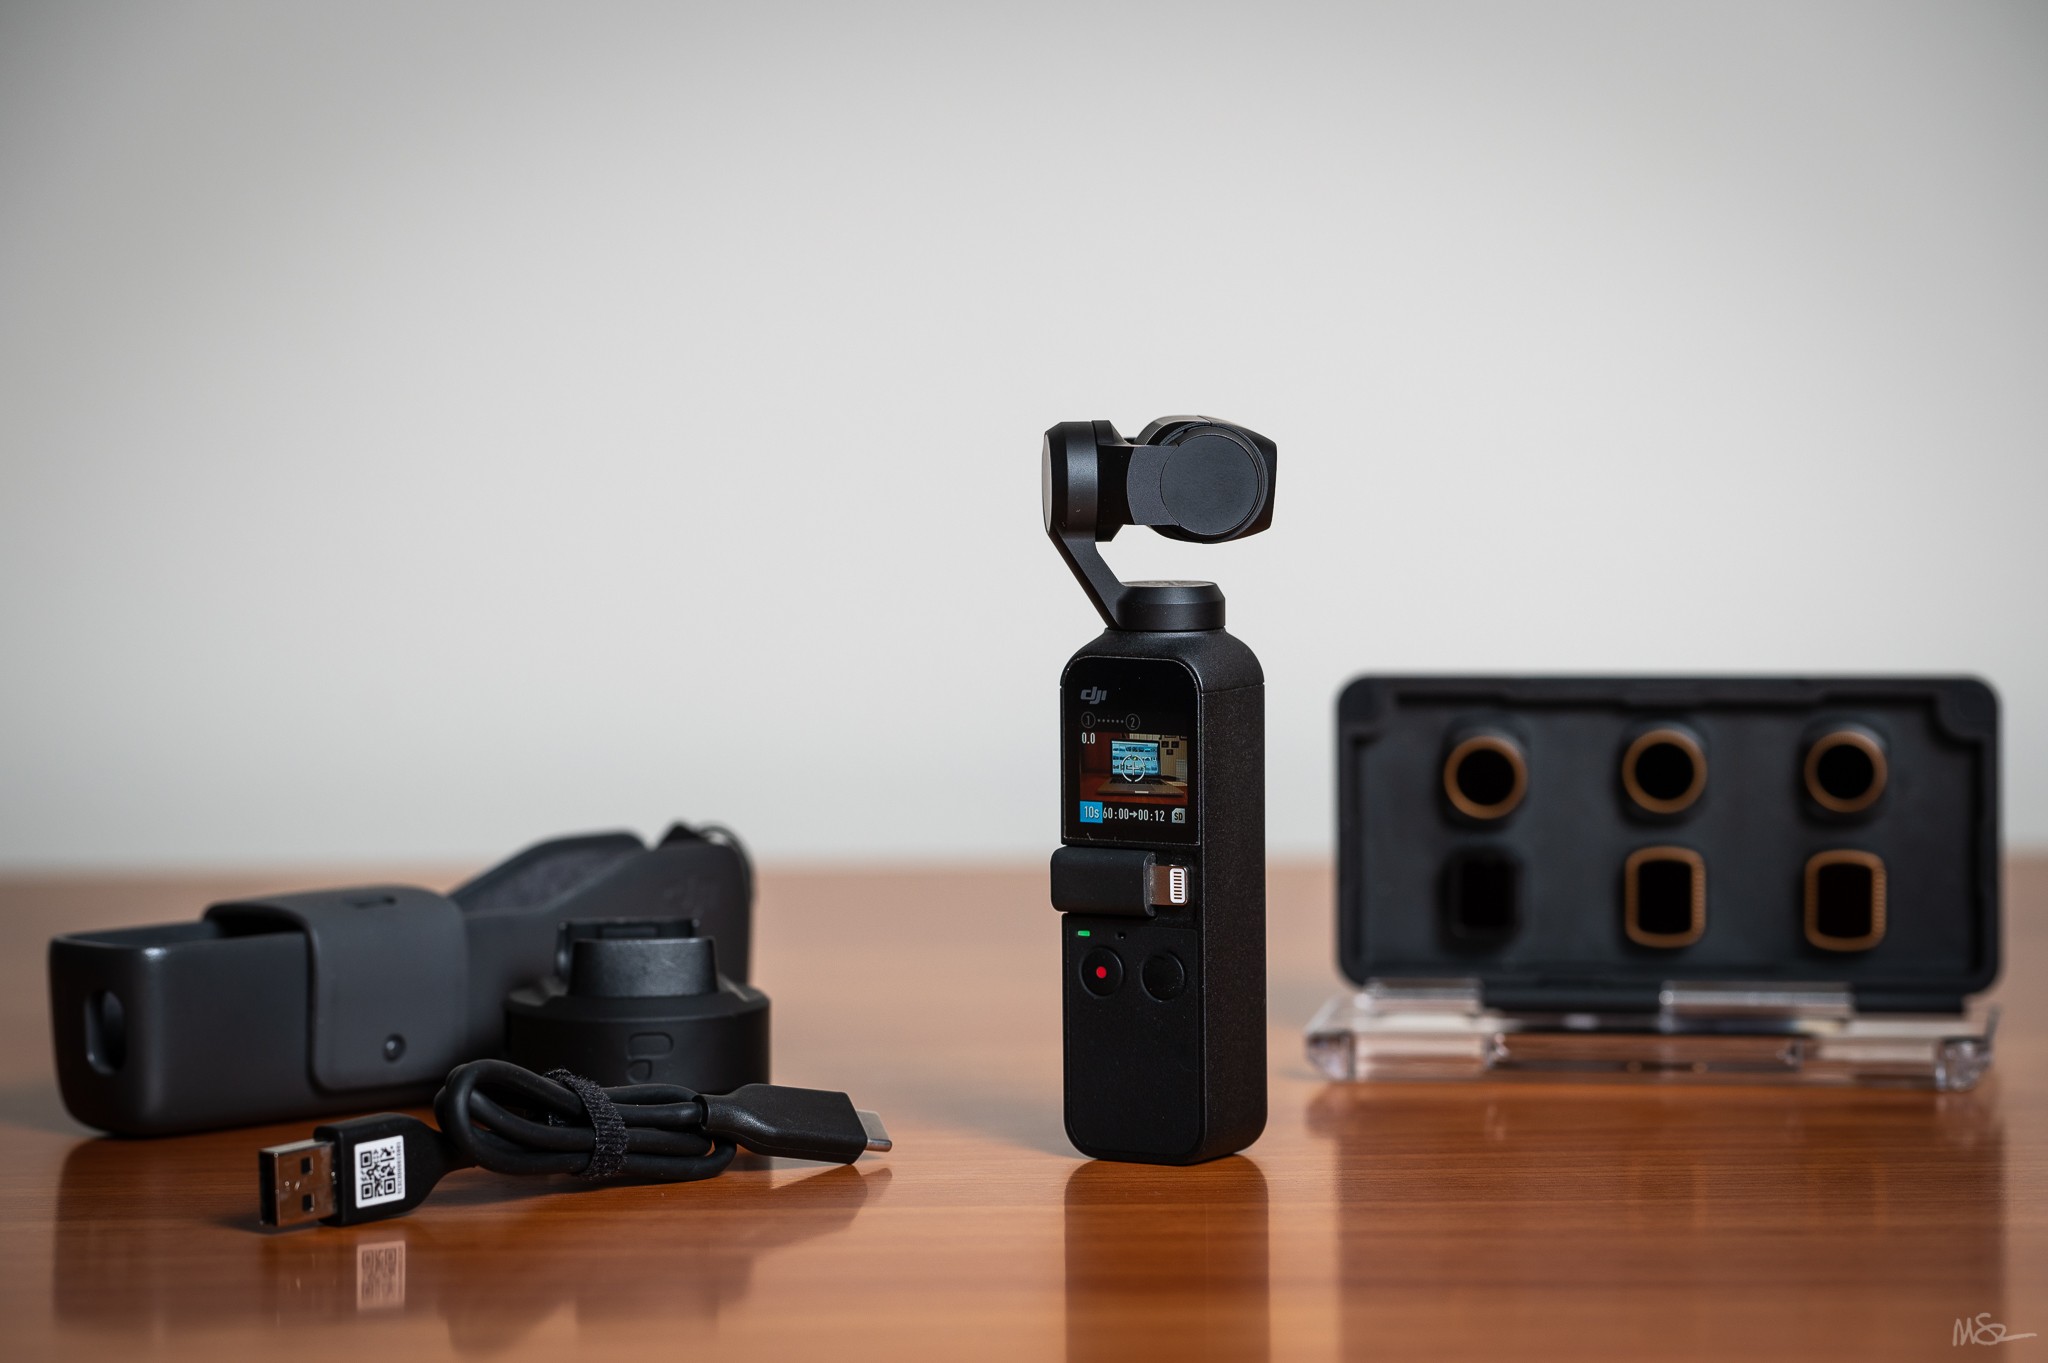
DJI Osmo Pocket: This gimbal/stabilizer provides a great platform for silky smooth video, timelapse, and motionlapse sequences. The tiny size of the Osmo Pocket can’t be beat for travel. It’s great for crowded street scenes, shooting from a vehicle while rolling down a bumpy highway, and getting a different video perspective than a DLSR provides. For a change of pace – and to avoid carrying a DSLR in Rio de Janeiro – using the OSMO pocket I got some breathtaking views of the city from Corcovado Mountain and Christ the Redeemer.
Nikon Z6II • VR 70-200mm f/2.8G at 160 mm • ISO 100 • 1/125 sec at f/5.6
MacBook Pro Laptop: I’ve never brought a laptop on international travel, preferring instead to rely on the iPhone and sometimes the iPad mini. But on this trip I knew I would have some work responsibilities and I would have some free time to do some updates on the blog. The 13″ Late 2013 MacBook Pro Retina fits well into the Kinray Lite backpack – even through there isn’t a dedicated computer pocket.
Nikon Z6II • VR 70-200mm f/2.8G at 130 mm • ISO 100 • 1/6 sec at f/2.8
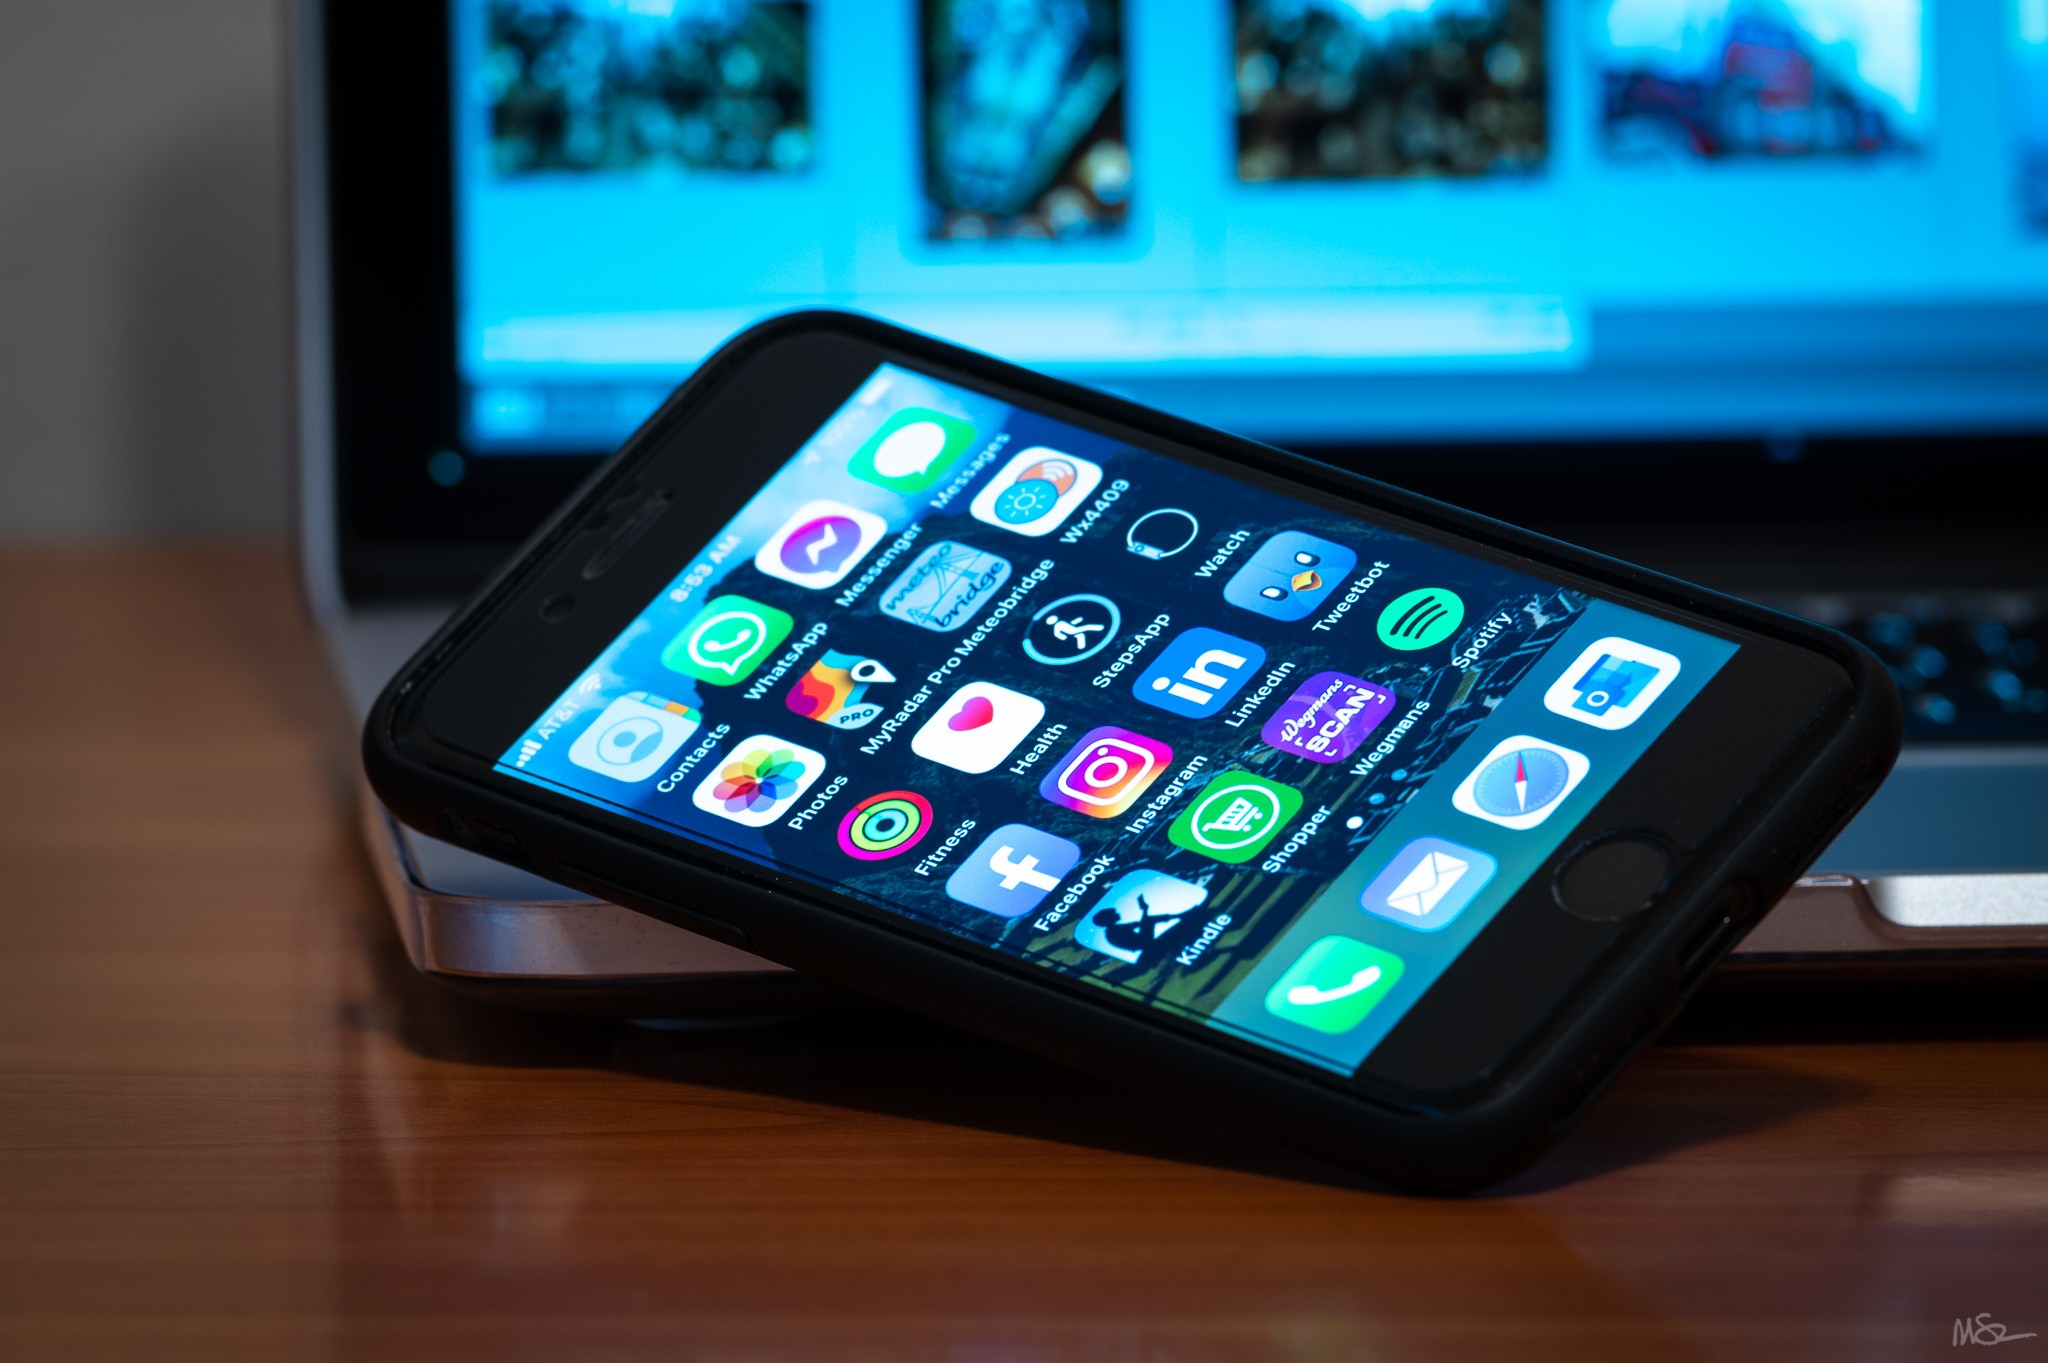
Apple iPhone 8: For using the WordPress app to write and post blog updates while on the road and for the DJI Mimo app for the DJI Osmo Pocket.
Nikon Z6II • VR 70-200mm f/2.8G at 200 mm • ISO 100 • 1.6 sec at f/8.0
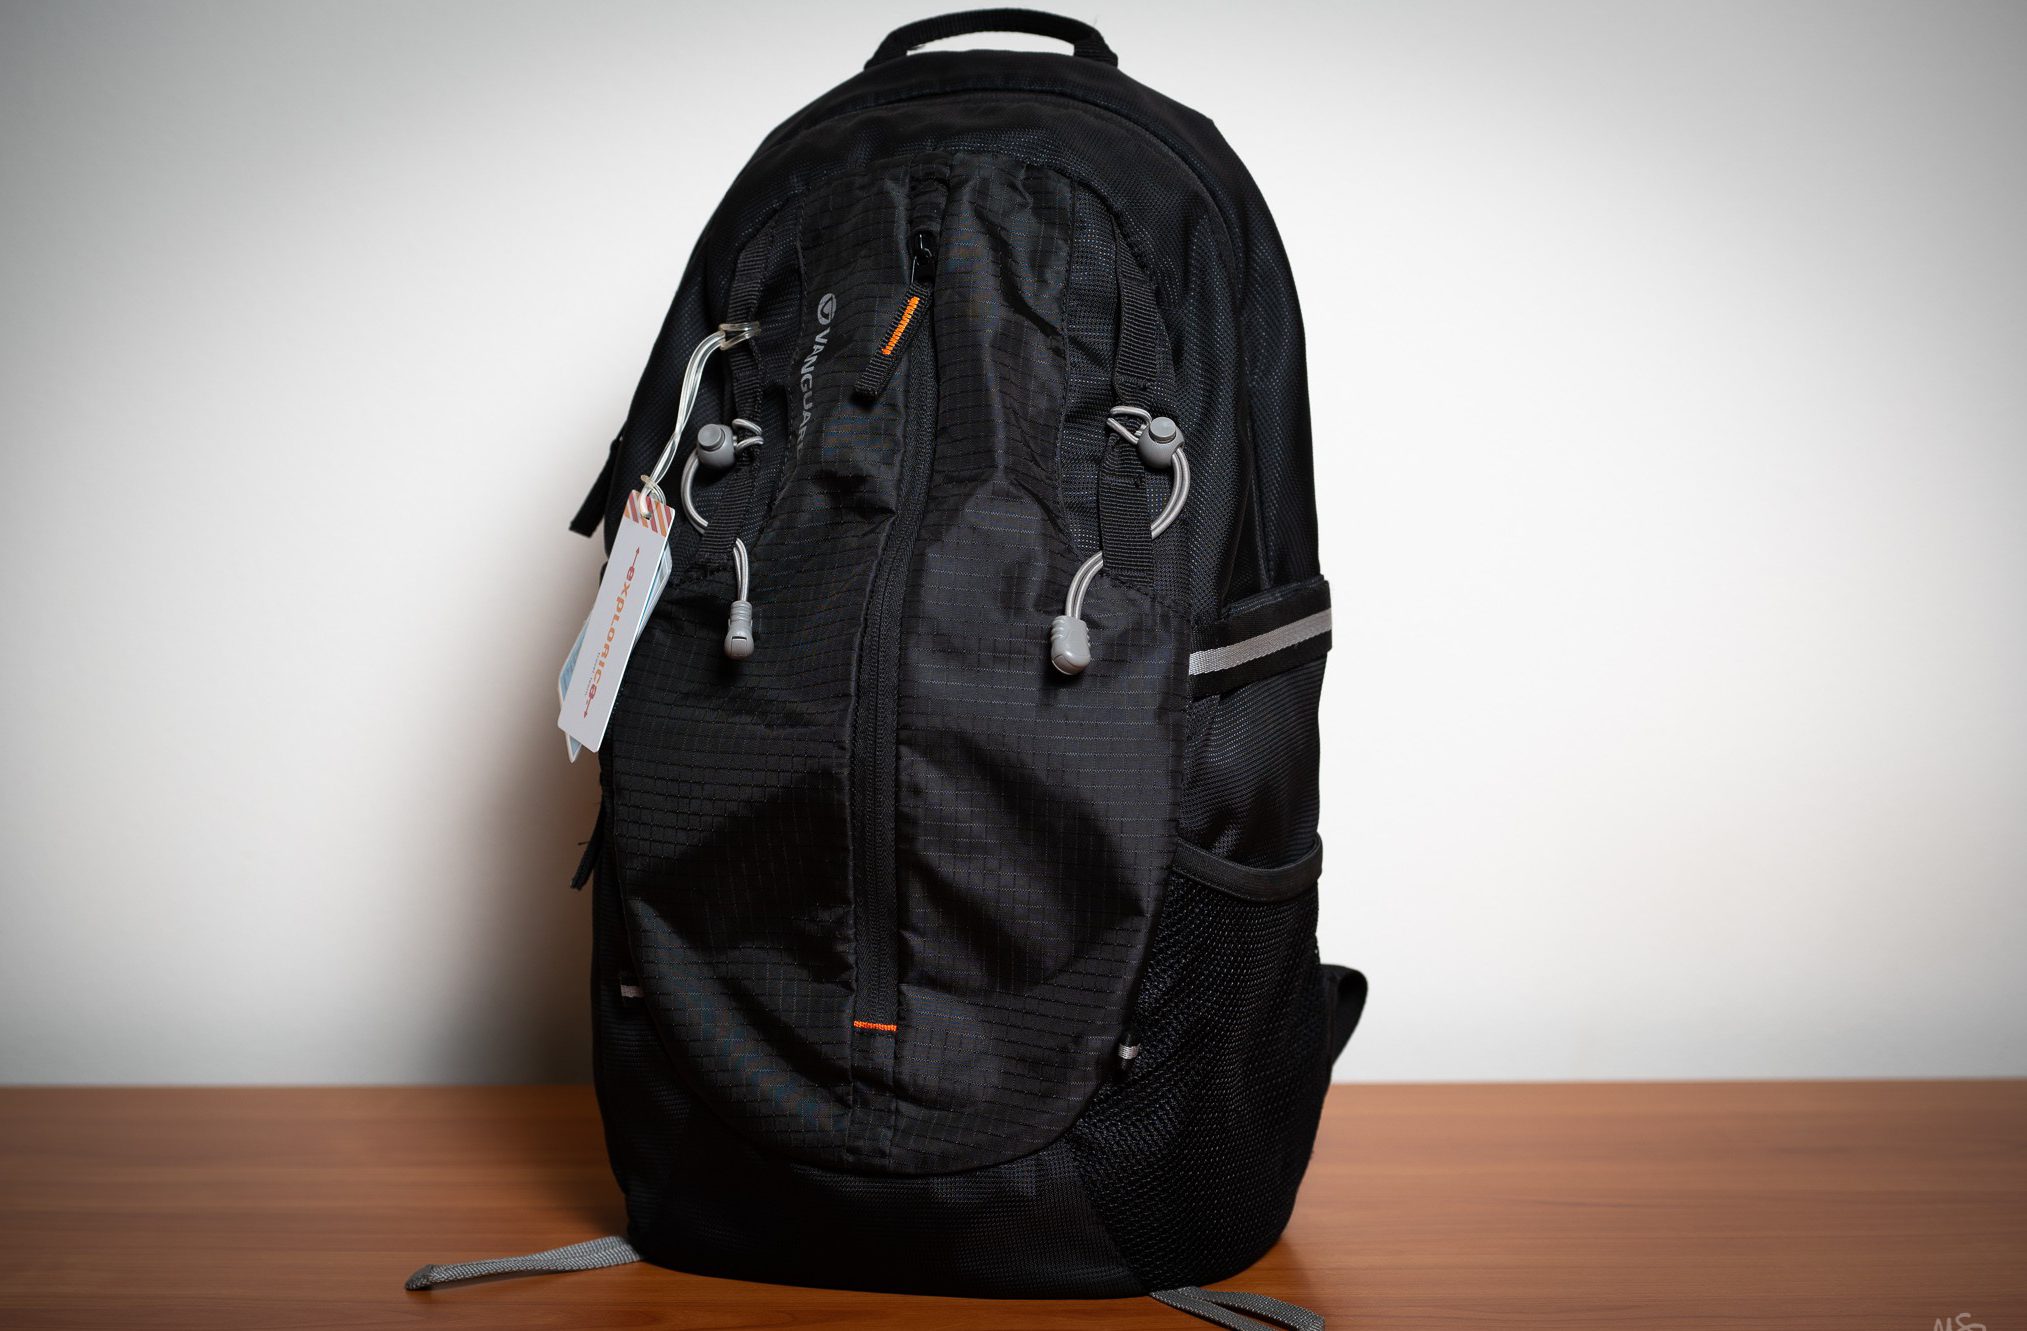
Vanguard Kinray Lite 45 backpack: Holds a full frame camera and a couple of lenses with ease with enough room leftover for a creatively-packed change of clothes. And on this trip the laptop in a padded sleeve slipped into the space behind the camera enclosure. Works for carrying photo gear on a plane and as a daypack moving through the daily itinerary. A great travel bag, but unfortunately no longer made by Vanguard. I’ve been traveling with this bag for a number of years and it’s starting to show a little wear. I’ve been looking for a comparable replacement, but so far nothing fits the bill.
Nikon Z6II • VR 70-200mm f/2.8G at 70 mm • ISO 100 • 1/125 sec at f/5.6
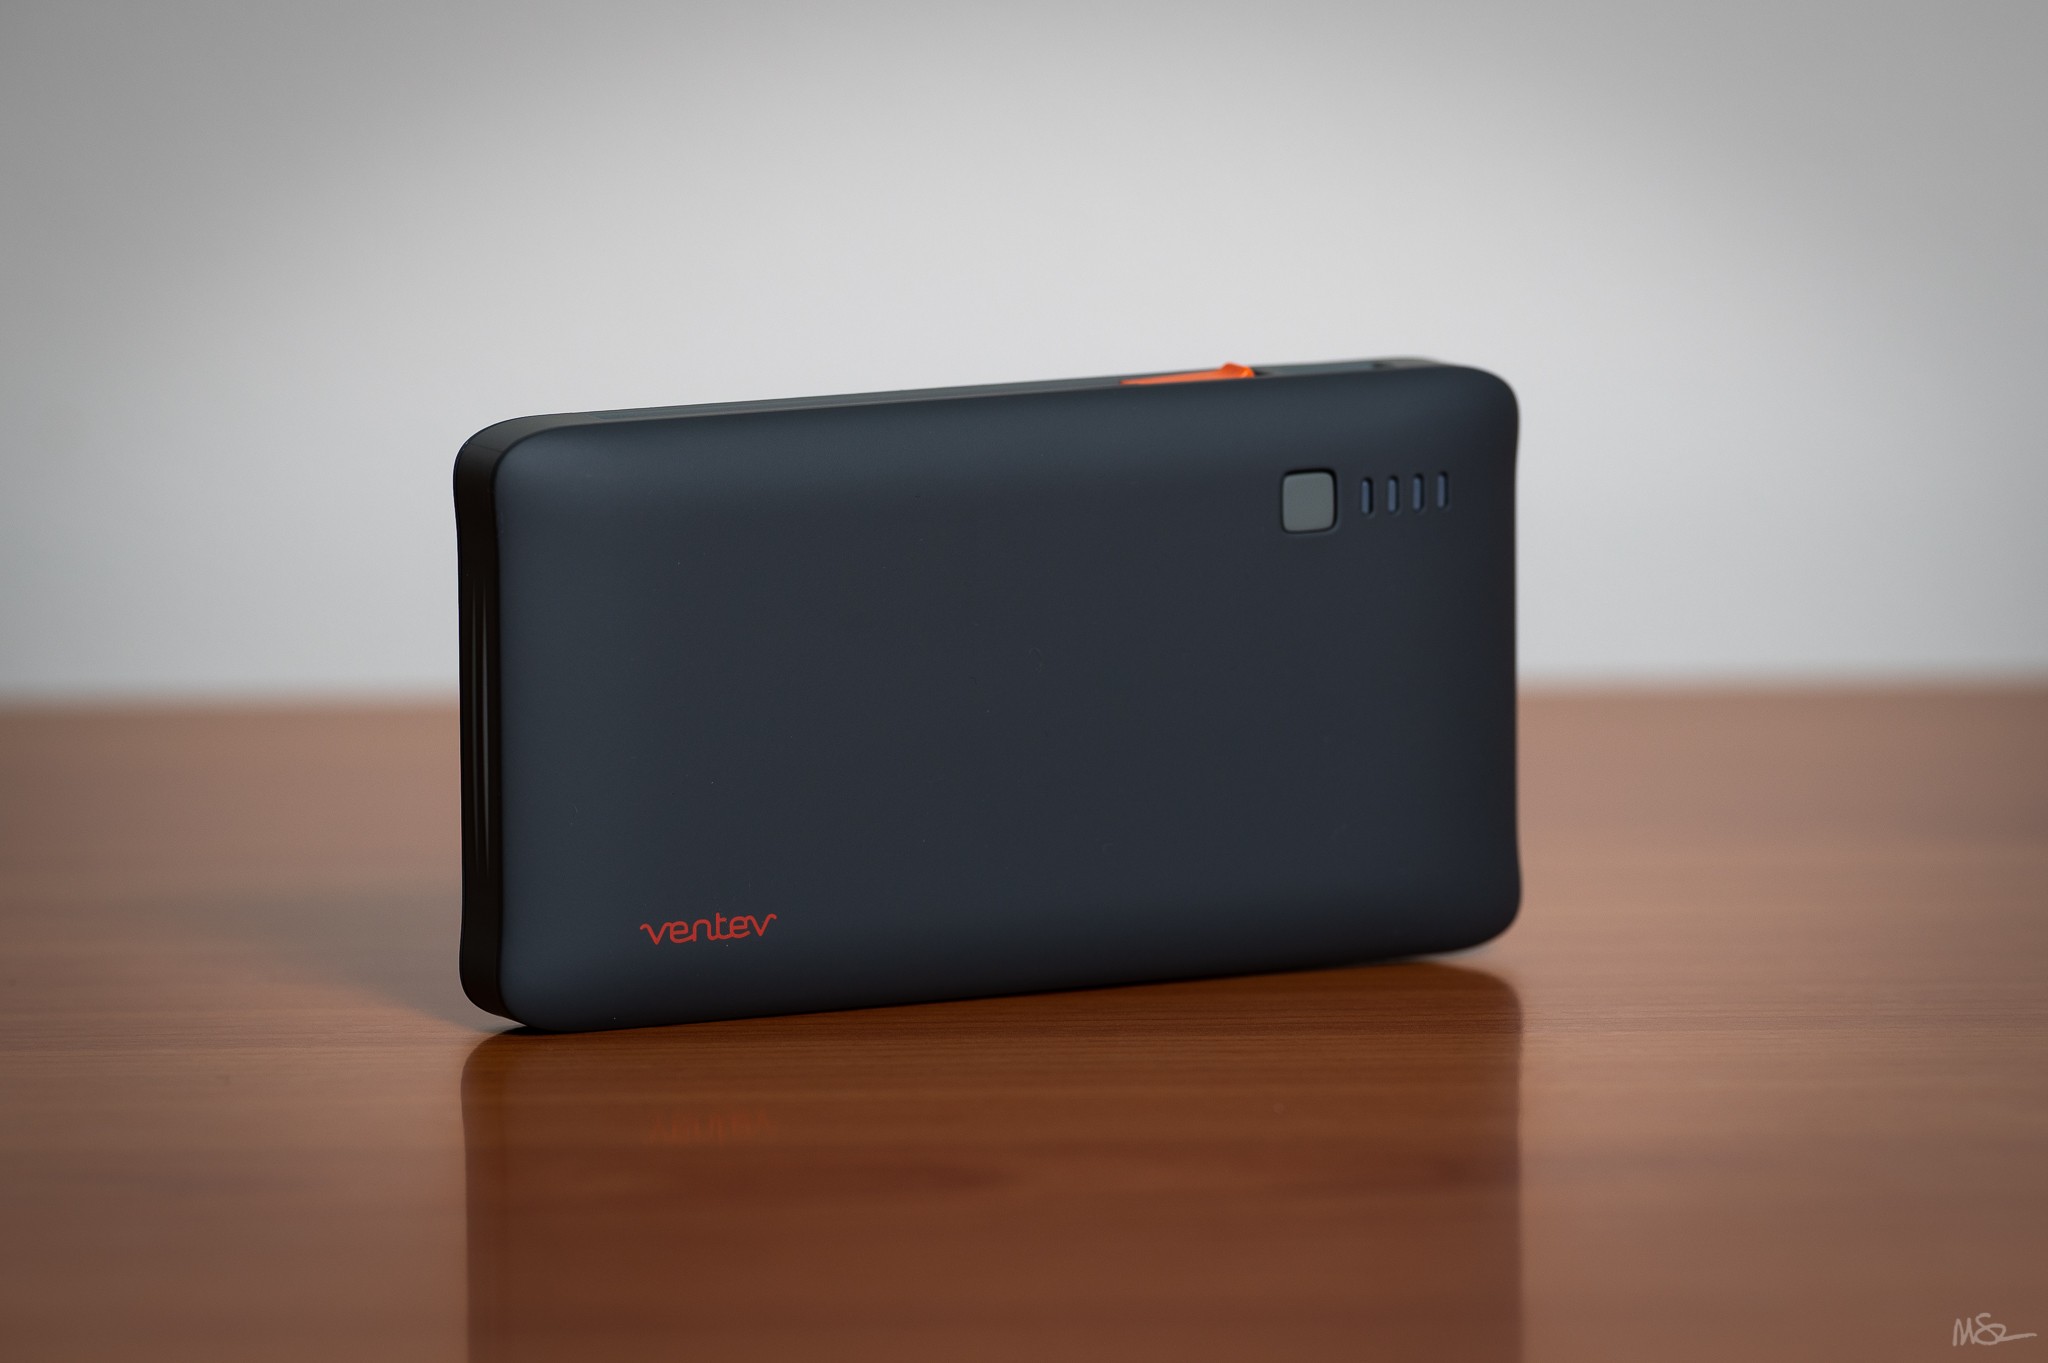
Ventev Powercell 6010+: A great travel battery! It has a foldable plug so that it fits into the bag without snagging on anything. When plugged it charges its own battery – and with charging pass-through capability – can simultaneously charge a connected phone or other USB device.
Nikon Z6II • VR 70-200mm f/2.8G at 200 mm • ISO 100 • 1/125 sec at f/5.6
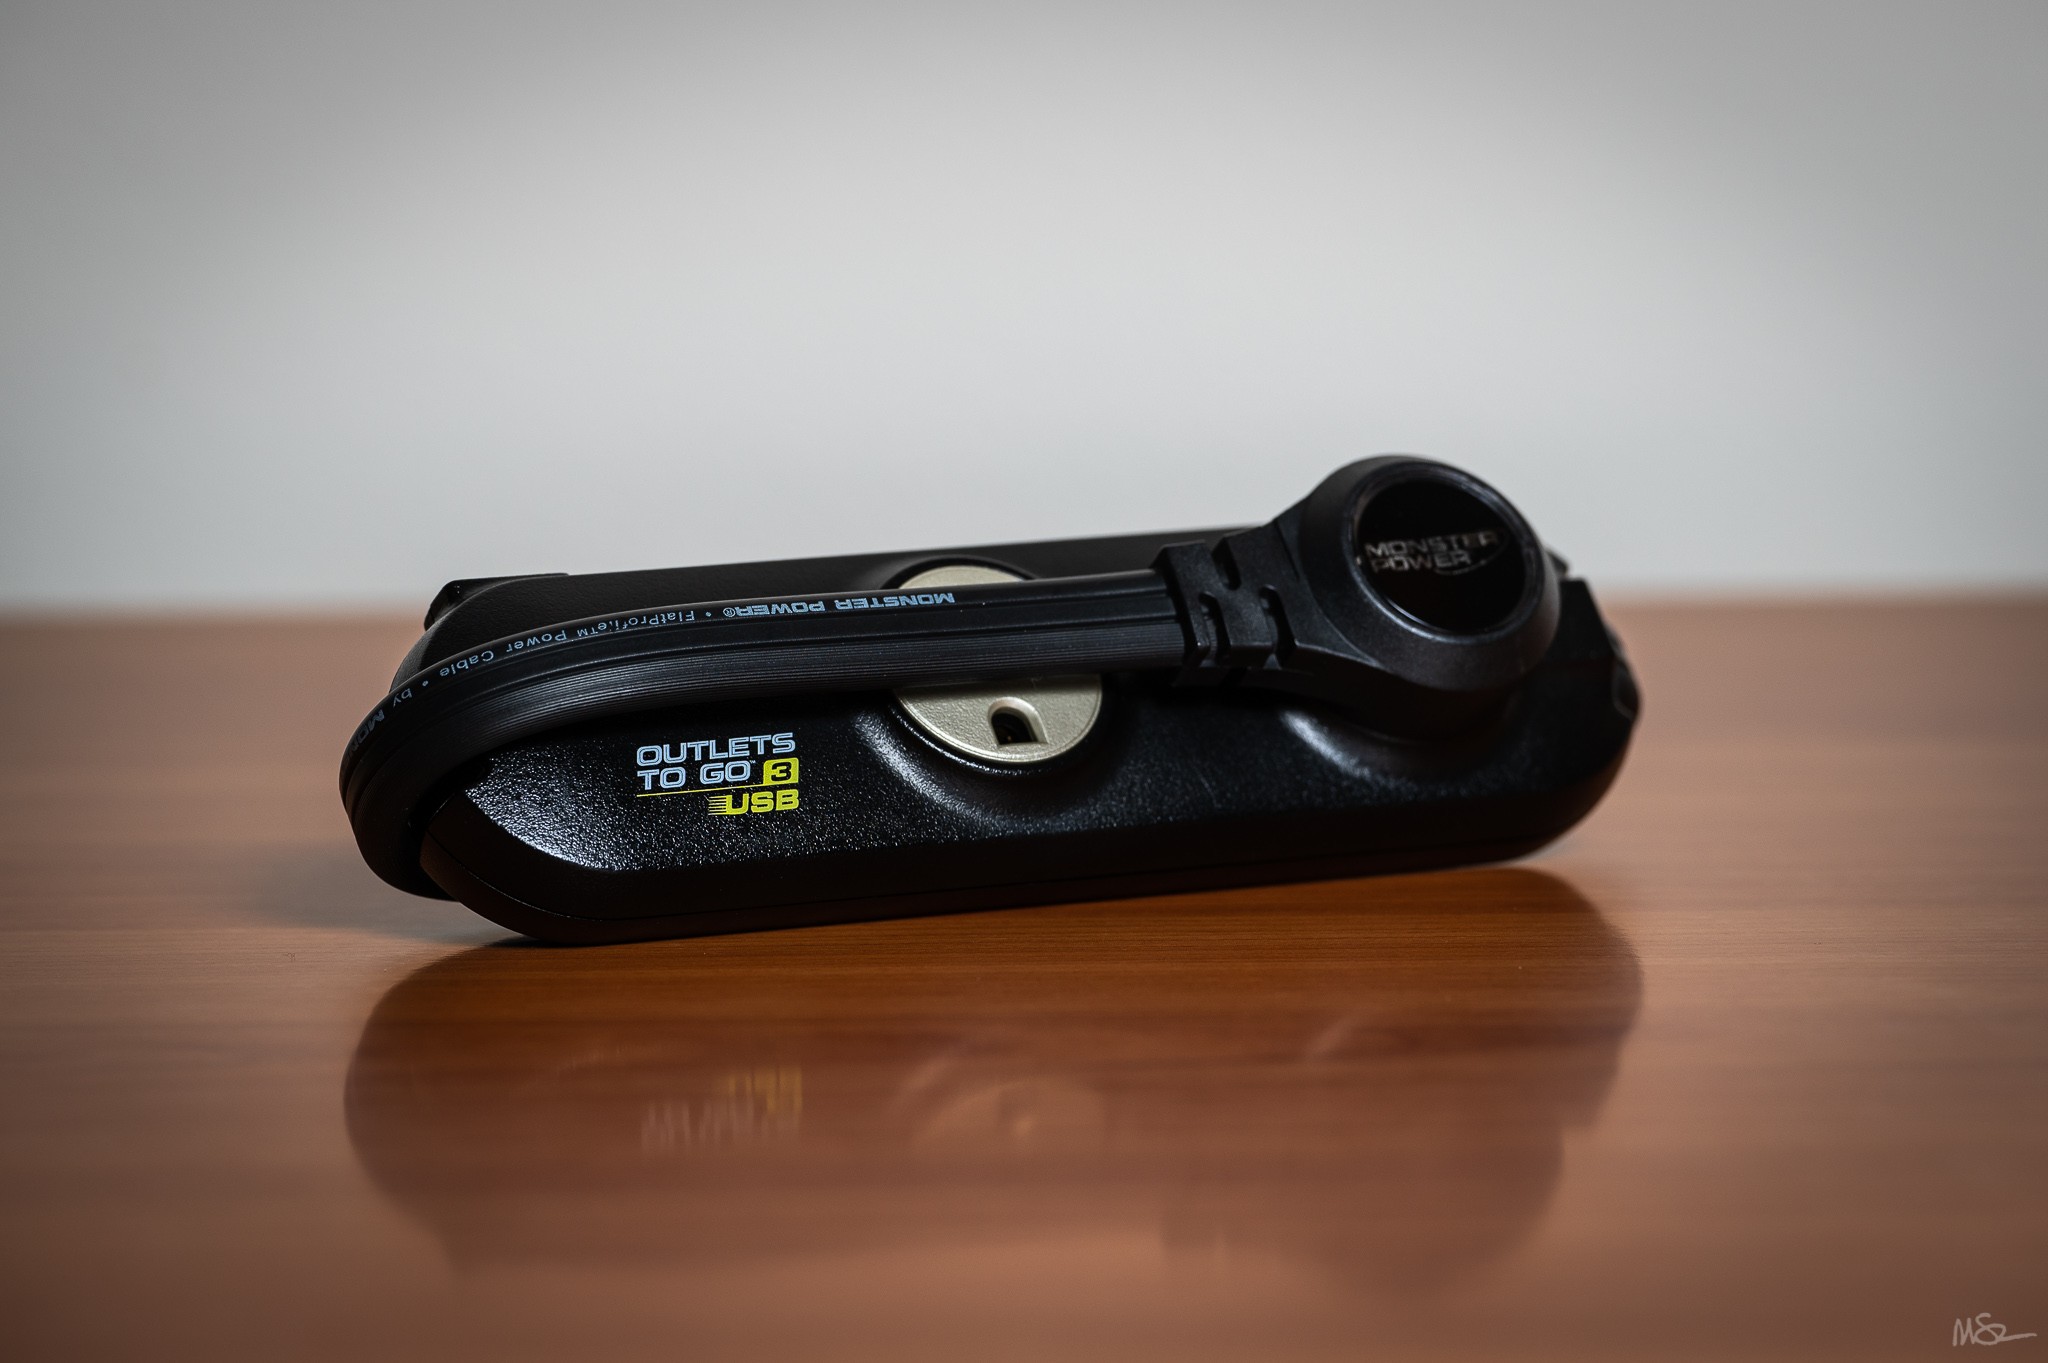
Monster Power Outlets To Go travel extension cord: This short cord extension is all that’s needed. Includes three outlets to plugin a couple of camera battery chargers for overnight camera battery charging and a the travel battery. And a USB port to charge the iPhone 8 and the DJI Osmo Pocket.
Nikon Z6II • VR 70-200mm f/2.8G at 200 mm • ISO 100 • 1/125 sec at f/5.6
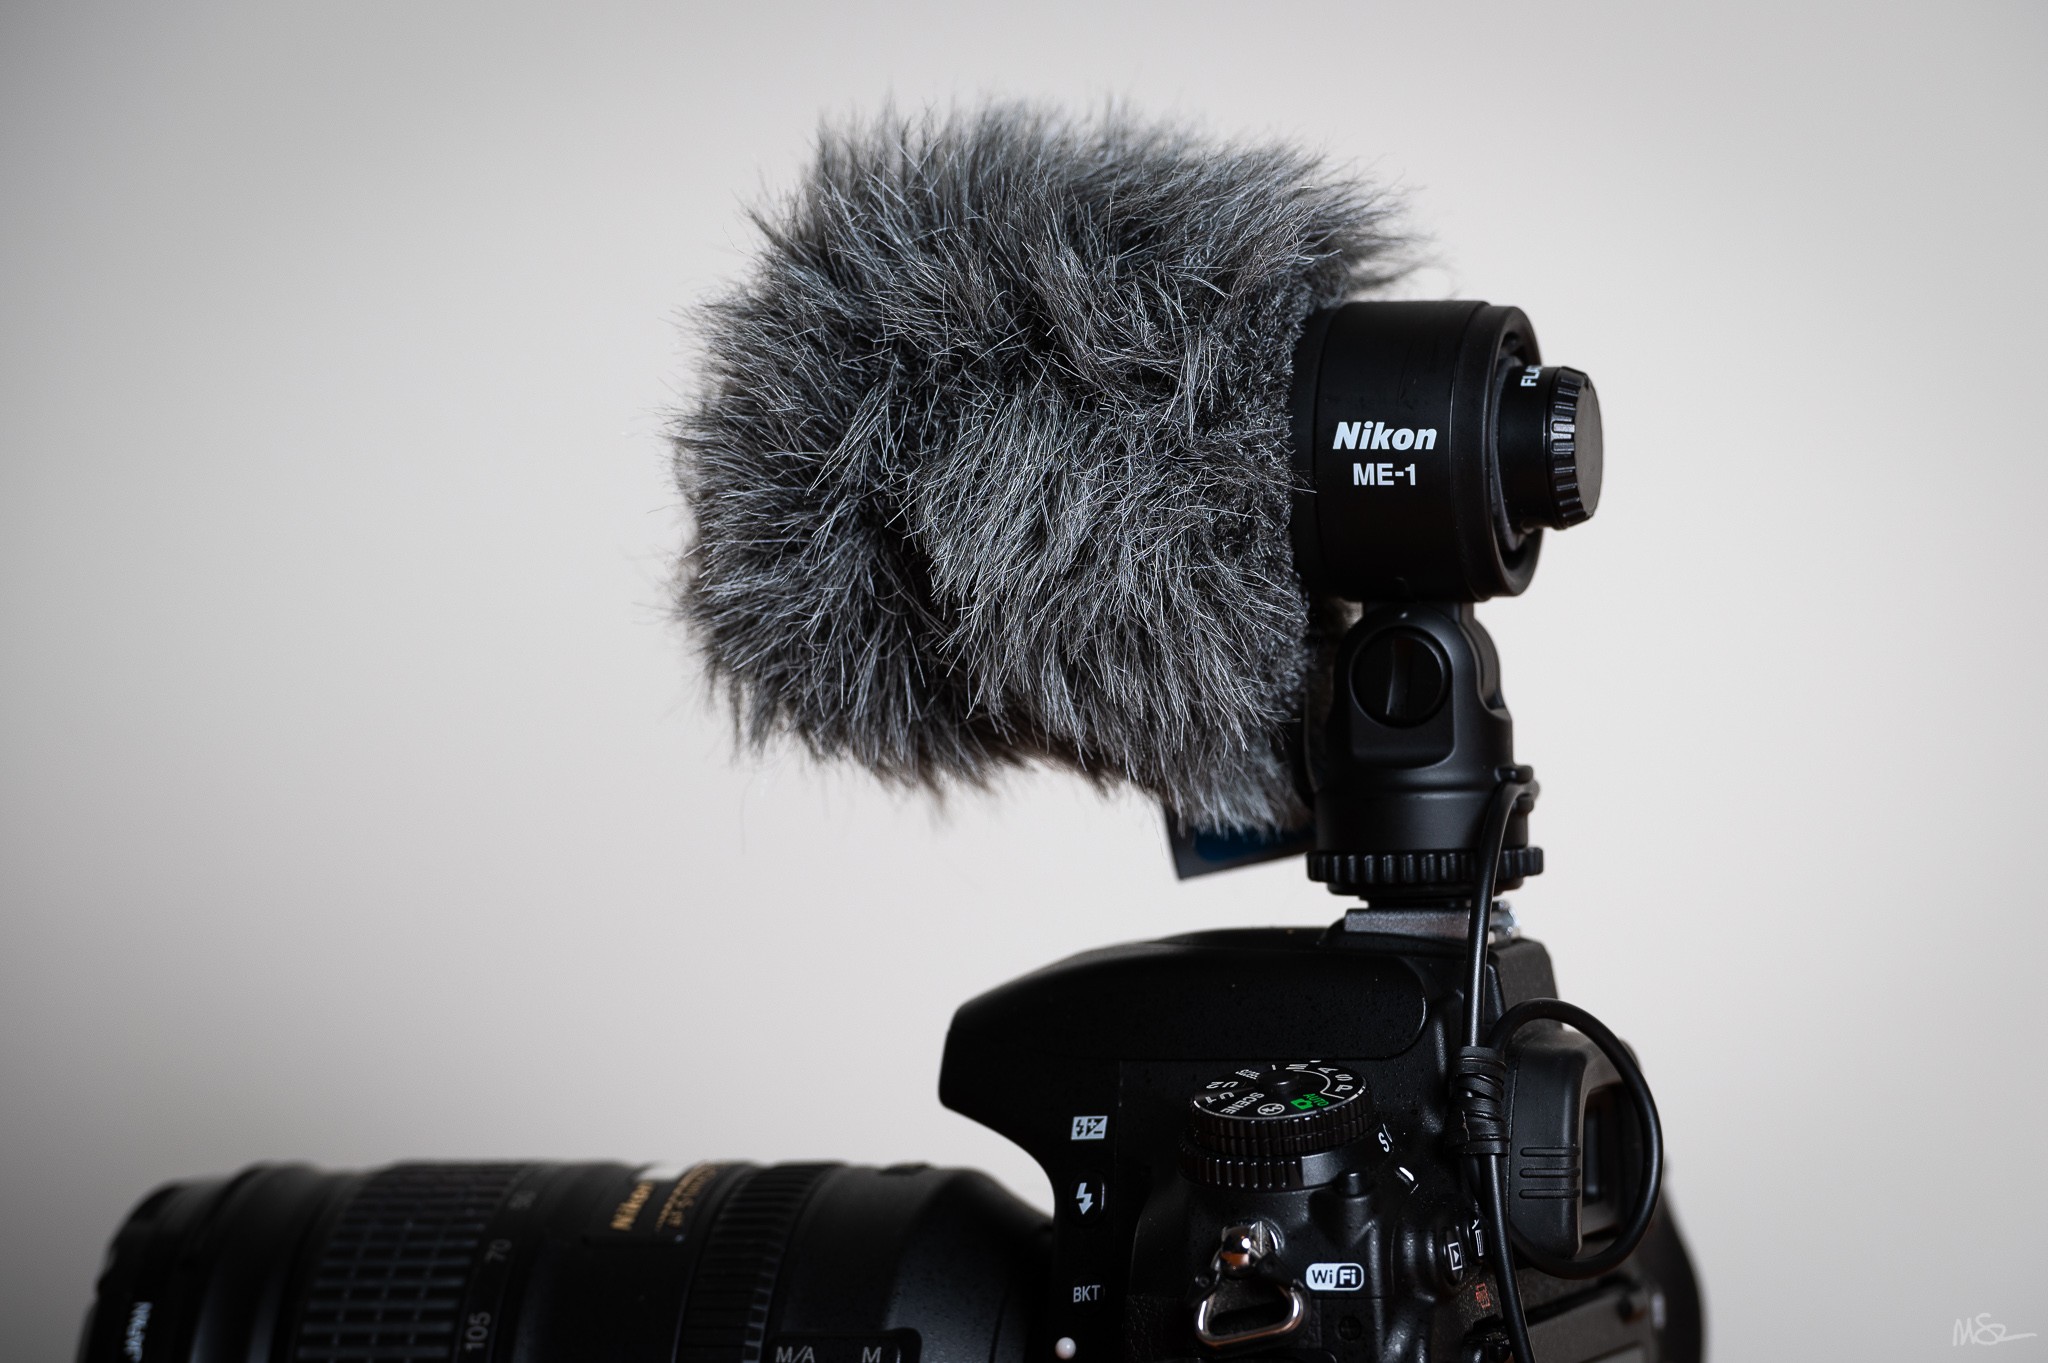
Nikon ME-1 microphone: I still don’t use this as often as I should. The Aokatec AK-G750 GPS receiver must be removed from the D750 accessory terminal in order to plugin the ME-1. But much better than the D750 internal mic and great for windy conditions.
Nikon Z6II • VR 70-200mm f/2.8G at 200 mm • ISO 100 • 1/125 sec at f/5.6
Memory Card and File Management
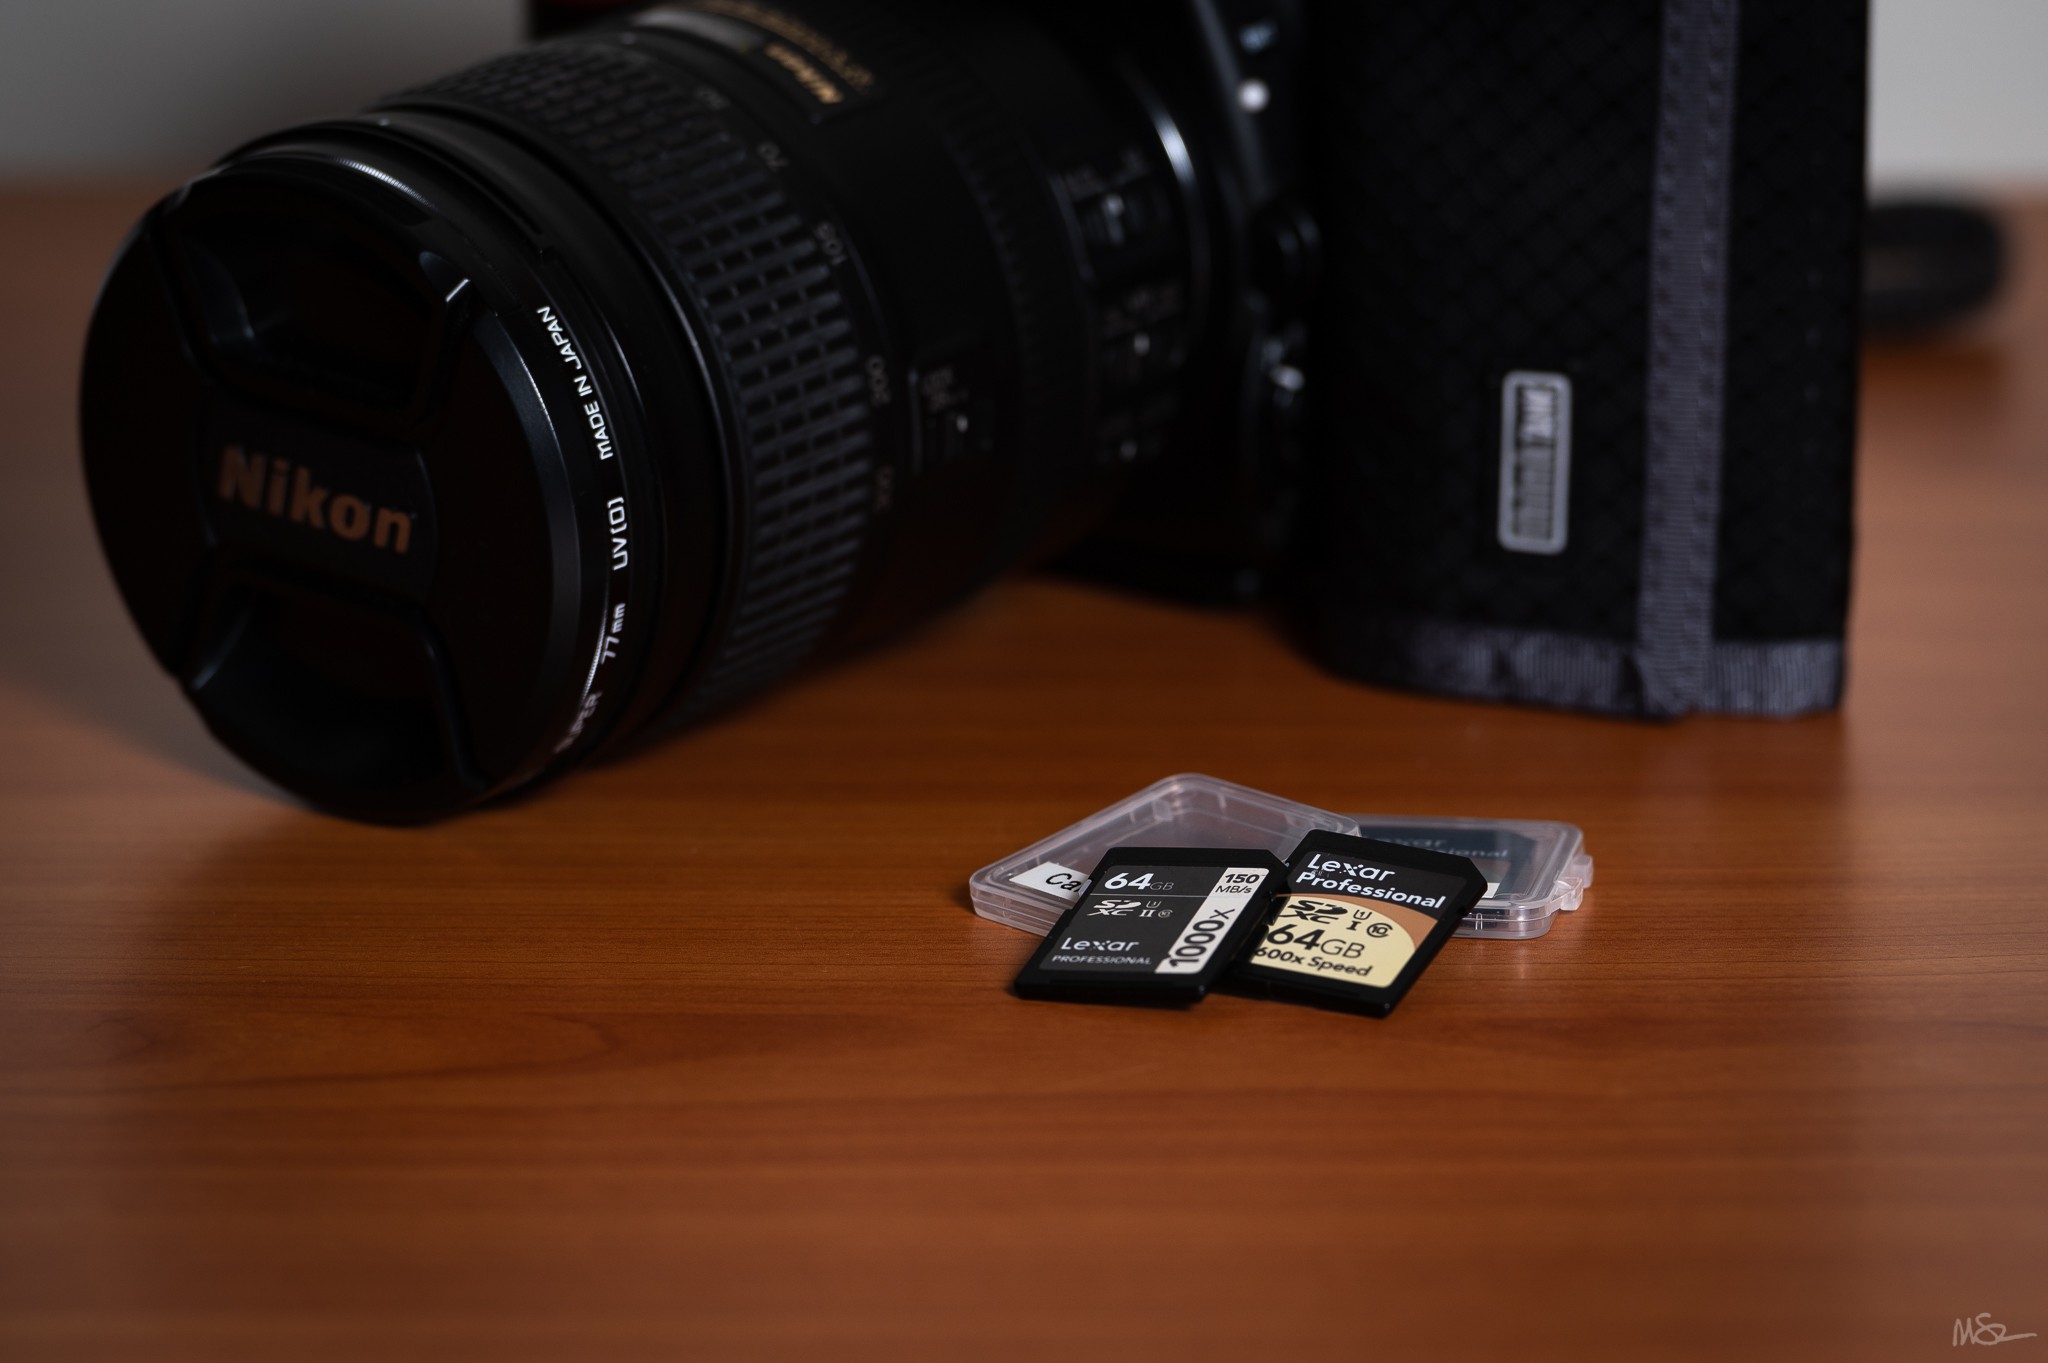
For this trip I brought along two 64GB 1000x Lexar Professional SDXC Class 10 cards and two 64GB 600x Lexar Professional SDHC Class 10 cards – the same cards and configuration I used in Southeast Asia.
Nikon Z6II • VR 70-200mm f/2.8G at 200 mm • ISO 100 • 1/125 sec at f/5.6
Each 64GB card holds about 1,500 12-bit NEF files. I used a 64GB card in slot 1 of the D750 to store NEF raw photo files. In slot 2 I used a 64GB card with the D750 set to store large size JPEG normal quality backups at about 10.2MB per image.
About halfway through the trip, as is my usual practice, I swapped out the initial set of SD cards for the second set. At the end of the trip, between the D750, the iPhone 8, and the DJI Osmo Pocket I ended up with just 482 picture files totaling 11.04GB. That’s a shooting rate of about 44 per day – well below my average of 100 photos per day on international trips.
| Photo | Files | Gigabytes |
| Nikon D750 NEF | 326 | 9.70 |
| DJI Osmo Pocket DNG | 97 | 0.49 |
| iPhone 8 DNG | 59 | 0.85 |
| TOTAL | 482 | 11.04 |
Between the D750 and the Osmo Pocket I ended up with 208 movie files totaling 26.90GB.
| Video | Files | Gigabytes |
| Nikon D750 MOV | 84 | 8.03 |
| DJI Osmo Pocket MOV | 124 | 18.87 |
| iPhone 8 MOV | 0 | 0.00 |
| TOTAL | 208 | 26.90 |
WordPress Blog Updates
For the daily trip blog updates I used the D750’s built-in Wi-Fi to connect via the Nikon Wireless Mobile Utility App installed on the iPhone 8. Once connected it’s easy to select pictures to transfer to the phone, and then incorporate those photos in the daily trip blog updates using the WordPress Mobile App. Internet access in Brazil was good. Fairly consistent LTE coverage or Wi-Fi access. Between uploading photos, drafting the content, and finding someone to proof – the daily blog updates take about an hour each day to complete.
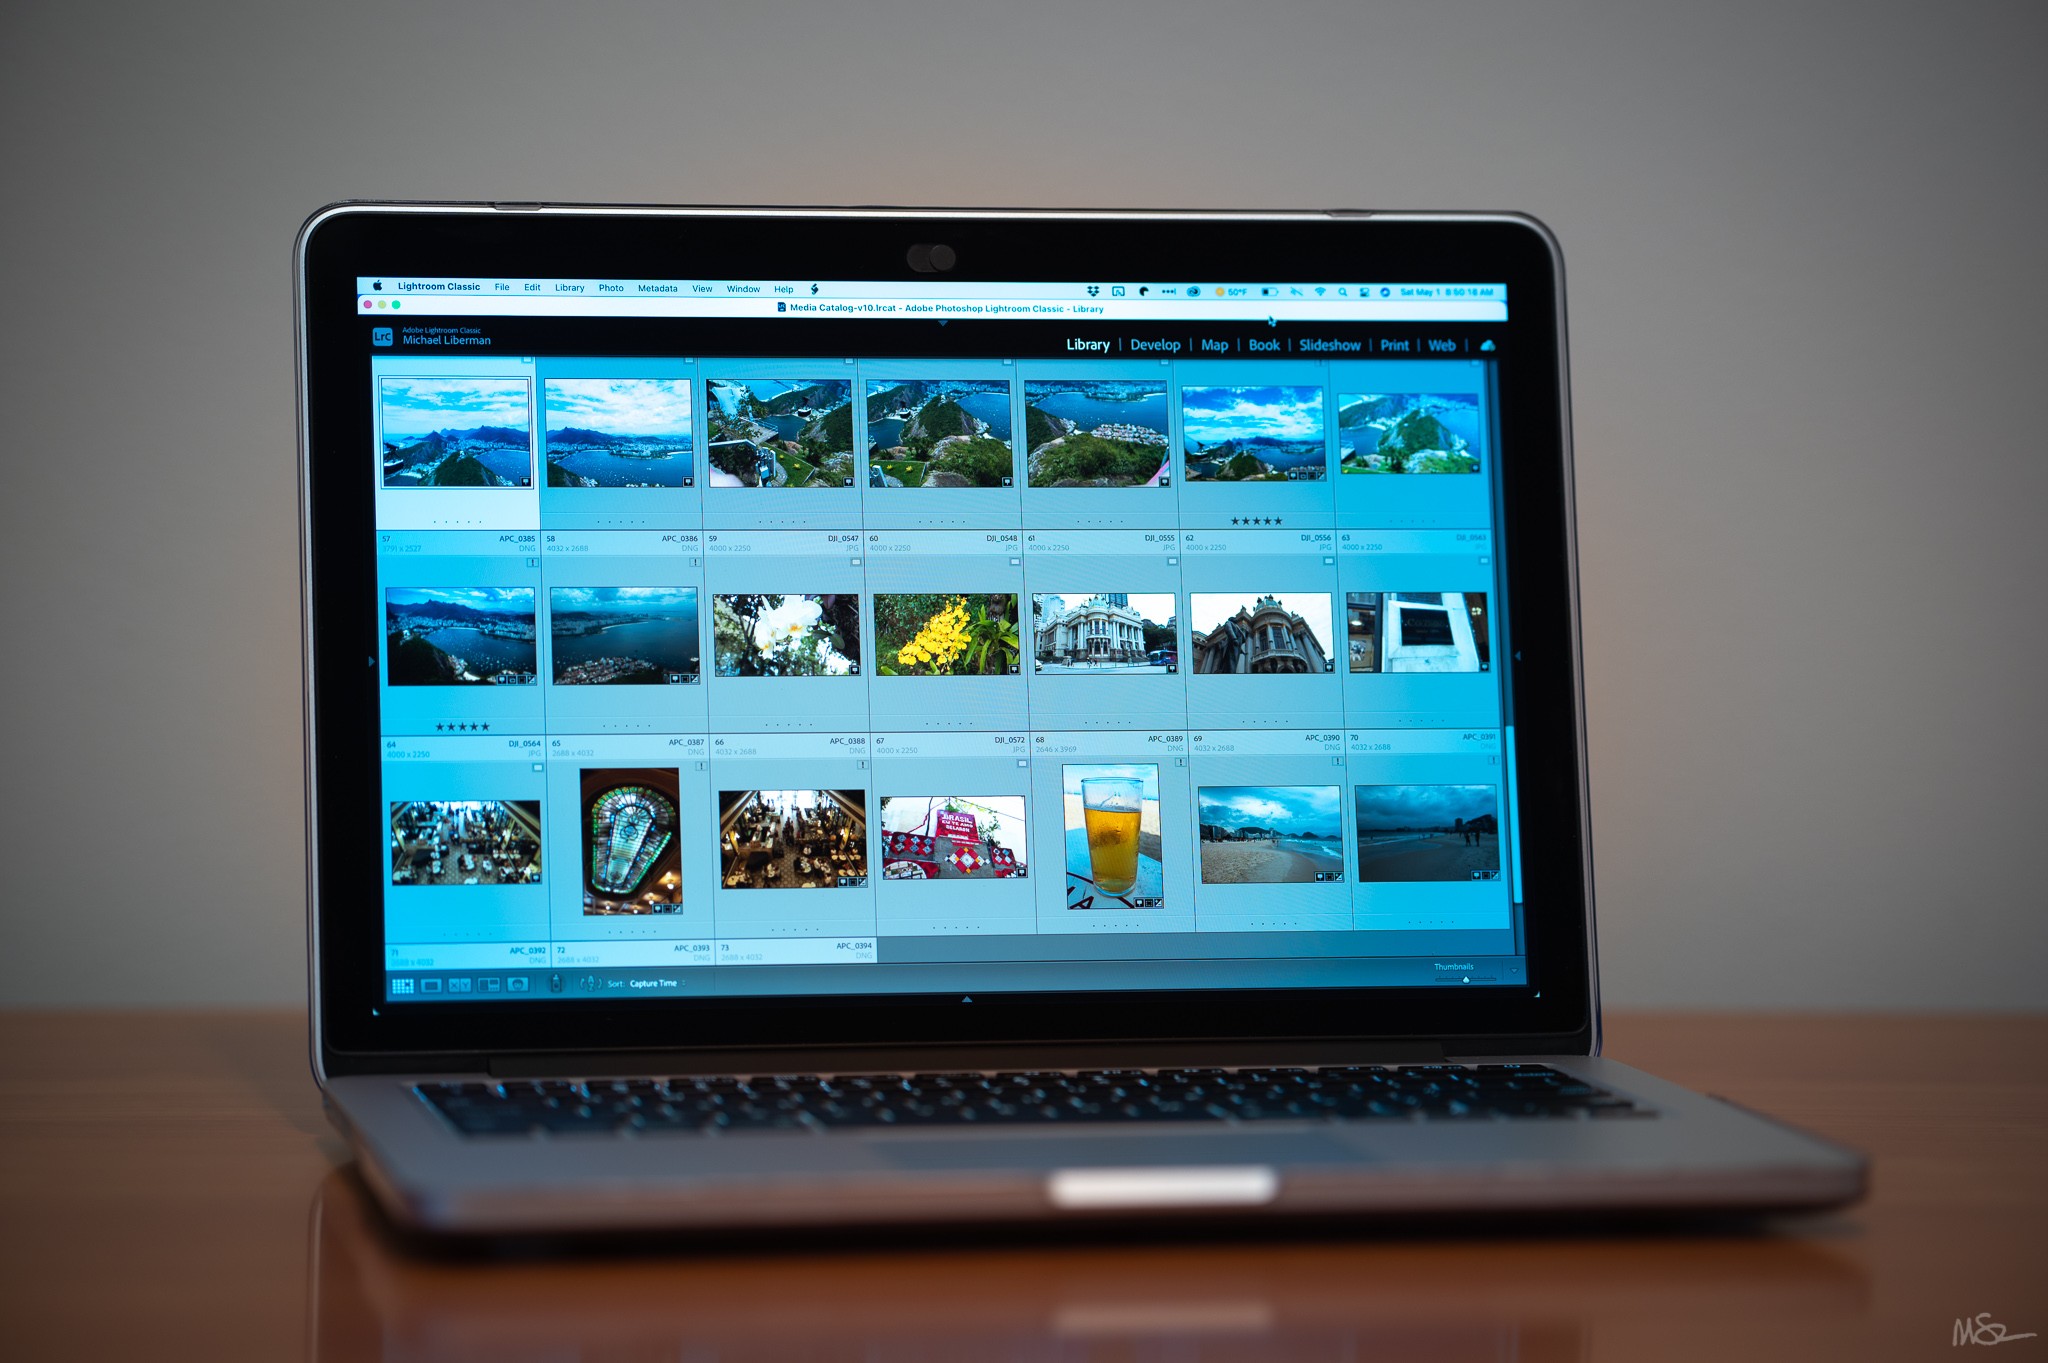
Photo Workflow
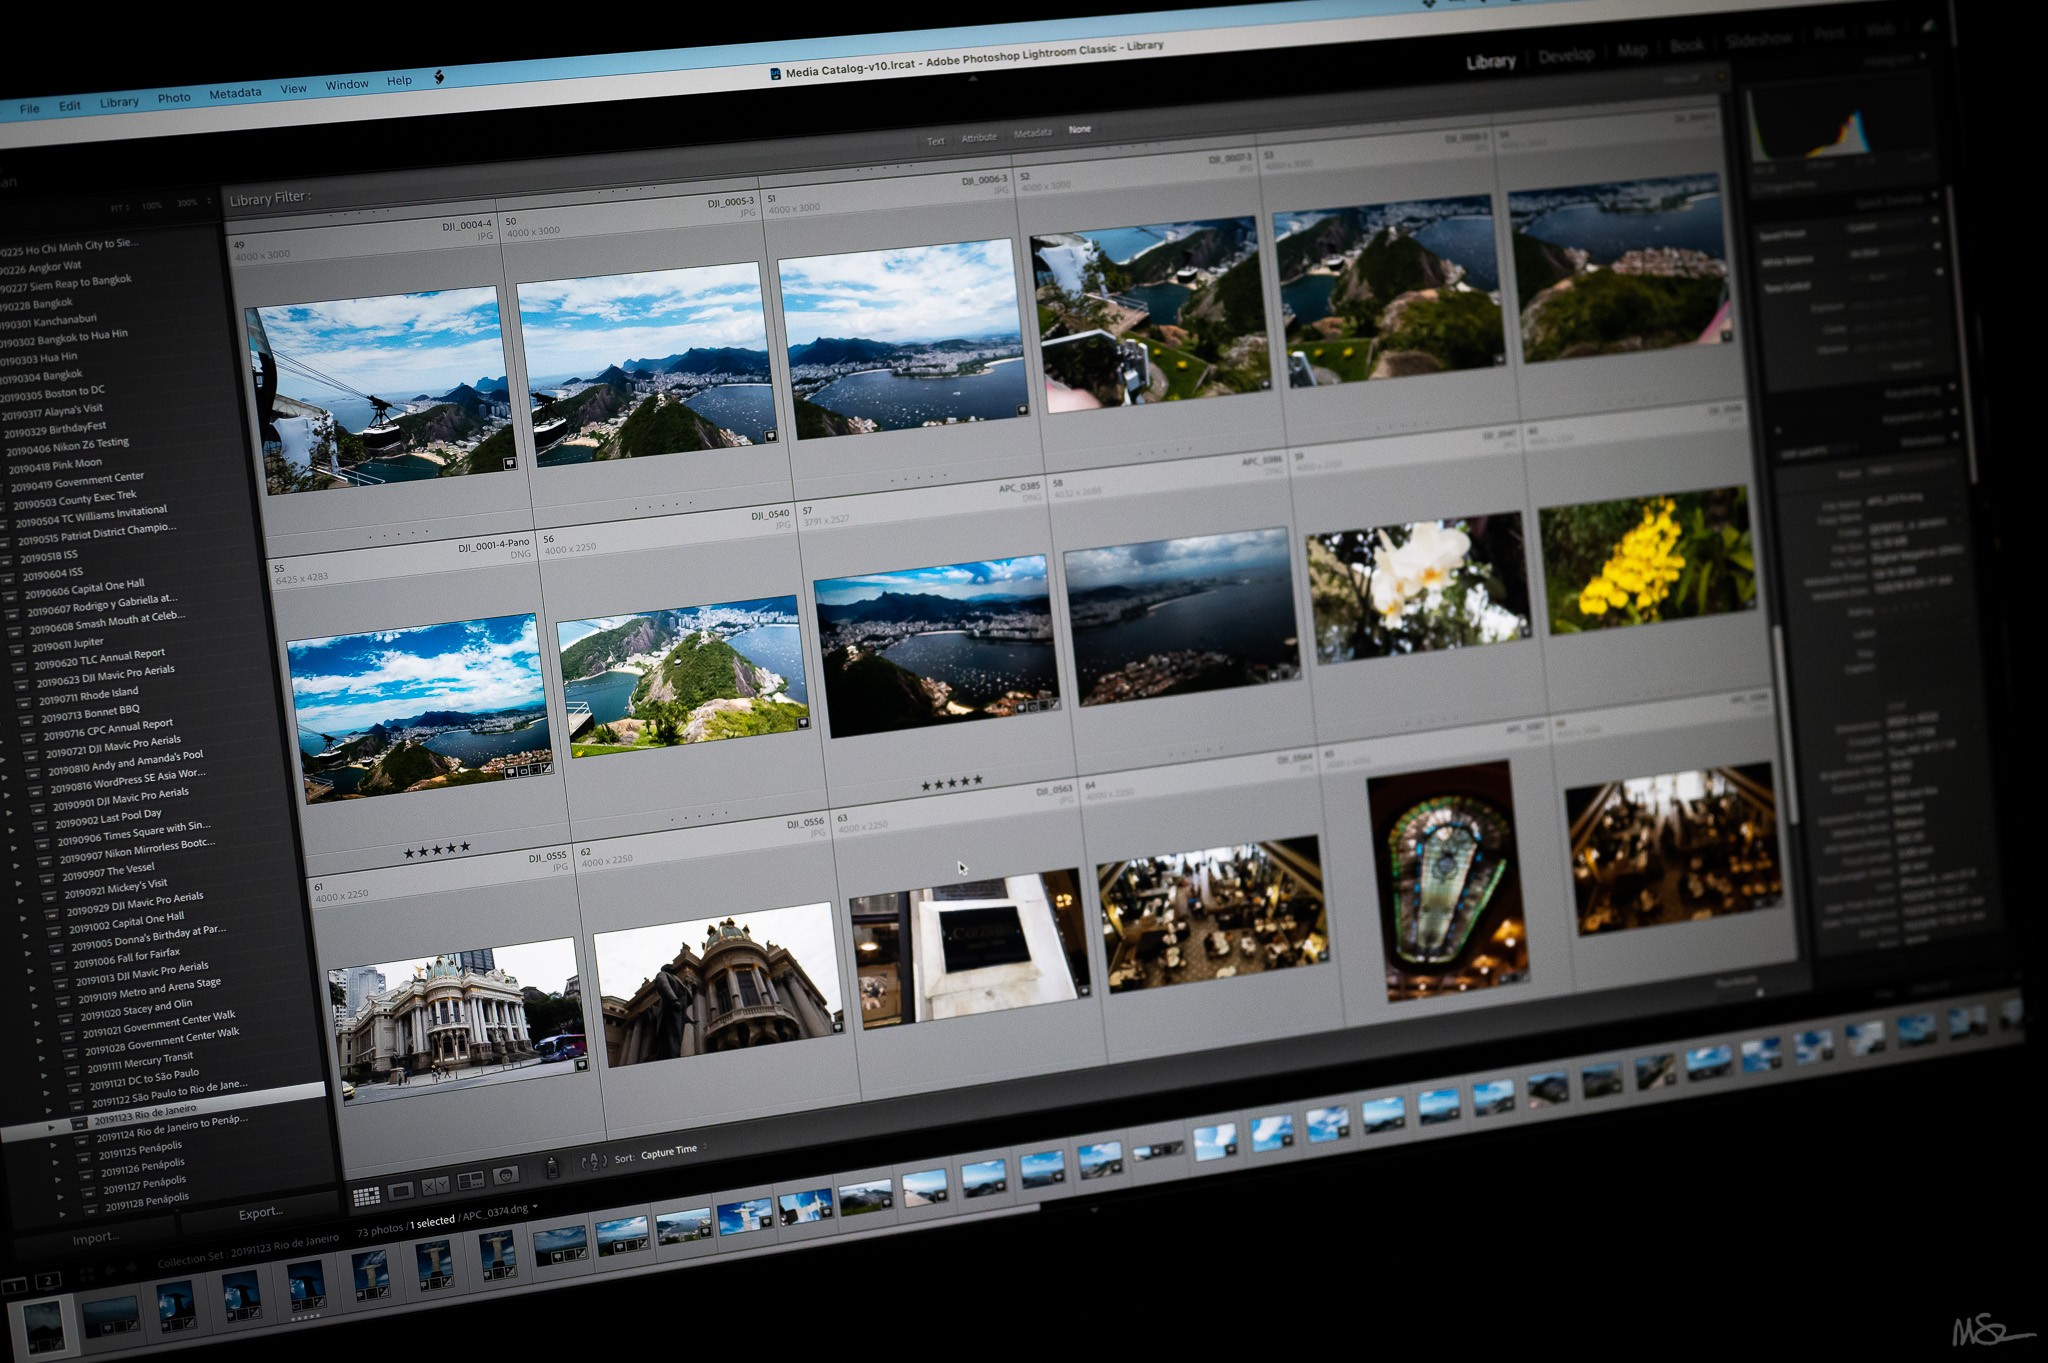
My standard workflow for photos and video remains the same. I’m working with what is now known as Adobe Photoshop Lightroom Classic for photo management and editing – using the Creative Cloud Photography plan.
Nikon Z6II • NIKKOR Z 50mm f/1.8 S • ISO 5000 • 1/500 sec at f/2.8
A couple of years ago I dropped keywording as a workflow step and substituted sorting into collections. I wasn’t really using the keywords and it wasn’t worth the time it was taking to add them. And I find using collections really helps to identify the best images – those I want to focus on for post-processing. The revised simplified version of the workflow is:
- Import as DNG to folders named by date and location
- Delete duplicates and rejects
- Rename by location or event with sequential numbers
- Collections for Full Shoot, Picks, and Selects
- Geoencode
- Caption
- Post-process
- Output
Video Workflow
Video files are digitized using Apple Final Cut Pro to events named by date and location. After import files are renamed by date and time.

Nikon Z6II • NIKKOR Z 50mm f/1.8 S • ISO 6400 • 1/320 sec at f/2.8
With all trip photo and video files transferred I confirm onsite and offsite backups are complete (using CrashPlan for Small Business to manage both backups) and then reformat the SDXC and SDHC cards for use on the next project. Now it’s time to get to work on the photo gallery, book, and the trip video!