Galápagos Islands Video Workflow

Last week I posted the 2013 Galápagos Islands video and shortly after the trip I posted details of the photo and video workflow. Here is a little more detail about the video shooting and editing workflow for the Galápagos Islands project.
I brought the Nikon D600 DSLR along for this trip and used the AF-S NIKKOR 28-300mm f/3.5–5.6G ED VR zoom lens. The 28-300mm is a great all-round travel zoom – particularly when you need to pack light! Super zooms, like the 28-300mm, are always a compromise. But for all-day, always on-the-move outdoors photo and video, the 28-300mm is a winner. When shooting video I added the Nikon ME-1 microphone to the setup.
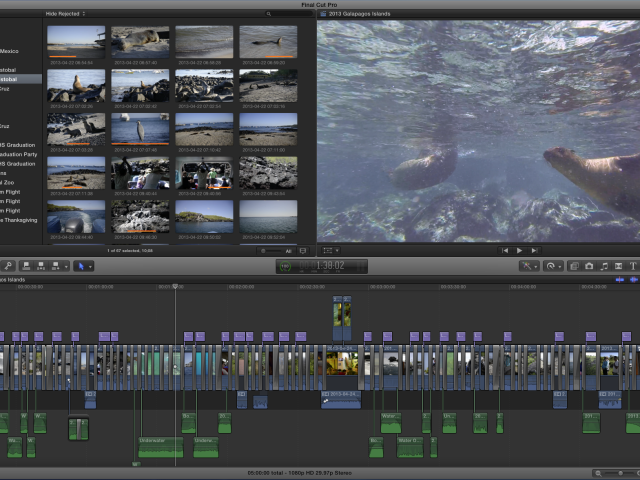
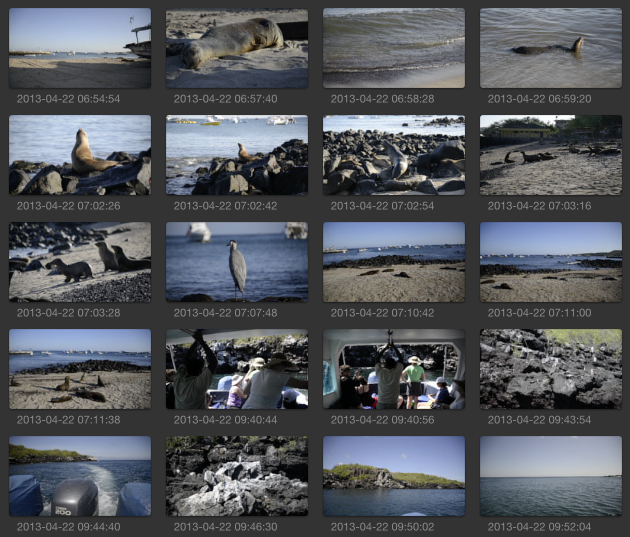
For a travel video I like to feature the highlights in largely chronological order. This matches the natural ebb and flow of the trip and serves as a great video journal. So once the clips are loaded into Events named by day and location (for example 20130422 San Cristobal) I rename the clips by date and time and sort ascending. Here is the Event Browser in FCPX showing the result …

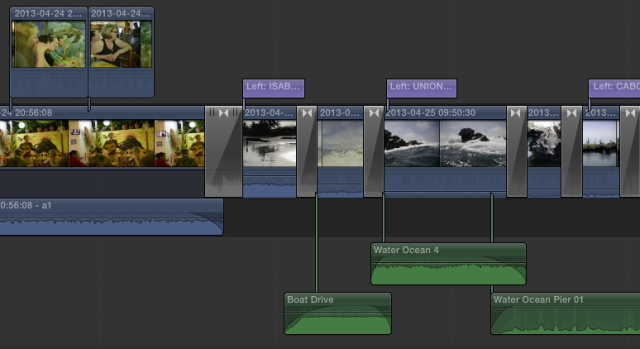
The edit process is pretty straight forward. Put all the clips in the timeline in chronological order, then remove the anything not worth keeping … out of focus shots, bad exposure, missed action, and duplicates. Several passes through the timeline like this gets the original one hour and 11 minutes down to a more manageable number for fine tuning. Next, add dissolves as needed to smooth the transitions between shots, insert the Photo Album Pan Lower Right transition to separate each day of the trip, add lower third titles to identify locations, tweak audio levels, and add sound effects when necessary to replace or supplement existing audio. Then watch the nearly complete project a few times, fine tune, and watch some more. When the edit process is complete – upload to Vimeo, post on Facebook, and post here on the blog as well. Here is a close up of the project timeline …

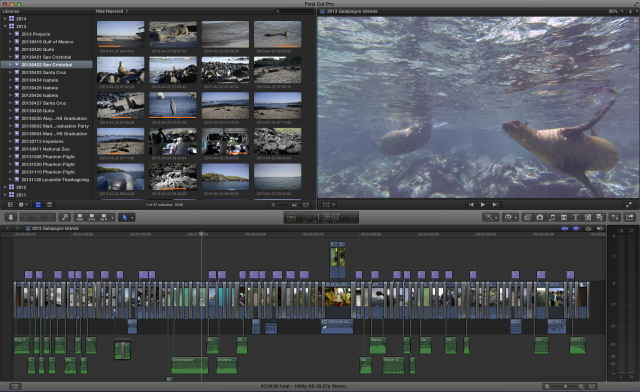
Here is the entire timeline for the finished project …

And here is the finished project …
 Michael S. Liberman