On the bus to Ranthambore …
Our dinner last night was outdoors at a place called Marian Nina’s. We started with a tomato soup followed by chicken and cheese appetizers from the grill. Dinner was buffet style featuring Indian and western dishes. The entertainment was amazing with a puppet show, a traditional Indian dancer performing on broken glass, and a fire-eating drummer.
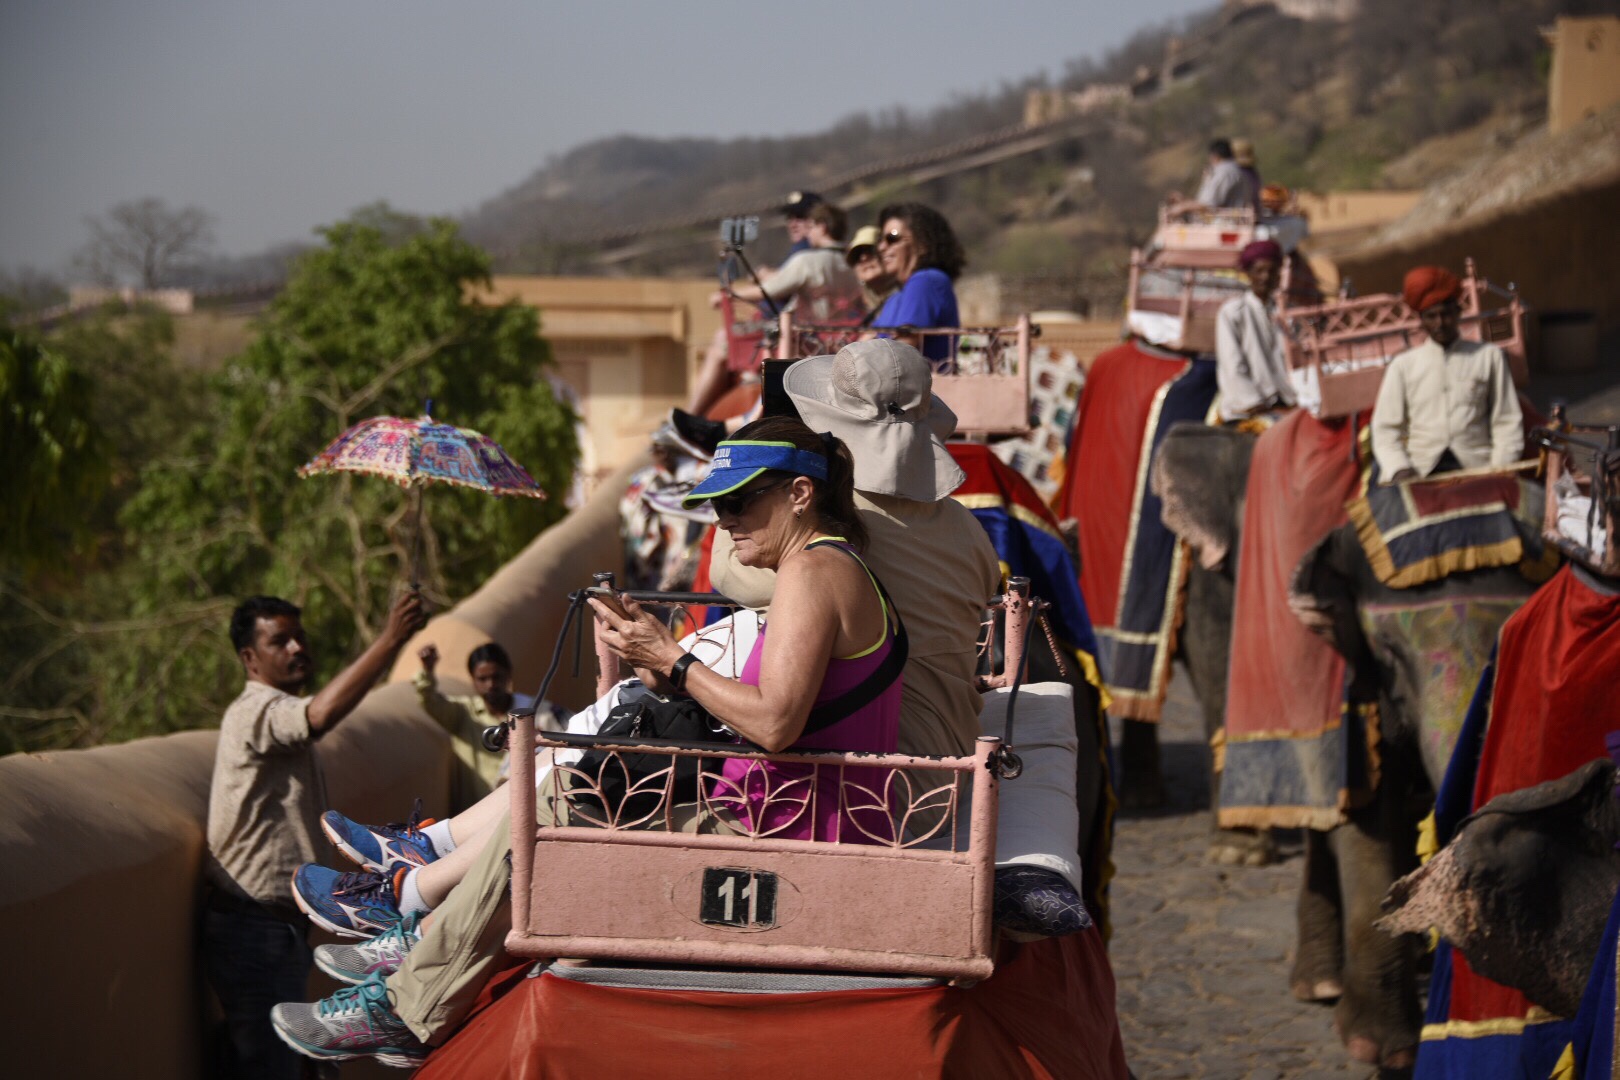
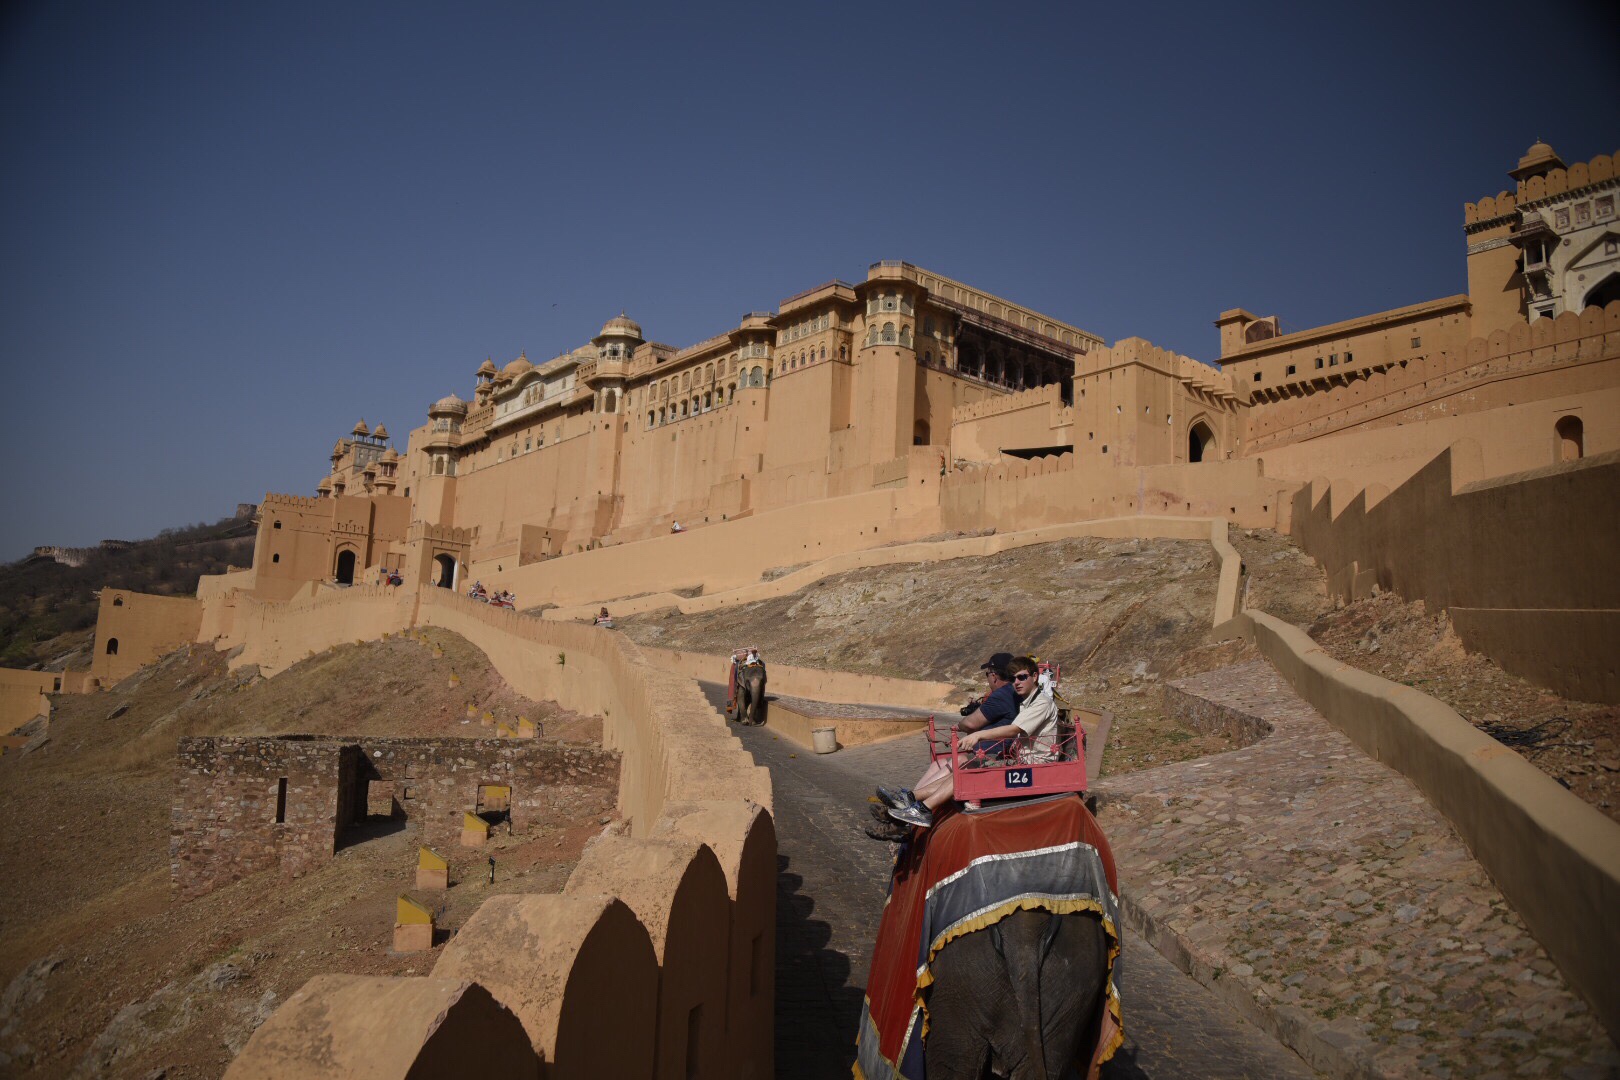
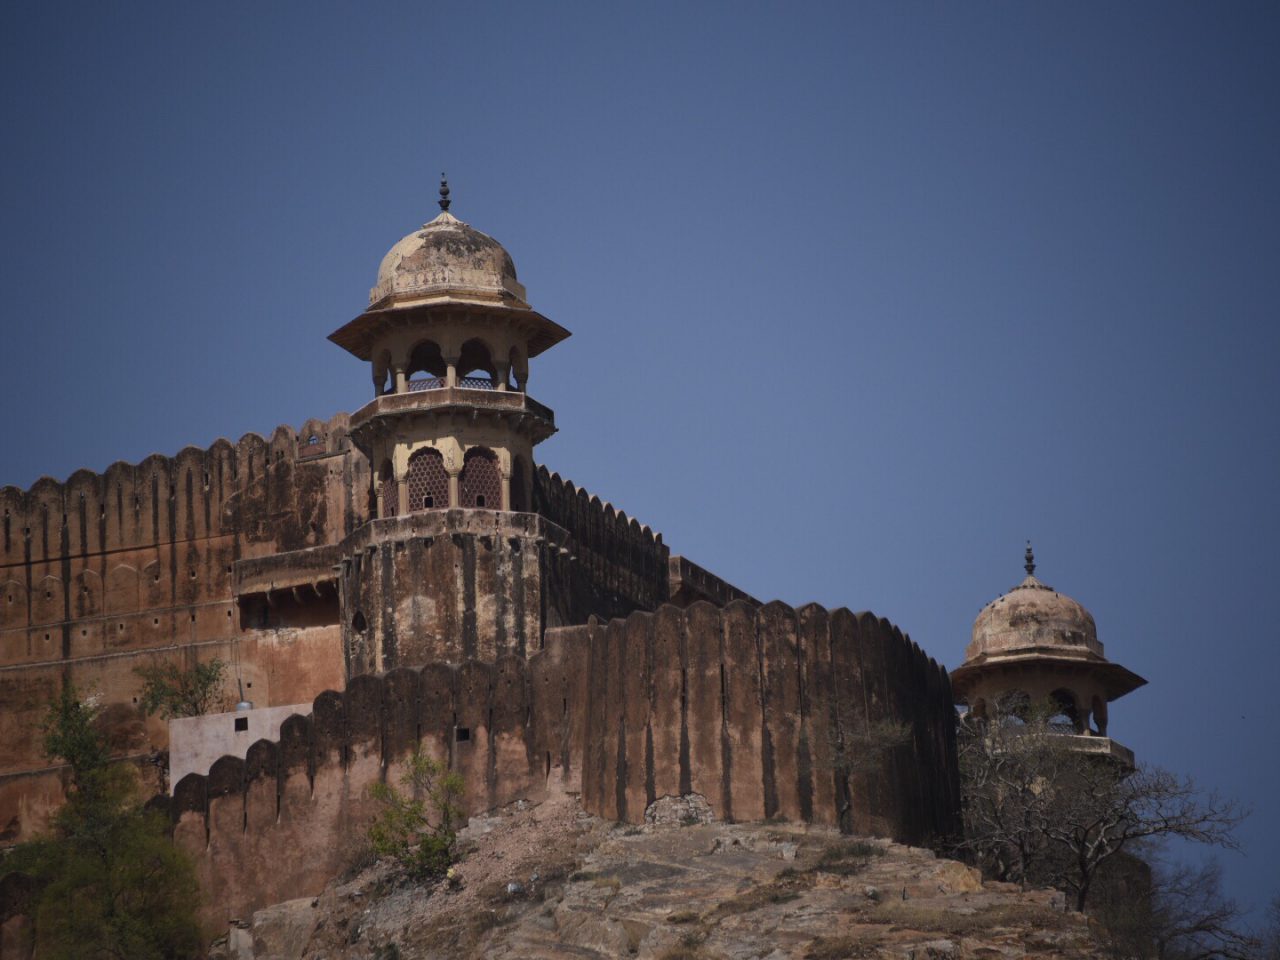
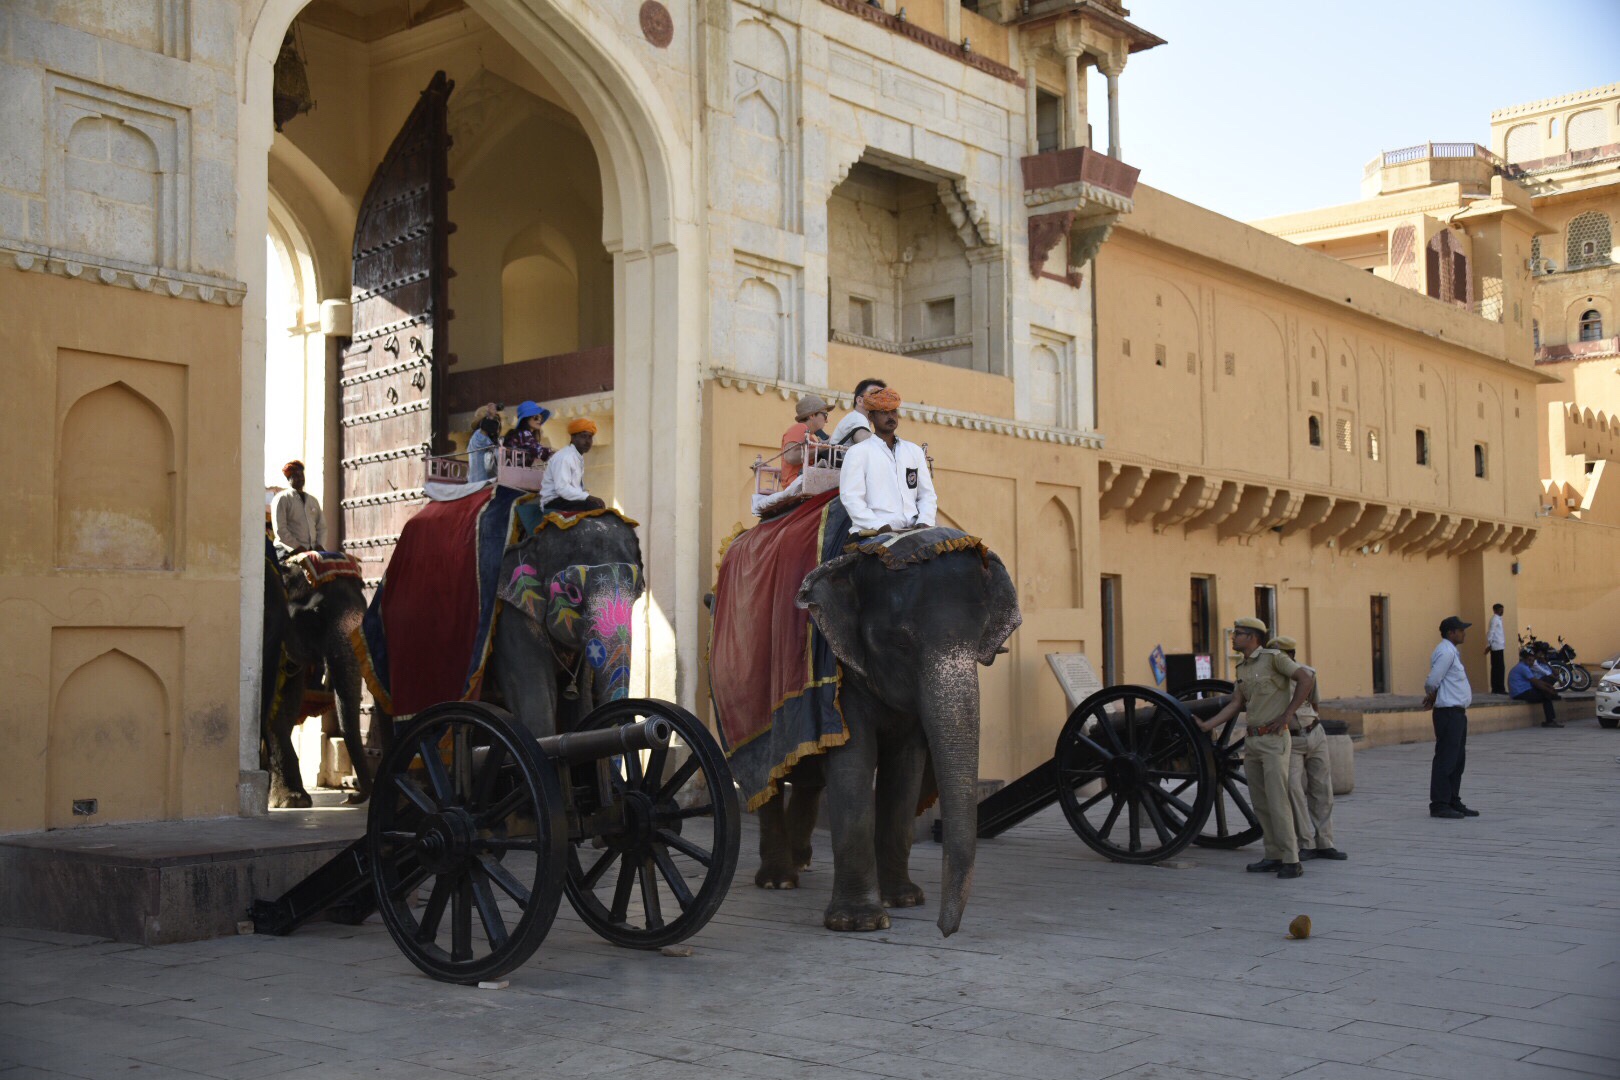
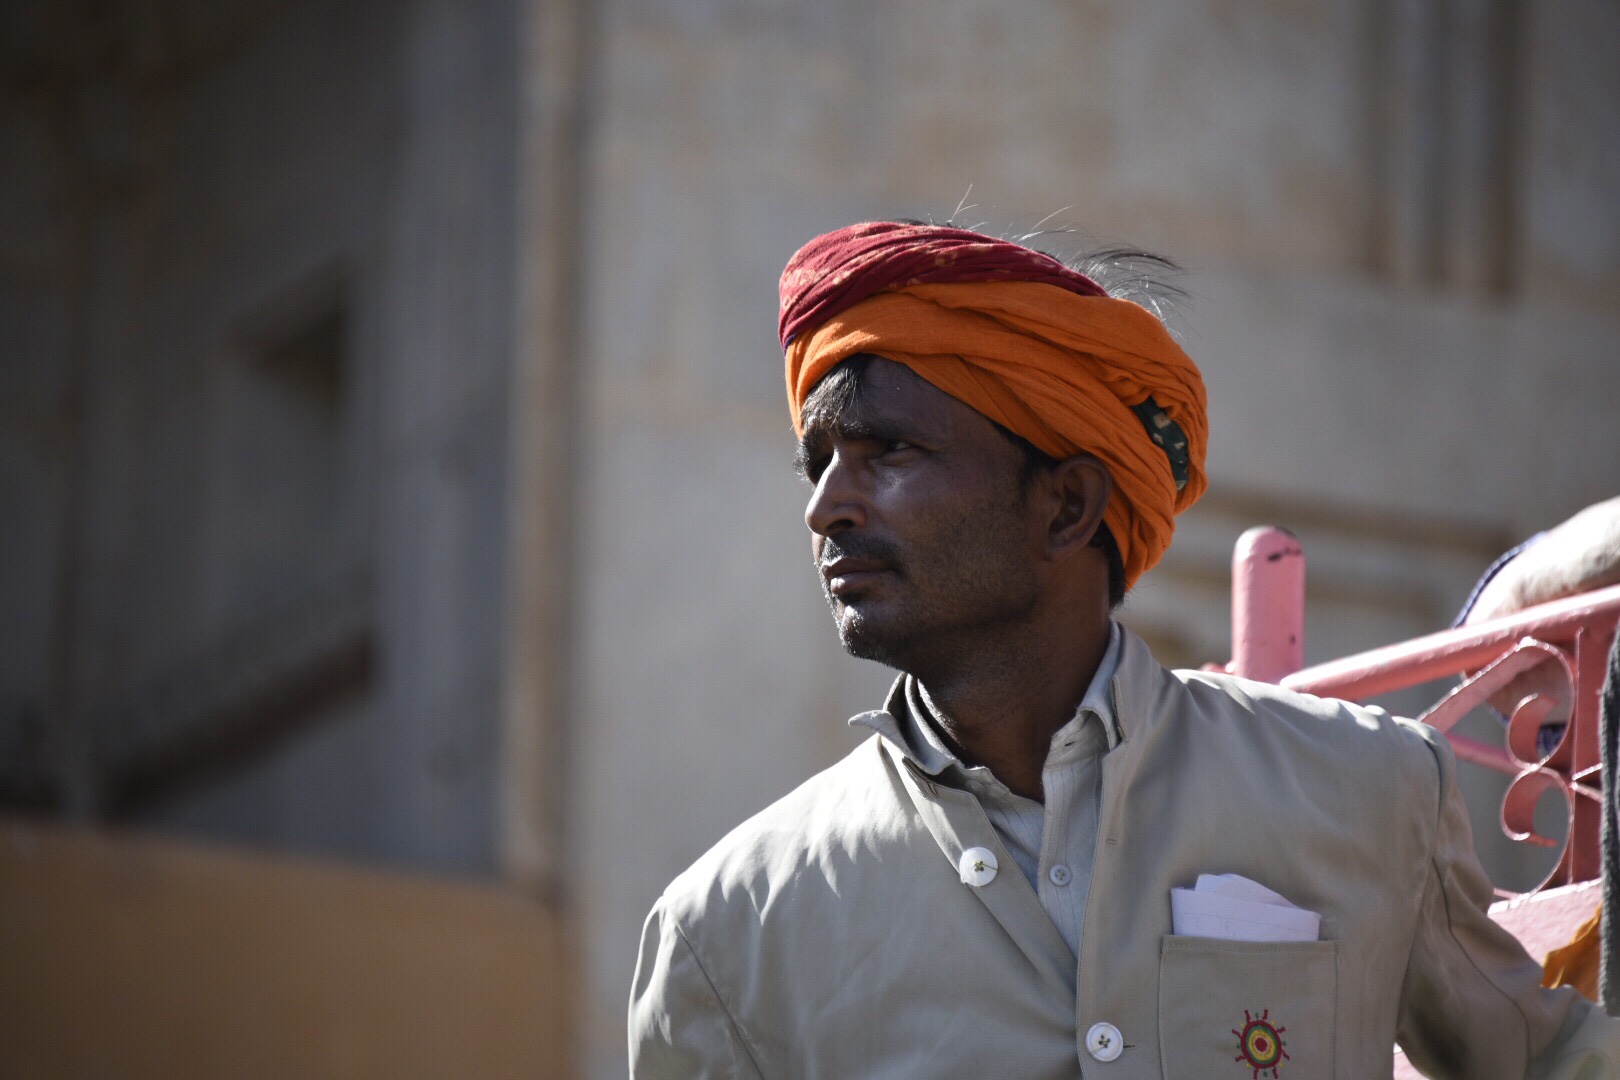
This morning we leave the Park Regis at 8a and head back to the Amber Palace. Unni has arranged for elephant rides for those who are interested. The elephants carry paying tourists from the base of the mountain up to the main square inside the Amber Palace. It’s hard work and the elephants are limited to a certain number of trips per day. This life of labor can’t be good for the elephants, but about half of us decide to ride up. Phylis and I make the trip together, taking in the view of the valley below while the hawkers shout from all sides trying the sell their wares. By now we are getting used to this chaos in India.
The bus leaves Jaipur heading northeast on the road to Ranthambore. Horn blaring, our bus driver skillfully weaves his way through the traffic. There are a surprising number of farm vehicles and motorcycles traveling the wrong way on the shoulder on our side of the road. As we move away from the mountains of Jaipur the terrain changes to flat farmlands, but we are on the way to the jungle. We leave the main highway onto the bumpiest stretch of road I’ve ever been on. Getting bounced around too much to type, so I’ll pick this up later today.
On the caravan in Ranthambore …
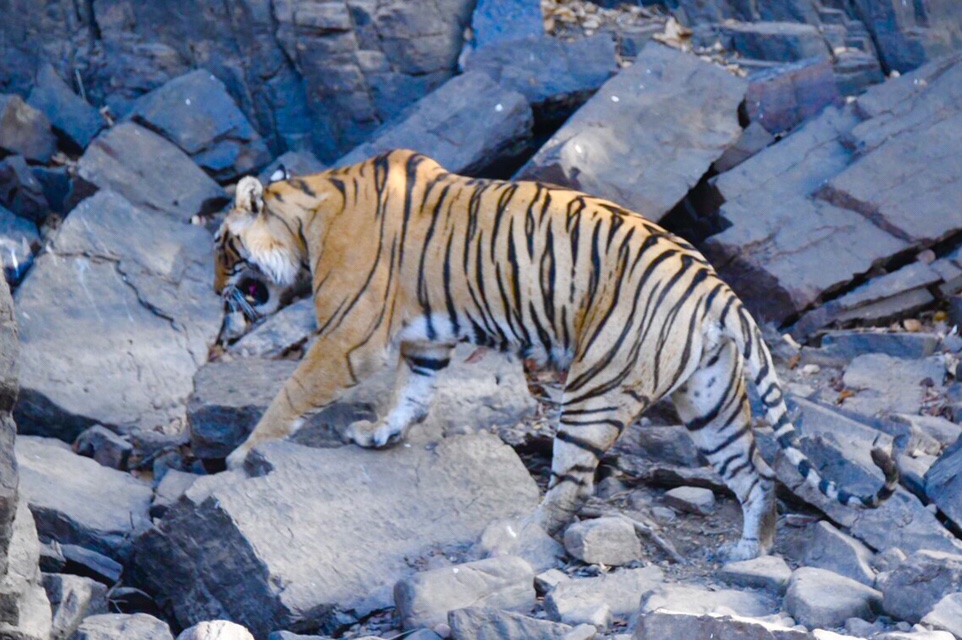
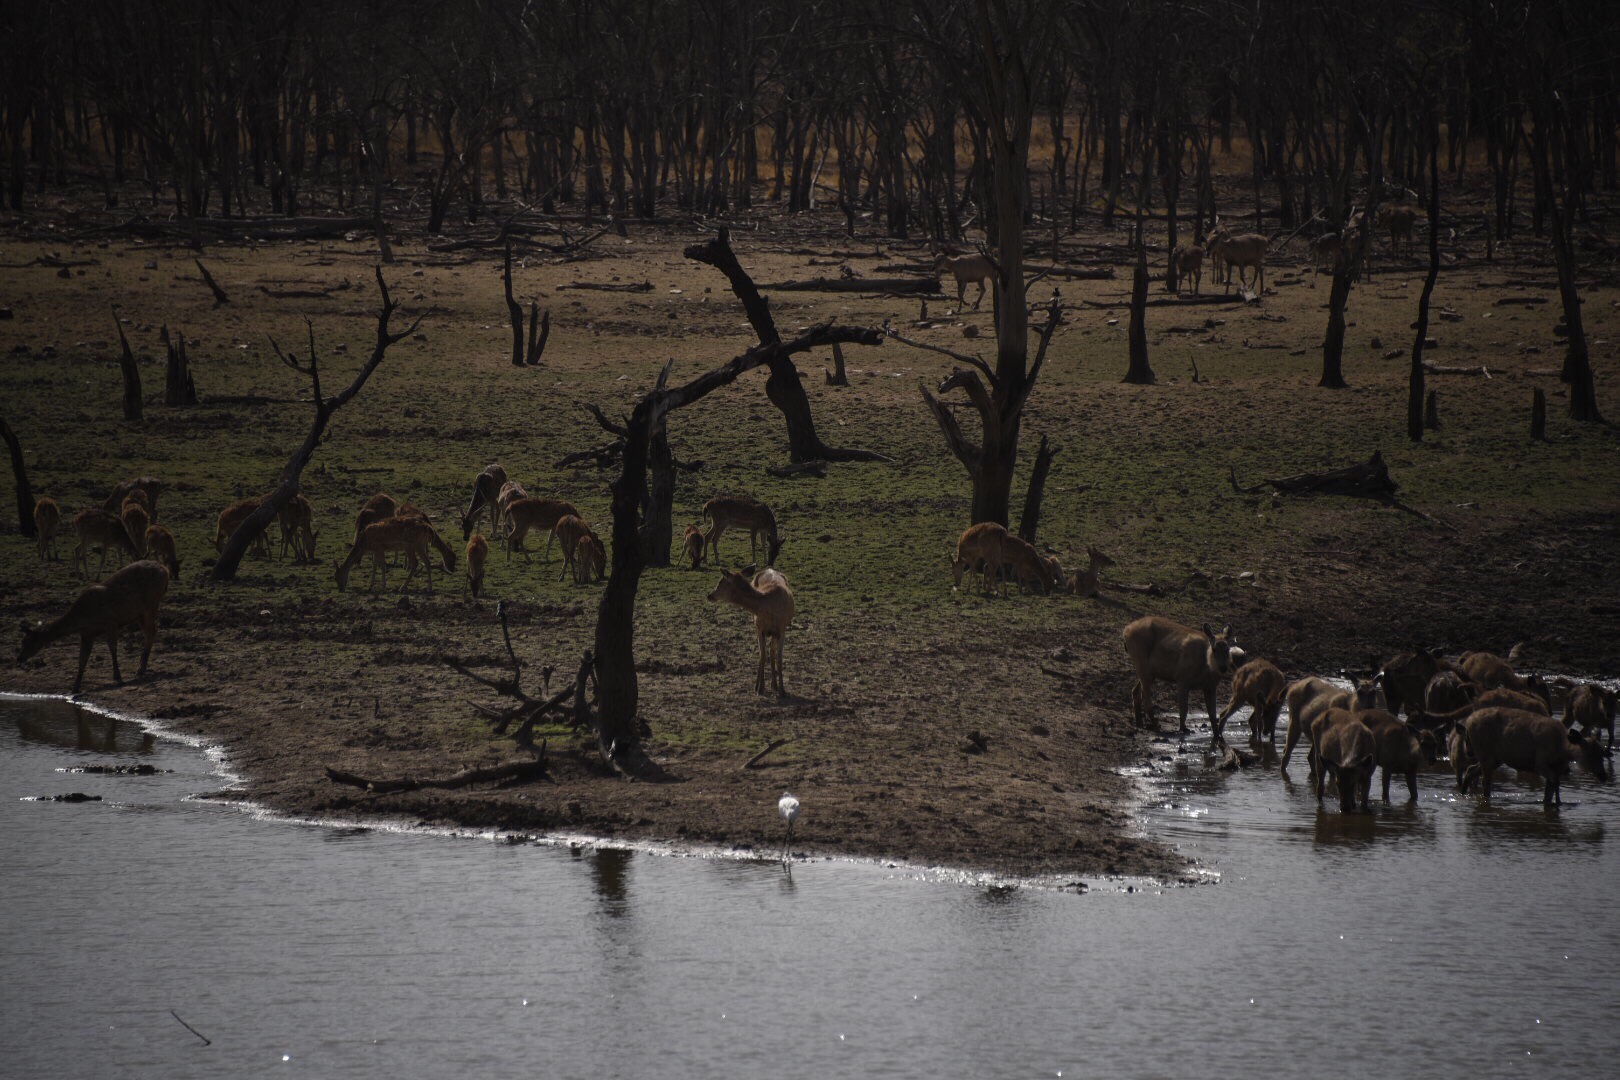
We’re speeding down the rocky and dusty roads though Ranthambore National Park. There’s a kill ahead and that means there are tigers to be seen. A tiger and her cubs are feasting on a deer and all vehicles in the park are rushing to see them.
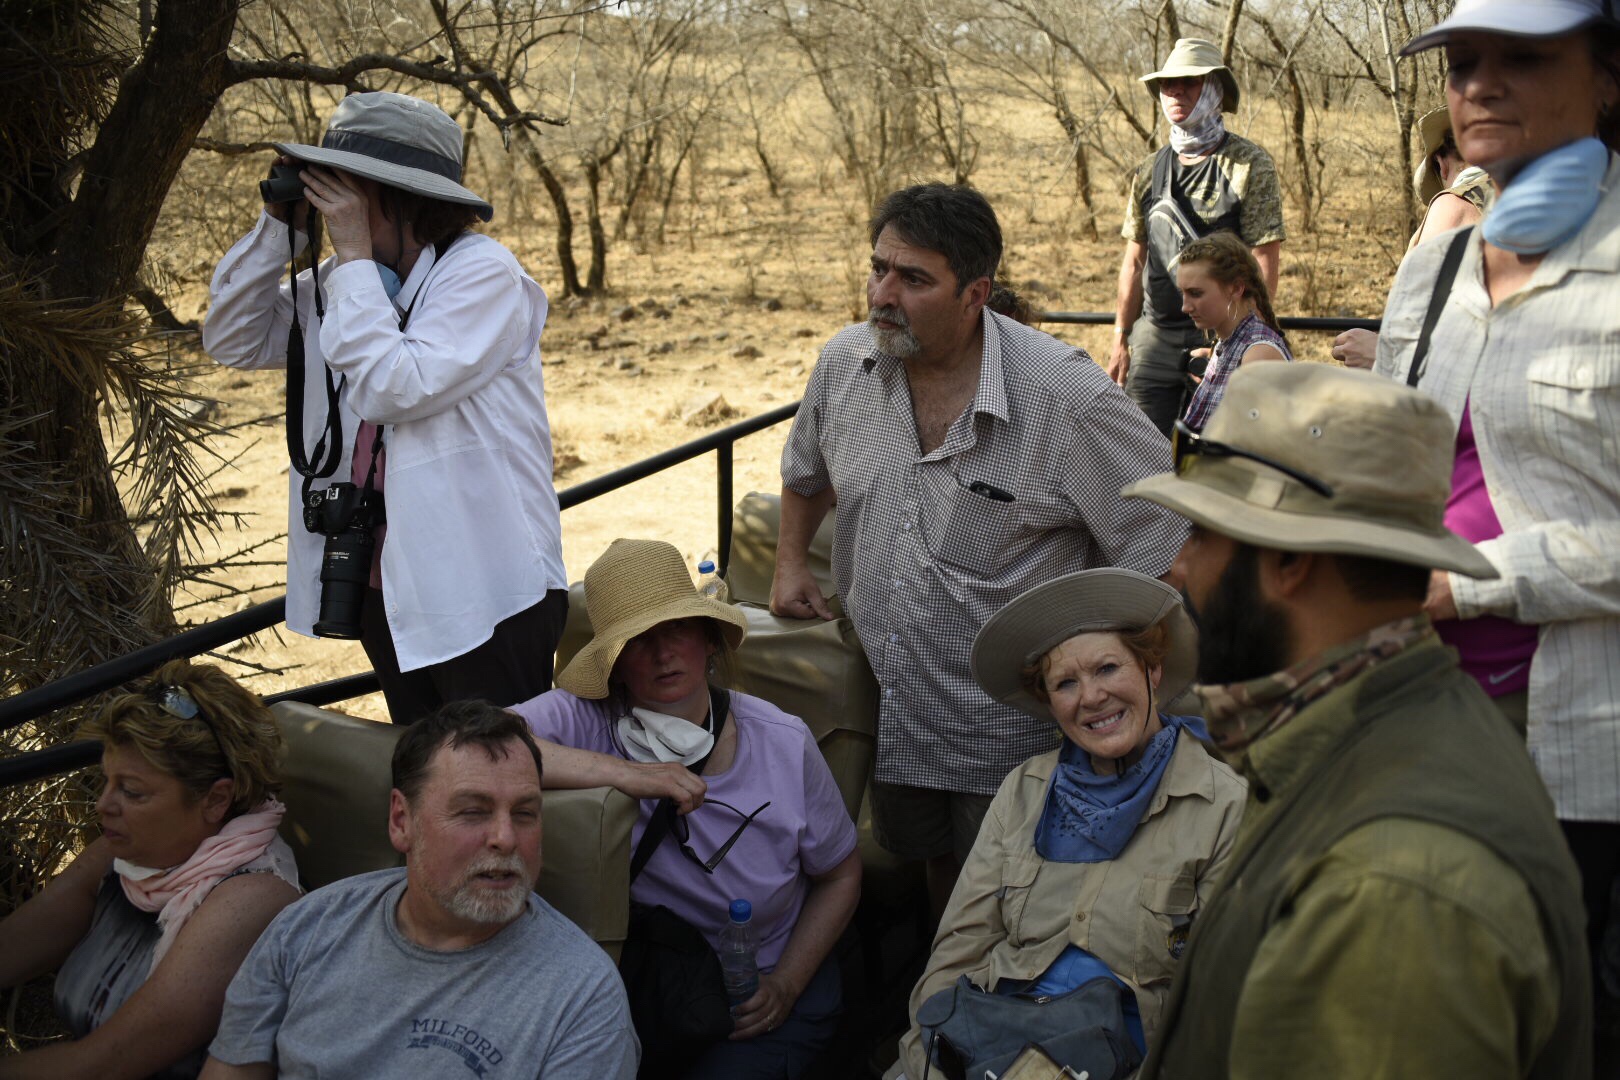
We arrived in Ranthambore at 1:30p, were greeted with cool towel, a traditional marigold lei, and a glass of lemonade. We had lunch in our hotel and checked in at the Ranthambore Regency. At 3p we boarded our safari vehicle, met our driver and naturalist, and headed directly to the park.
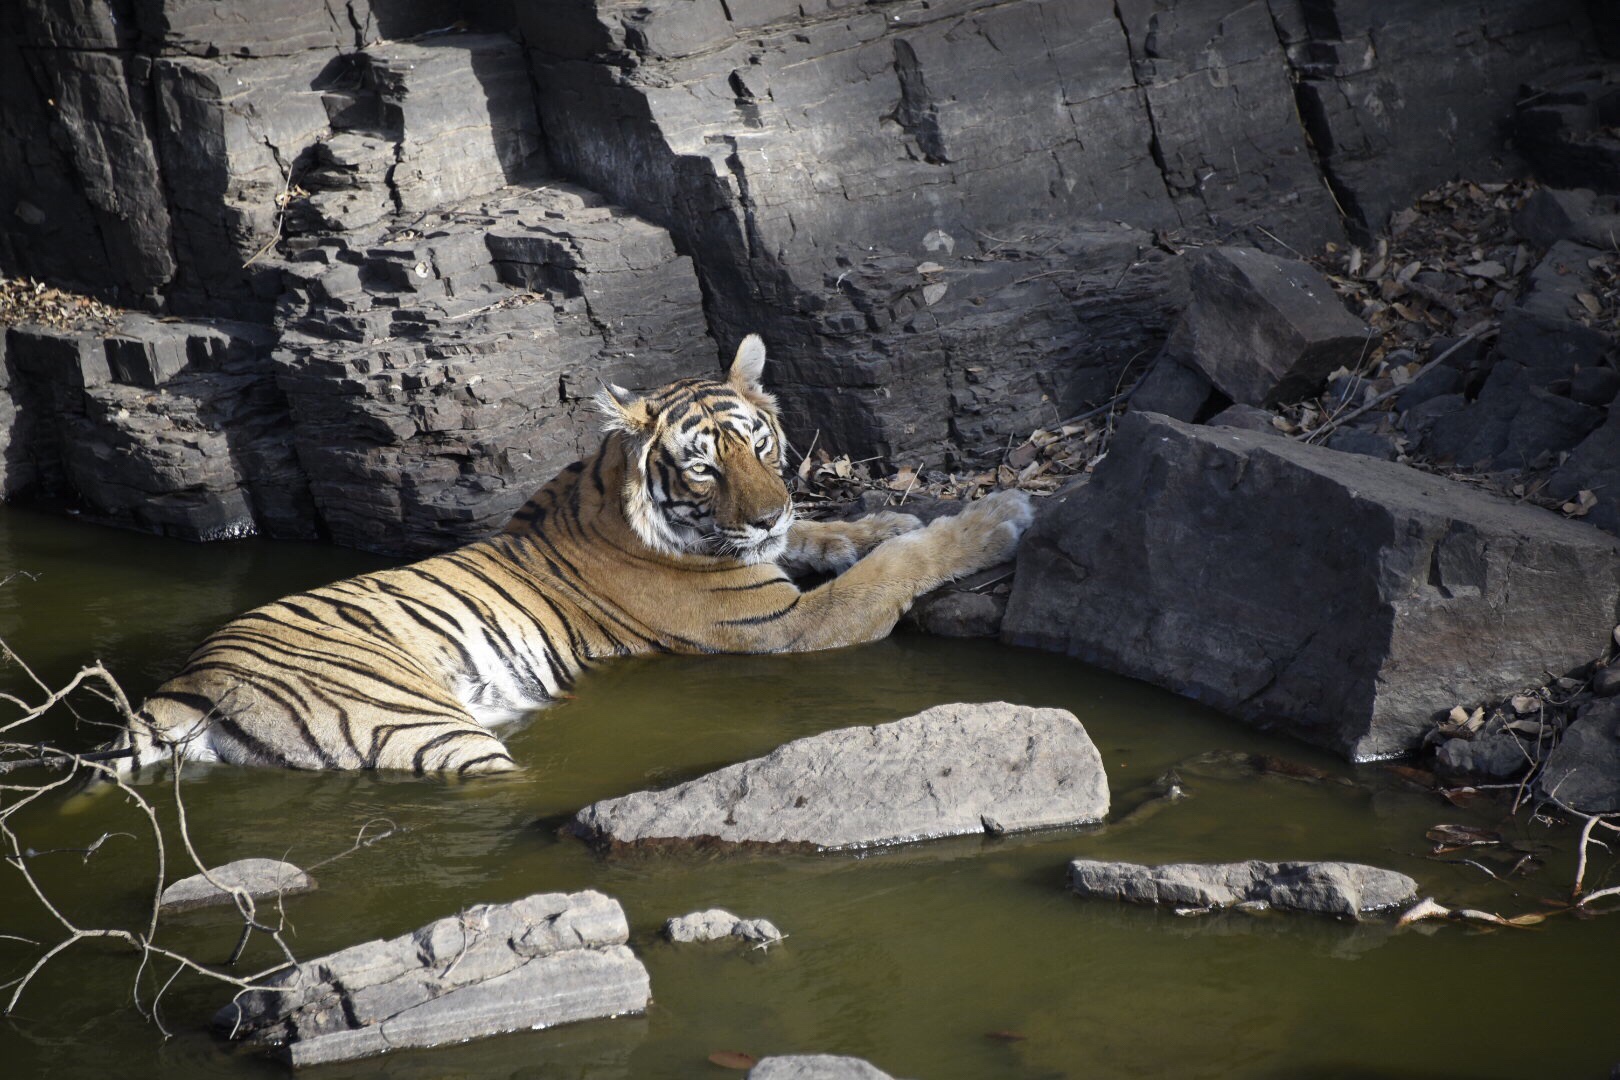
Ranthambore National Park has been designated by the Indian government as a sanctuary for tigers and other wildlife. Although this is a jungle area of India, at this time of year the park is hot, dry, and parched. An hours drive into the park and we get to a mother, her two cubs, and remains of a very striped down deer carcass. We know the location because when we get to the area there are already 10 safari vehicles parked and observing the tigers. We spend about two hours rotating to the front of the cramped safari vehicle to get in the prime picture taking location. Mostly the tigers are at rest in the heat of the day, but eventually the mother moves towards a nearby creek for a drink of water and a cooling dip. This produces the days best pictures. Even though this is a tiger sanctuary, seeing tigers during a visit can be difficult and rare. Credit to our guides for making sure today was a success.
Back at the hotel we spend some refreshing time at the pool, have dinner, and meet in the bar to watch a video about tigers in the park. Tomorrow we have an early morning safari followed by a visit to a local home for children with disabilities.

Poolside at the Jaipur Park Regis …
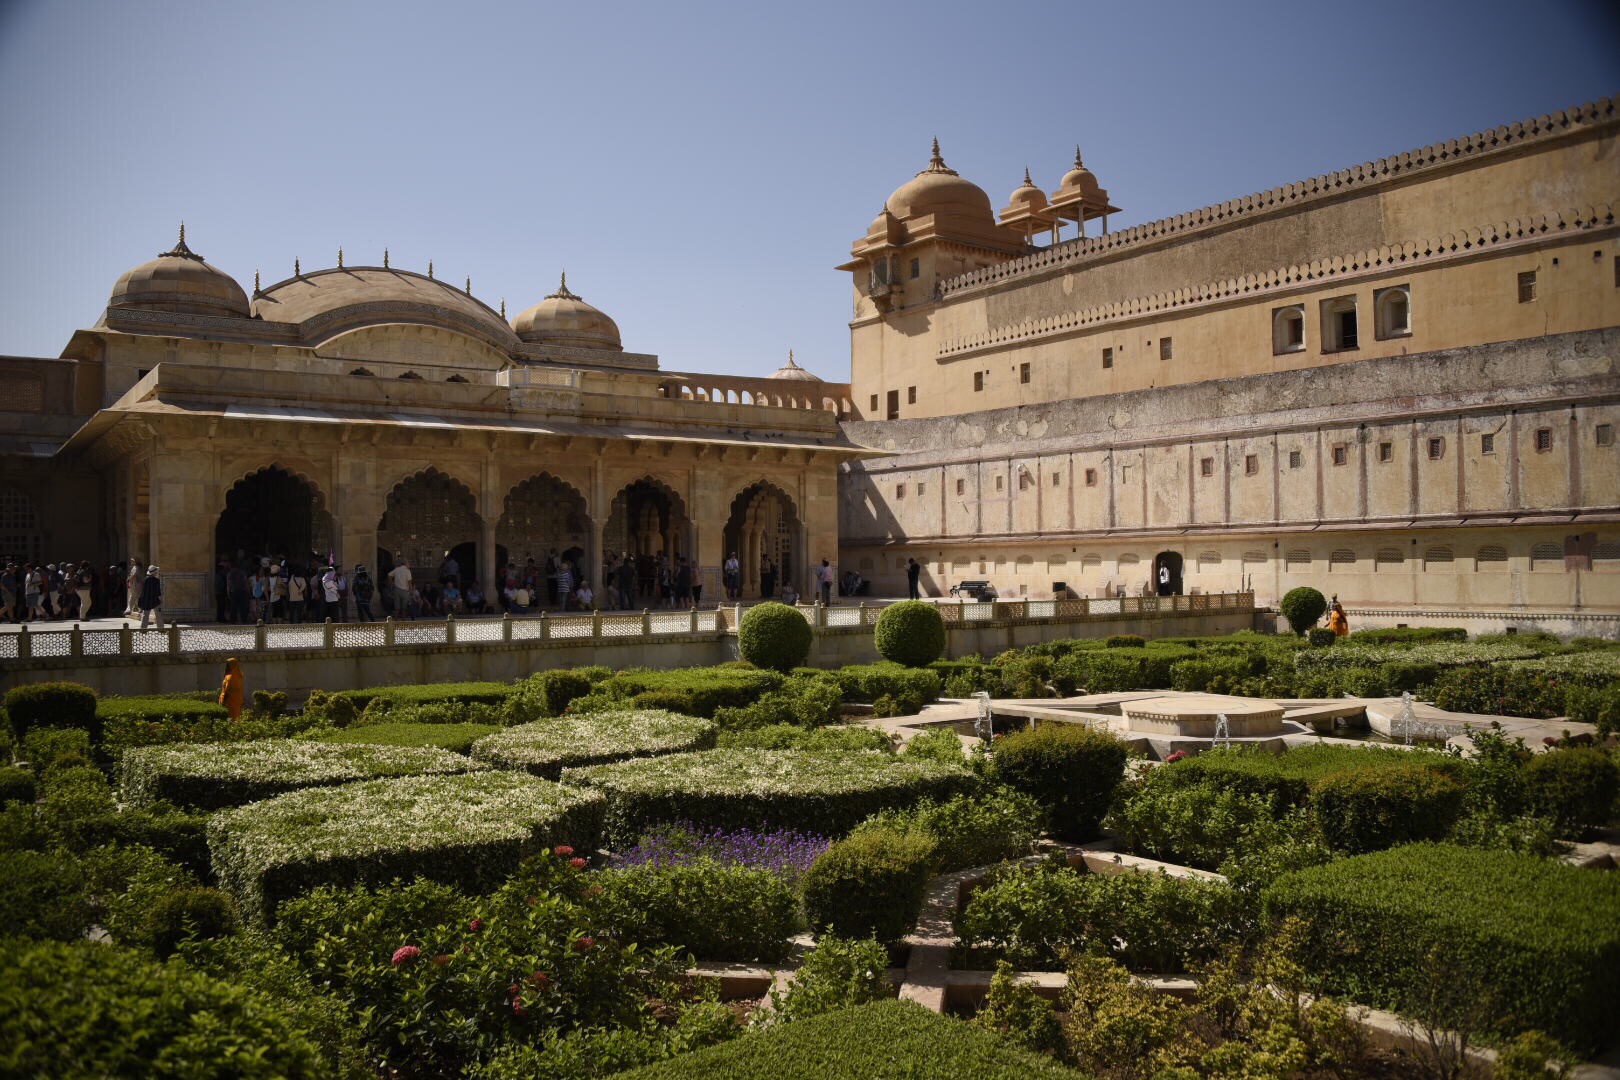
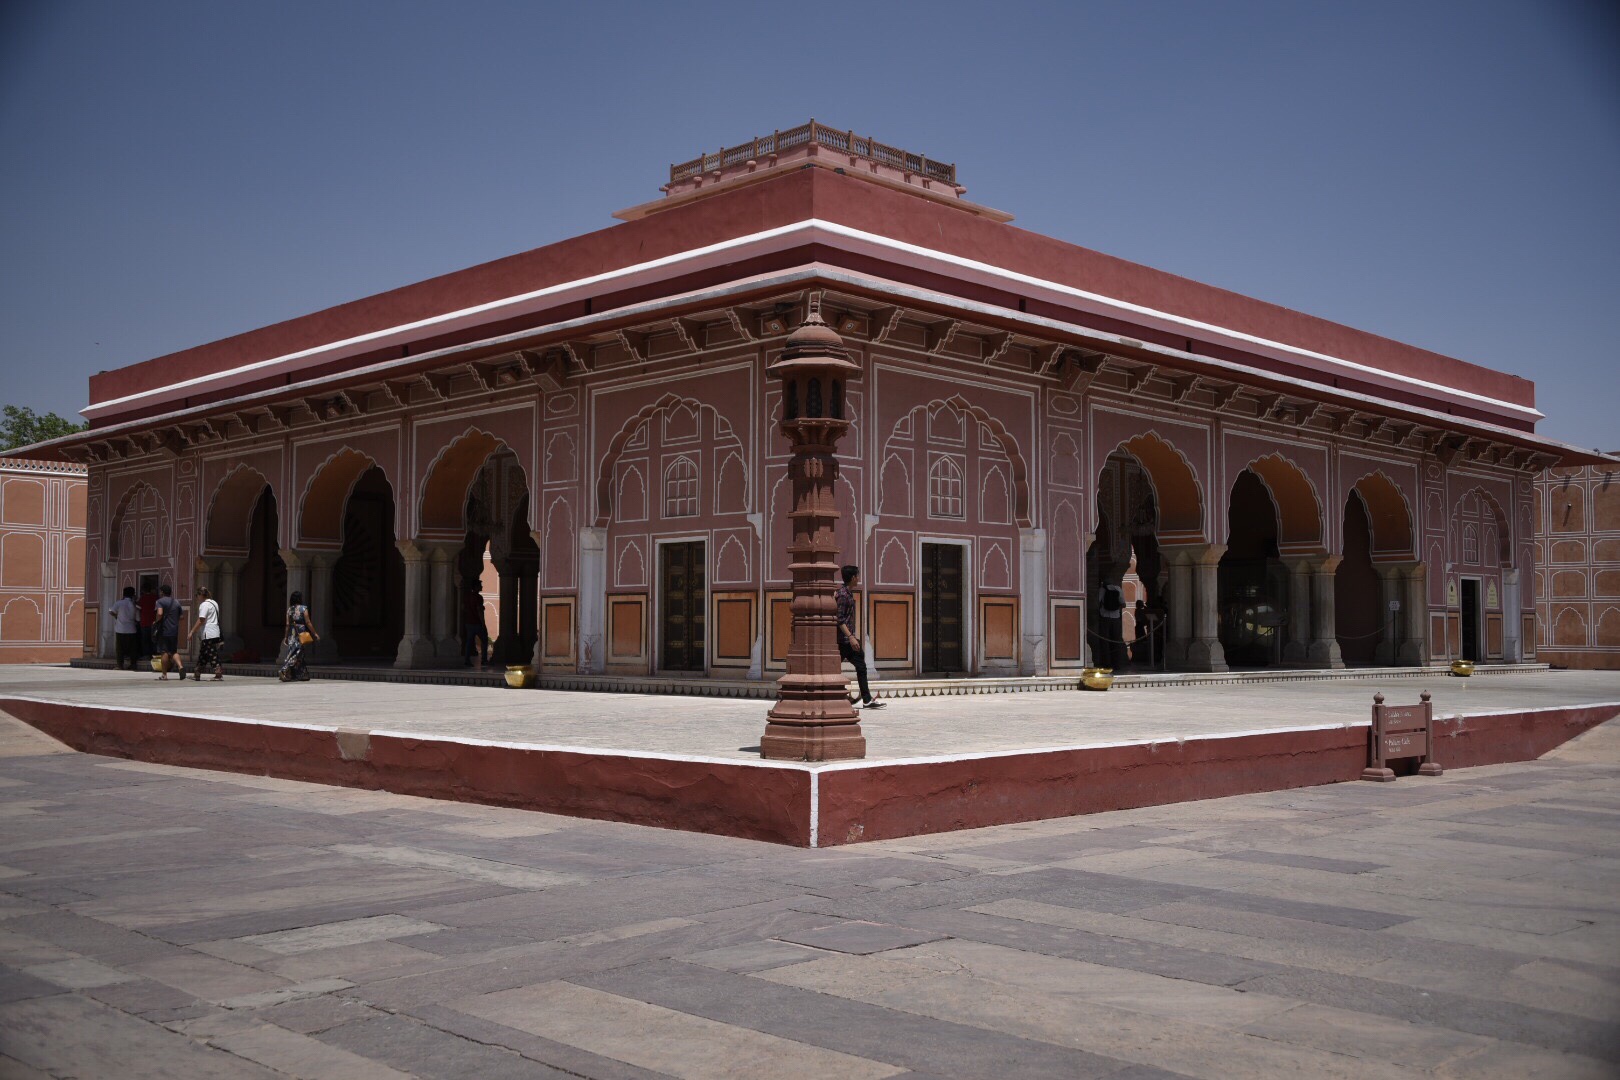
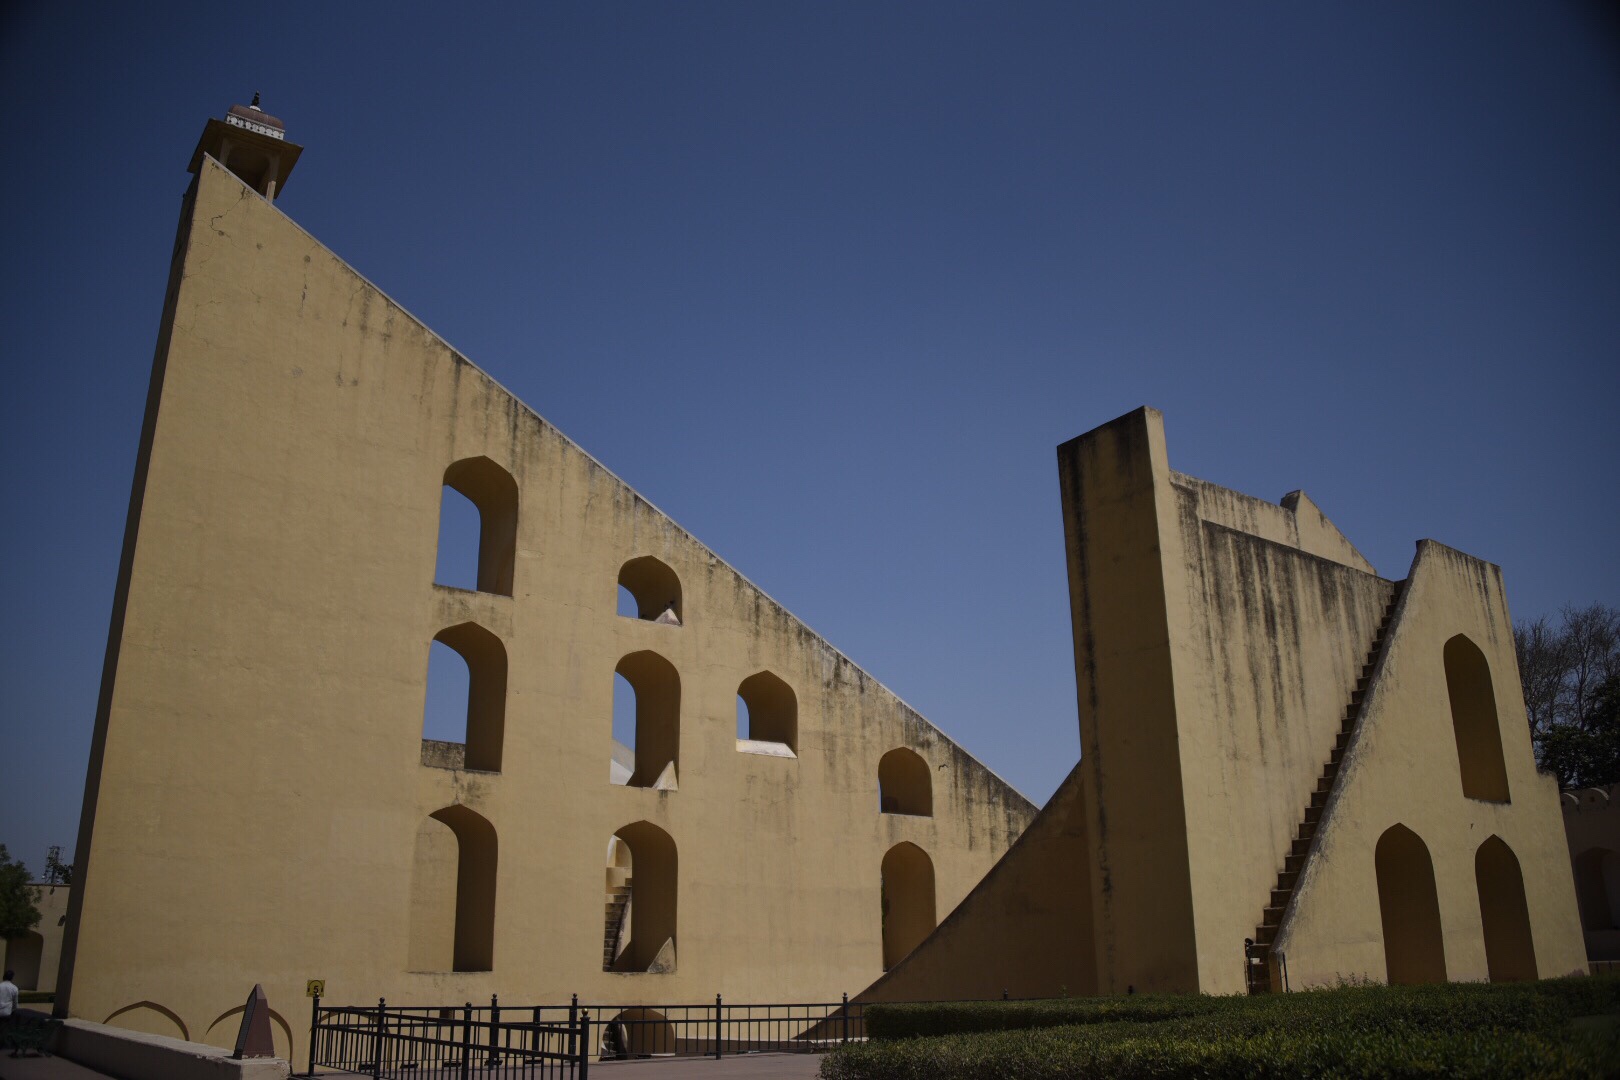
Unni’s plan is that we start early to beat the day’s heat in Jaipur. After breakfast at the hotel we are on the road at 8a. First stop is the Amber Fort and the City Palace. The fort and palace are located on top of a mountain. Tourists used to ride elephants to the top, but for the safety and welfare of the elephants that practice has largely ended and we ride in jeeps up to the palace. We visit the gardens, interior rooms, tunnels, and the underground reservoir.
Next we stop at a textile shop to see printing on fabric and carpet making. It’s a good day for the members of this textile coop as a number of travelers purchase carpets.
We take a quick ride across town to visit the museums and royal residence of the City Palace complex. Then we stop at Heritage Spices for lunch. By lunchtime the temperature in Jaipur is 97 degrees.
Next another shopping stop at the Jewels and Gold Palace. By 4:30 we are exhausted and ready for some down time.
We head to the pool for a refreshing break. But we’re distracted by a parrot caught behind protective netting enclosing some balconies at the hotel. Mickey and Patty alert hotel staff and with a group of American travelers shouting encouragement, the parrot is released.
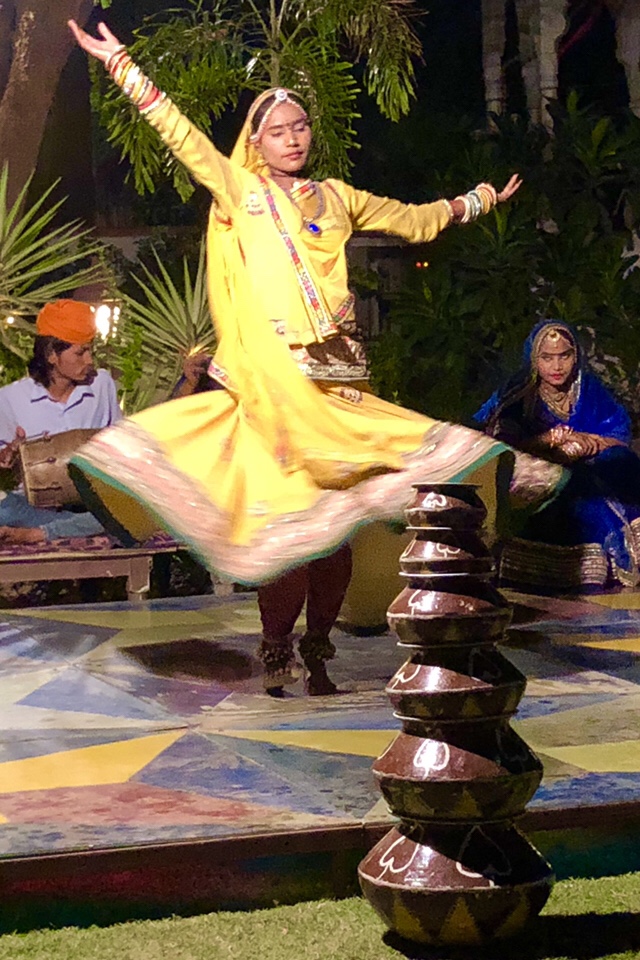
Tonight we’ve got a special dinner featuring Indian traditional dancing. And tomorrow we head to Ranthambore for the tiger safari.

On the bus to Jaipur …
Today is a transfer day to Jaipur. After breakfast at the hotel we board the bus for the 265 kilometer trip. As is usually the case in these trips, by the second day everyone has claimed a spot on the bus. We’re a small enough group that we can spread out. I like sitting in the back, so my seat is on the right side of the very back row. The back row is always a few inches higher than the rest of the bus so you get a little better view. The downside is that the back is the bumpiest part of the vehicle and I spend a fair amount of time getting jostled around. Today I’ve already hit my head on the ceiling while trying to shoot video out the back window. And my camera bag hit the deck after a particularly big bump. I had my camera in hand at the time so no damage done. Fitbit thinks the bumpy ride is me walking, so by the end of the trip I have 5,600 steps and 47 flights of steps.
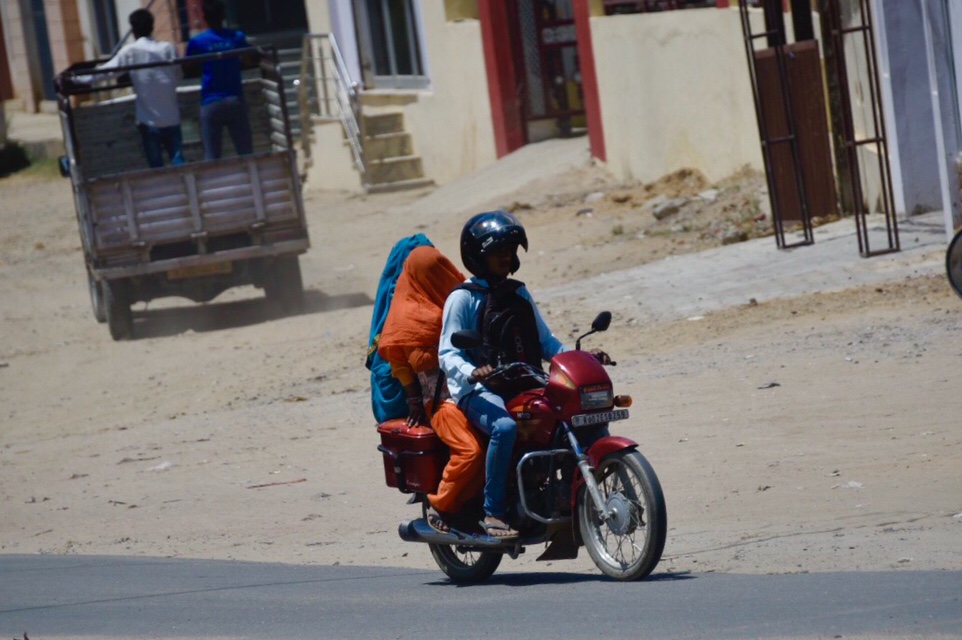
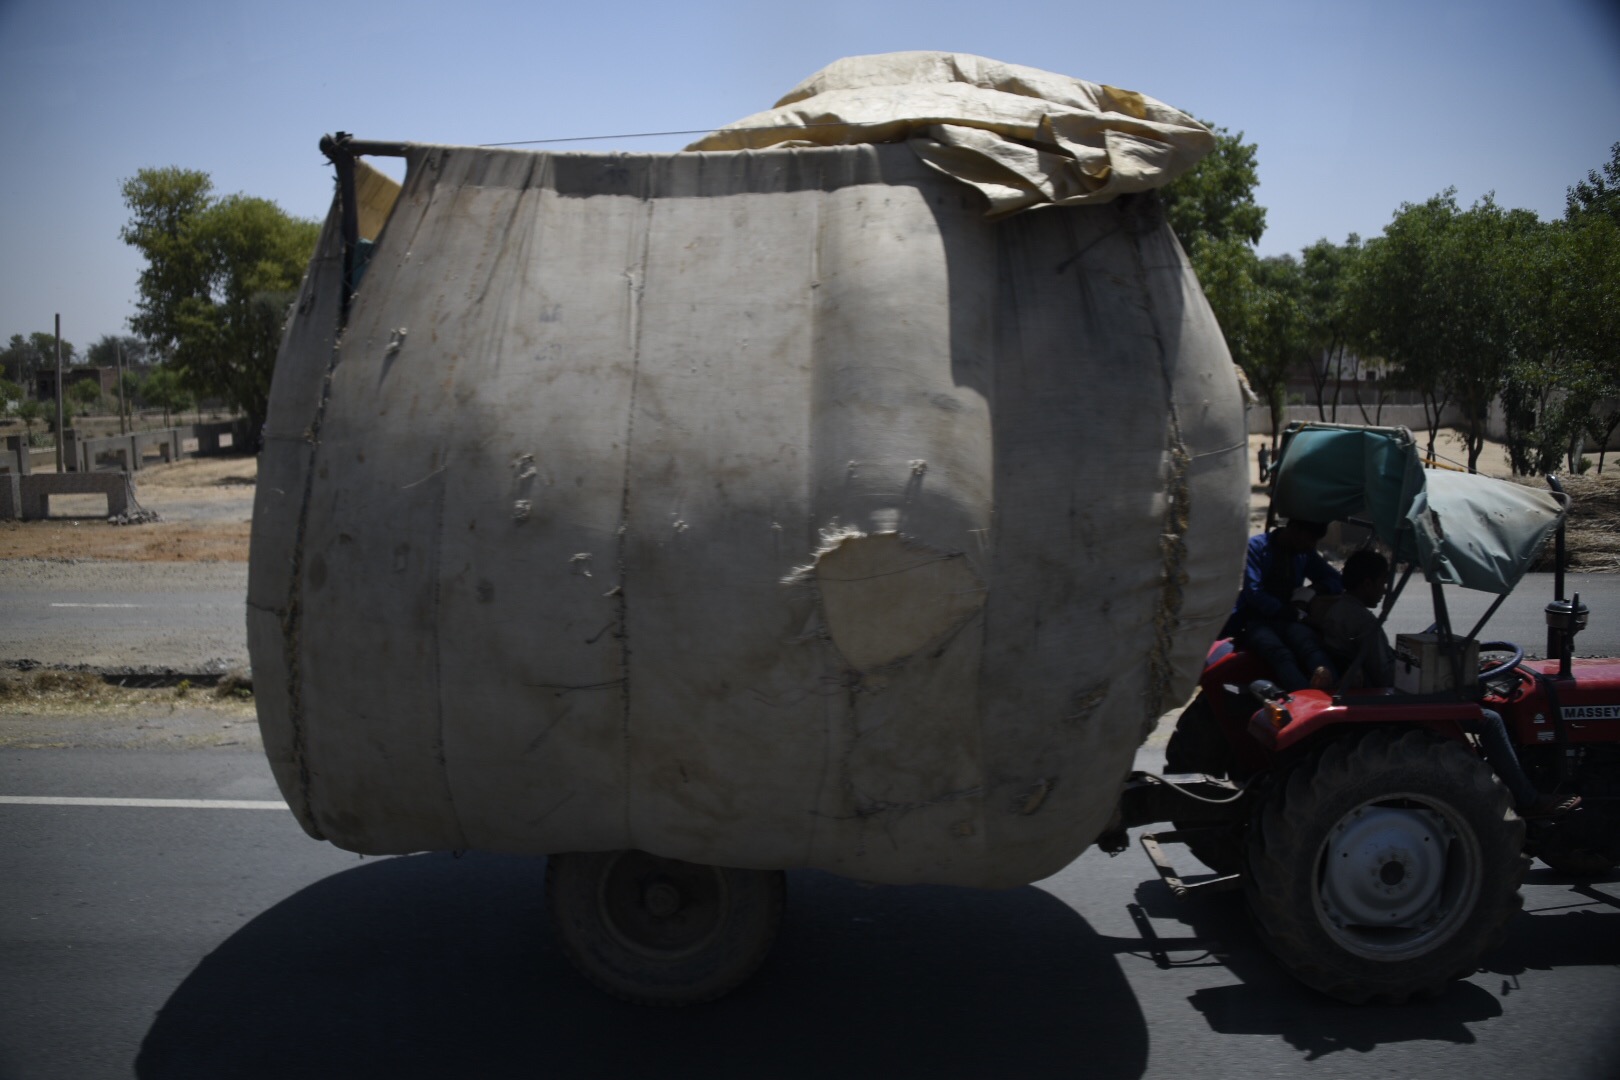
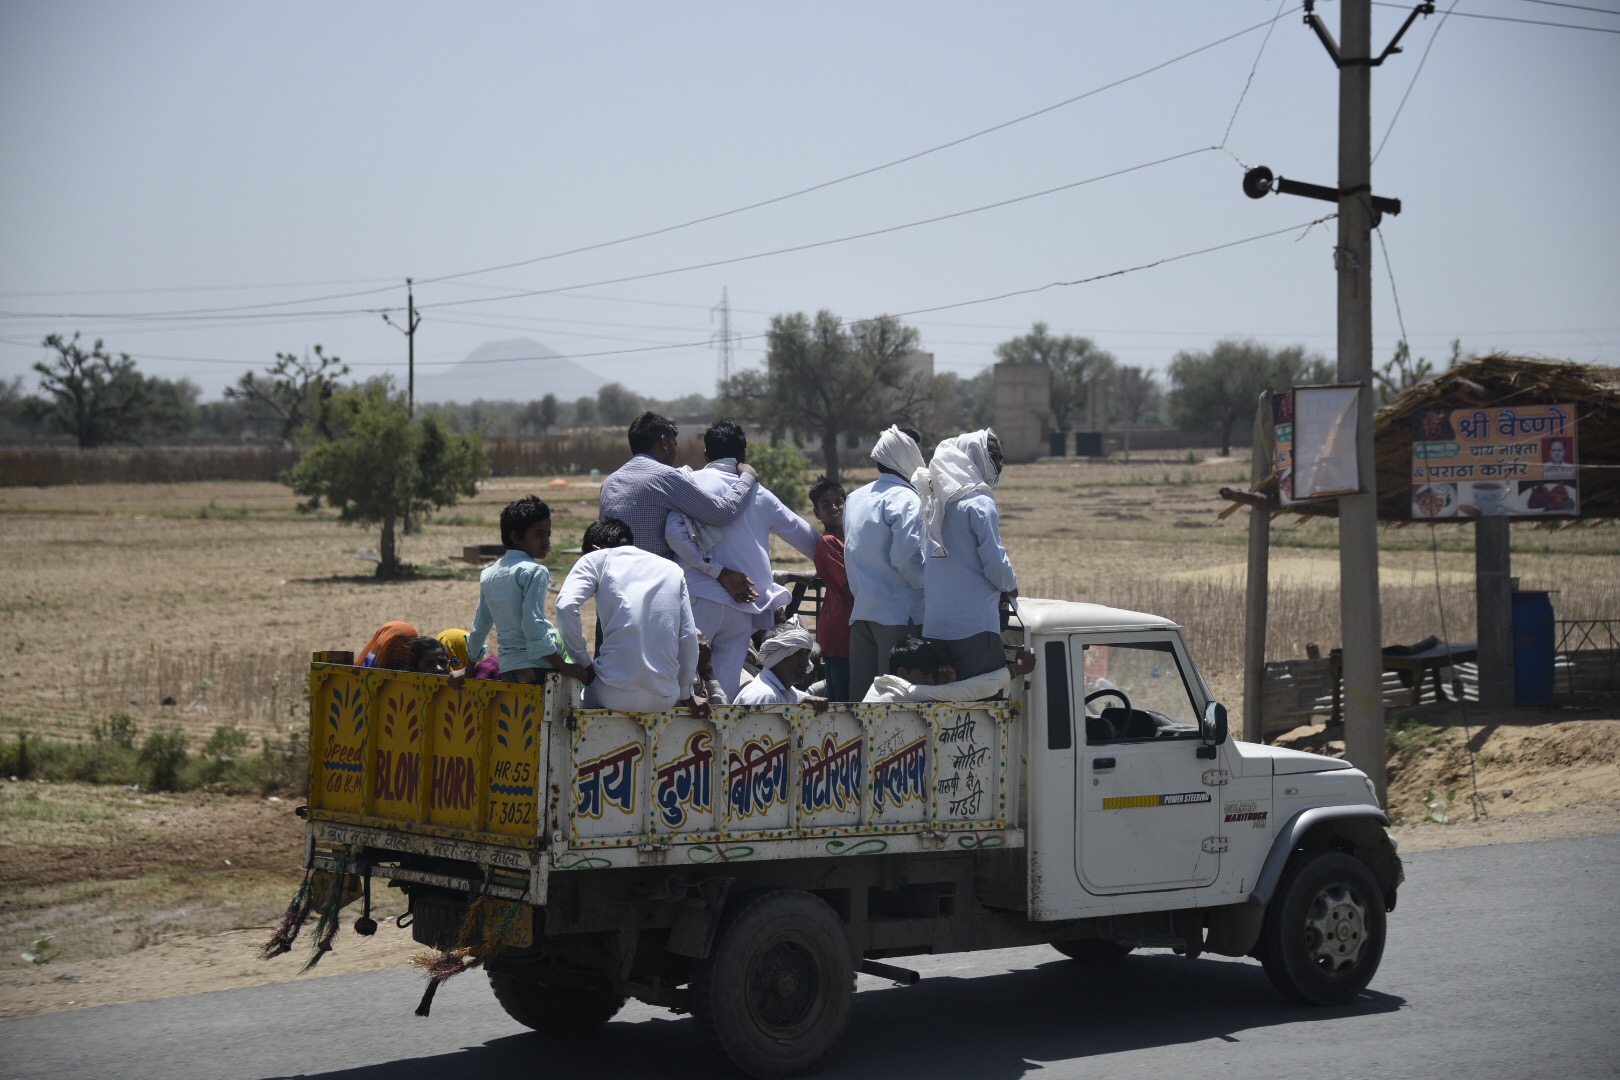
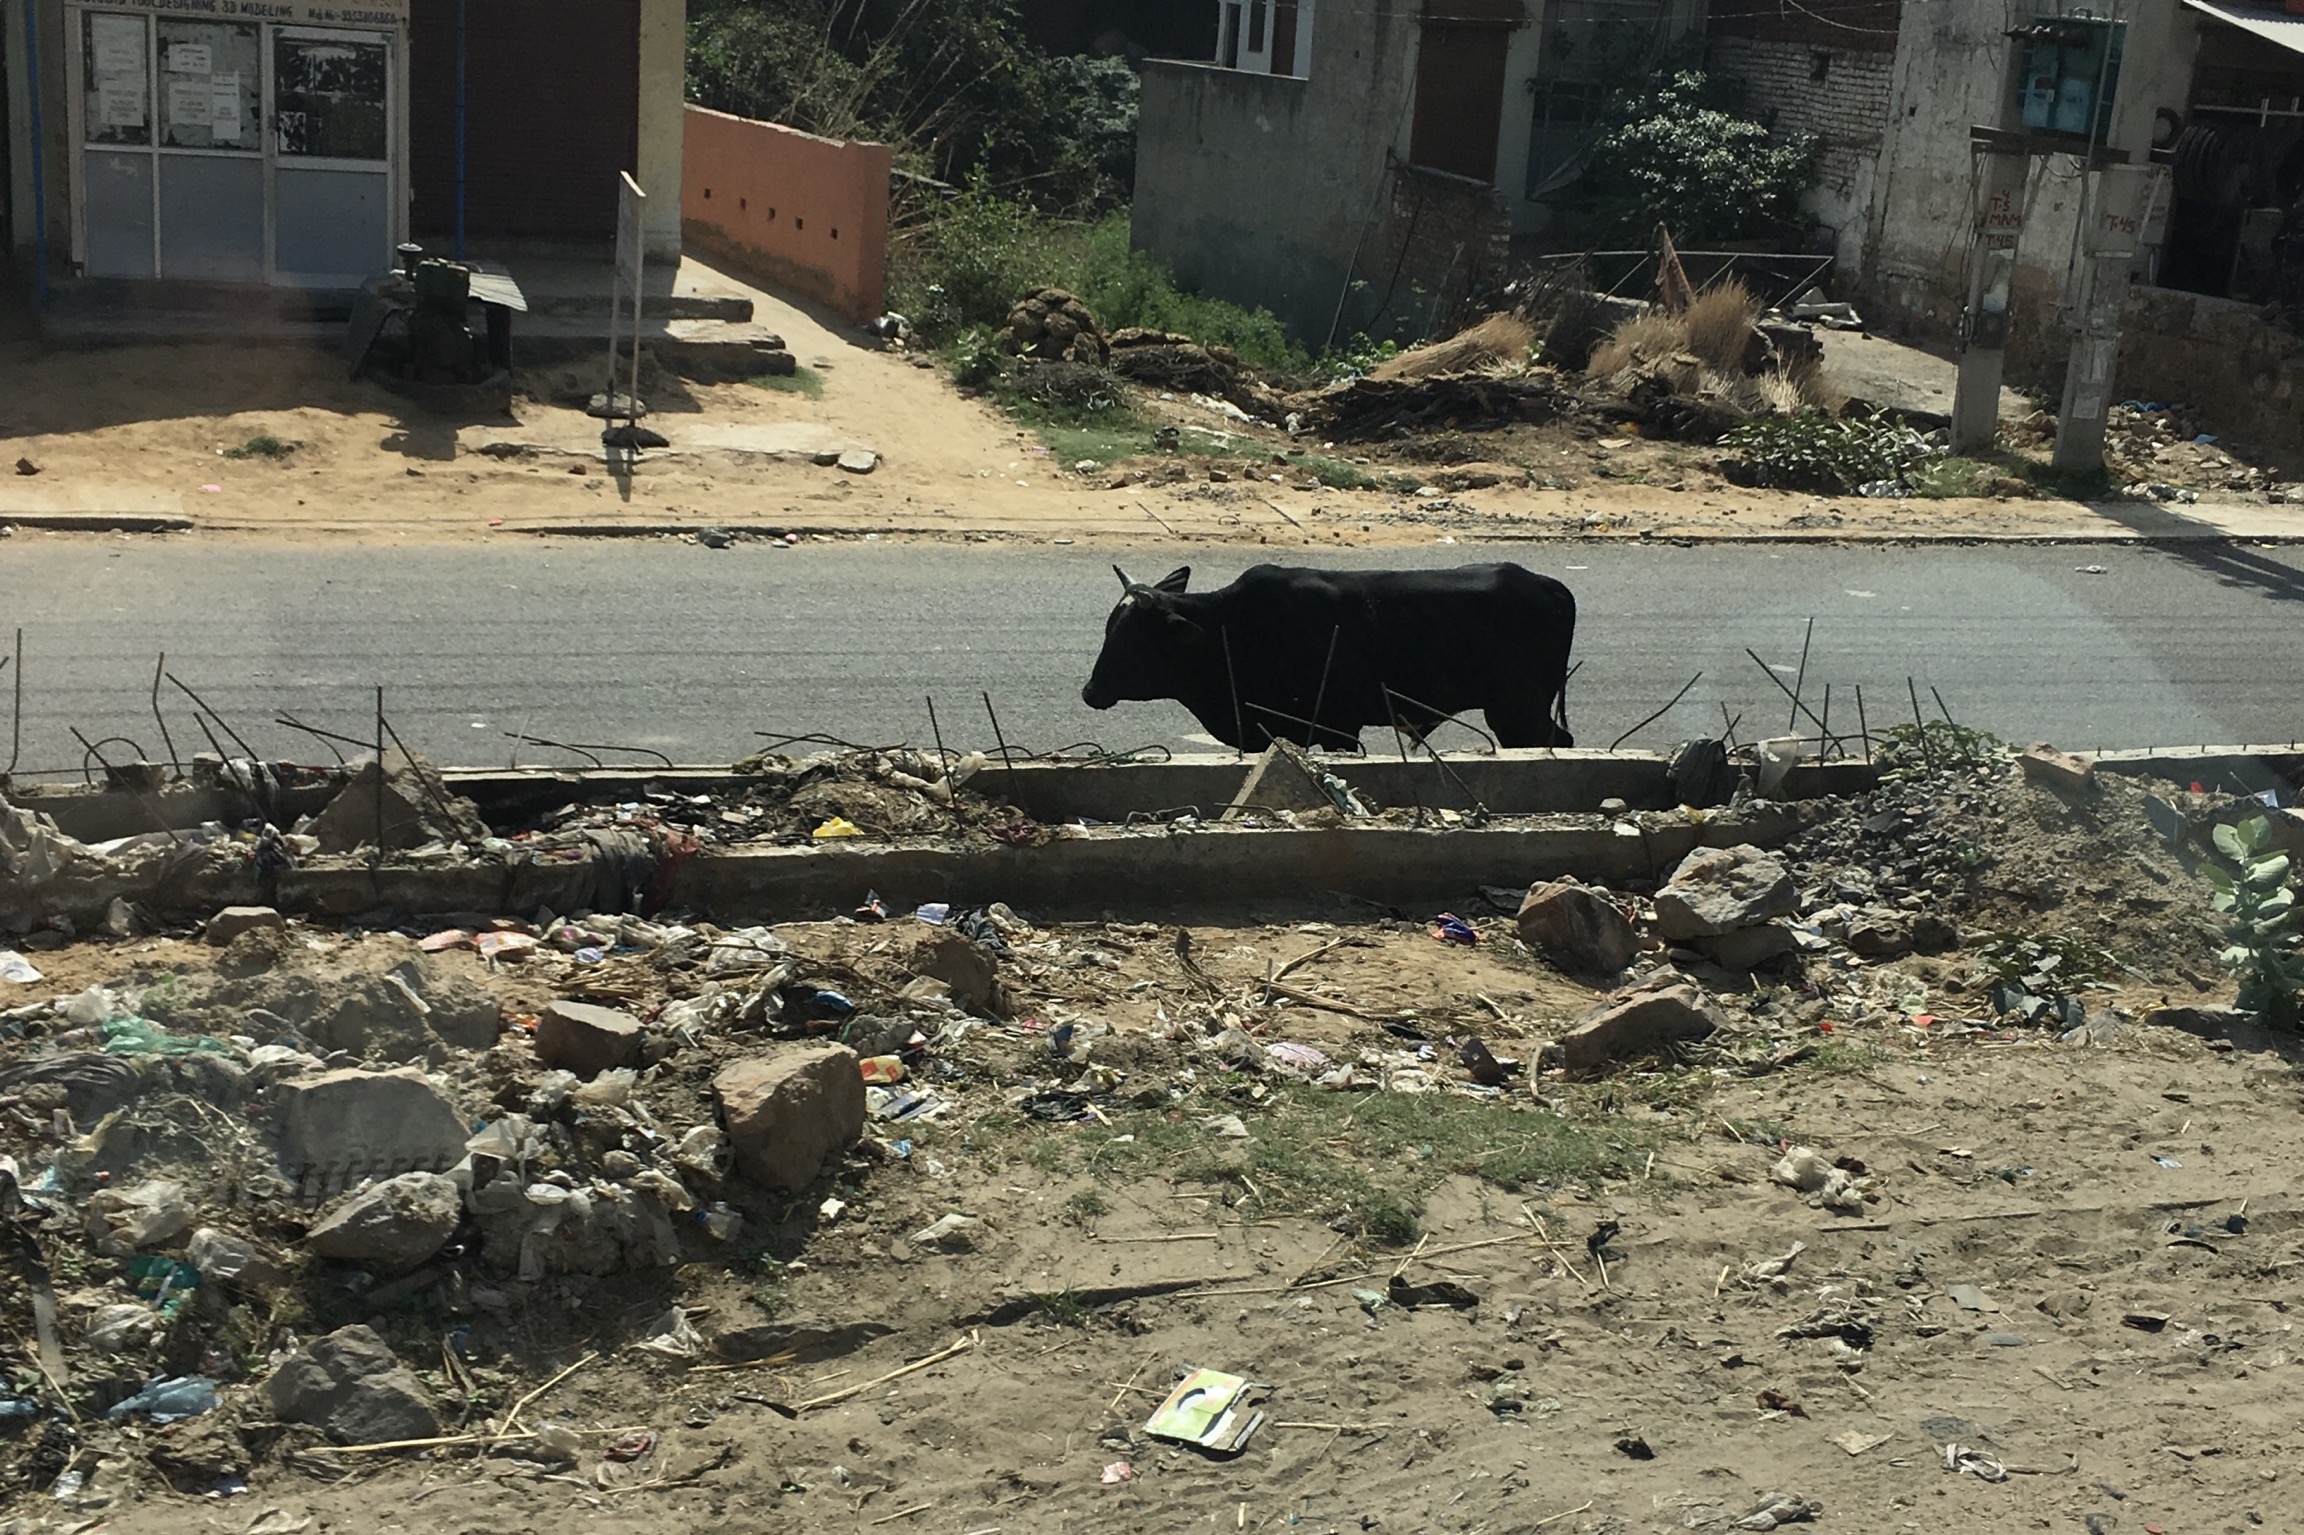
Bus transfer days are some of my favorite parts of these trips. Away from the tourist destinations it’s a chance to sit back, see the countryside, and get a real sense of how people live and work. Highways filled with ornately decorated trucks, overloaded farm vehicles, passenger cars with horns blaring, and, of course, cows.
The photo ops on the bus are never good. But that doesn’t stop me from trying. The windows are always reflective so I use a circular polarizing filter to minimize the amount of me that shows up as I shoot out the window. The bumps make it difficult to hold the camera steady. Even though tourist bus speeds are limited for safety, you’ve got to have quick reactions to see a subject, frame the shot, and make the capture. I miss a lot, but it’s a great way to spend a half day bus ride.
We arrive at the Park Regis hotel in Jaipur, have lunch, and then check in. We’ve got some free time so I head to the hotel pool. Before dinner we have a yoga session in the atrium of the hotel and then dinner in the hotel restaurant. Tomorrow is an early start to avoid the heat of the day as we see the landmarks of Jaipur.


We arrived in Delhi late Friday night, passed through immigration and customs, and met Unni, our tour guide for this trip. Driving from the airport to the hotel late at night we couldn’t see much of Delhi in the darkness, and the city was enshrouded by a dust storm. By the time we checked in at the Radisson Gurugram, and I unpacked and reset for today’s sightseeing, I get to sleep about 2:30a.
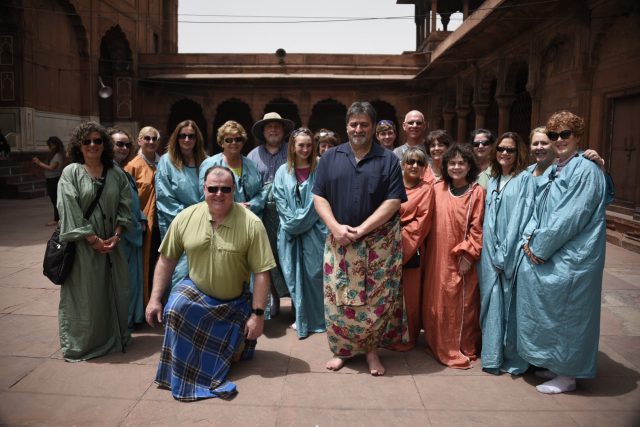
This morning we meet in the hotel for a quick review of the itinerary with Unni. Then we board our bus for a drive from New Delhi through Old Delhi to visit the Jama Masjid Mosque. This religious site requires that everyone wear special coverings and, like all temples in India, no shoes are allowed. Unni recommended that we all bring “temple socks” to wear when no shoes are allowed. Great idea, Unni!
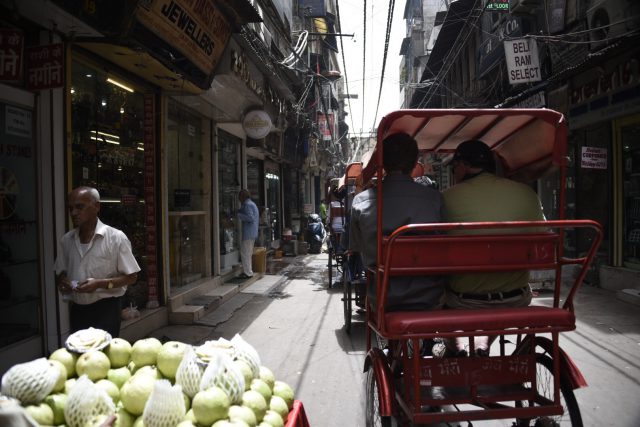
Next Unni arranges for a rickshaw ride through the market around Jama Masjid. Sue and I share a rickshaw. The market is jammed with people, shops, cars, rickshaws. Absolute total and complete sensory overload. I spend more time just looking than focusing on taking pictures. After the ride we are back on the bus – passing by Lal Quila, the Red Fort, and Mahatma Gandhi’s cremation site – before stopping to exchange our dollars for rupees.
A couple of things to note so far … Our bus assistant provides a fresh bottle of water throughout the day. Much appreciated to know you’ve got a reliable source of water when visiting a place where the water quality is questionable. And the panhandlers and beggars who find you on the street are very aggressive. We knew this would be the case. I’m very popular. Not sure if my natural good looks make me appear to be wealthy or if it’s the expensive camera I’m holding.
Lunch is at Lutyens Cocktail Lounge. There is a spinach thing, a lentil thing, a couple of cheese things, some naan bread and a Kingfisher Premium beer. I really have no idea what we ate but it was pretty pretty spicy and pretty tasty.
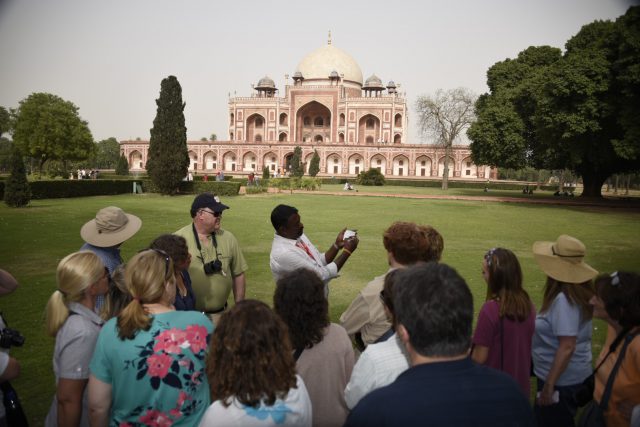
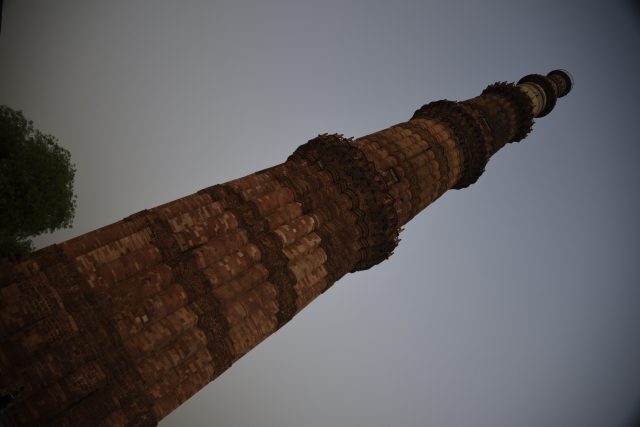
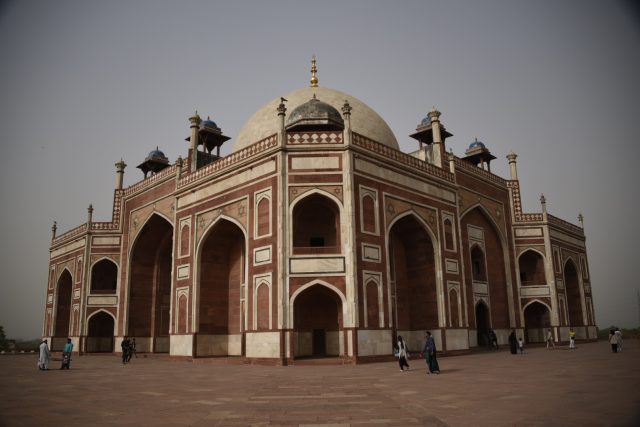
After lunch we explored Humayun’s Tomb with its design and architecture similar to the Taj Mahal. Next a walking tour through the Qutb Archaeological Complex followed by traditional tea from Kashmir at the Cottage Industries Art Gallery.
Great first day in India! Tonight we see an outdoor sound and light presentation of the history of Delhi projected on the walls of the Old Fort. Tomorrow we head to Jaipur.

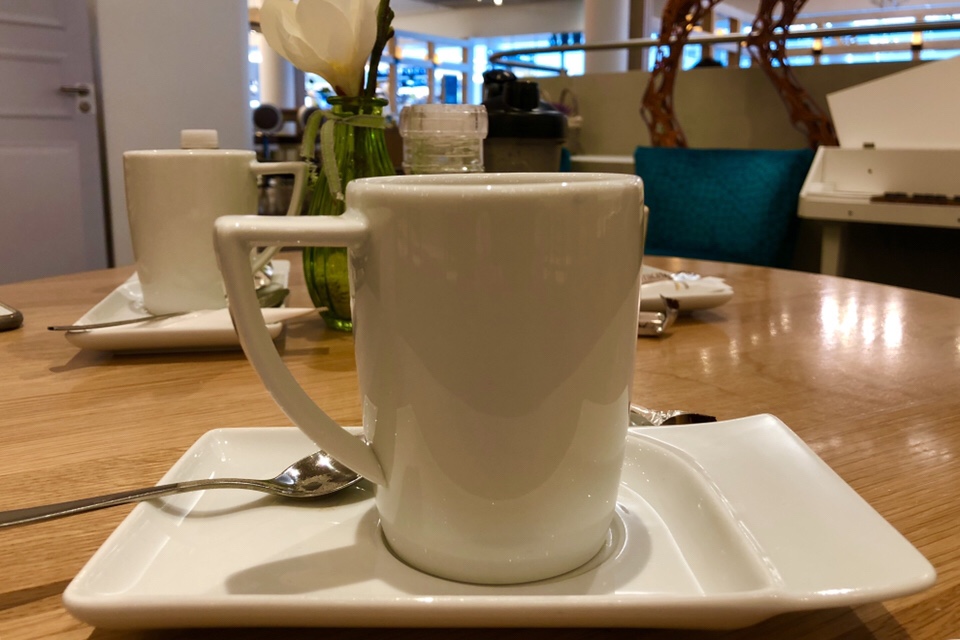
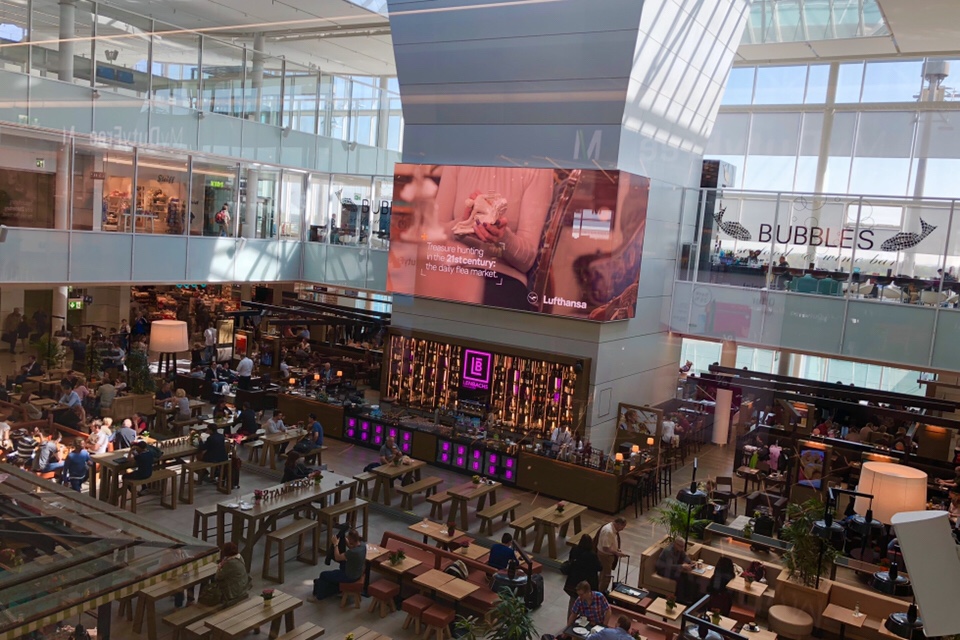
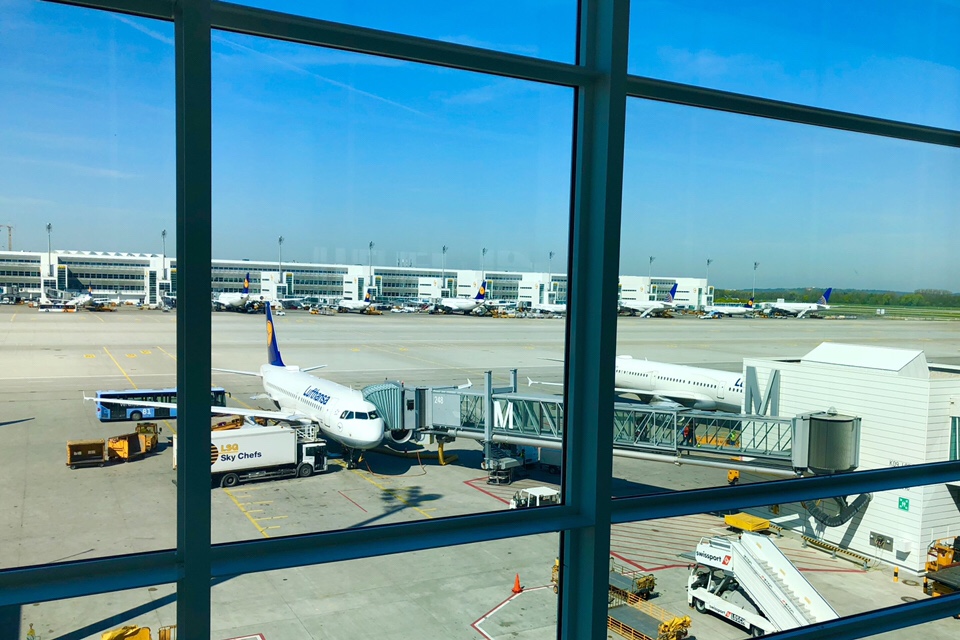
From the International Terminal at Munich Airport …
We arrive from Boston at 9:25a after a smooth overnight flight. Not much sleep on the way here, so we are going to need to power through today. First stop in Munich is Sissi & Franz for coffee and espresso. After a couple hours in Munich we board Lufthansa flight 762 to Delhi. We arrive late tonight, so the next update will be tomorrow.

 Michael S. Liberman