From Cape Town International Airport:
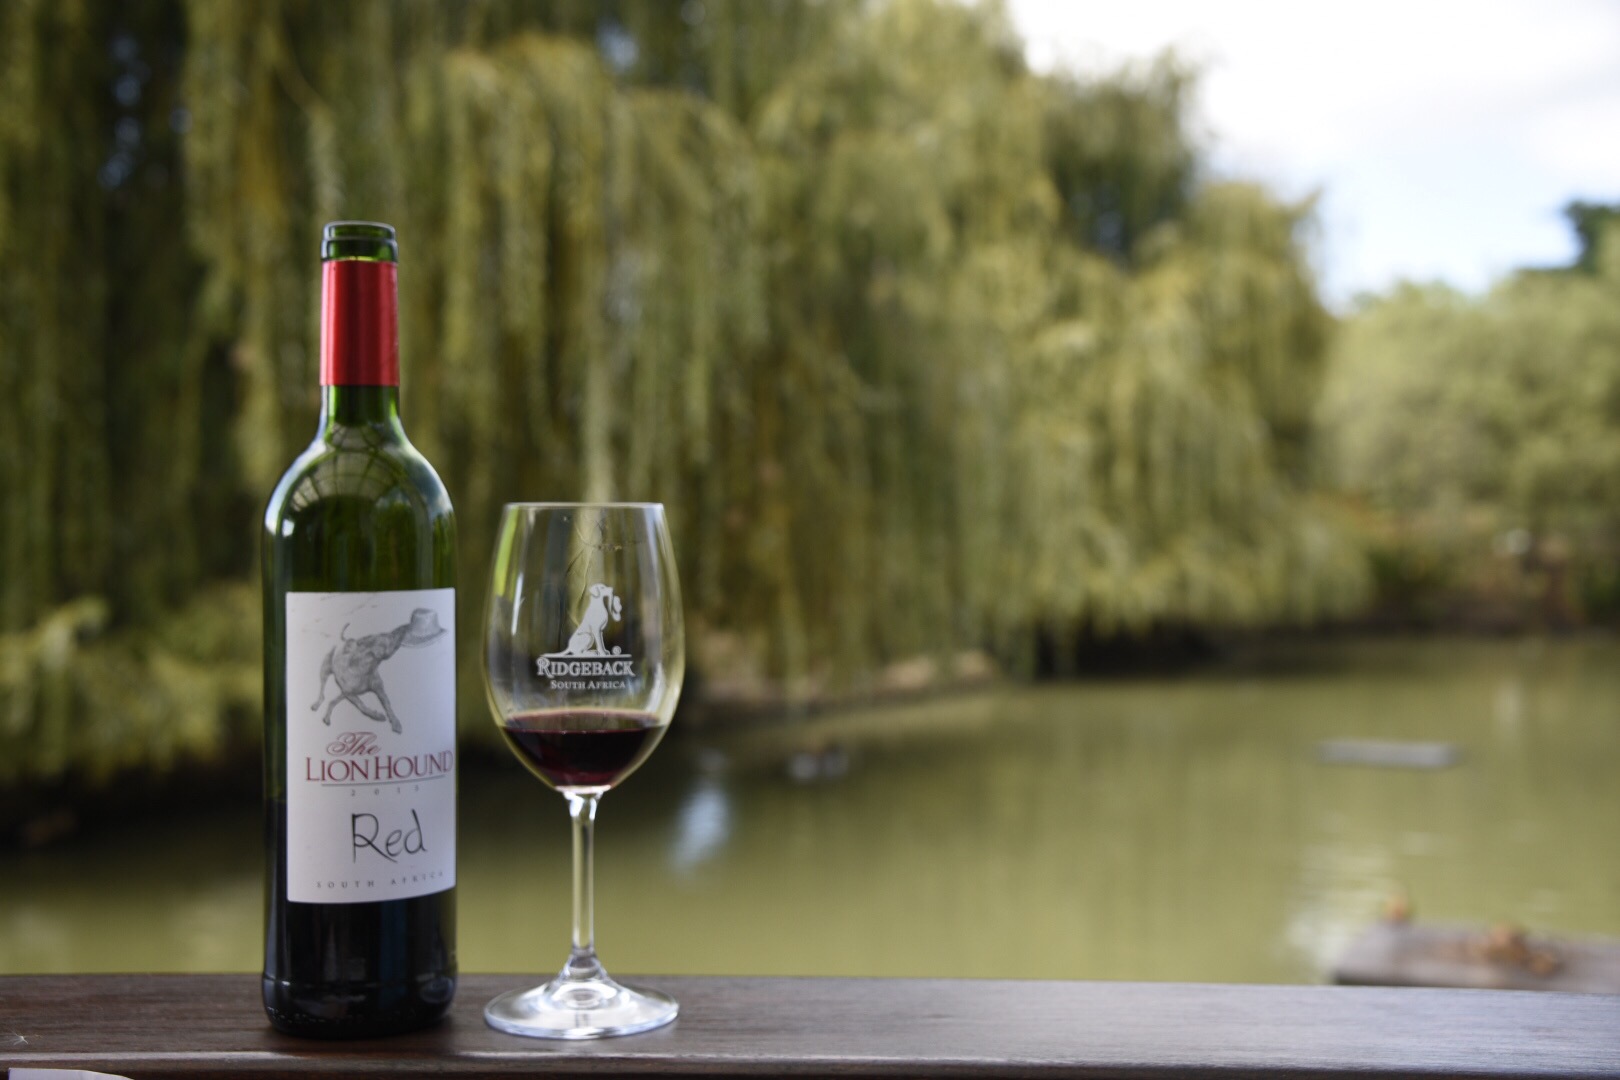
A free day before our flight to London and a perfect day for a tour of South African vineyards. With Charmaine, our vineyard tour guide leading the way, we visited the Ridgeback, Fairview, and Warwick vineyards and sampled a great selection of South African wines, then stopped at the Wilheim Estates vineyard for lunch.
After an amazing journey through South Africa, tonight we start the trip home.
On the tour bus in Cape Town:
Today we visited Robben Island and toured Cape Town.
Robben Island, the former prison island where Nelson Mandela was held from 1964 to 1982, stands in Cape Town’s harbor. Our tour guide was Derrick Basson, a political prisoner held at Robben Island in the early 1990’s. Derrick spoke from the heart about his experience as a convict at the prison and the hardship of day to day life at Robben.
After the ferry boat ride back to Cape Town a quick lunch at Victoria Market.
And after lunch we toured the Castle of Good Hope.
Next, a visit to the brightly colored houses of the Bo-Kaap neighborhood.
Tomorrow is a free day so we’re taking a tour of Cape Town Vineyards and we begin the two day trip home tomorrow night.

From the Vista Bar & Lounge of the One&Only hotel on the Waterfront:
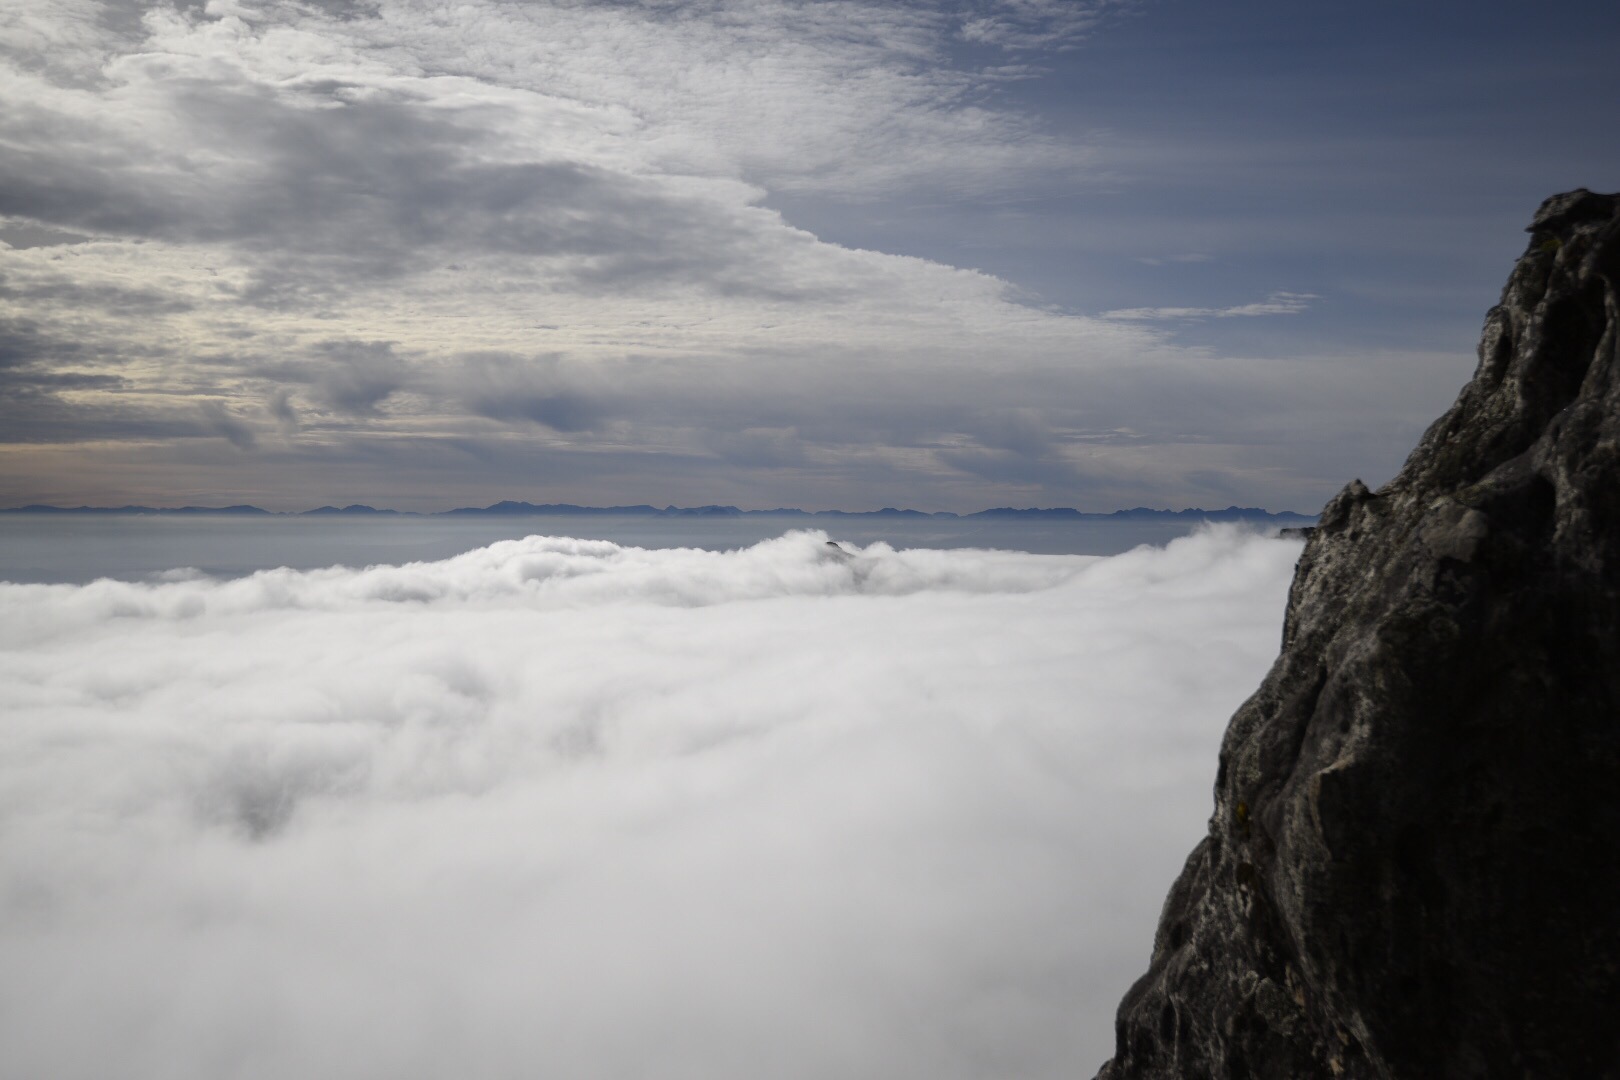
We began the day with the aerial cable car ride into the clouds to the 1,600 meter peak of Table Mountain and were treated with the spectacular view overlooking Cape Town, Robben Island, and the Atlantic Ocean.
Next it was on to Cape Peninsula for a tour of the Cape Point Ostrich Farm.
Then we entered Table Mountain National Park and went to the Cape of Good Hope for lunch at Two Oceans Restaurant – and had the Seafood and Meat Antipasti with Warthog and Ostrich.
After lunch we rode the funicular railway to the Cape Point Lighthouse overlooking the Cape of Good Hope.
Late in the afternoon we made our final stop on Cape Peninsula to see the African Penguins at Boulders Beach.
After the bus ride back to Cape Town we’re ending the day with sundowners and tapas at the One&Only hotel.
Tomorrow we visit Robben Island and tour the Cape Town landmarks.

At the Fountains Hotel in Cape Town:
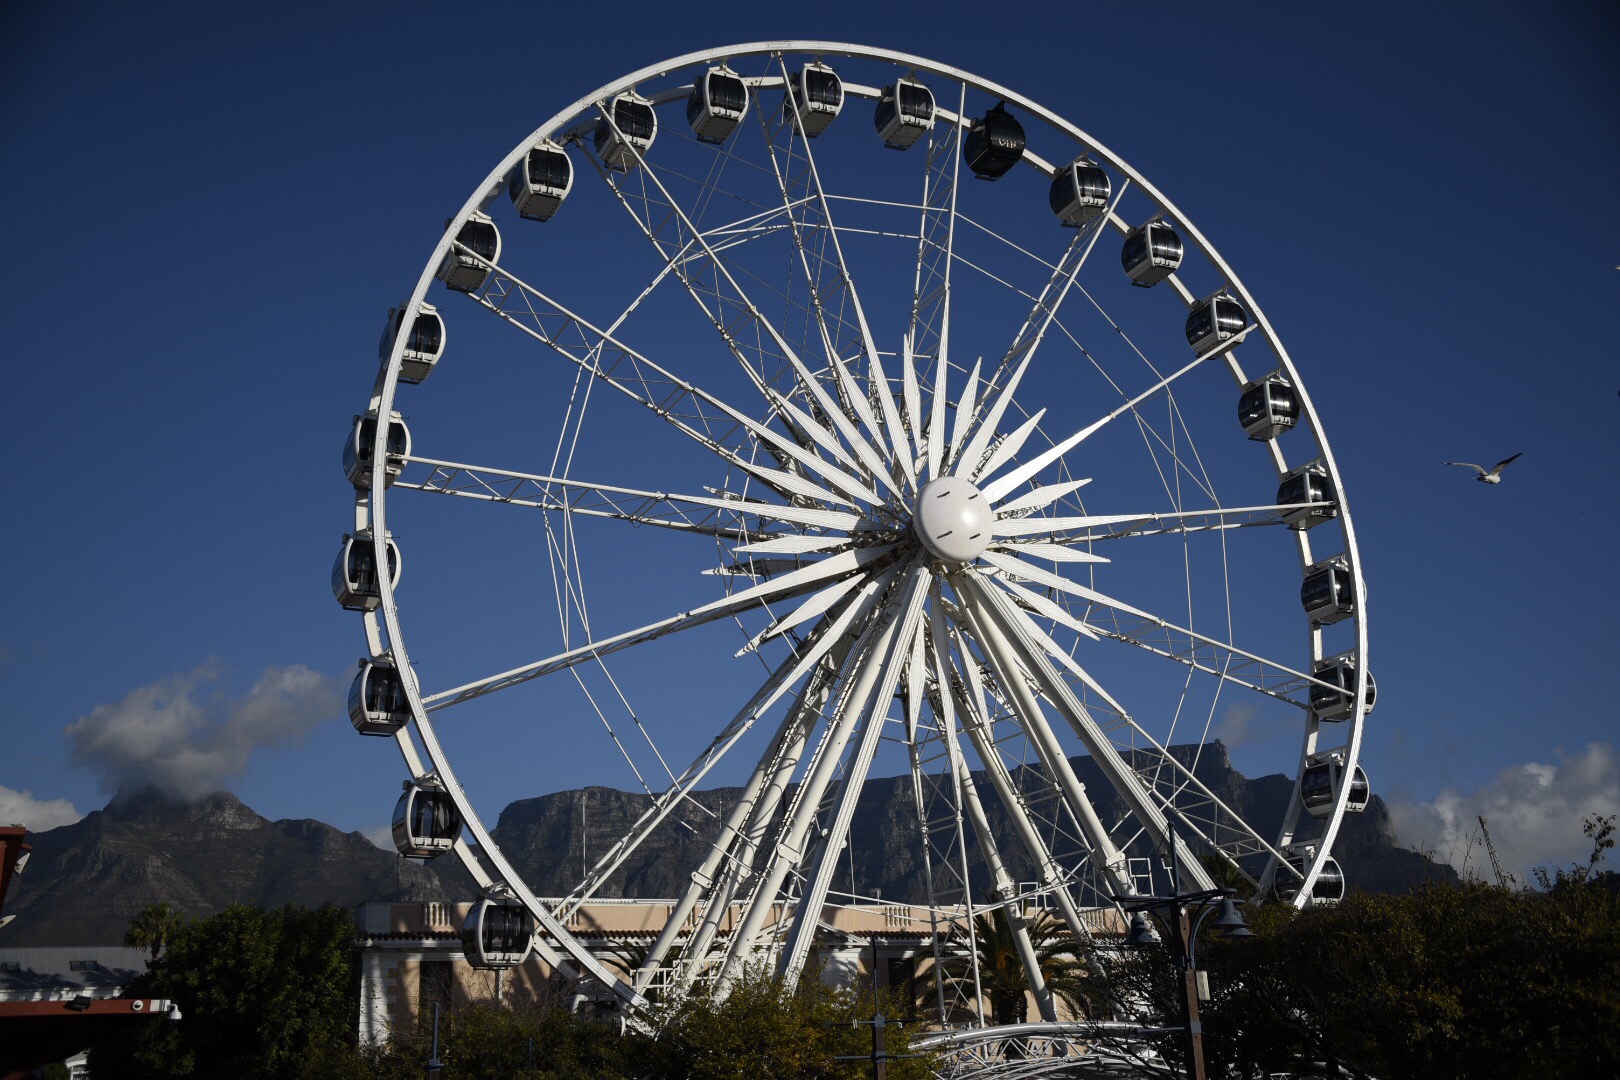
Another transition day. We left the Sandton Grand Court hotel in Johannesburg at 9 a.m. for the bus ride to the airport. The trip to Cape Town, on Mango flight 139, took around 2 hours. We met Angie, our Cape Town tour guide, and headed directly to the Victoria & Albert Waterfront for a late lunch at Salero Restaurante. Most of us chose the Ostrich Burger special.
After lunch we made our way from the Waterfront to downtown to check in to our hotel.
With free time before a late dinner we spent some time exploring the neigborhood.
We’ve got an early start tomorrow morning to go to Table Mountain.

On the road to Johannesburg:
After our two day safari adventure in Kruger National Park, we left the Mpumalanga province for the morning drive to Pretoria. On the way we stopped at Millys Take Away for Trout Pie and Venison Pie. Wow! Best road food ever.
In Pretoria we stopped for lunch at the Blue Crane Restaurant, then went to the Union Building to see the Nelson Mandela Statue.
Tomorrow we fly to Cape Town.