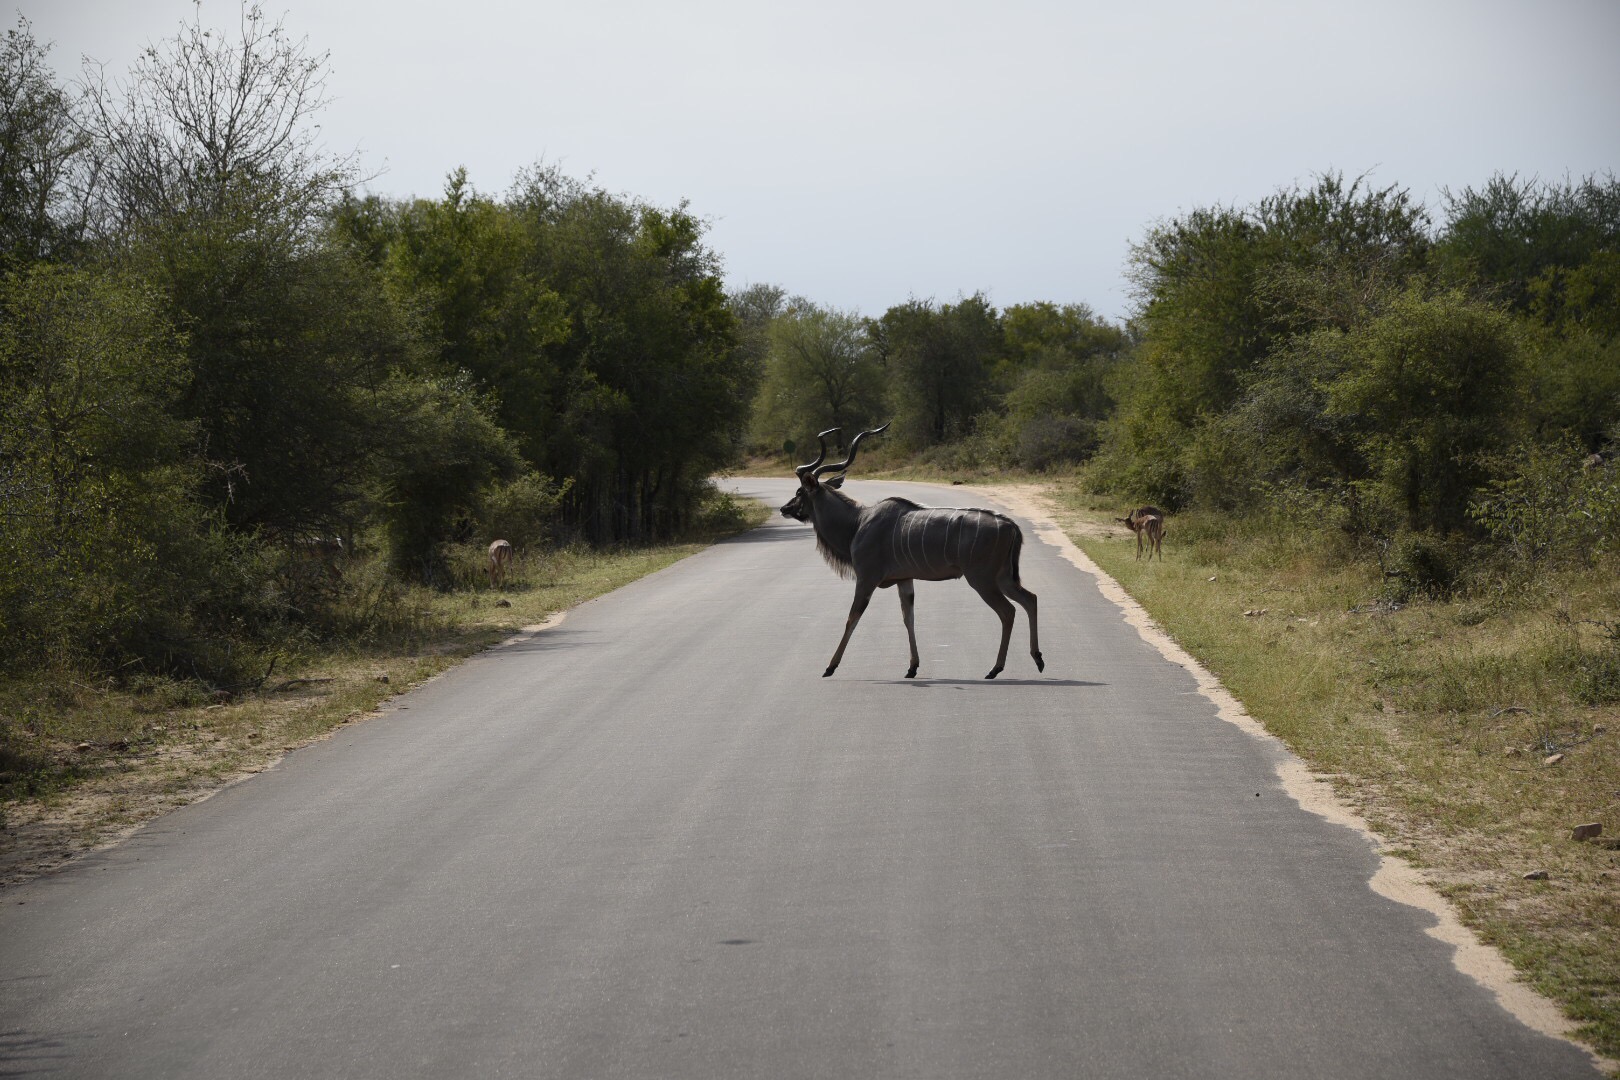
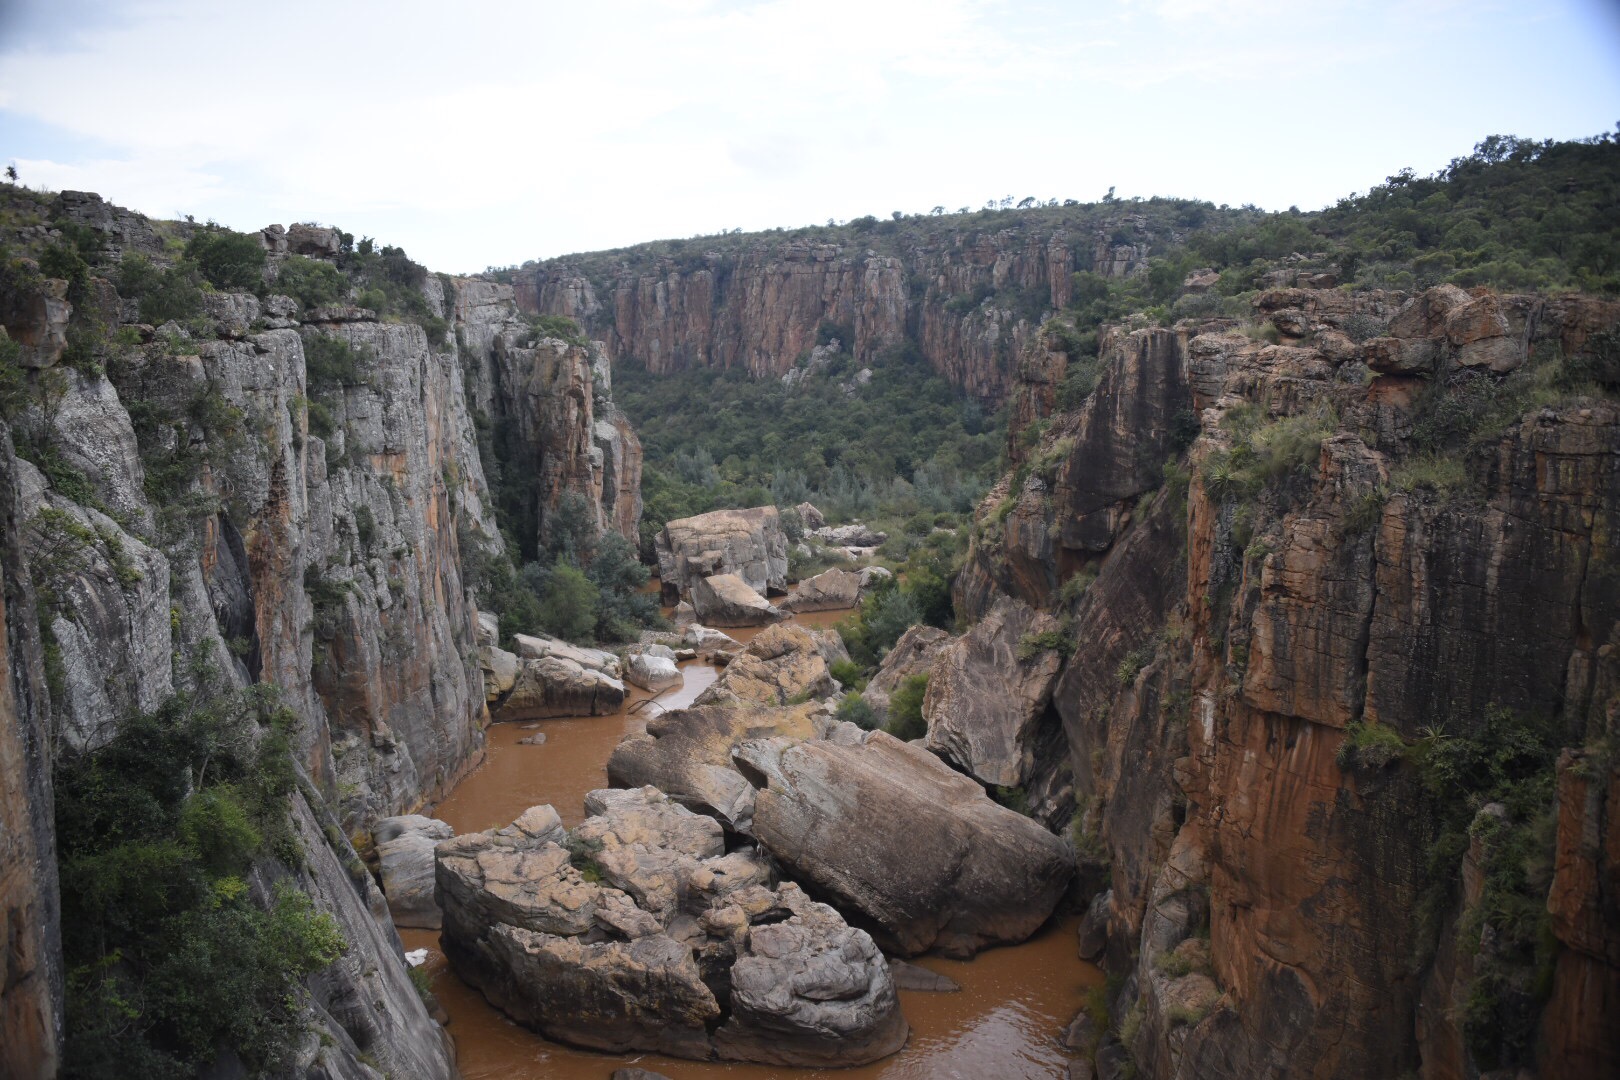
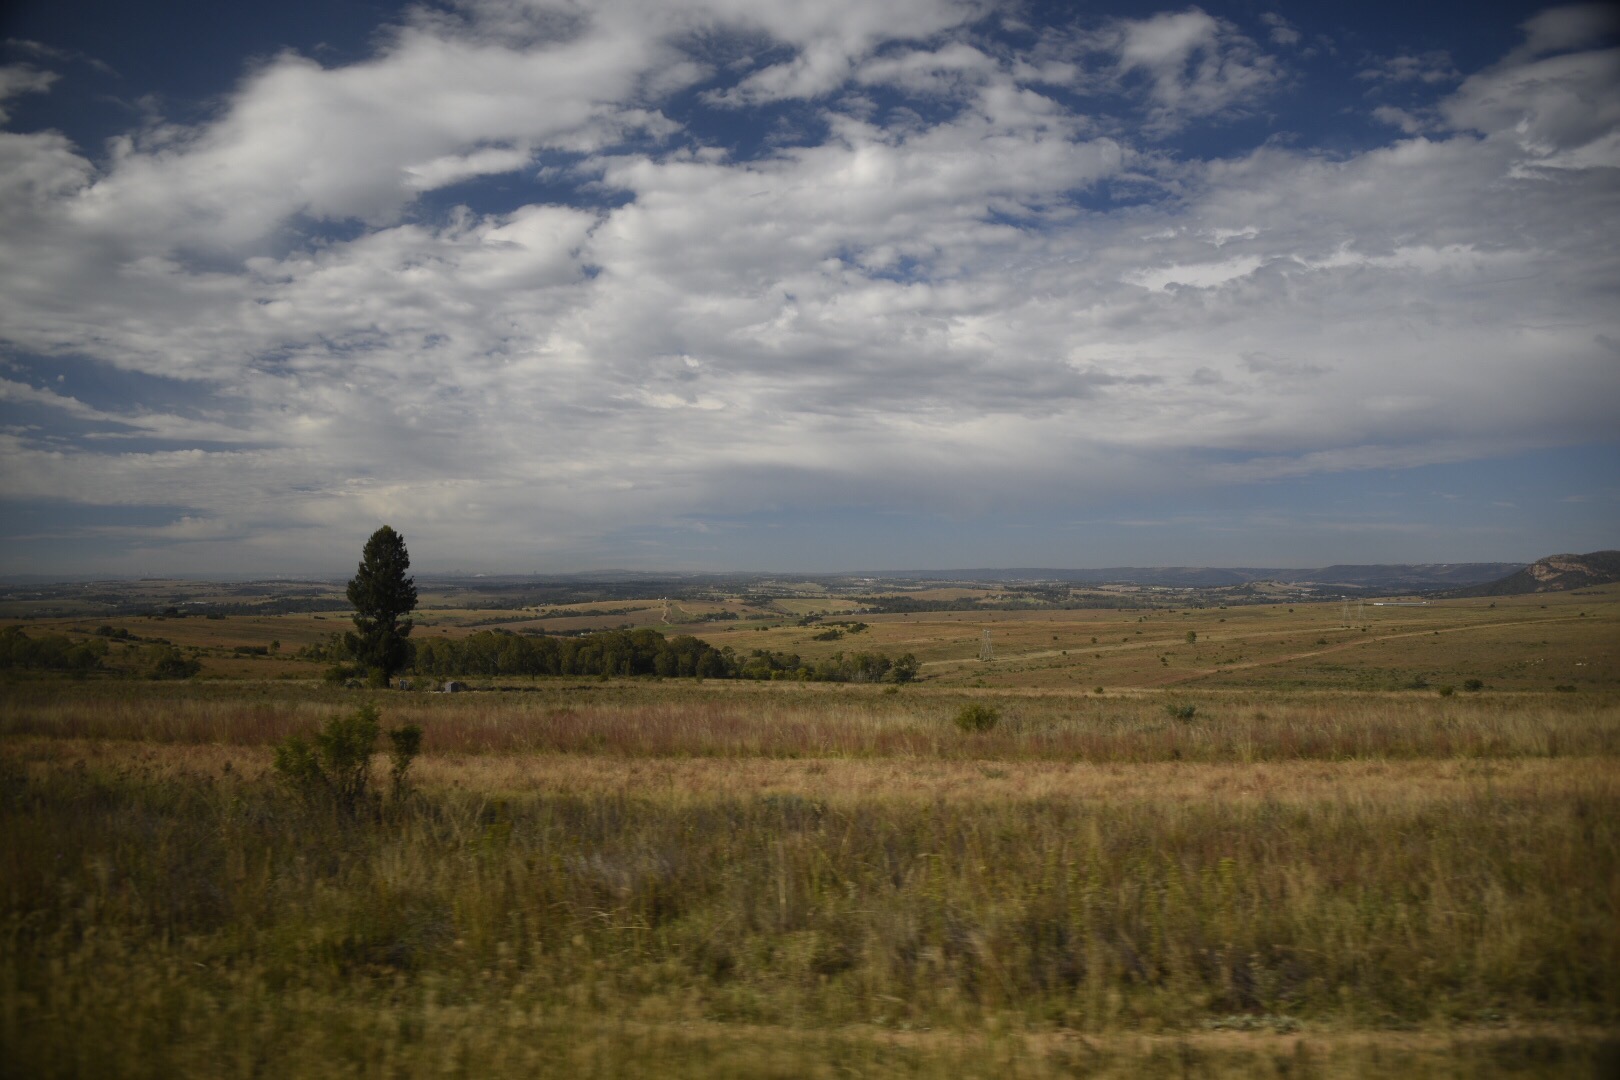
I put together some aerial shots from last summer’s trip to the Outer Banks.
Technical details …
Quadcopter | DJI Phantom 1 |
Radio | Futaba 14SG |
Gimbal | DJI Zenmuse H3-2D |
Camera | GoPro Hero 3 Black |
Editor | Final Cut Pro X |
Plugins | GoPro HDR and ShrinkRay X |
After completing the DJI Phantom upgrade over the winter, I’ve been out working on my flying and aerial photography skills.
Here is a sequence shot this morning with the DJI Phantom Quadcopter and edited with Final Cut Pro X.
Quadcopter | DJI Phantom 1 |
Radio | Futaba 14SG |
Gimbal | DJI Zenmuse H3-2D |
Camera | GoPro Hero 3 Black |
Editor | Final Cut Pro X |
Plugins | GoPro HDR and ShrinkRay X |
After buying a DJI Phantom 1 quadcopter and learning to fly last fall, I’ve spent the winter adding upgrades to the quad to improve the quality of video.
First I installed the DJI H3-2D gimbal for the GoPro Hero 3. The gimbal mounts beneath the quadcopter, isolates the GoPro from vibrations generated by the motors and props, and helps to smooth out the resulting video footage.
To see the GoPro’s aerial view in real-time from the quadcopter, I installed the RC Logger 5.8 GHz video transmitter and receiver set. The transmitter mounts beneath the quadcopter and receives video from the GoPro. The live GoPro video feed is sent to a combination video receiver/LCD monitor mounted on the Phantom radio controller. Very cool!!
I also installed the Skylark Trace IV OSD (on screen display data display) to show GPS satellites connected, speed, altitude, heading, and most important – battery voltage remaining. This flight data is transmitted from the Phantom to the LCD monitor via the RC Logger video link separate from the video recorded onboard the GoPro. Some soldering involved with this addition, but nothing too complicated.
Finally, I installed the Futaba 14SG radio control transmitter with the Futaba R7008SB receiver mounted in the Phantom for a more customizable flying experience. Instructions from TheDiveO blog proved invaluable to completing the receiver installation and programming the Futaba 14SG for use with the Phantom.
Now it’s time to calibrate and test!
It’s been a while since my last update. For the past few months I’ve been working on a couple of projects …
New Blog Theme
I’ve updated the look of the blog using the Magazine Theme from Organic Themes. The transition was really easy and I’m using the theme without any custom coding. One of the things I like about the new theme is that as a responsive theme it looks great on smartphones and tablets.
Weather on the Balcony
The other project is the introduction of a weather page on the blog. I’ve always enjoyed watching the weather. And over the years a series of western facing apartments and offices have afforded a view of approaching weather systems – the predominant weather pattern for those of us on the East Coast of the United States.
As an amateur weather watcher I decide to invest in some weather observing gear. I’m using a Davis Vantage Vue Wireless Weather Station and a Davis Vantage Pro2 console. Now keep in mind that with a highly accurate weather observation system it’s possible to join an international community of weather observers to share data. There are very stringent recommendations on the placement and siting of participating weather observation systems to ensure the accuracy of data collected. Well I’m not going to be joining the international community of weather observers. My system doesn’t met any of the criteria for proper placement. I live in a condo on the fourth floor! I don’t have a yard! Instead I have a 6′ x12′ balcony. So my weather system documents the microclimate of my balcony – which is okay by me!
Weather data appears in a couple of places on the blog. On the right hand side of the home page the On the Balcony … box lists current temperature, today’s high, today’s low, wind speed, today’s maximum wind gust, humidity, barometric pressure, today’s rain, rain this month, and rain since the beginning of the year. The data in the On the Balcony … box is updated every ten minutes.
Over on the weather page similar data is presented in graphic form with the addition of gauges for dew point, windchill, and wind direction …
… And if you are really into data, the All-In-One chart combines the last three months of temperature, wind, relative humidity, barometric pressure, and rain fall into a single interactive graph …
So here is how this works. The Vantage Vue connects wirelessly to the Vantage Pro2 console. Data from the console is sent via an Ethernet cable to a TP-Link TL-MR3020 portable router flashed with Meteoplug client software. Meteoplug is a cloud-based weather graphic system. Data collected by my weather system is sent from the router to Meteoplug’s server in Germany. I log into Meteoplug to customize the graphics included here on the blog and then include the links on the homepage and weather page so the graphics show up. It’s really a great setup and once things are in place it runs automatically. Now you can I can check the weather On the Balcony … at any time and you can too! Let me know what you think.
Enjoy!!
Shortly after Photoshop World 2013 I bought a DJI Phantom 1 quadcopter. I’ve spent most of the fall working to perfect my flying technique. Now that I am getting comfortable with flying I’ve begun shooting some video using a GoPro Hero 3 mounted to the Phantom and finding the best GoPro settings for quadcopter video. Above is my latest effort – early morning over a softball field in my neighborhood, using a GoPro Hero 3 (ProTune/1080p/60 fps) and edited in Final Cut Pro X. I used a couple of plugins (GoPro Fisheye Fixer and GoPro HDR) to improve the video quality and concentrated on smooth flying for better shots. As a winter project, I’m thinking about adding a video gimbal mount for increased stability.
Definitely an improvement over my initial effort edited in GoPro Studio …