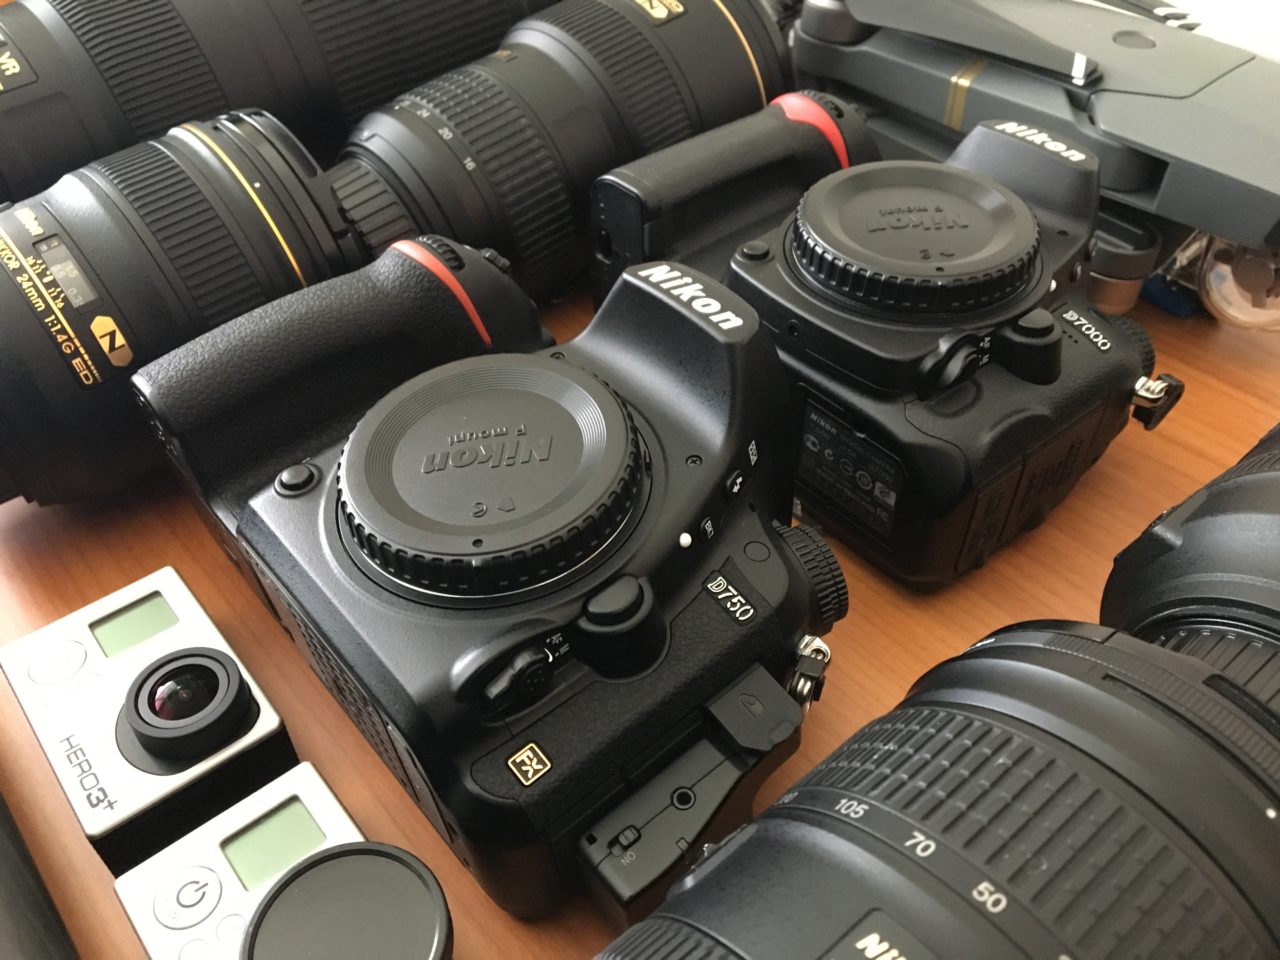
Some changes to the current gear lineup. I added the AF-S NIKKOR 200-500 f/5.6E ED VR – Super Telephoto Zoom and the DJI Mavic Pro. See the updated gear page for more details.
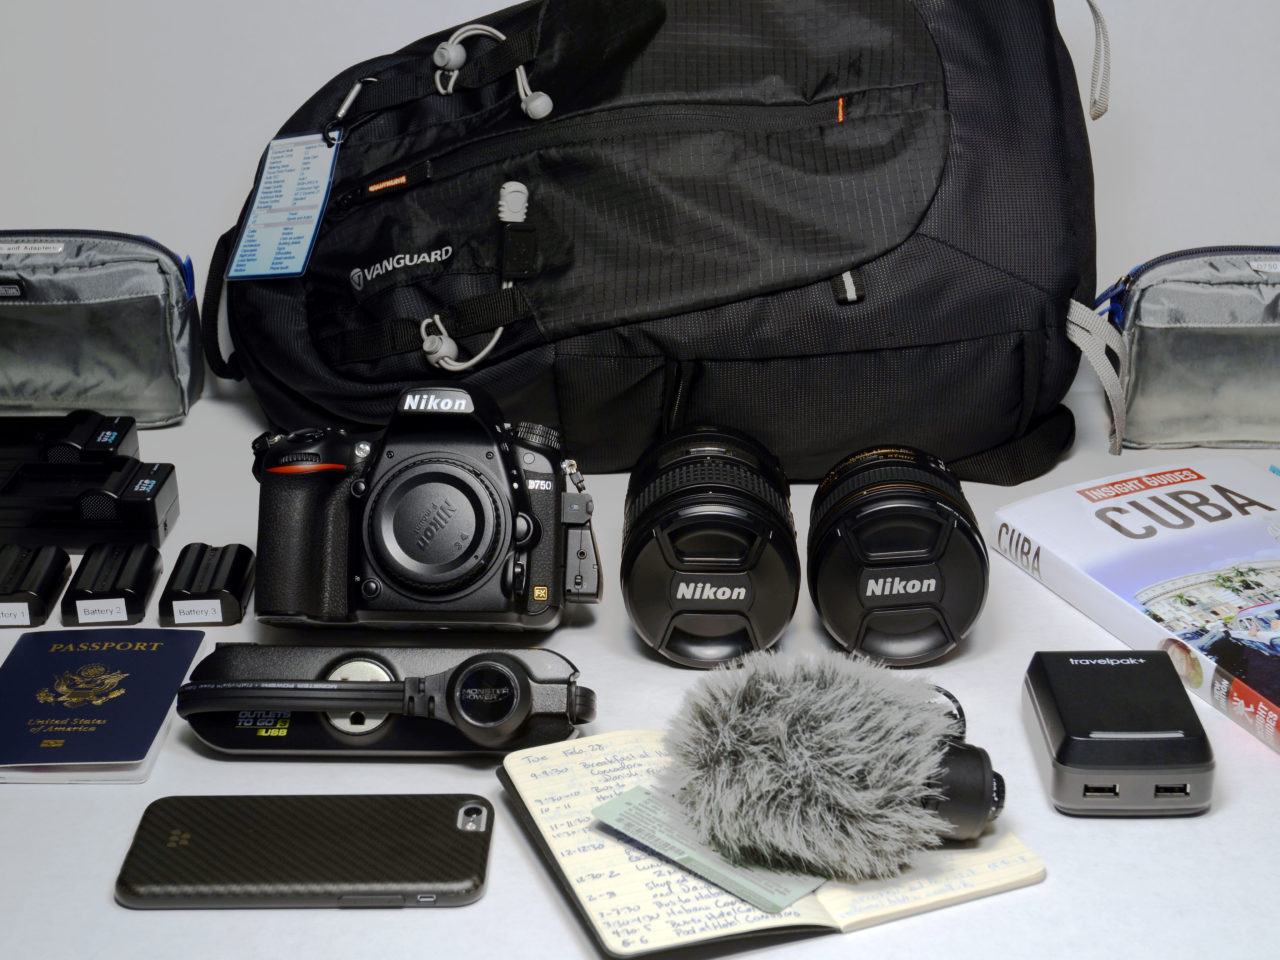
Workflow!! For Brad and Gina, this is the post they have been waiting for …
It’s been about 6 months since the Cuba trip and I’m way overdue on an update on the Cuba photo and video workflow. Right after getting back from the trip I downloaded the photo and video files to my desktop computer and backed up onsite and offsite. As I did for Peru, Galapagos, and South Africa, here is a review of the photo and video workflow for Cuba.
I brought along mostly the same gear for Cuba that I’ve used recent trips:
For the Cuba trip I brought along two 64GB 1000x Lexar Professional SDXC Class 10 cards and two 64GB 600x Lexar Professional SDHC Class 10 cards.
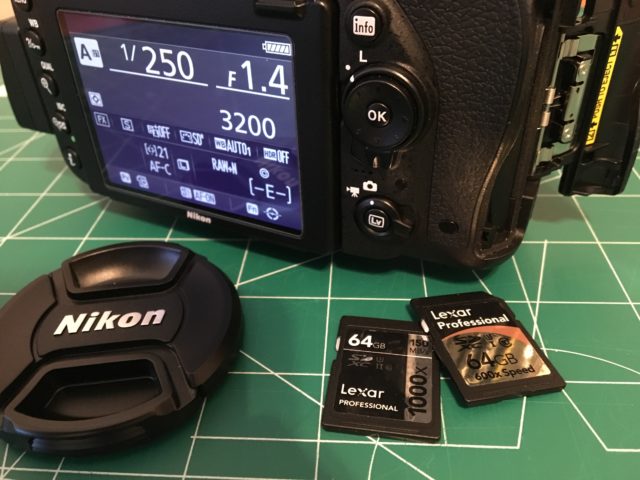
Nikon D750 DSLR with Lexar 64GB SDXC Cards
Each 64GB card holds about 1,500 12-bit NEF files. (See 14-bit vs 12-bit RAW – Can You Tell The Difference at Photography Life.) I used a 64GB card in slot 1 of the D750 to store raw photo files. In slot 2 I used a 64GB card with the D750 set to store Large size JPEG normal quality backups at about 10.2MB per image.
About halfway into the trip, I swapped out the initial set of cards for the second set. At the end of the trip I ended up with 972 picture files totaling 25.26GB. That’s a shooting rate of 97 per day – close to my average of 100 photos per day on international trips. In addition to JPEG backups, I used the slot 2 card for movie files and ended up with 296 movie files totaling 24.17GB. The movie file count also includes iPhone 6S movie files for some additional timelapse sequences.
For the daily trip blog updates I used the D750’s built-in Wi-Fi to connect via the Nikon Wireless Mobile Utility installed on my phone. Once connected it was easy to select pictures to transfer to the phone, and then incorporate those photos in the daily trip blog updates using the WordPress Mobile App. Not so easy was getting a reliable Wi-Fi connection in Cuba. Internet access was purchased by the hour and only available in hotel lobbies. Disconnections were frequent and required re-entering a lengthy sequence of numbers. The daily blog updates sometimes took an hour each day to complete.
My standard workflow for photos and video remains the same. I’m still working with Adobe Lightroom CC for photo management and editing – using the Creative Cloud Photography plan.
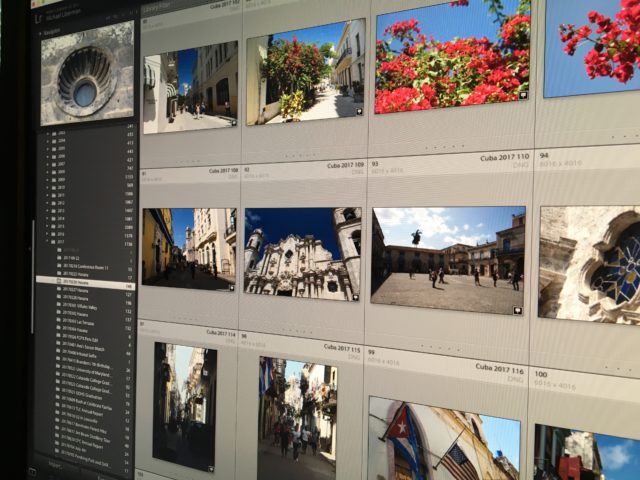
Cuba Photos in Adobe Lightroom CC
The simplified version of the workflow is:
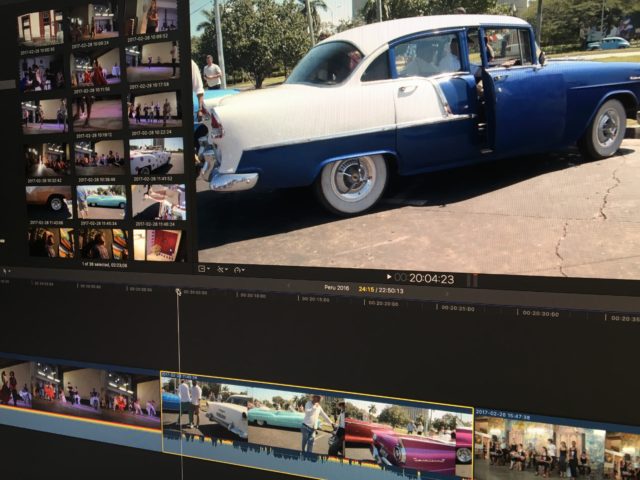
Havana video clips in Final Cut Pro X
Video files are digitized using Apple Final Cut Pro X to events named by date and location. After import files are renamed by date and time. All movie clips on this trip were shot at 1080p and 60fps.
With all trip photo and video files transferred I confirm onsite and offsite backups are complete (using CrashPlan to manage both backups) and then reformat the SDXC cards for use on the next project. Now it’s time to get to work on the photo gallery, book, and the trip video!
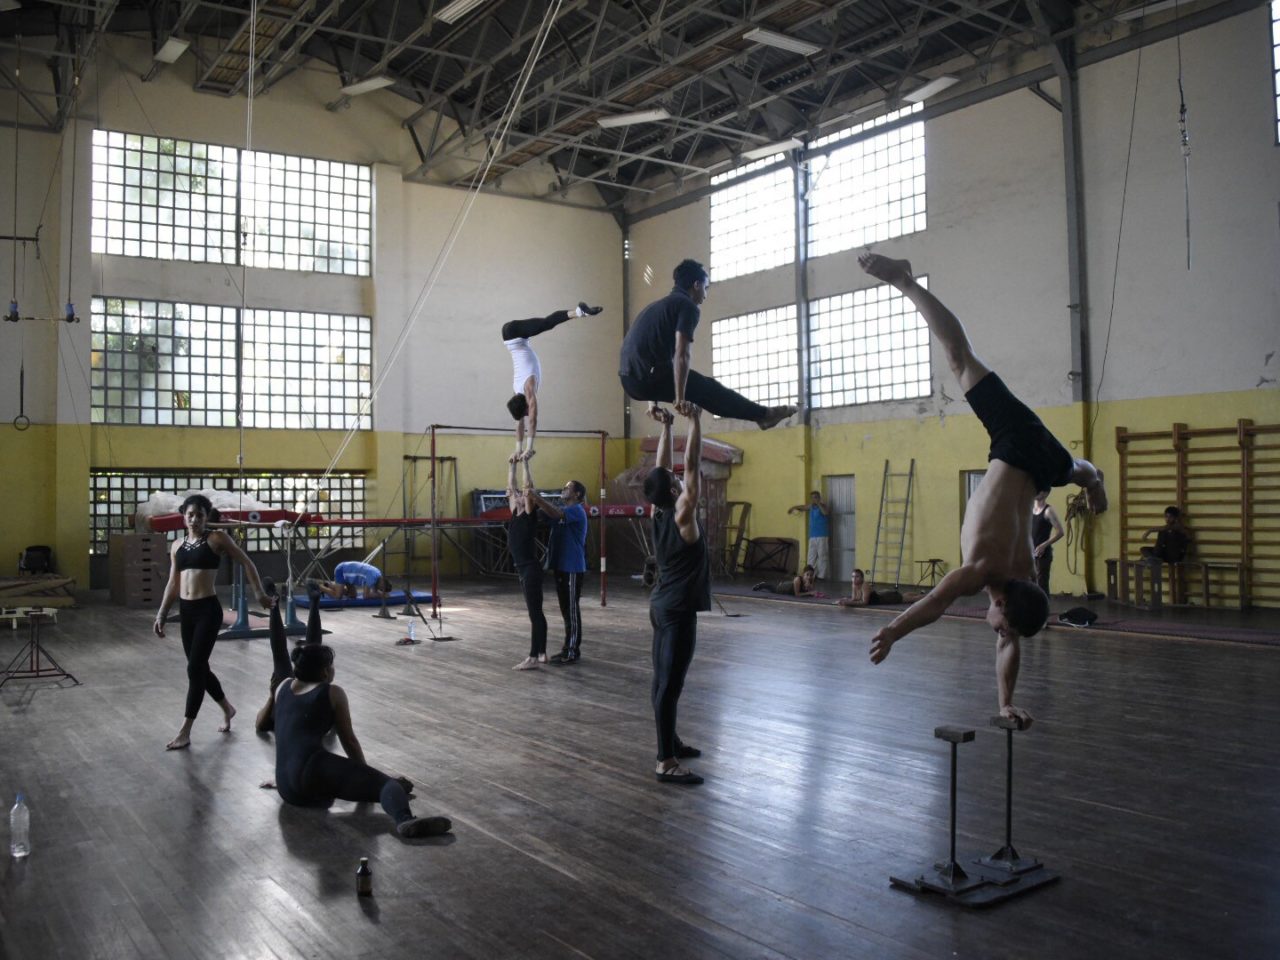
I haven’t started editing the Cuba 2017 video yet, but here is a preview edited on the flight back using Apple Photos.
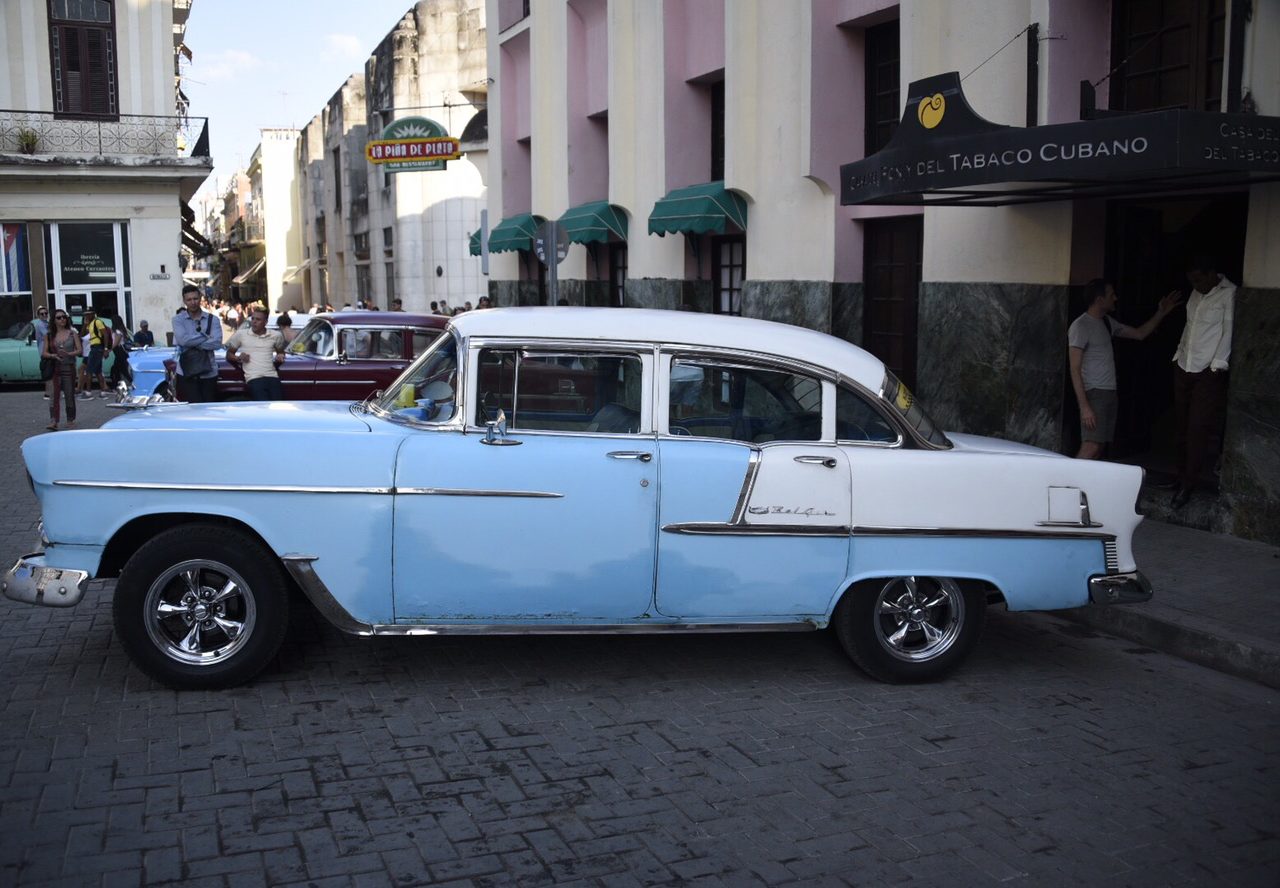
From home.
We arrived in Boston last night and were greeted by 15 degree temps, a big difference from the 80+ days we enjoyed in Cuba! Shannon and Peter welcomed us back to Melrose and warmed us up with pizza and margaritas.
This morning we enjoyed a dim sum brunch at Yong Yong Dim Sum in Malden. My first dim sum experience! (I tried the chicken feet, but passed on the tripe.) We spent the afternoon catching up with friends, then headed back to Logan for our early evening flights – me to DC and Mickey and Donna to LA.
Now that I am home and have had a little time to reflect on the trip I want to share a few thoughts and observations about traveling to Cuba and meeting Cuban people.
For as long as I can remember Cuba was a place that we, as US citizens, couldn’t easily go to. Since it’s been possible for US citizens to travel to Cuba, I’ve wanted to go. This was a definite bucket list trip.
Through dictatorships, the mafia, revolution, and the embargo the connection between the Cuba and the Unites States is complex and inseparable. Although lacking many of the amenities travelers seek, the spirit of the Cuban people is what really makes this trip worthwhile. And that was the point of this trip, to see Cuba in its raw state, the result of revolution, embargo, and the collapse of the Soviet Union – the defining elements of present-day Cuba.
Everywhere you look are signs of a former tropical paradise. Stunning colonial architecture now decaying or collapsing. Palatial mansion estates now repurposed by the government for other uses. Resort hotels now only a shadow of their former luxury. But despite this, Cubans are friendly, jovial, and welcoming and Cuba is vibrant, bustling, and exciting.
There is music everywhere. And it’s amazing. Rhumba, salsa, flamenco, and Afro-Cuban. Every meal featured a live musical accompaniment. And an invitation to purchase a “studio-recorded” CD! If you want to see talented musicians, go to Cuba.
In addition to music, every meal featured ice cream for dessert. In a resource-challenged country, Cubans do have plenty of sugar and fresh milk. And they make incredible ice cream.
Not surprisingly, Internet access is difficult. Some US cellular providers are beginning to establish international roaming services in Cuba, but I relied on WiFi to connect during the trip. Access is purchased by the hour and is available only in hotel lobbies. Disconnections were frequent and required re-entering a lengthy sequence of numbers. These daily blog updates sometimes took an hour each day to complete.
Customer service in Cuba is still a work in progress. To be a successful tourist destination Cubans will need master the art of meeting customer expectations. But we talked to repeat visitors who let us know that progress is being made quickly.
I’ve mentioned before that quality tour guides are essential for a successful trip, and this trip was no exception. Wilfredo, our tour bus driver, got us everywhere on time and with a smile. Ana Maria came in from Mexico City to make sure the tour the ran to Explorica’s standards and to make sure our needs were met. Lianet, our Cuban guide, was informative, knowledgeable, entertaining. She answered every question we had, shared the Cuban perspective of America, and spoke honestly about life in Cuba and her love of the country and it’s social system.
Shannon and Peter’s hospitality is amazing. To know that you will be so warmly welcomed into their home is a great way to start and end a trip!
As always Dr. Craven made sure that we had an excellent itinerary and an excellent group of travelers. Michaela, Donna, Marguerite, Sue, Gina, Marie, Mike, Amy, Mark, and Andrea are great friends from previous trips who I look forward to traveling with in the future!
Finally, a special note of thanks to Brad and Gina for the many hours of discussion we had about travel photography workflow. My workflow is always evolving and input is always important – particularly when it come to making workflow more efficient and sharing photos and video as quickly as possible. 😉
I hope you enjoyed these updates. Thanks for reading!
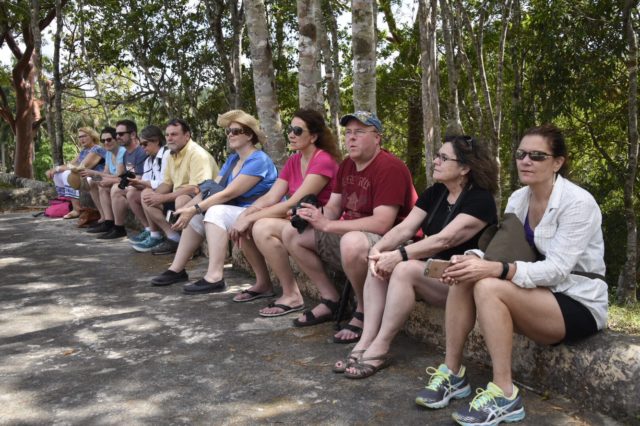
The group at Las Terrazas
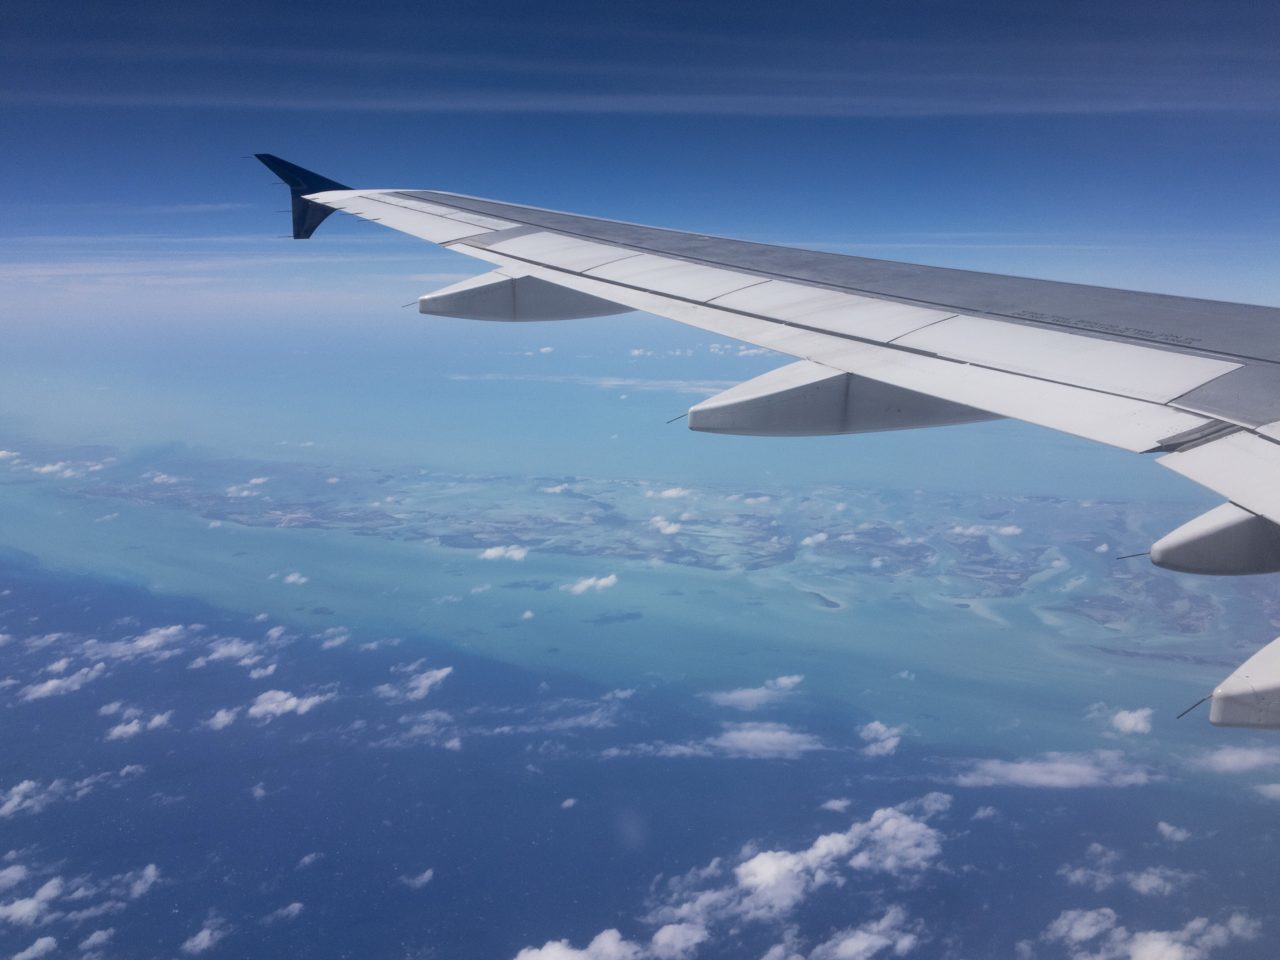
Onboard flight 433 enroute to Boston.
Today is transfer day – the first of two days of travel to get back home. After a few last minute photos at the poolside bar, we checked out of the Hotel Comodoro at 9:30 to head to José Martí International Airport just outside of Havana. After passing through customs we left Havana for JFK in New York.
We spent a couple of hours in New York to go through customs and to take adavantage of the first reliable internet access we’ve had in a week. We left New York at about 6 to head to Boston. Tonight we’re spending the night at Shannon and Peter’s. Tomorrow we’re having a Dim Sum brunch and heading back to DC and LA tomorrow evening.