Note: The post was originally intended for March 2020, and I thought the COVID-19 stay at home order would provide plenty of time time to pull this together. But because of COVID-19 work has been really busy, so this post is just seeing the light of day. Also, this post is about my mirrorless camera decision making and adoption process and not a technical review of the Nikon Z6. If you’re looking for that try the excellent write-ups from Photography Life and Digital Photography Review.
In recent years, one of the greatest questions facing amateur and professional photographers alike is whether to make the move from digital single lens (DSLR) cameras to mirrorless (ML) cameras. In my travel workflow posts I’ve documents my interest in ML cameras for traveling lighter, but a concern about whether the autofocus capabilities of ML cameras were on par with DSLRs. On the gear page I’ve documented my journey through film and digital cameras including the DSLRs I’ve owned – starting with the Nikon D100, then the D7000, on to the D600, and most recently the D750. I seem to upgrade DSLRs every few years – enough time for technological advances to compel me to consider something new. As an amateur I don’t need to most advanced gear, but over time I’ve moved from DX with the D100 and D7000 to FX full-frame with the D600 and D750.
In August 2018 Nikon announced the Nikon Z7 and Z6 mirrorless cameras. (This wasn’t Nikon’s first attempt at a mirrorless camera line, having announced the Nikon 1 in 2011 and subsequently discontinuing the line in 2018.) I was intrigued by the Z6 and the potential capabilities of the new Z-mount lenses, just not so intrigued that I was ready to make a purchase. I did some online research, read a couple of reviews, then set the idea of a new camera aside while I focused on getting ready for the Southeast Asia trip.
I returned from Southeast Asia in early March of 2019. And as I usually do when I get back from a trip I began preparing a blog post about the workflow used while on the trip and then back at home. For reference on writing the post I started by looking back at the previous workflow post. I came across this line in the post … while the compact size of mirrorless cameras is tempting for travel, I think the autofocus systems of the smaller cameras isn’t quite advanced as the autofocus systems offered by full-size DSLRs.
That statement got me reassessing whether it was still true. So I started researching mirrorless cameras again. Initial reports showed the autofocus systems of the Nikon Z cameras to be good, but not great, but with the possibility of improvement through firmware updates. However, reviews of the Z system lenses were excellent and Nikon released a roadmap detailing planned lens releases for the next several years. I liked that the roadmap would let me plan for how to transition from an F-mount system to Z-mount by letting me know what lenses Nikon would release and when they would be available. Nikon also announced an F-mount to Z-mount adapter to allow the use of existing F-mount lenses on a Z camera. And reviews of the Z6 video performance were outstanding.
In March 2019 Nikon announced a promotion with a couple hundred dollars off a Nikon Z6 camera, 24-70mm f/4 lens, an FTZ adapter, and an additional $200 for trading in any DSLR camera. I also received my tax refund and my birthday was at the end of the month. The stars were aligning and it was time to make a purchase. I traded in the D7000 and got the Nikon Z6.
I purchased the Nikon Z6 Mirrorless Camera combo with the NIKKOR Z 24-70mm f/4 S lens, and the Mount Adapter FTZ from B&H on March 22 and it arrived early the following week. I charged up the EN-EL15b battery (I bought an extra so I had two), put a Sony 64GB XCD card in the slot (bought two of these as well), mounted the lens, turned on the power, and pressed the shutter button. My initial impression was very good. Despite being very similar to my 5-year old D750 – both being 24 megapixel cameras, clearly Nikon had made some enhancements in technology. The Z6 paired with the 24-70mm f/4 lens produced sharp images with excellent color rendition and contrast. I liked the size, weight, and feel of the camera, but as with any new camera, the button placement would take come getting used to.
I also liked the electronic viewfinder, but it was an entirely new experience. Initial impression – the resolution was more than enough to make critical framing, focus, and exposure decisions. My first decision was how to setup the electronic viewfinder and the rear monitor displays. Pressing the Monitor Mode Button on the left of the viewfinder cycles through four display settings – Automatic display switch (changes between the viewfinder and the rear monitor when you look through the viewfinder or take your eye away), Viewfinder only, Monitor only, Prioritize viewfinder (putting your eye to the viewfinder turns the display on). I’m primarily using Prioritize viewfinder because this choice seems most like my experience with DSLRs and has the benefit of extending battery life – a key consideration given the battery demands of a fully electronic mirrorless camera compared to a DSLR with an optical viewfinder.
However, in Automatic display switch mode, the first “muscle memory” step is adjusting to how the viewfinder eye sensor works. Place your eye to the viewfinder and the electronic viewfinder turns on. Take your eye away, the viewfinder turns off and the monitor turns on. Pretty straightforward. But if something comes too close to the eye sensor – say your hand operating controls on the back of the camera – then the LCD monitor turns off and the electronic viewfinder is activated. A little disconcerting when the LCD monitor suddenly goes blank for no apparent reason. But it’s just one of those things that takes getting used to.
I spent a few days reading the manual, adjusting to control placement, playing with the touchscreen, trying out various auto focus modes, and taking pictures of objects on my desk. And after a while I was ready to commit to a setup for regular use. I won’t go through every setting, but here are few highlights:
RAW 14-bit I’ve always shot 12-bit RAW files on the primary card with a JPEG backup on the second card. There is more data in a 14-bit raw file, so after years of favoring a smaller file size over less photo data, it seem like a good time to make a change.
No JPEG Backup While I’ve always made JPEG backups on the second SD card, I’ve never had cause to actually use the backup file. And with only a single card slot on the Z6, what’s the point of having two copies of the same file on the same card for backup purposes? And the XCD cards seem much more sturdy compared to SD cards.
Back Button Focus I’ve set up my cameras with back button focus for years using the AF-ON button. Now I find it a very natural way of shooting. I’m too twitchy to be an effective half-press-shutter-button-focus shooter. I used to inadvertently shoot unneeded frames while getting focus. So I prefer setting up the camera to separate these functions.
Auto ISO Auto sensitivity control is ON for consistently exposed photos. My settings are ISO maximum sensitivity 6400 and minimum shutter speed 1/500. With these settings I get a good percentage of usable shots when not in Manual mode for other purposes.
I used the camera throughout the summer with this setup shooting a couple of track and field meets with so-so results, taking it on a beach trip to Rhode Island, and bringing it on walks through the trails around my office building. Now that I was using the camera in real world shooting situations, I could see the battery life was going to be okay. The Z6 definitely goes through batteries faster than the D750, but for my stills and video shooting style likely wasn’t going to be going through more than one or two batteries a day.
So after using the camera for several months my overall assessment remained positive, but with nearly 200 menu settings to consider I was feeling overwhelmed and still hadn’t devised a good method for taking advantage of the U1, U2, and U3 customizable user settings. But I had an idea about how to proceed.
I’ve taken a couple seminars with the photographer Steve Simon, the author of The Passionate Photographer, including Mastering the Nikon D7000 in October 2011 and The Passionate Nikon Photographer Two-Day Mastery Workshop in October 2013. Steve’s focus is to simplify camera setup and that’s exactly what I needed. I signed up for his Nikon Z6 & Z7 Series One-Day Mirrorless Mastery Bootcamp on the second weekend in September in New York City.
I took the train from DC’s Union Station to Penn Station and arrived on a wet Friday afternoon in New York. The city was getting drenched by Dorian as the hurricane made its way up the east coast. First stop – the B&H Photo NYC SuperStore at 420 9th Ave. I’d never been to B&H before and wanted to see the store in person. I spent about an hour looking around and then got to the serious shopping. I picked a NIKKOR Z 14-30mm f/4 S Lens and the NIKKOR Z 35mm f/1.8 S Lens. My longterm zoom lens plan was to pair the 14-30mm with the 24-70mm as part of an eventual f/4 zoom trinity. And while I have 24mm and 50mm F-mounts, I’ve always wanted a 35mm prime. The 35mm is the basis of my longterm f/1.8 prime lens plan. The 35mm isn’t the best Z-mount lens, but since making the purchase, I find it’s usually my go to lens. (I’ve since sold the F-mount 50mm f/1.4 and purchased a NIKKOR Z 50mm f/1.8 S Lens.)
That evening I met Sinem and Murat for dinner at Angelo’s Pizza on Broadway. Sinem is from Istanbul and Murat is from Izmir and both are university students who were part of the international team of lifeguards at our community pool over the summer. As luck would have it they arrived in New York on Friday to start the travel portion of their summer work/travel program. After dinner we stopped for a beer a few blocks away at McCoy’s Pub and then went to see the lights of Time Square. Aways great to be able to meet up with friends when you are away from home! Before heading back to Turkey at the end of September, Sinem and Murat met up with other traveling lifeguards to see the Grand Canyon, Las Vegas, San Diego, Los Angeles and San Francisco.
The next morning skies cleared on a glorious late summer morning in New York City. I walked the 30 or so blocks down 5th Avenue from the Courtyard New York Manhattan to the NYC Seminar & Conference Center at 71 West 23rd Street passing Rockefeller Center, the Chrysler Building, the Empire State Building, Madison Square Park, and the Flat Iron Building.
The seminar was everything I’d hoped for. A small class with only four other photographers – each with Z7s. The external controls and the menus of the Z7 and Z6 are the basically the same, so being the only Z6 photographer in the room wasn’t a problem. The primary differences between the Z7 and Z6 are sensor size (45 megapixels in the Z7 compared to 24 for the Z6), autofocus points (493 for the Z7 and 273 for the Z6), and frames per second (with the Z6 at 12 and the Z7 at 9). With a small group there was plenty of time for Steve to answer individual questions.
The morning session covered external buttons, then menus, shooting modes, and autofocus. After a lunch break there was more on autofocus, then white balance, file formats, ISO, exposure, histogram, and picture controls. Some seminars are about putting the camera down and following a PowerPoint presentation, but Steve wants you to have camera in-hand, changing settings and testing results. And at the end of the day we went down to the sidewalk on W. 23rd St. to test various focus modes and camera setup. Thinking back on this 10 months later, I don’t remember why I was having problems with setup last summer, but I came away from the seminar with a much better understanding of the camera and how as a mirrorless camera it differed from by previous DSLRs.
I was booked on the 6:05 PM Amtrak train from Penn Station back to DC and fellow workshop student Allyson was taking the same train back to Philadelphia. Steve suggested we photo walk the High Line up to see Hudson Yards and the Vessel on the way to Penn Station. Great suggestion, Steve! We made the walk up in about an hour, leaving plenty of time to stop for some pictures of the Vessel and to get a beer to carry-on the train. Allyson has travelled to many of the same places I’ve been to, so we had many photo experiences to share on the way home.
So what’s been happening in the 10 months since New Your City? In October I finalized my camera setup based on the Mirrorless Mastery Bootcamp and a great article on the Photography Life Website. If you are interested in Steve Simon’s approach, then I strongly recommend you visit Photo Educate and consider attending one of his workshops. I usually don’t do endorsements, but I can tell you that Steve has greatly helped my photographic journey and I will continue attending his workshops for more photographic learning opportunities. If you are looking for an online resource, then take a look at Nasim Mansurov’s comprehensive Recommended Nikon Z6 Settings on Photography Life. I also decided on an approach for the U1, U2, and U3 settings so that U1 is handheld (street, travel, and portraits), U2 is tripod (landscape, astrophotography, and fireworks), and U3 is action (sports and wildlife). With these settings I can quickly get the camera ready for the kind of situations I typically photograph.
Last November I didn’t bring the Z6 on the trip to Brazil and instead went with the D750 and the DJI OSMO Pocket. Before we left I didn’t have a chance to add the Z6 and new glass to my insurance. Given the safety concerns in Brazil’s larger cities it seemed smarter to travel with insured gear. But I did bring the Z6 to Louisville for the holidays in December and a visit to the Rabbit Hole Distillery.
In February Nikon released the fifth firmware update since I purchased the camera 15 months ago, with Firmware 3.0 adding significant focus tracking improvements. With these firmware improvements the Z6 has gone from a very good camera to an excellent camera! It’s great to see that Nikon continues to improve the capabilities of both the Z6 and Z7, supporting a complex decision to move from DSLRs to mirrorless.
Since the onset of the pandemic, I haven’t done much shooting at all, but there are always good opportunities for socially distanced photography! In the meantime, I should probably get busy updating the gear page. Thanks for reading.
Earlier this week NASA astronauts Doug Hurley and Bob Behnken made history by launching aboard a SpaceX Falcon 9 rocket and docking their Crew Dragon spacecraft with the International Space Station. And Facebook reminded me that it was just about a year ago that I posted an image I took of the ISS. Seems like a good time to share the story of how I made the photo.
For a while I’ve been interested in photographing the International Space Station. It’s large enough that it can be seen overhead with the naked eye and there are plenty of online resources to help identify the location of the ISS as it passes overhead. Making a photograph should be easy, right? Not really!
The space station orbits the earth about every 90 minutes or so, traveling at over 17,000 miles per hour and 250 miles above the surface of the Earth. About 18 orbits each day. It’s easiest to see the ISS when it’s illuminated by the sun and your viewing location is nearly dark. So an hour or two just after sunset or just before dawn. The station can’t be seen every day simply because it’s not passing overhead at the right time of day.
I initially started looking for the ISS in the fall of 2017. NASA’s Spot The Station Web site is an amazing resource for determining sighting opportunities in your area. In addition to when the station is visible, Spot The Station provides information about how long the station will be visible – generally 1 to 4 minutes – its maximum height, where in the sky the ISS will appear, and where it will disappear.
Depending on the timing of orbits relative to daylight, each day may have one or two siding opportunities after sunset or before sunrise. With the information from Spot The Station I went outside on a cloudless fall evening and looked up at the sky. I had no idea what to look for. How bright would the ISS be? How fast would it move across the sky? I gazed up at the stars will beyond when it should have been visible – and I saw nothing. A few days later I tried again. Nothing. And again a few days after that. Nothing. I’m like Yukon Cornelius prospecting for gold in Rudolph the Red-Nosed Reindeer. I lose interest in the project for a while and move on to finishing the Peru video and taking trips to India in 2019 and Vietnam, Cambodia, and Thailand in 2019.
Late in the spring of 2019 I decide to try again. On May 18 I stood on my balcony and scanned the sky looking for a dot streaking across the darkness. And I found it! I had enough time to point the camera in the general direction … to take some really bad pictures of a blurry dot. But I saw the space station!
I tried again on May 20, but it was too cloudy to make a sighting. For the next couple of weeks there weren’t any good sighting opportunities. Either I wasn’t available, the weather was uncooperative, or the ISS wasn’t in a favorable viewing position in the sky.
But on June 3, I was ready. I packed the Nikon Z6, FTZ adapter, and the Nikkor 200-500mm lens. Instead of packing the gear in a camera bag, I attached the lens to the camera and removed the lens caps and lens hood. I wanted to be ready as soon as I got to the location. With the camera on the passenger seat I drove to the parking lot of my nearby office building. The wide open spaces of the parking lot with offered a clear view of the skies overhead. I set up the camera and tripod with a good view of the northern sky, ready for the 9:06 PM pass. I powered up the camera and looked through the viewfinder … and nothing. Black. Quickly I worked to find the source of the problem … but nothing. I went through my mental checklist. Power on? Check. Manual exposure? Check. ISO 3200? Check. Lens wide open at f/5.6? Check. Shutter speed 1/2000? Check. I couldn’t figure this out and now I could see the ISS streaming through the sky overhead.
I resigned myself to the fact that I wasn’t going to get a picture, and instead just enjoyed watching the ISS flying up in space. It was over in a few minutes. Dejected, I packed up the gear and headed home to figure out what I did wrong, or if there was an equipment failure. At home the problem quickly made it self known. I made one of the most basic – and amateurish – mistakes in photography. A mistake so elemental that for a brief moment I considered giving up photography entirely. I left the lens cap on. Let that sink in.
I thought I had taken off the lens cap before heading out to the location. But no, I left it on. Of course I did. The lens cap serves an important function in protecting the lens. Why would I take it off? And on location I had convinced myself that I had left lens cap at home. So much so that I never even bothered to check the front of the lens. I thought I changed my usual working process – but in actuality didn’t – and the result was a missed opportunity. Frustrated by the experience I was determined to get this photograph.
There was another overhead pass the next night, June 4, 2019 at 9:54 PM. A three minute opportunity with a maximum height of 69° above the horizon, appearing 34° above WNW, and disappearing 30° above SE. I was not going to miss this picture. Gear for the shoot was simple – Nikon Z6 mirrorless camera, FTZ lens adapter, Nikkor 200-500mm f/5.6 lens, and Gitzo GT2541 tripod. And while the parking lot at my office building offered wide-open views of the night sky, I thought it might help to get higher up. So I went to the top level of the new parking garage at Fairfax corner.
It was a beautiful late spring evening. Temps in the mid 70s. Mostly clear skies with a few passing clouds. Moderate humidity. And very few insects on top of a concrete parking garage.
I set up the camera and lens on the tripod. This time taking note as I removed the lens cap. I dialed in the same settings I attempted to use the night before – and waited for 9:54 PM. Right on time I spotted the ISS moving through the sky. I was able to focus on the station easily enough using AFC and stayed sharp using back button focus. I fired off 10 quick shots before the station moved away. I did a quick check on a couple of shots and saw I could make out the station and solar arrays. Success!
At home I downloaded the images into Lightroom. A couple of the photos were better than the others so I did some light processing mostly cropping for visibility in the frame and tweaking exposure and contrast. After several years I finally had an image of the International Space Station.
Of course using a telescope it is possible to get higher resolution photos with more detail of the station and the various modules that join together to make the station. And there are complex multi-image transits of the station in front of the sun or moon. But this one is mine.
Note: This post is way overdue. I usually write these post-trip gear and workflow reviews a couple of months after I get home. I’m writing this in May 2021 – a year and a half after returning from Brazil – but dating this as February 1, 2020 like it was posted just a couple of months after returning.
I’ve been traveling with Mickey and Donna long enough that they know a certain amount of my day is going to be devoted to taking pictures, shooting video, writing the daily blog, and posting about the day on social media. The writing and posting usually happen on the bus following the day’s touring, during cocktail hour, or at dinner. I’m a so-so multitasker, so for a while each day I just need to concentrate on content. But in Brazil I was traveling with John, Donna, and Julianna. How would they react to the time I want to spend documenting a trip? It turns out pretty well. Like most things about Brazil, the trip was very laid back – with plenty of time to work on the blog without appearing too antisocial. And it turns out that John, Donna, and Julianna are excellent proofreaders … exactly what I need for travel companions! Of course, the primary purpose of the trip was to celebrate Thanksgiving in Penápolis …
So here is the Brazil gear and workflow update. Every trip requires a carefully considered pack list that balances the demands of international shooting locations with the willingness (or ability!) to carry a certain amount of equipment. After the 20-hour journey each way to Southeast Asia, the 12-hour trip to São Paolo seemed brief by comparison. But security concerns in the big cities of Brazil also informed the gear that I chose to bring on the trip. While I chose not to carry the DSLR while touring Rio de Janeiro and São Paolo in retrospect I would have felt safe doing so. Like any big city you need to be aware of your surroundings and those around you – even more so when your eye is looking through the viewfinder.
As I did for Southeast Asia, India, Cuba, Peru, Galapagos, and South Africa, here is an overview of the gear I carried to Brazil followed by the photo and video workflows I used to handle the media files when I returned.
Nikon D750 24 MP FX DSLR: The D750 is a great travel camera! Paired with the 28-300mm the combination of image quality and portability for stills and video is outstanding. As I mentioned in the Southeast Asia Gear and Workflow Overview post and in the Moving to Mirrorless post, I have started the transition to mirrorless with the purchase of a new camera. I thought about bringing the new camera to Brazil, but ultimately decided not to since I hadn’t added the camera to my photo gear insurance.
NIKKOR 28-300mm AF-S f/3.5-5.6G ED VR Travel Zoom: I really enjoying traveling with this lens. Great image quality and range from a single lens in a size that’s easy to carry on planes, trains, ships, buses, and just walking down the street. Since the Brazil trip I have purchased a NIKKOR Z 24-200mm f/4-6.3 VR that will likely replace the 28-300mm at some point in the future.
DJI Osmo Pocket: This gimbal/stabilizer provides a great platform for silky smooth video, timelapse, and motionlapse sequences. The tiny size of the Osmo Pocket can’t be beat for travel. It’s great for crowded street scenes, shooting from a vehicle while rolling down a bumpy highway, and getting a different video perspective than a DLSR provides. For a change of pace – and to avoid carrying a DSLR in Rio de Janeiro – using the OSMO pocket I got some breathtaking views of the city from Corcovado Mountain and Christ the Redeemer.
MacBook Pro Laptop: I’ve never brought a laptop on international travel, preferring instead to rely on the iPhone and sometimes the iPad mini. But on this trip I knew I would have some work responsibilities and I would have some free time to do some updates on the blog. The 13″ Late 2013 MacBook Pro Retina fits well into the Kinray Lite backpack – even through there isn’t a dedicated computer pocket.
Apple iPhone 8: For using the WordPress app to write and post blog updates while on the road and for the DJI Mimo app for the DJI Osmo Pocket.
Vanguard Kinray Lite 45 backpack: Holds a full frame camera and a couple of lenses with ease with enough room leftover for a creatively-packed change of clothes. And on this trip the laptop in a padded sleeve slipped into the space behind the camera enclosure. Works for carrying photo gear on a plane and as a daypack moving through the daily itinerary. A great travel bag, but unfortunately no longer made by Vanguard. I’ve been traveling with this bag for a number of years and it’s starting to show a little wear. I’ve been looking for a comparable replacement, but so far nothing fits the bill.
Ventev Powercell 6010+: A great travel battery! It has a foldable plug so that it fits into the bag without snagging on anything. When plugged it charges its own battery – and with charging pass-through capability – can simultaneously charge a connected phone or other USB device.
Monster Power Outlets To Go travel extension cord: This short cord extension is all that’s needed. Includes three outlets to plugin a couple of camera battery chargers for overnight camera battery charging and a the travel battery. And a USB port to charge the iPhone 8 and the DJI Osmo Pocket.
Nikon ME-1 microphone: I still don’t use this as often as I should. The Aokatec AK-G750 GPS receiver must be removed from the D750 accessory terminal in order to plugin the ME-1. But much better than the D750 internal mic and great for windy conditions.
For this trip I brought along two 64GB 1000x Lexar Professional SDXC Class 10 cards and two 64GB 600x Lexar Professional SDHC Class 10 cards – the same cards and configuration I used in Southeast Asia.
Each 64GB card holds about 1,500 12-bit NEF files. I used a 64GB card in slot 1 of the D750 to store NEF raw photo files. In slot 2 I used a 64GB card with the D750 set to store large size JPEG normal quality backups at about 10.2MB per image.
About halfway through the trip, as is my usual practice, I swapped out the initial set of SD cards for the second set. At the end of the trip, between the D750, the iPhone 8, and the DJI Osmo Pocket I ended up with just 482 picture files totaling 11.04GB. That’s a shooting rate of about 44 per day – well below my average of 100 photos per day on international trips.
Photo | Files | Gigabytes |
Nikon D750 NEF | 326 | 9.70 |
DJI Osmo Pocket DNG | 97 | 0.49 |
iPhone 8 DNG | 59 | 0.85 |
TOTAL | 482 | 11.04 |
Between the D750 and the Osmo Pocket I ended up with 208 movie files totaling 26.90GB.
Video | Files | Gigabytes |
Nikon D750 MOV | 84 | 8.03 |
DJI Osmo Pocket MOV | 124 | 18.87 |
iPhone 8 MOV | 0 | 0.00 |
TOTAL | 208 | 26.90 |
For the daily trip blog updates I used the D750’s built-in Wi-Fi to connect via the Nikon Wireless Mobile Utility App installed on the iPhone 8. Once connected it’s easy to select pictures to transfer to the phone, and then incorporate those photos in the daily trip blog updates using the WordPress Mobile App. Internet access in Brazil was good. Fairly consistent LTE coverage or Wi-Fi access. Between uploading photos, drafting the content, and finding someone to proof – the daily blog updates take about an hour each day to complete.
My standard workflow for photos and video remains the same. I’m working with what is now known as Adobe Photoshop Lightroom Classic for photo management and editing – using the Creative Cloud Photography plan.
A couple of years ago I dropped keywording as a workflow step and substituted sorting into collections. I wasn’t really using the keywords and it wasn’t worth the time it was taking to add them. And I find using collections really helps to identify the best images – those I want to focus on for post-processing. The revised simplified version of the workflow is:
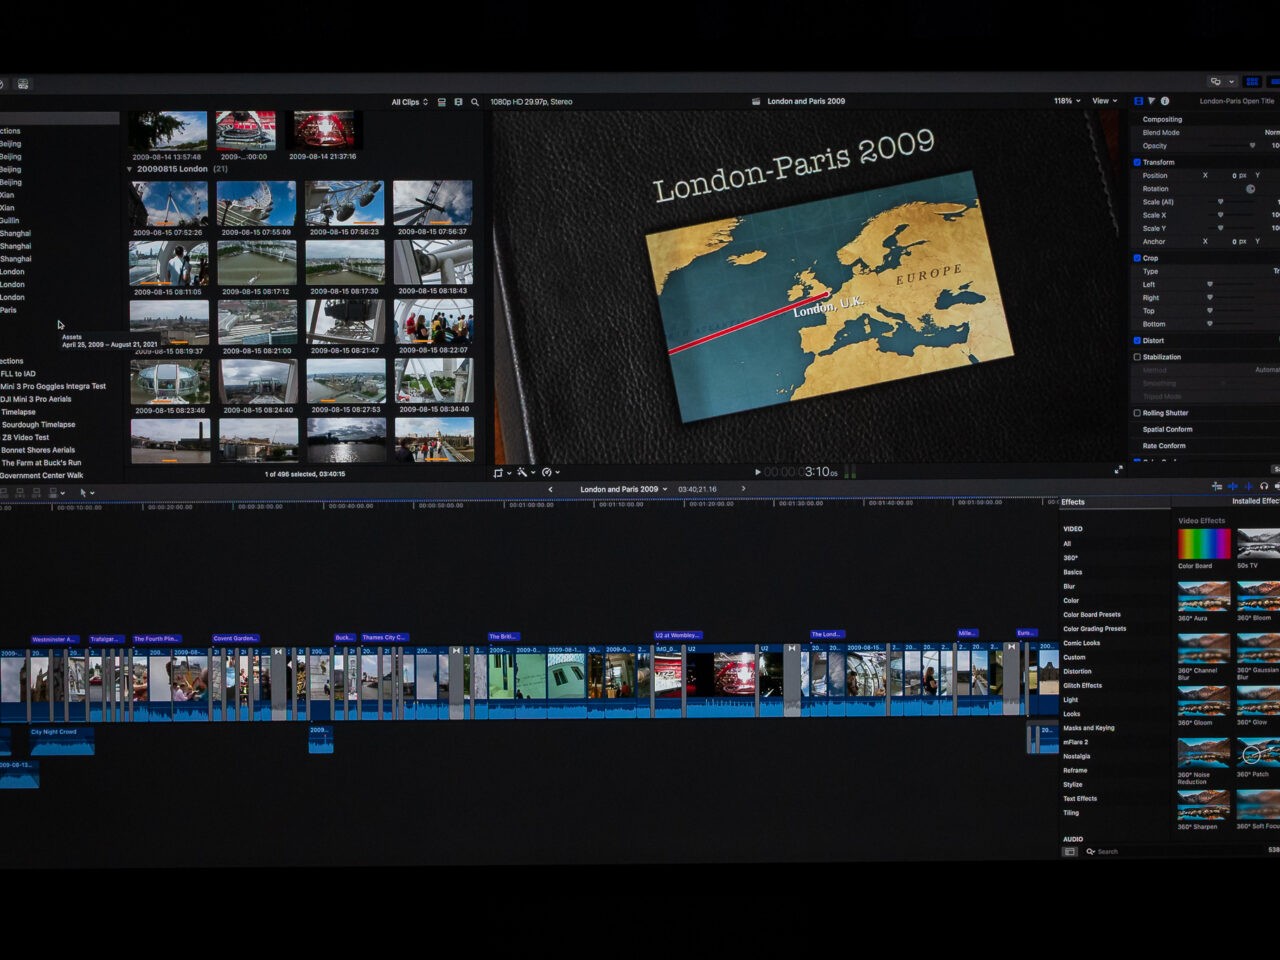
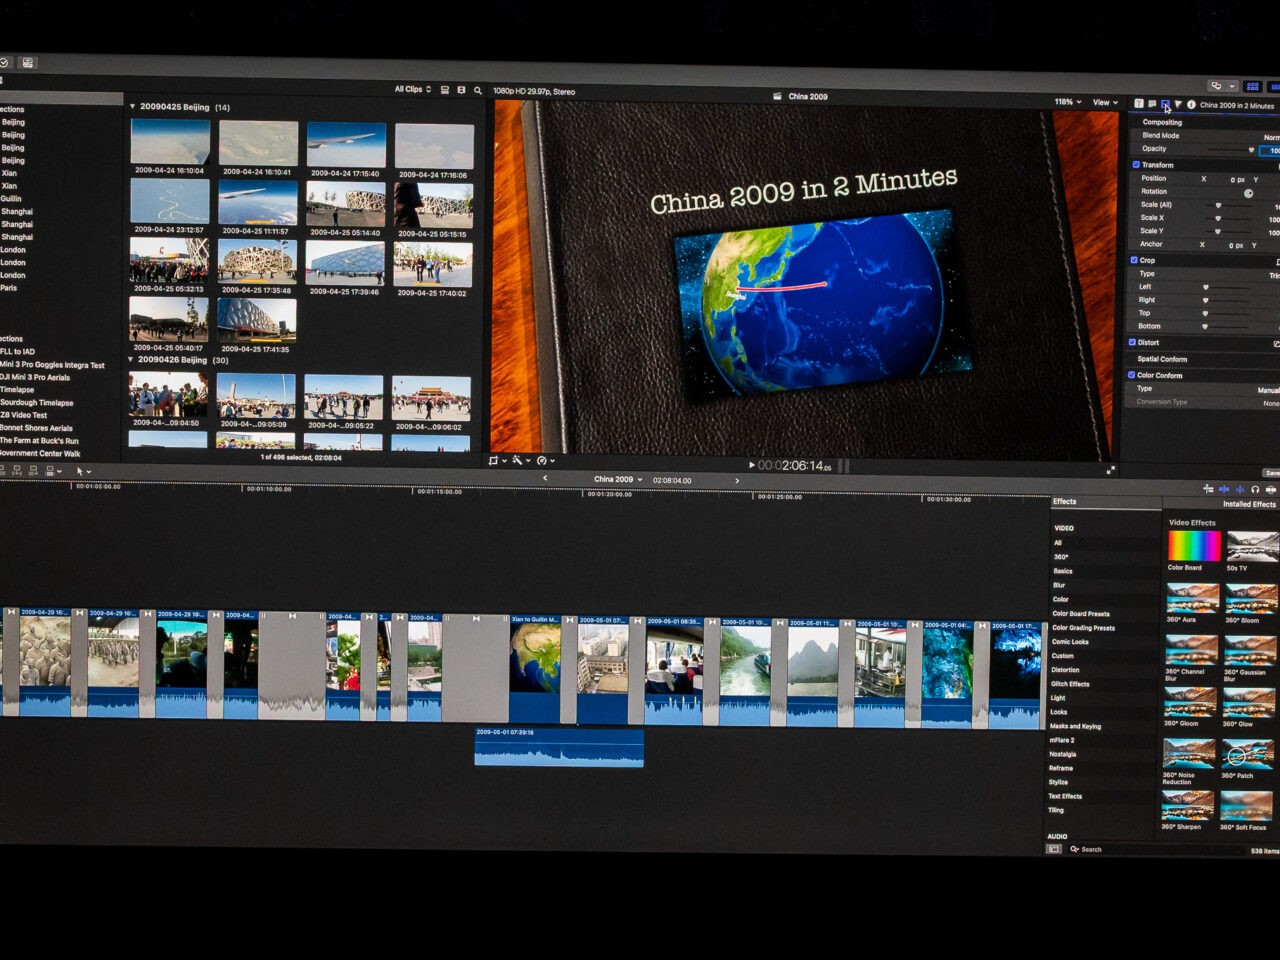
Video files are digitized using Apple Final Cut Pro to events named by date and location. After import files are renamed by date and time.
With all trip photo and video files transferred I confirm onsite and offsite backups are complete (using CrashPlan for Small Business to manage both backups) and then reformat the SDXC and SDHC cards for use on the next project. Now it’s time to get to work on the photo gallery, book, and the trip video!
Back a home after a couple of days to unpack and catch up on sleep …
Our Saturday night flight departed São Paolo on-time. And with a direct flight, no need to worry about missed connections! I did have an issue with my checked bag heading down the conveyor belt without its destination tag, but we checked in early enough that United was able to locate the bag and confirm it was on the flight before we departed at 10:15p. At first I was concerned that my bag would be lost, but I remembered that we were on the way home and part of me was thinking it wouldn’t be so bad not to have to drag the suitcase up the three flights of stairs to my condo.
The overnight flight was smooth. Generally the arriving and departing flights between the US and Brazil are overnight. My ability to sleep on a long flight is improving, so I was able to get in enough sleep in both directions to be reasonably functional upon arrival and return. With our 6a arrival time we were out of Dulles well before the Sunday post-Thanksgiving travel onslaught. I made it home by 7:30a leaving a full day to get groceries, do a few loads of laundry, and clean and store the photo gear before returning to the office on Monday.
Now that I am home and settled in, a few thoughts about the trip. Brazil is a huge country – nearly the size of the US. With our visit to Rio de Janeiro, Penápolis, and São Paolo we saw only a small part of the country. Roughly equivalent to visiting the US and touring an area a little bigger than Virginia. I’d like to return at some point to see more of the country, mostly because the Brazilian people are welcoming and friendly. I’ve never been hugged and kissed by so many people that I’d just met. While we met people that spoke English very well, we were in some places that only Portuguese was spoken. Even so it was easy to make transactions and everyone was very helpful.
Like larger cities everywhere, personal safety when traveling is a must – even more so in Rio de Janeiro. For this reason we decided to spend our sightseeing time in Rio with a tour guide. Marcio Boechat did an excellent job getting us around Rio to Christ the Redeemer, Sugarloaf Mountain, and on a walking tour through downtown. We easily could have spent another two days seeing Rio de Janeiro. If you are planning a trip to Rio, consider using a guide, and I strongly recommend Marcio!
It would be inappropriate to characterize Donna’s brother John as a tour guide. But like a tour guide John is incredibly knowledgeable about Brazil, its cities, history, politics, food, and people. He spent hours each day talking to us about all things Brazil and was so proud to be able to show off his country. It was fascinating to hear about the family business and to see the facilities of Socafé in person that I’ve heard about for years. From stopping by the bakery every morning, to picking up fresh rolls for breakfast, to cooking Churrasco, John went out of his way to make sure this was an outstanding travel experience for us.
Lori is a talented artist doing the important work of sharing the arts in a smaller city and making it fun for the children and adults she teaches. It’s great to see her passion for this mission and for her commissioned work. And it’s great to see how she has adapted to living outside the US. Andy and Clara are cool kids to hang out with. I’m so glad we were able to see their school and their excitement in being able to show us their classrooms. Deco and Márjorie’s easy-going manner made me feel like we’d been friends for years – not days. Tuca’s unique and insightful perspective made for an always interesting breakfast conversation.
Maria Helena is a wonderful host, making me feel comfortable in her home while we were in Penápolis. The house is filled with mementos and photographs – so much to explore while we were there. She is a joy to talk to and it’s easy to see where her children get their business sense and acumen.
When John posted his Facebook invitation to Brazil I knew this was going to be a great trip. Donna, John, and Julianna are a blast to travel with! Donna and I occasionally travel for business and John and I have travelled as well, but this is the first time we’ve all travelled together. Spending 10 days with friends in demanding international travel situations isn’t for everyone, but it was great fun hanging out with these three. Donna and I put a lot of effort into planning the trip and as professional planners it was nice to see the plan come together. John brings his great sense of humor to every situation. Always important on long flights, long drives, and the inevitable waiting that happens while traveling. Also, he has an unparalleled sense of purpose when walking through an airport! Like me, Julianna is on her second international trip of the year. She spent a few weeks in Africa over the summer. She is a great traveller and I admire her ability to make herself comfortable anywhere. I really enjoyed talking to her about college, study techniques, and dystopian-themed movies. Most importantly, Donna, John, and Julianna put up with my daily work on the blog so that I could share a little bit of our experience in Brazil. I hope you enjoyed reading about our trip as much as we enjoyed celebrating Thanksgiving in Brazil.
From the São Paolo International Airport …
It’s our last day in Brazil, but our flight is not until later tonight so we still have plenty of time to do some sightseeing in São Paolo.
After breakfast at the hotel we stop at Casa do Artista. It’s an art supply store and we’re here to pick up some supplies for Lori. A few blocks away we visit Stylebar, Debbie’s wash and blow dry salon.
Then a driving tour through the residential neighborhoods of São Paolo. Next we head back to the Meliá Jardim Europa Hotel to checkout and I take a couple of minutes to go up to the roof for a view of the São Paolo skyline. The size of this city is hard to comprehend. The view below extends 360 degrees …
Then a drive to a local super market to pickup Brazilian coffee to bring home and a visit to São Paolo’s Japanese neighborhood to buy some gifts.
We have an authentic Portuguese lunch at Rancho Português. We try the Codfish cakes – Bolinho de Bacalhau and John and I split a roasted pork dish called Leitoa à Bairrada. For dessert we all split a creamy, cheesy pastry called Pastelzinho de Belém.
Then John drives us to São Paulo/Guarulhos–Governador André Franco Montoro International Airport or just GRU. After spending a great week together it’s time to say our goodbyes. John is spending the night in São Paolo and we’ve got an overnight flight.
We’re on United flight 860 from São Paulo to Dulles arriving tomorrow morning. Thanks for reading!